一、Nginx多站点配置
一、下载
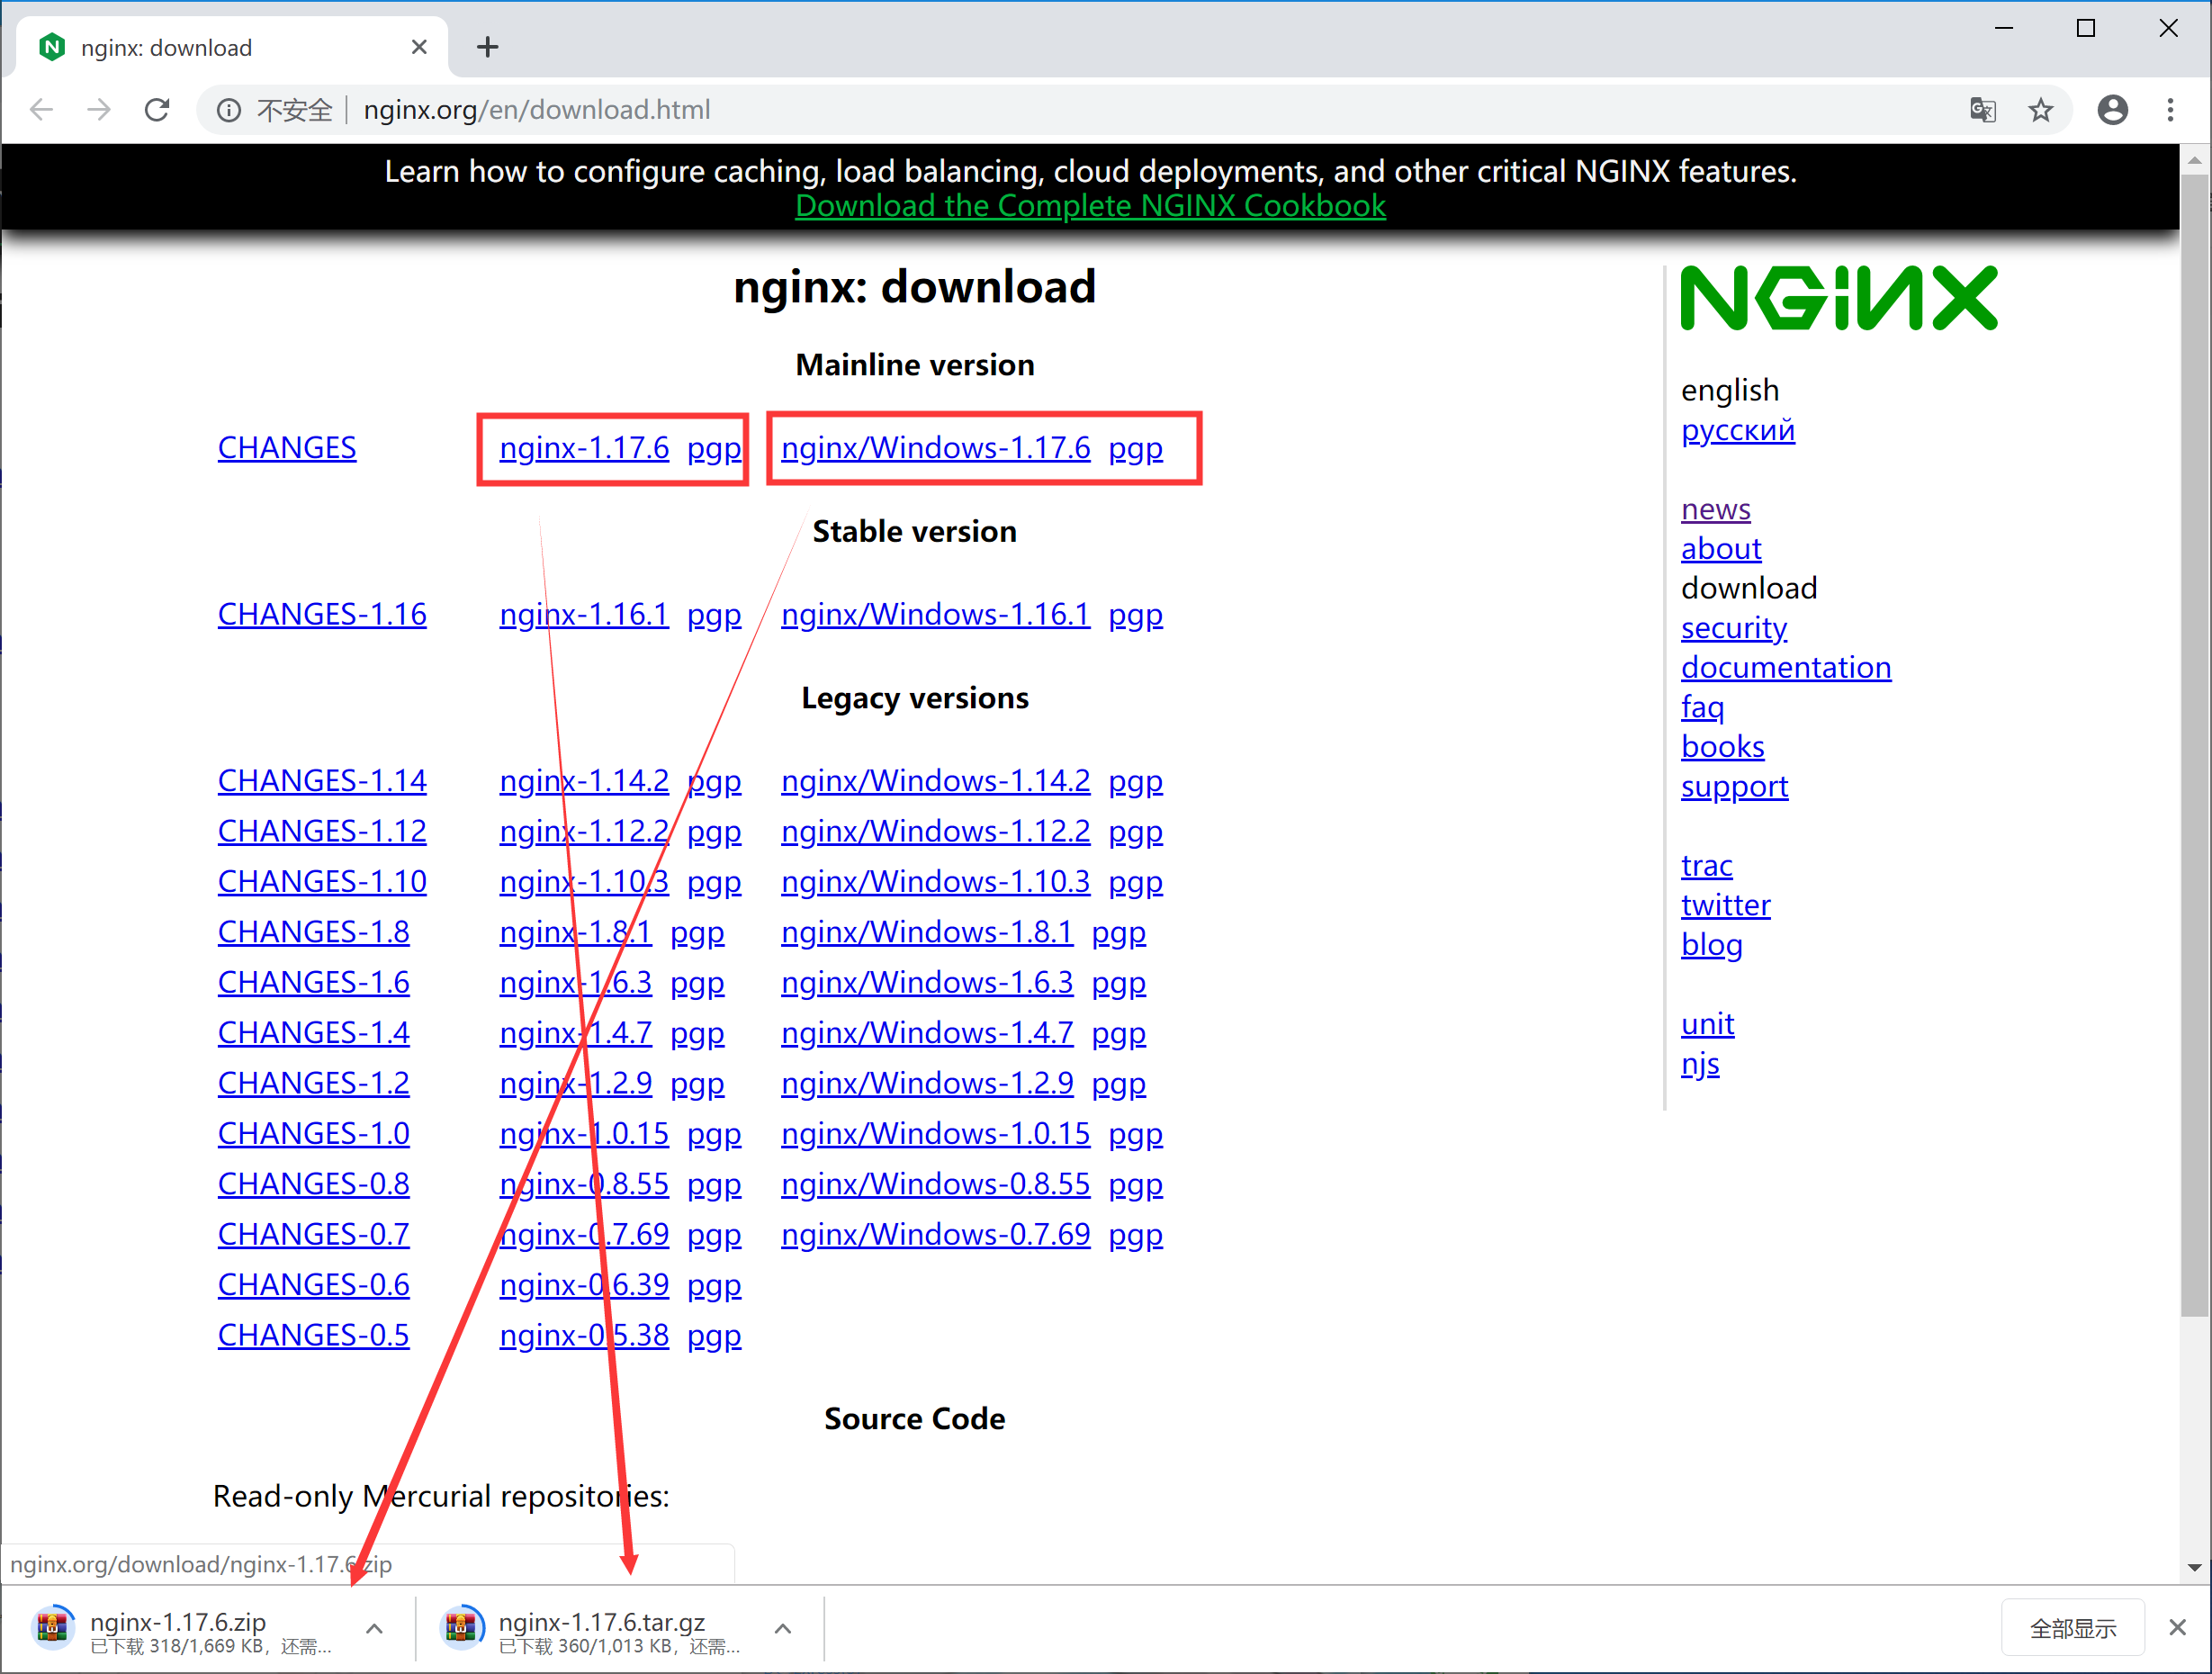
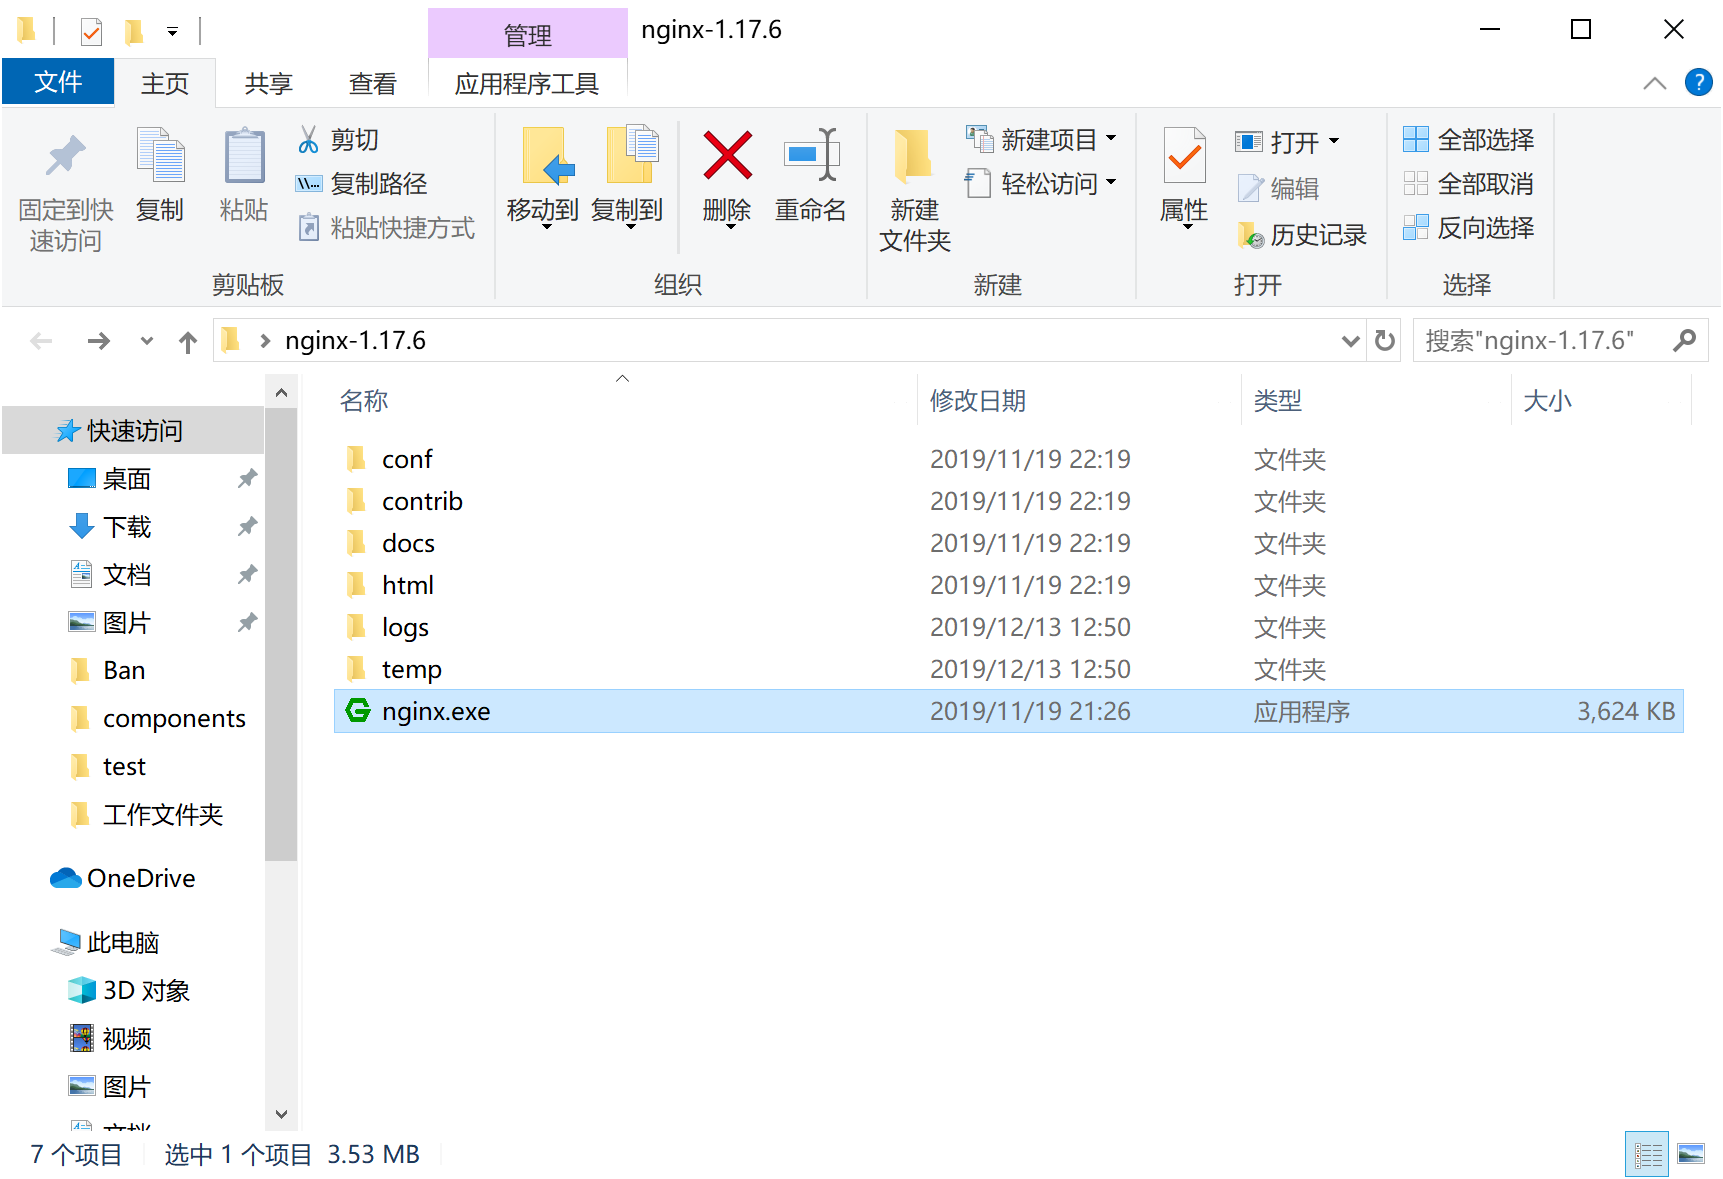
目录文件:
二、运行方式
(1)直接双击nginx.exe,双击后一个黑色的弹窗一闪而过
(2)打开cmd命令窗口,切换到nginx解压目录下,输入命令 nginx.exe 或者 start nginx ,回车即可
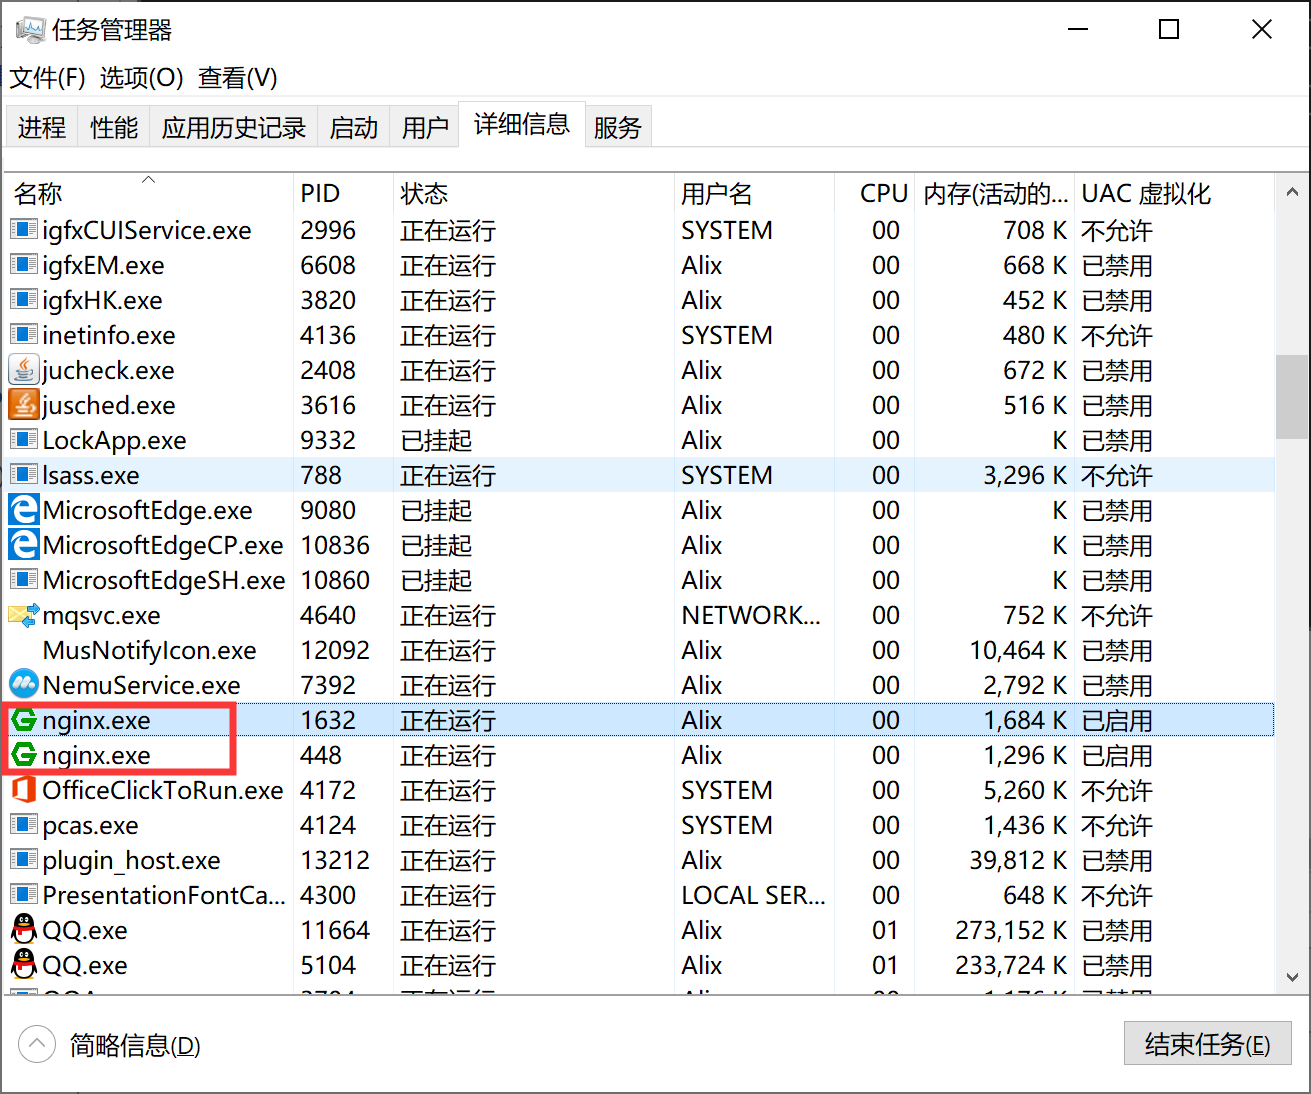
三、查看任务进程是否存在,dos或打开任务管理器都行
1、dos方式:
tasklist /fi "imagename eq nginx.exe"
如图:

2、任务管理器方式
打开任务管理器在进程中,打开详细信息里面能看到隐藏的nginx.exe进程
四、目录结构
如图所示:

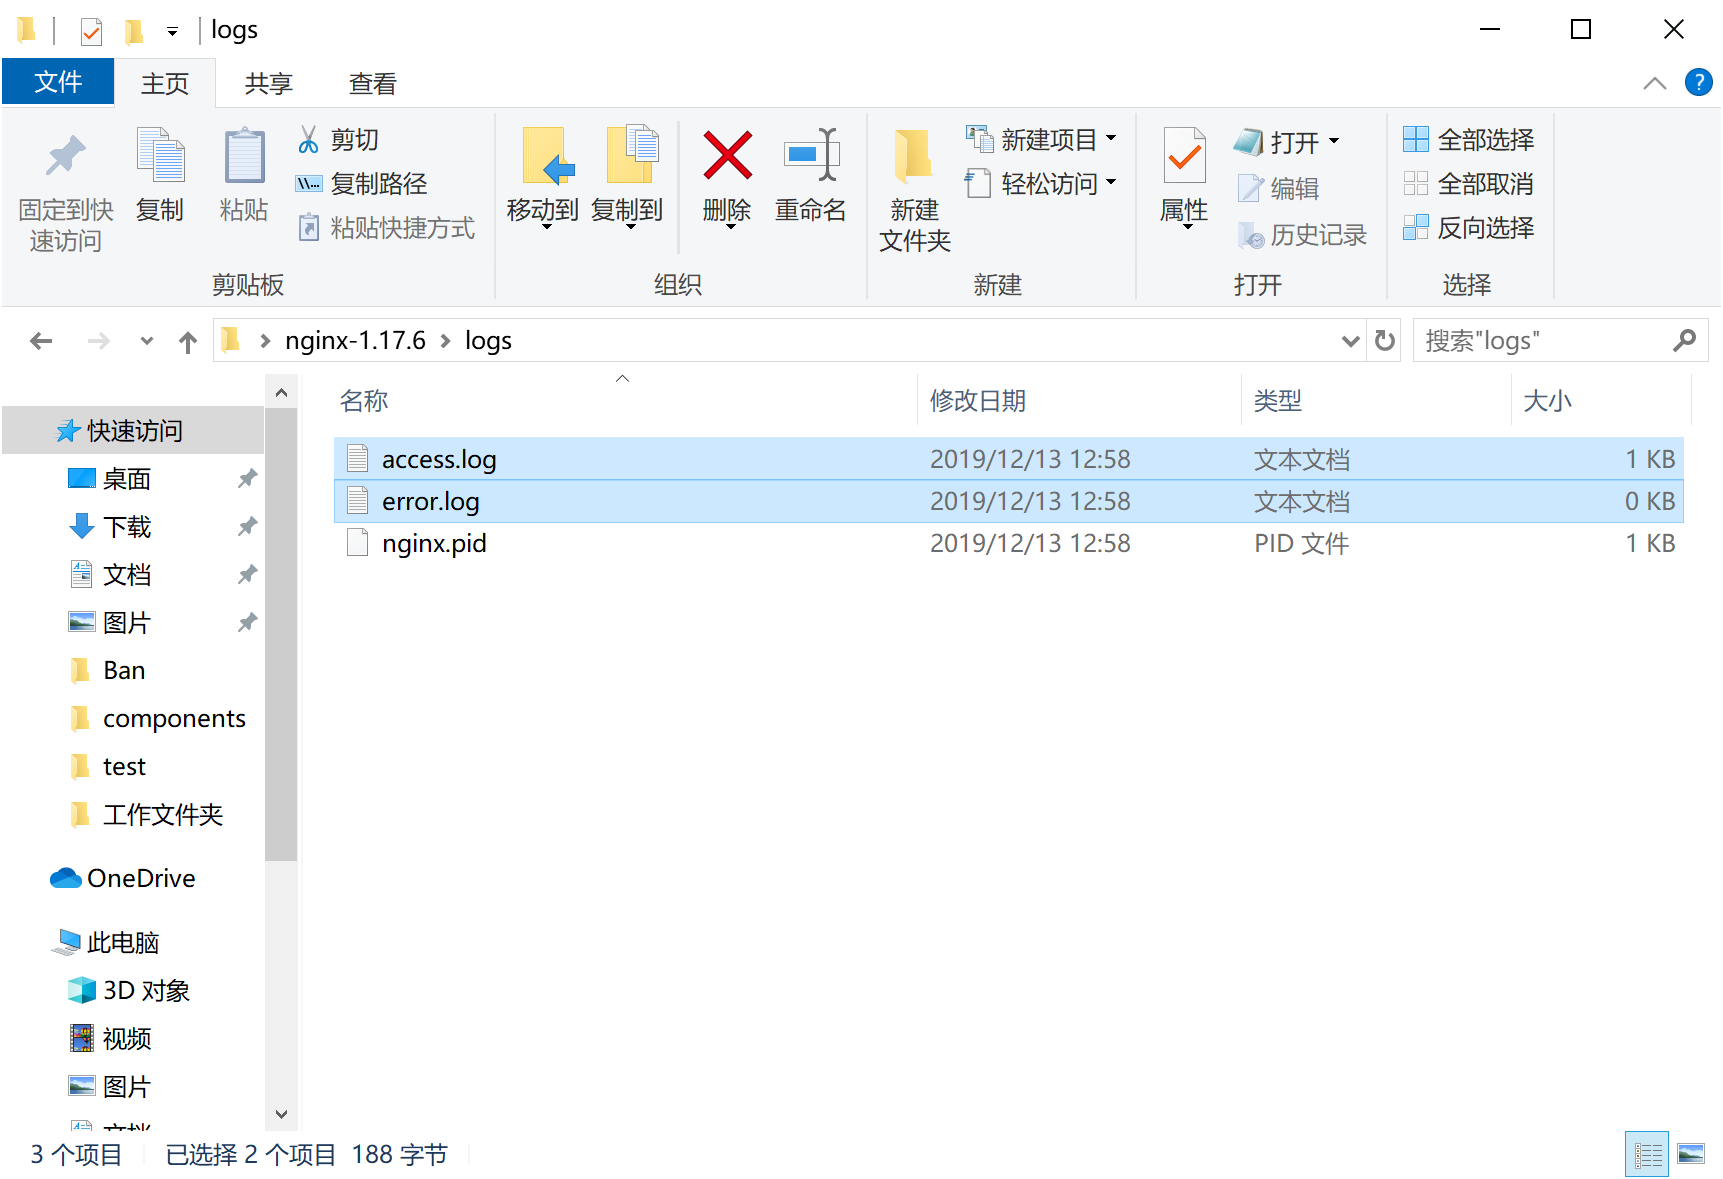
1、日志
在nginx目录中的logs文件夹下error.log是日志文件,access.log是请求日志文件
error.log常见的错误:
(1)端口号被占用
(2)nginx文件夹路径含中文
其他错误就详细看log中的描述
2、站点配置

3、nginx服务的配置文件
代码如下:
#user  nobody;

worker_processes  1;

#error_log  logs/error.log;

#error_log  logs/error.log  notice;

#error_log  logs/error.log  info;

#pid        logs/nginx.pid;

events {

    worker_connections  1024;

}

http {

    include       mime.types;

    default_type  application/octet-stream;

    #log_format  main  '$remote_addr - $remote_user [$time_local] "$request" '

    #                  '$status $body_bytes_sent "$http_referer" '

    #                  '"$http_user_agent" "$http_x_forwarded_for"';

    #access_log  logs/access.log  main;

    sendfile        on;

    #tcp_nopush     on;

    #keepalive_timeout  0;

    keepalive_timeout  65;

    #gzip  on;

    server {

        listen       80;

        server_name  localhost;

        #charset koi8-r;

        #access_log  logs/host.access.log  main;

        location / {

            root   html;

            index  index.html index.htm;

        }

        #error_page  404              /404.html;

        # redirect server error pages to the static page /50x.html

        #

        error_page   500 502 503 504  /50x.html;

        location = /50x.html {

            root   html;

        }

        # proxy the PHP scripts to Apache listening on 127.0.0.1:80

        #

        #location ~ \.php$ {

        #    proxy_pass   http://127.0.0.1;

        #}

        # pass the PHP scripts to FastCGI server listening on 127.0.0.1:9000

        #

        #location ~ \.php$ {

        #    root           html;

        #    fastcgi_pass   127.0.0.1:9000;

        #    fastcgi_index  index.php;

        #    fastcgi_param  SCRIPT_FILENAME  /scripts$fastcgi_script_name;

        #    include        fastcgi_params;

        #}

        # deny access to .htaccess files, if Apache's document root

        # concurs with nginx's one

        #

        #location ~ /\.ht {

        #    deny  all;

        #}

    }

    # another virtual host using mix of IP-, name-, and port-based configuration

    #

    #server {

    #    listen       8000;

    #    listen       somename:8080;

    #    server_name  somename  alias  another.alias;

    #    location / {

    #        root   html;

    #        index  index.html index.htm;

    #    }

    #}

    # HTTPS server

    #

    #server {

    #    listen       443 ssl;

    #    server_name  localhost;

    #    ssl_certificate      cert.pem;

    #    ssl_certificate_key  cert.key;

    #    ssl_session_cache    shared:SSL:1m;

    #    ssl_session_timeout  5m;

    #    ssl_ciphers  HIGH:!aNULL:!MD5;

    #    ssl_prefer_server_ciphers  on;

    #    location / {

    #        root   html;

    #        index  index.html index.htm;

    #    }

    #}

}
简化如下:
worker_processes  1;

events {

    worker_connections  1024; #1、worker进程连接数量

}

http {

    include       mime.types; #2、include表示纳入mime.types文件的配置

    default_type  application/octet-stream;

    #3、default_type如果Web程序没设置,Nginx也没找到对应文件的扩展名的话,就使用默认的Type,这个在Nginx 里用 default_type定义: default_type application/octet-stream,这是应用程序文件类型的默认值。

    sendfile        on;

    #4、sendfile: 设置为on表示启动高效传输文件的模式。sendfile可以让Nginx在传输文件时直接在磁盘和tcp socket之间传输数据。如果这个参数不开启,会先在用户空间(Nginx进程空间)申请一个buffer,用read函数把数据从磁盘读到cache,再从cache读取到用户空间的buffer,再用write函数把数据从用户空间的buffer写入到内核的buffer,最后到tcp socket。开启这个参数后可以让数据不用经过用户buffer。

    keepalive_timeout  65; #5、链接超时Nginx 返回 HTTP 408(Request Timed Out)。

    #6、服务配置

    server {

        listen       80;

        server_name  localhost;

        location / {

            root   html;

            index  index.html index.htm;

        }

        error_page   500 502 503 504  /50x.html;

        location = /50x.html {

            root   html;

        }

    }

}
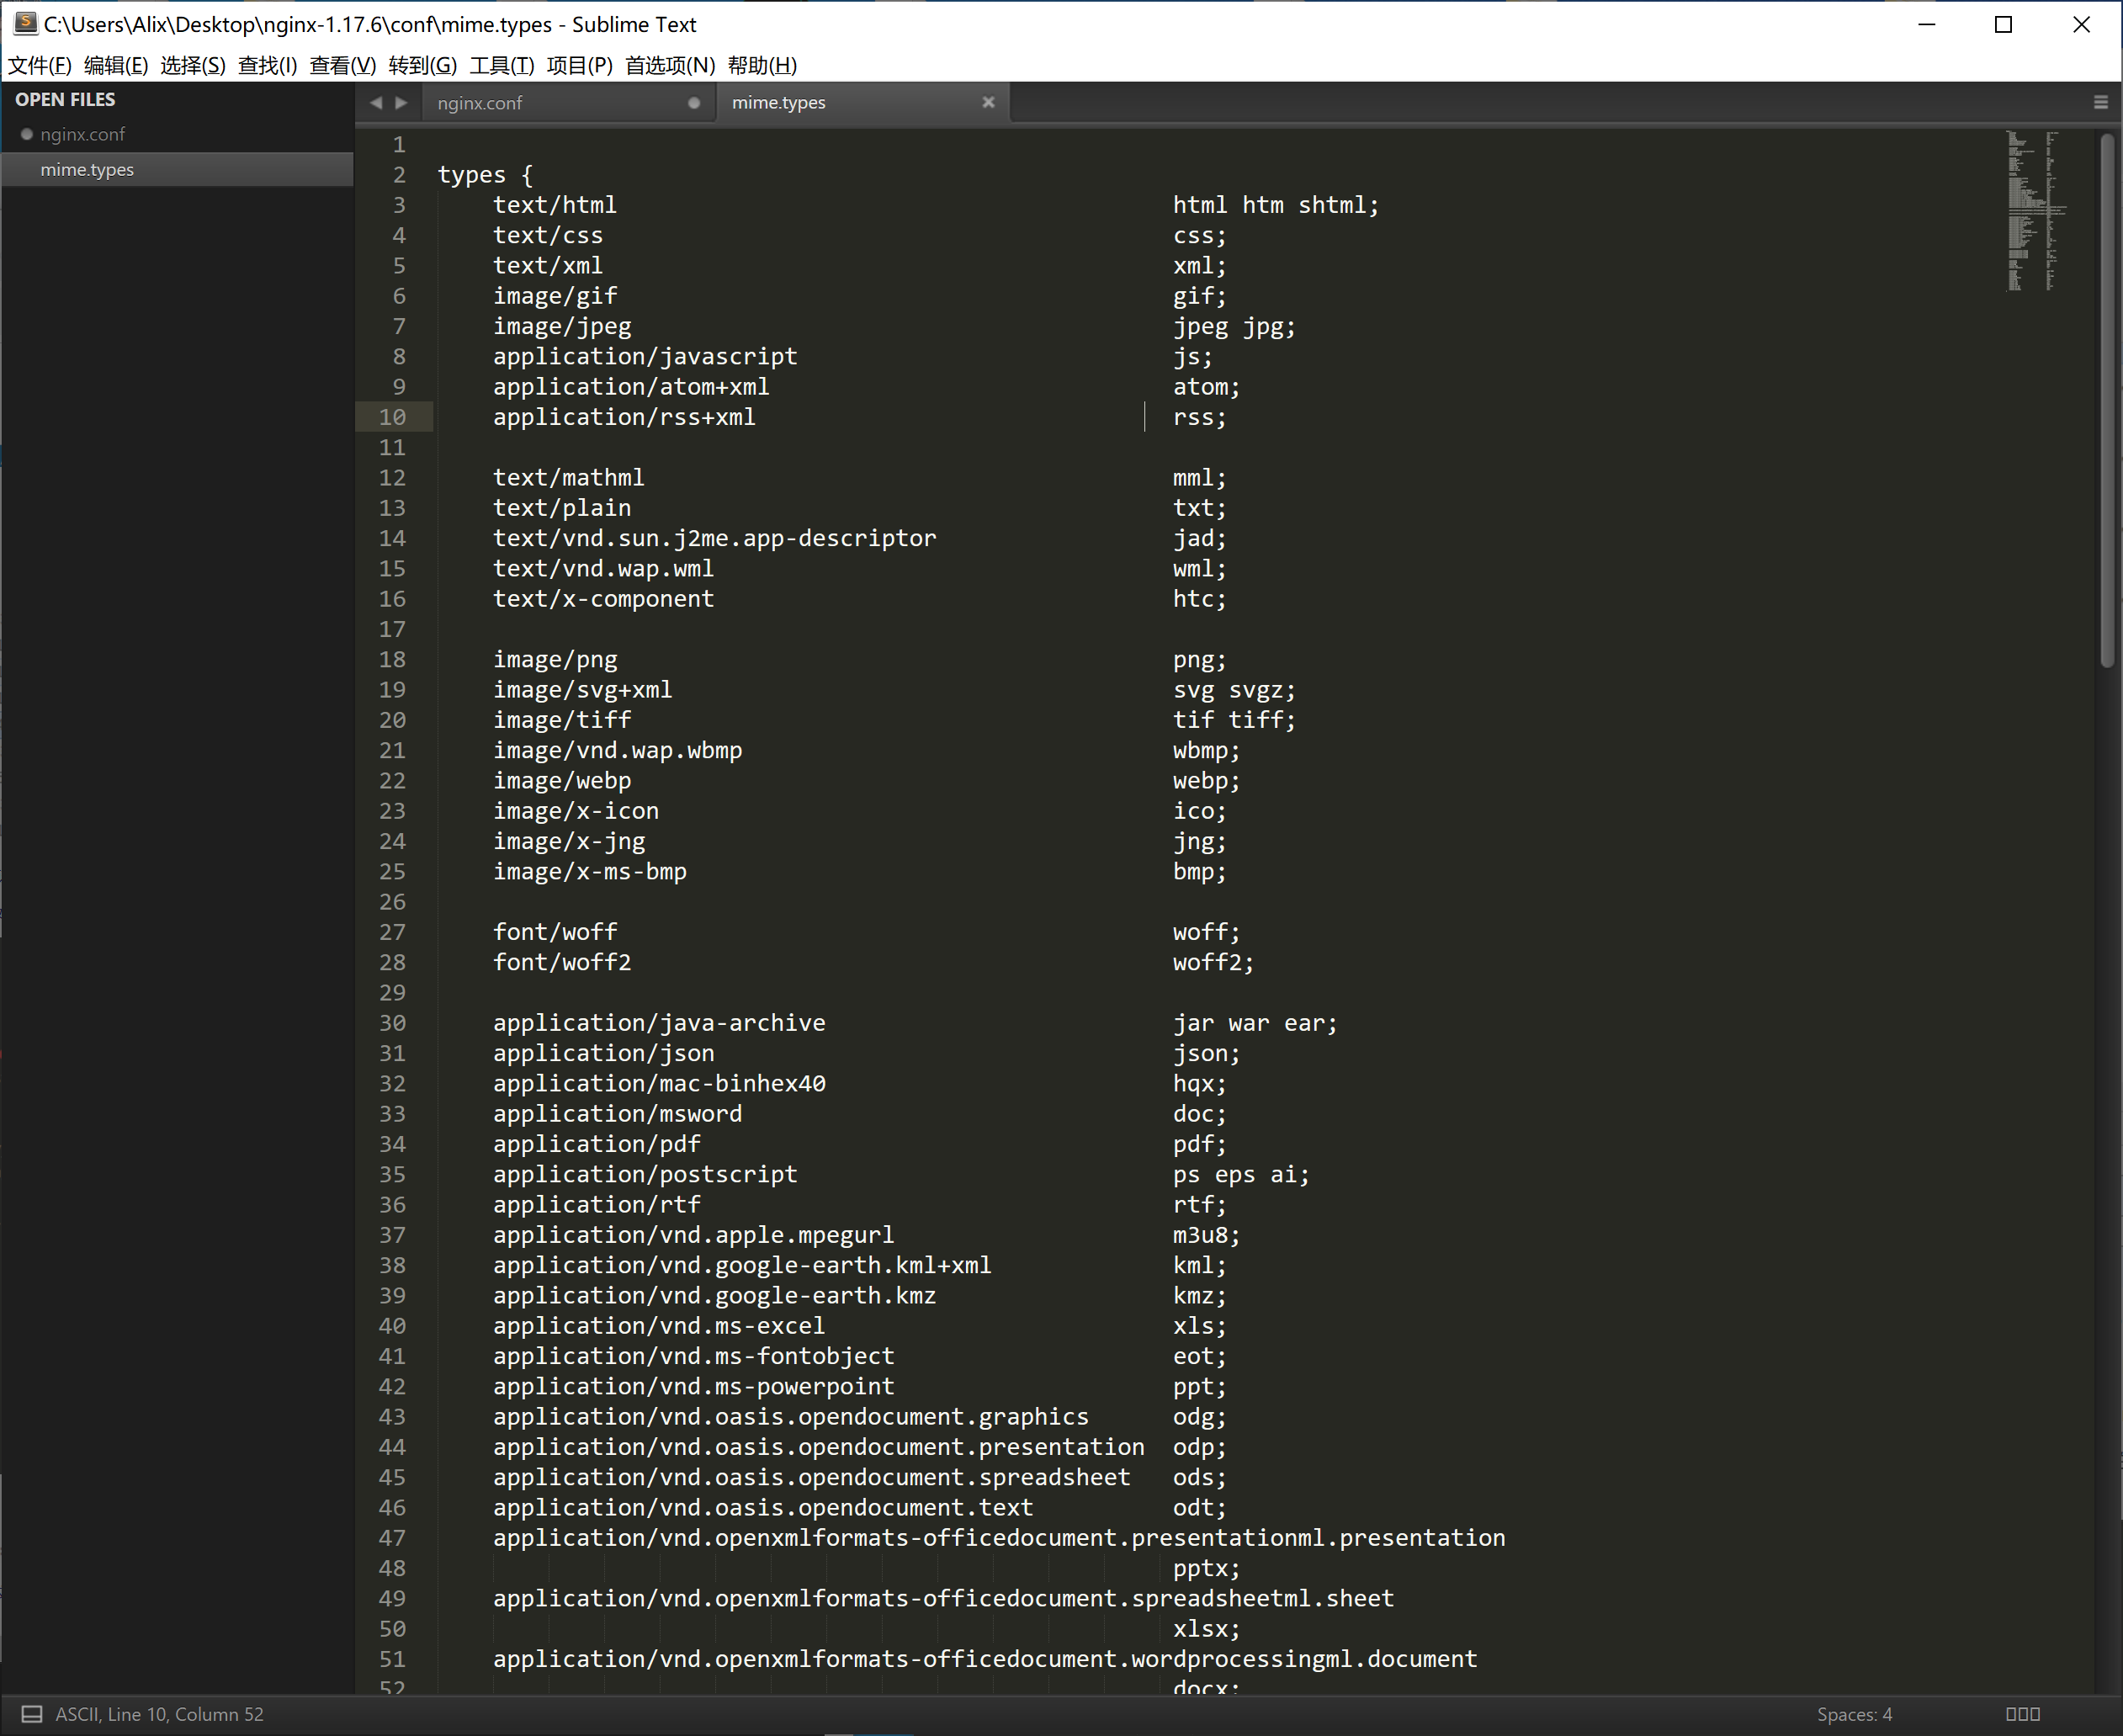
mime.types文件

包含文件类型如下:
4、多站点配置(基于域名的配置,使用不同的域名来访问)
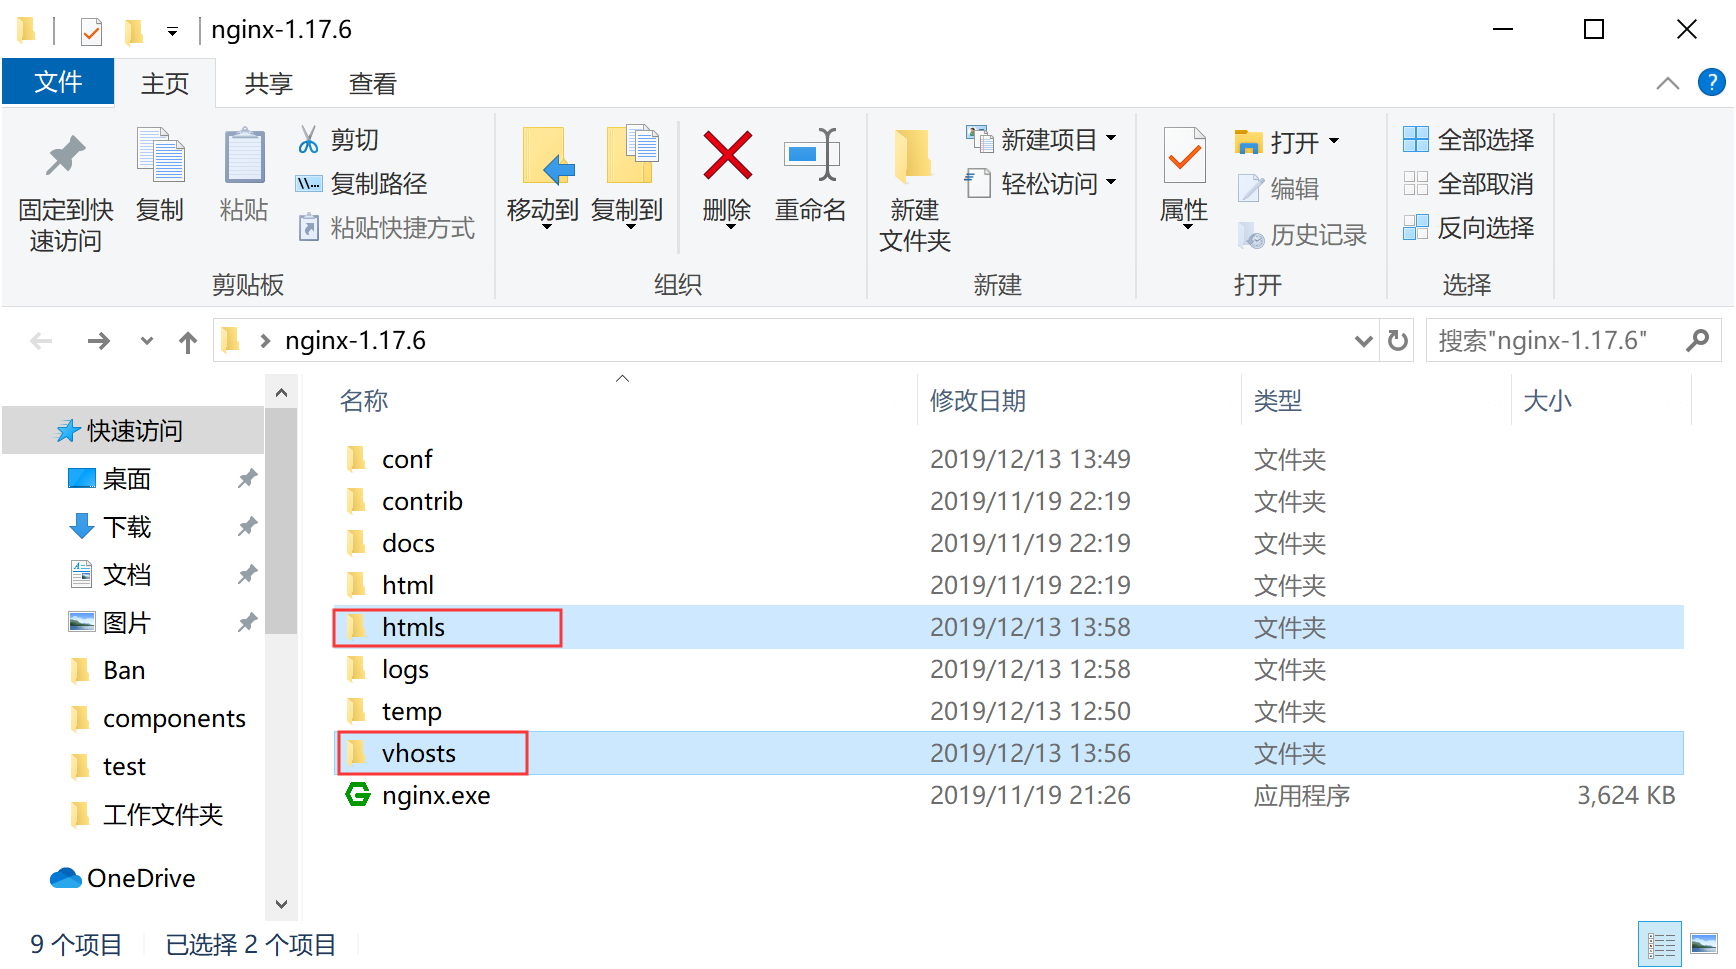
1、分别创建vhosts、和htmls文件夹
如图:
2、在创建vhosts文件夹里面创建*.conf文件(域名对应一个.conf文件)
如图:

代码如下:
server

{

    listen 80;

    server_name www.logr.cn;

    location / {

        root   C:\Users\Alix\Desktop\nginx-1.17.6\htmls; #静态文件目录

        index index.php index.html index.htm default.php default.htm default.html; //默认访问文件

    }

}
3、在创建htmls文件夹里面放入index.html文件
如图:

4、nginx.conf 在配置文件中更改引入(http下引入配置文件*.conf即等同于添加一个server服务)
worker_processes  1;

events {

    worker_connections  1024;

}

http {

    include       mime.types;

    default_type  application/octet-stream;

    sendfile        on;

    keepalive_timeout  65;

    include ../vhosts/*.conf; #包含vhosts目录的所有站点配置文件

    server {

        listen       80;

        server_name  localhost;

        location / {

            root   html;

            index  index.html index.htm;

        }

        error_page   500 502 503 504  /50x.html;

        location = /50x.html {

            root   html;

        }

    }

}
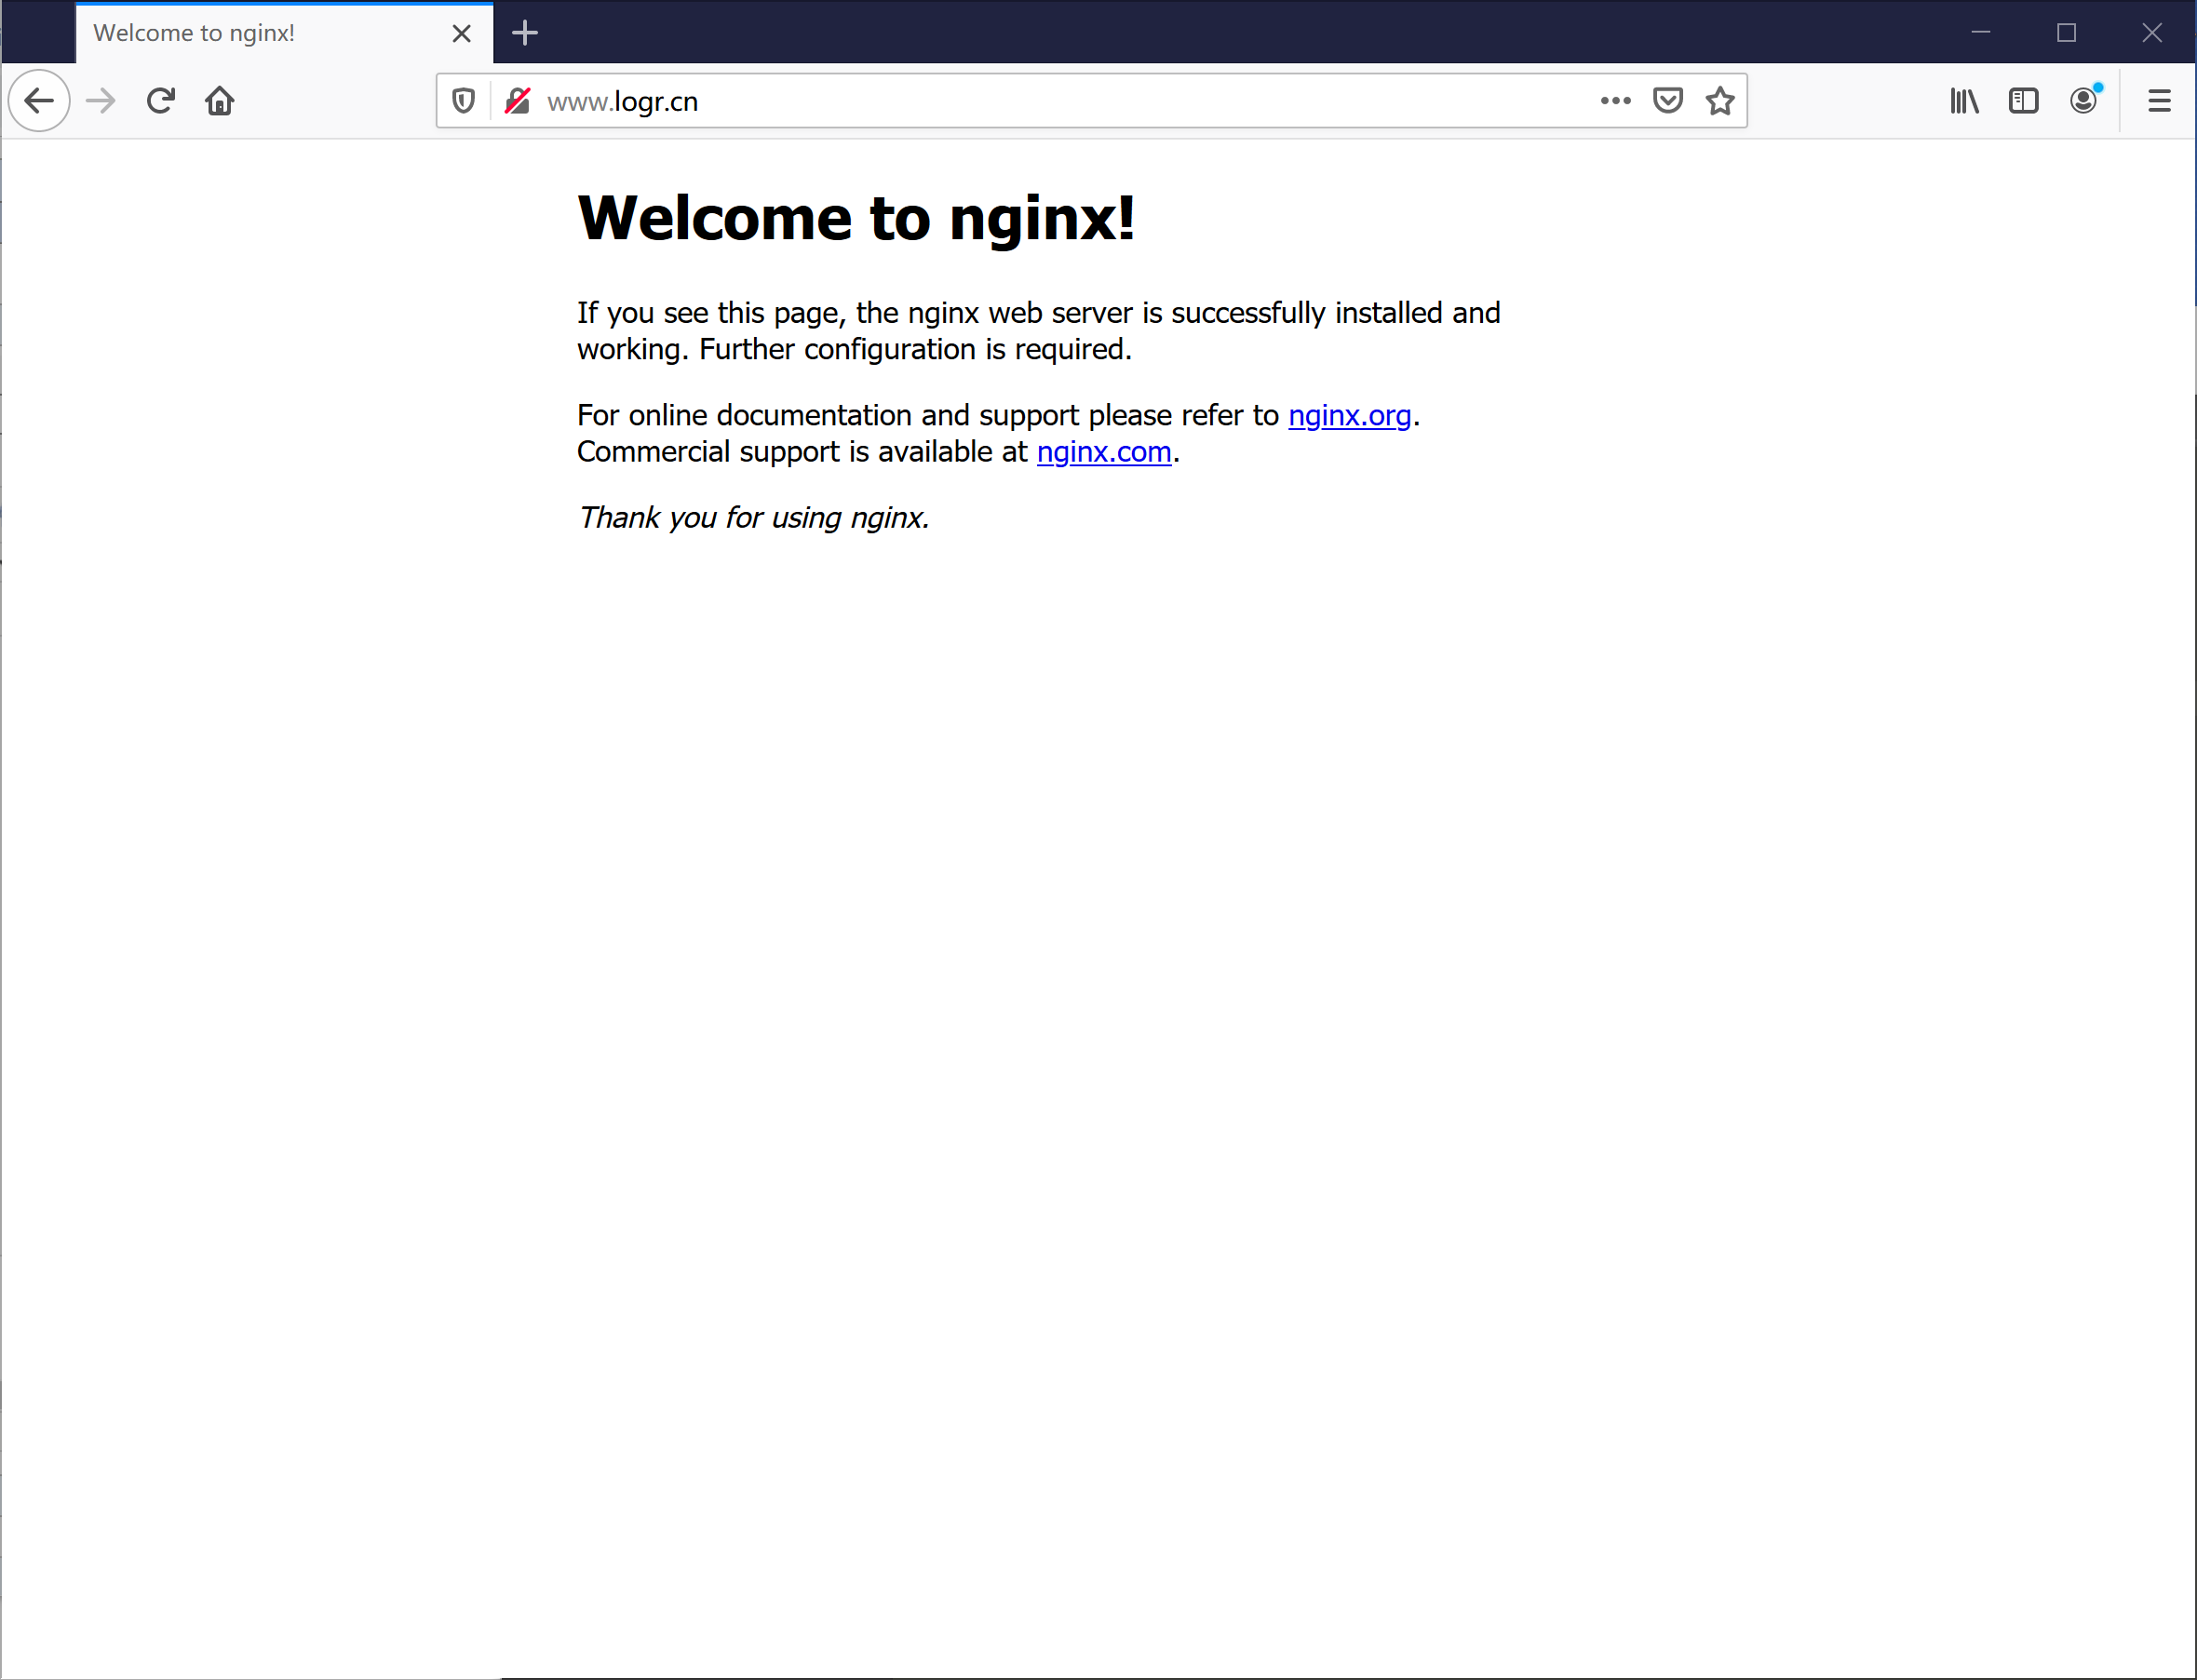
预览效果:
注意:
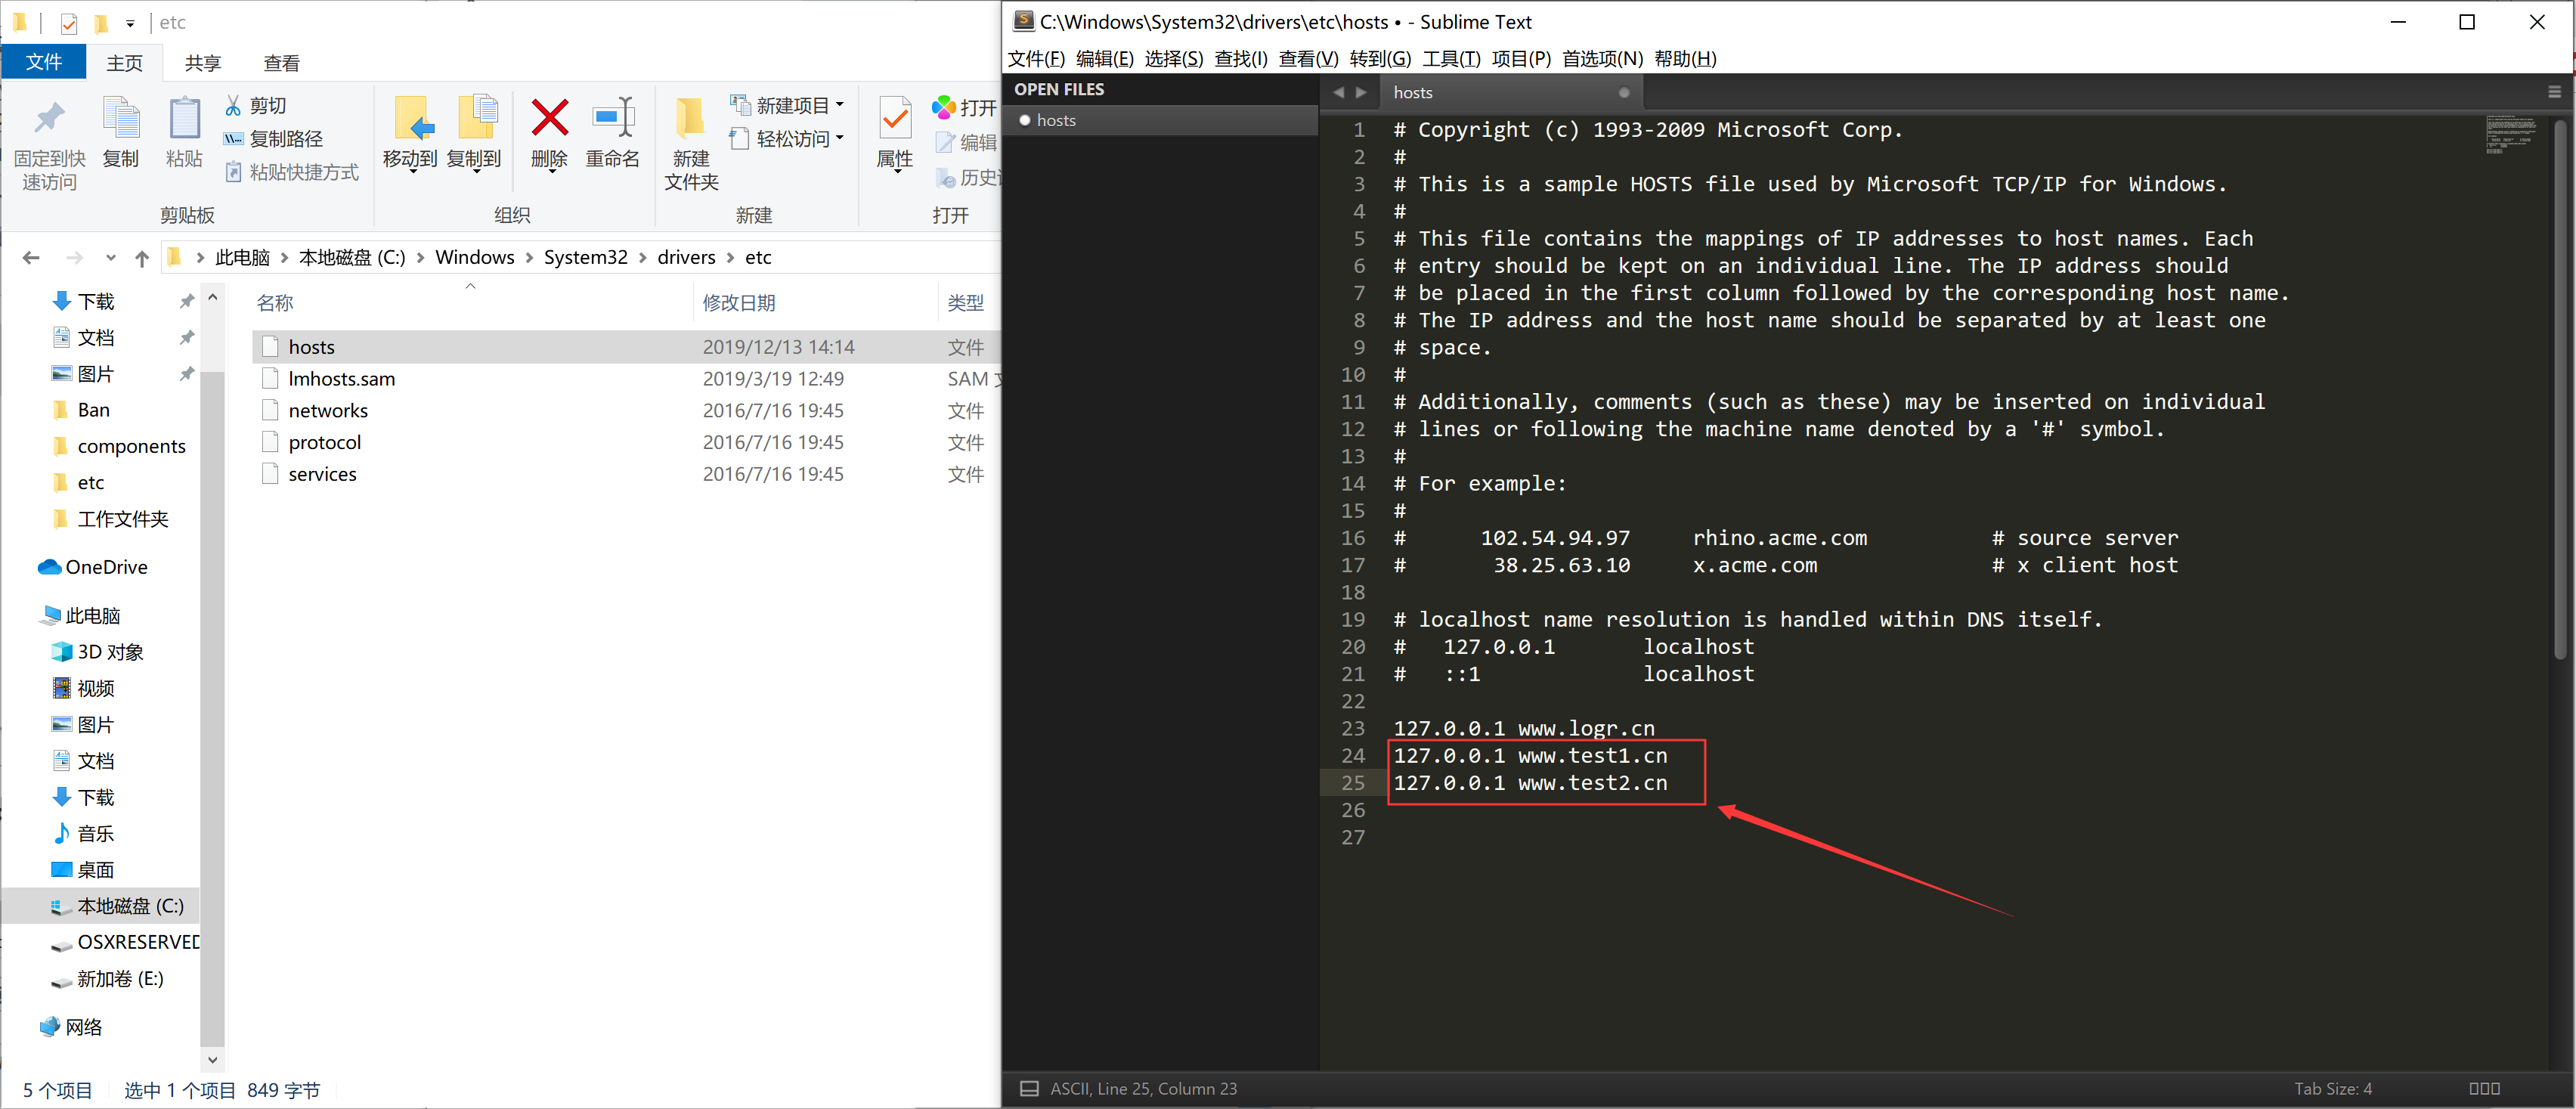
修改hosts文件
C:\Windows\System32\drivers\etc\hosts
127.0.0.1 www.logr.cn
如图:

4、多站点配置(基于多端口的配置)
1、win下追加域名访问
2、更改配置文件

一、Nginx多站点配置的更多相关文章
- nginx高性能WEB服务器系列之五--实战项目线上nginx多站点配置
nginx系列友情链接:nginx高性能WEB服务器系列之一简介及安装https://www.cnblogs.com/maxtgood/p/9597596.htmlnginx高性能WEB服务器系列之二 ...
- Ubuntu系统下lnmp环境搭建和Nginx多站点配置
最近需要使用Ubuntu作为服务器搭建Lnmp环境,顺便将操作过程写下来,与大家分享.如有不足之处,欢迎大家提出不同意见.(本文默认读者已经熟悉相关linux命令的使用,比如创建文件和文件夹,编辑文件 ...
- nginx 多站点配置方法集合(转)
关于nginx的多站设置,其实和apache很相似,假设我们已经有两个域名,分别是:www.websuitA.com和www.websuitB.com.并且这两个域名已经映射给了IP为192.168. ...
- nginx 多站点配置方法
关于nginx的多站设置,其实和apache很相似哒. 假设我们已经有两个域名,分别是:www.websuitA.com和www.websuitB.com.并且这两个域名已经映射给了IP为192.16 ...
- 二、Nginx多站点配置(参考宝塔的)分析
一.基于宝塔配置文件分析(站的配置文件) 新增的站点配置即添加server并包含在nginx内 查找文件: 文件内容: 二.伪静态 伪静态是一种可以把文件后缀改成任何可能的一种方法,如果我想把php文 ...
- nginx多站点配置
一.安装nginx https://yq.aliyun.com/articles/101144?spm=5176.10695662.1996646101.searchclickresult.70af9 ...
- Nginx 多站点配置
最近学习和练习的时候,为Laravel应用程序添加了好几个站点,有些程序删除之后站点却还留着,这让强迫症感到非常难受,上次解决了这个问题之后并没有记录一下,于是导致今天又花了很多时间折腾,所以特地来写 ...
- 简单的 nginx 多站点配置
测试环境:基于CentOS6.8 编译安装LNMP(http://www.cnblogs.com/afee666/p/6836161.html) 一 需求 在一个 VPS 主机上配置 web 服务器, ...
- nginx高性能WEB服务器系列之六--nginx负载均衡配置+健康检查
nginx系列友情链接:nginx高性能WEB服务器系列之一简介及安装https://www.cnblogs.com/maxtgood/p/9597596.htmlnginx高性能WEB服务器系列之二 ...
随机推荐
- FTP\SFTP连接命令
五.ftp连接 输入:ftp 10.18.49.19 2121六.输入账号密码 zhangsan/sdjg34t#七.输入:ls 查看文件是否上传 如上传 输入:bye ...
- 手动集成 Ironic 裸金属管理服务(Rocky)
目录 文章目录 目录 前文列表 横向扩展裸金属管理服务节点 配置基础设施 安装 Ironic(BareMetal) 安装 Nova Compute(BareMetal) 配置 Neutron 提供 P ...
- git重命名文件和文件夹
git mv -f oldfolder newfoldergit add -u newfolder (-u选项会更新已经追踪的文件和文件夹)git commit -m "changed th ...
- mariadb面试
[mariadb主从架构的工作原理] 主节点写入数据以后,保存到二进制文件中,从节点生成IO线程和sql线程,IO线程请求读取二进制文件:主节点生成的dump线程,将数据发送到中继日志中,sql线程读 ...
- IDEA 控制台中文乱码的问题
-Dfile.encoding=UTF-8
- Python知识点面试题
一. DB类 索引相关: 1. mysql索引种类 2. 什么是覆盖索引? MySQL目前主要有以下几种索引类型:1.普通索引2.唯一索引3.主键索引4.组合索引:遵循最左前缀规则5.全文索引 其他: ...
- 来吧,认识一下Bugcrowd社区的开源课程
what Bugcrowd? 类似于360补天等众测平台. bugcrowd大学 类似于漏洞银行推出的开源教学资源. 使用指南(网页直接谷歌翻译) 研究员researchers:指的就是我们白帽子. ...
- Emgu 学习(4) 使用指针访问图像内存
在原始图像最初的10行绘制一个颜色条 class Program { static void Main(String[] args) { Mat img = CvInvoke.Imread(@&quo ...
- 查找担保圈-step3-获取担保圈路径
USE [test] GO /****** Object: StoredProcedure [dbo].[p01_get_group_path] Script Date: 2019/7/8 14:40 ...
- robot-framework 利用evaluate关键字生成随机数
robot-framework 利用evaluate关键字生成随机数 最近用RF(robot-framework简称)操作MangoDB,需要直接将数据写到数据库里,又不想每次写的数据完全相同,就想到 ...