Angular4 组件通讯方法大全
组件通讯,意在不同的指令和组件之间共享信息。如何在两个多个组件之间共享信息呢。
最近在项目上,组件跟组件之间可能是父子关系,兄弟关系,爷孙关系都有。。。。。我也找找了很多关于组件之间通讯的方法,不同的方法应用在不同的场景,根据功能需求选择组件之间最适合的通讯方式。下面我就总结一下关于组件通讯的N多种方法。
1.父→子 input
parent.ts
import { Component } from '@angular/core';

@Component({

  selector: 'page-parent',

  templateUrl: 'parent.html',

})

export class ParentPage {

  i: number = ;

  constructor() {

    setInterval(() => {

      this.i++;

    }, )

  }

}
parent.html
<ion-header>

  <ion-navbar>

    <ion-title>Parent</ion-title>

  </ion-navbar>

</ion-header>

<ion-content padding>

  <h2>Parent</h2>

  <page-child [content]="i"></page-child>

</ion-content>
child.ts
import { Component,Input } from '@angular/core';

@Component({

  selector: 'page-child',

  templateUrl: 'child.html',

})

export class ChildPage {

@Input() content:string;

  constructor() {

  }

}
child.html

<ion-content padding>

child:{{content}}

</ion-content>
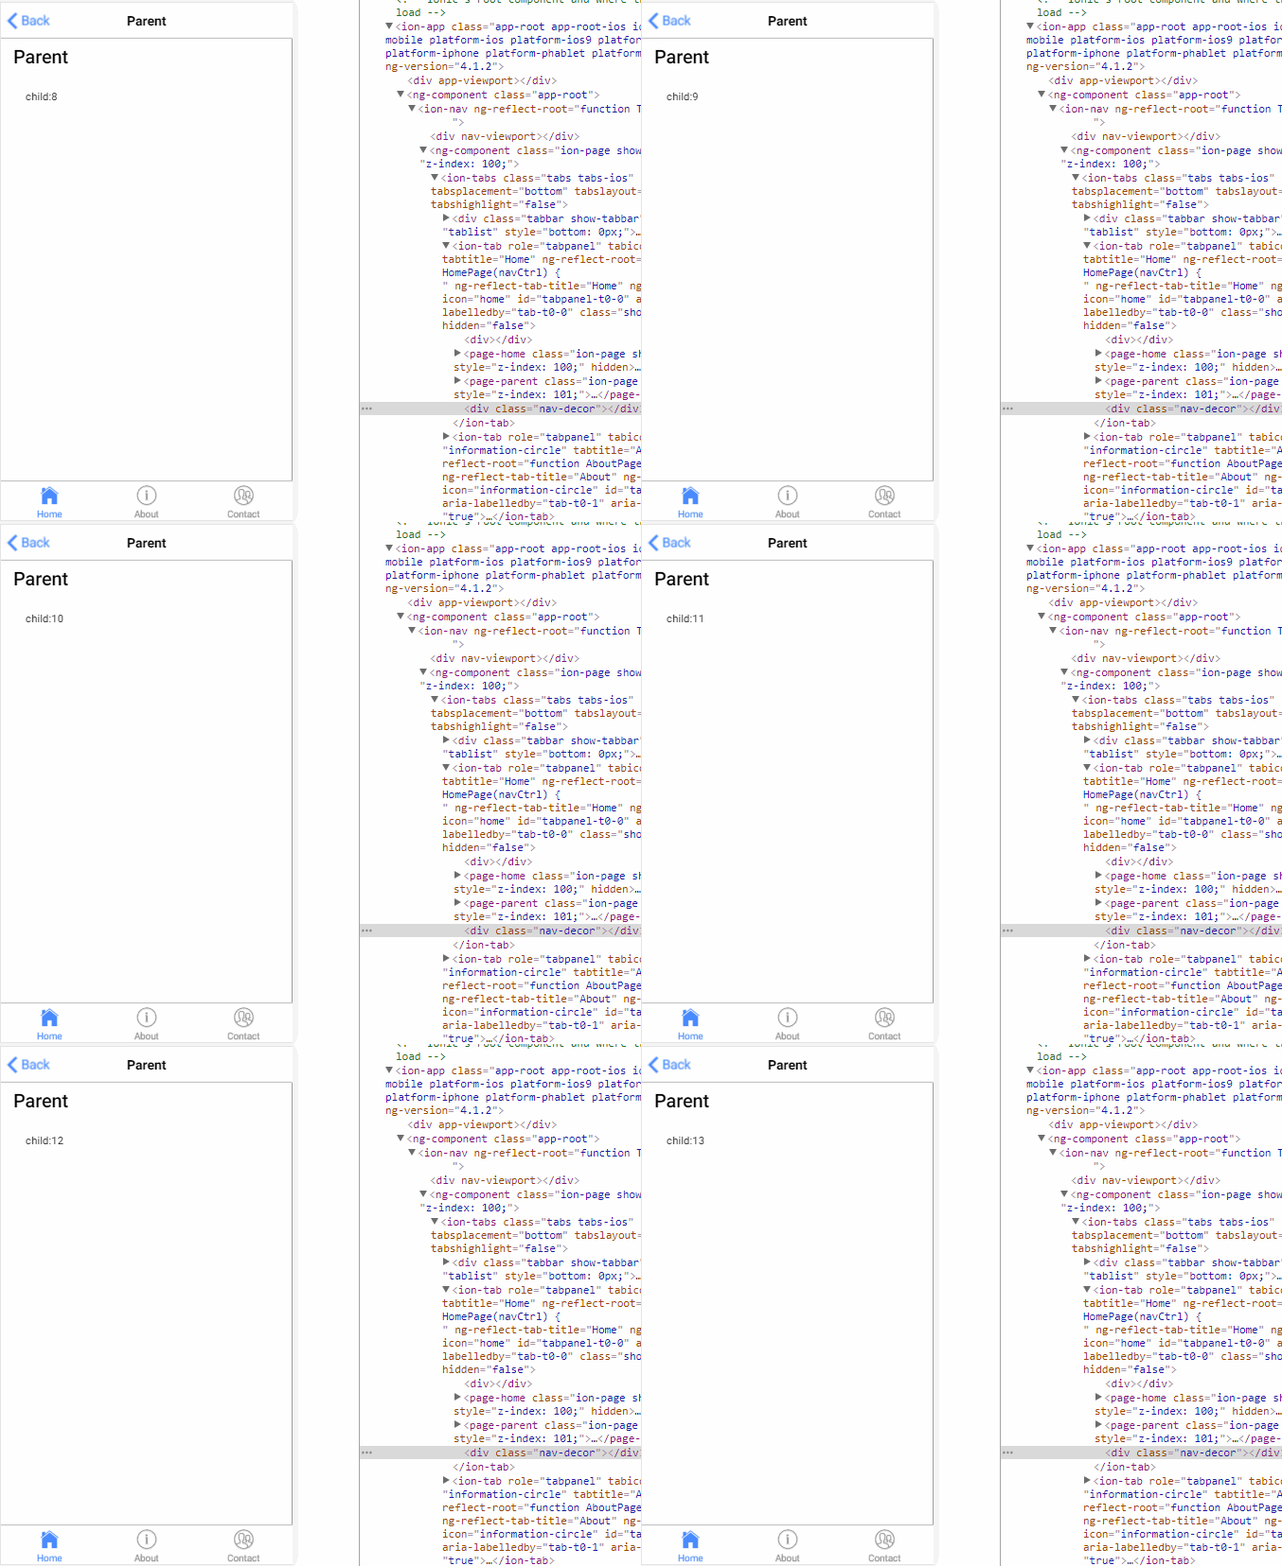
结果:

2.子→父 output
parent.ts
import { Component } from '@angular/core';

@Component({

  selector: 'page-parent',

  templateUrl: 'parent.html',

})

export class ParentPage {

  i: number = ;

  numberIChange(i:number){

      this.i = i;

  }

}
parent.html
<ion-header>

  <ion-navbar>

    <ion-title>Parent</ion-title>

  </ion-navbar>

</ion-header>

<ion-content padding>

  <h2>Parent:{{i}}</h2>

  <page-child (changeNumber)="numberIChange($event)"></page-child>

</ion-content>
child.ts
import { Component, EventEmitter, Output } from '@angular/core';

@Component({

  selector: 'page-child',

  templateUrl: 'child.html',

})

export class ChildPage {

  @Output() changeNumber: EventEmitter<number> = new EventEmitter();

  Number: number = ;

  constructor() {

    setInterval(() => {

      this.changeNumber.emit(++this.Number);

    }, )

  }

}
child.html

<ion-content padding>

     child

</ion-content>
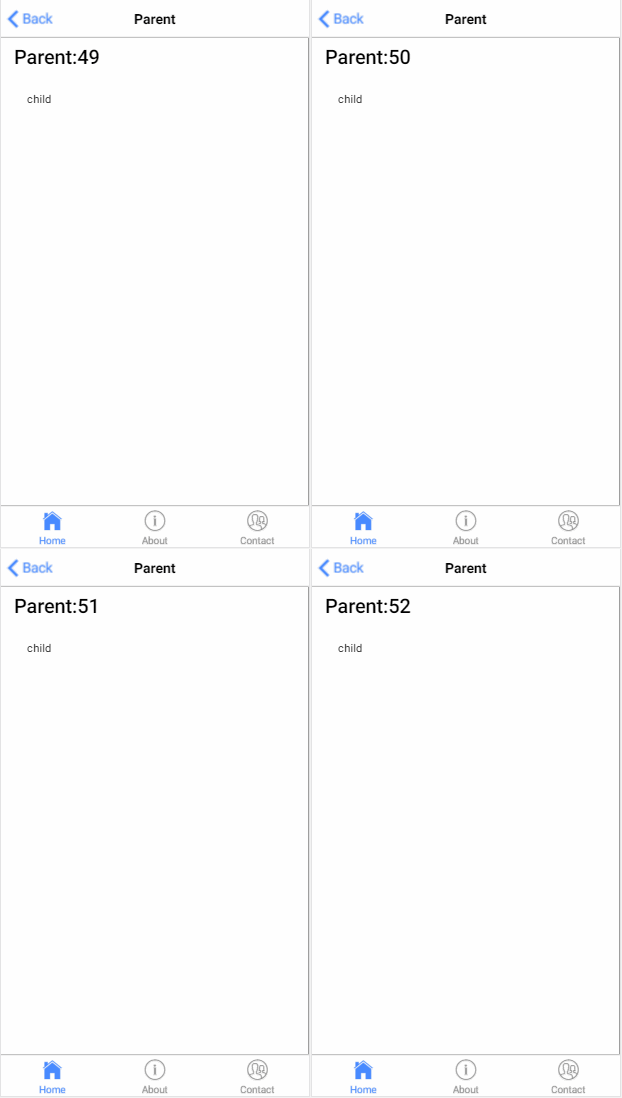
结果:

3.子获得父实例
parent.ts
import { Component } from '@angular/core';

@Component({

  selector: 'page-parent',

  templateUrl: 'parent.html',

})

export class ParentPage {

  i:number = ;

}
parent.html

<ion-header>

  <ion-navbar>

    <ion-title>Parent</ion-title>

  </ion-navbar>

</ion-header>

<ion-content padding>

  <h1>parent: {{i}}</h1>

  <page-child></page-child>

</ion-content>
child.ts
import { Component, Input, EventEmitter, Output,Host,Inject,forwardRef } from '@angular/core';

import{ParentPage} from '../parent/parent';

@Component({

  selector: 'page-child',

  templateUrl: 'child.html',

})

export class ChildPage {

    constructor( @Host() @Inject(forwardRef(() => ParentPage)) app: ParentPage) {

        setInterval(() => {

            app.i++;

        }, );

    }

}
child.html

<ion-content padding>

 child

</ion-content>
结果:

4.父获得子实例
parent.ts
import {ViewChild, Component } from '@angular/core';

import{ChildPage}from '../child/child';

@Component({

  selector: 'page-parent',

  templateUrl: 'parent.html',

})

export class ParentPage {

  @ViewChild(ChildPage) child:ChildPage;

    ngAfterViewInit() {

        setInterval(()=> {

            this.child.i++;

        }, )

    }

}
parent.html

<ion-header>

  <ion-navbar>

    <ion-title>Parent</ion-title>

  </ion-navbar>

</ion-header>

<ion-content padding>

  <h1>parent {{i}}</h1>

  <page-child></page-child>

</ion-content>
child.ts
import { Component, Input, EventEmitter, Output,Host,Inject,forwardRef } from '@angular/core';

@Component({

  selector: 'page-child',

  templateUrl: 'child.html',

})

export class ChildPage {

    i:number = ;

}
child.html

<ion-content padding>

<h2>child {{i}}</h2>

</ion-content>
结果:

5.service
parent.ts
import { Component } from '@angular/core';

import{myService}from '../child/myService'

@Component({

  selector: 'page-parent',

  templateUrl: 'parent.html',

})

export class ParentPage {
   constructor(service:myService) {

        setInterval(()=> {

            service.i++;

        }, )

    }

}
parent.html

<ion-header>

  <ion-navbar>

    <ion-title>Parent</ion-title>

  </ion-navbar>

</ion-header>

<ion-content padding>

   <h1>parent {{i}}</h1>

   <page-child></page-child>

</ion-content>
child.ts
import { Component} from '@angular/core';

import{myService}from "../child/myService"

@Component({

  selector: 'page-child',

  templateUrl: 'child.html',

})

export class ChildPage {

    constructor(public service:myService){

    }

}
child.html

<ion-content padding>

<h2>child {{service.i}}</h2>

</ion-content>
myService.ts
ps:记得在app.module.ts 加上providers: [KmyService]
import{Injectable } from '@angular/core';

@Injectable()

export class KmyService {

    i:number = ;

}
结果:

6.EventEmitter
myService.ts
import {Component,Injectable,EventEmitter} from '@angular/core';

@Injectable()

export class myService {

    change: EventEmitter<number>;

    constructor(){

        this.change = new EventEmitter();

    }

}
parent.ts
import { Component } from '@angular/core';

import{myService}from '../child/myService'

@Component({

  selector: 'page-parent',

  templateUrl: 'parent.html',

})

export class ParentPage {

    i:number = ;

    constructor(service:myService) {

        setInterval(()=> {

            service.change.emit(++this.i);

        }, )

    }

}
parent.html

<ion-header>

  <ion-navbar>

    <ion-title>Parent</ion-title>

  </ion-navbar>

</ion-header>

<ion-content padding>

   <h1>parent {{i}}</h1>

   <page-child></page-child>

</ion-content>
child.ts
import { Component,  EventEmitter} from '@angular/core';

import{myService}from "../child/myService"

@Component({

  selector: 'page-child',

  templateUrl: 'child.html',

})

export class ChildPage {

    i:number = ;

    constructor(public service:myService){

        service.change.subscribe((value:number)=>{

            this.i = value;

        })

    }

}
child.html

<ion-content padding>

 <h2>child {{i}}</h2>

</ion-content>
结果:

7.订阅
parent.ts
import { Component } from '@angular/core';

import{myService}from '../child/myService'

@Component({

  selector: 'page-parent',

  templateUrl: 'parent.html',

})

export class ParentPage {

    i:number=;

    constructor(public service:myService) {

        setInterval(()=> {

             this.service.StatusMission(this.i++);

        }, )

    }

}
parent.html

<ion-header>

  <ion-navbar>

    <ion-title>Parent</ion-title>

  </ion-navbar>

</ion-header>

<ion-content padding>

   <h1>parent</h1>

   <page-child></page-child>

</ion-content>
child.ts
import { Component, Injectable } from '@angular/core'

import { myService } from "../child/myService"

import { Subscription } from 'rxjs/Subscription';

@Component({

    selector: 'page-child',

    templateUrl: 'child.html',

})

export class ChildPage {

    i:number=;

    subscription: Subscription;

    constructor(private Service: myService) {

        this.subscription = Service.Status$.subscribe(message => {

            this.i=message;

        });

    }

    ngOnDestroy() {

        this.subscription.unsubscribe();

    }

}
child.html

<ion-content padding>

  <h2>child {{i}}</h2>

</ion-content>
myService.ts
import { Injectable } from '@angular/core';

import { Subject } from 'rxjs/Subject';

@Injectable()

export class myService {

    private Source=new Subject<any>();

    Status$=this.Source.asObservable();

    StatusMission(message: any) {

        this.Source.next(message);

    }

}
结果:

以上七种组件与组件的通讯方式,可以选择应用于适合的场景里面,根据情况吧。
此随笔乃本人原创,如有疑问欢迎在下面评论,转载请标明出处。
如果对您有帮助请动动鼠标右下方给我来个赞,您的支持是我最大的动力。
Angular4 组件通讯方法大全的更多相关文章
- [转载]Angular4 组件通讯方法大全
组件通讯,意在不同的指令和组件之间共享信息.如何在两个多个组件之间共享信息呢. 最近在项目上,组件跟组件之间可能是父子关系,兄弟关系,爷孙关系都有.....我也找找了很多关于组件之间通讯的方法,不同的 ...
- vue组件通讯方法汇总(在不使用vuex的情况下)
前三种是父子组件通讯,最后一种是平级组件.
- angular4 组件通讯、生命周期
主要通讯形式 父组件通过属性绑定到子组件,子组件通过事件传递参数到父组件 父组件通过局部变量获取子组件的引用 父组件使用@ViewChild获取子组件的引用 两个不相关联的组件使用中间人模式交互 终极 ...
- Omi教程-组件通讯攻略大全
组件通讯 Omi框架组建间的通讯非常遍历灵活,因为有许多可选方案进行通讯: 通过在组件上声明 data-* 传递给子节点 通过在组件上声明 data 传递给子节点 (支持复杂数据类型的映射) 父容器设 ...
- Omi教程-组件通讯
组件通讯 Omi框架组建间的通讯非常遍历灵活,因为有许多可选方案进行通讯: 通过在组件上声明 data-* 传递给子节点 通过在组件上声明 data 传递给子节点 父容器设置 childrenData ...
- 【Vue】Vue中的父子组件通讯以及使用sync同步父子组件数据
前言: 之前写过一篇文章<在不同场景下Vue组件间的数据交流>,但现在来看,其中关于“父子组件通信”的介绍仍有诸多缺漏或者不当之处, 正好这几天学习了关于用sync修饰符做父子组件数据双向 ...
- ng组件通讯的几种方式
通过输入型绑定把数据从父组件传到子组件. 如<app-hero-child *ngFor="let hero of heroes" [hero]="hero&qu ...
- Omi框架学习之旅 - 通过对象实例来实现组件通讯 及原理说明
组件通讯不是讲完了吗(上帝模式还没讲哈),怎么又多了种方式啊. 你484傻,多一种选择不好吗? 其实这个不属于组件通讯啦,只是当父组件实例安装和渲染完毕后,可以执行installed这个方法(默认是空 ...
- angular2组件通讯的几种方式
最近刚刚接触angular2,对ng2也是一知半解,如有说得不对的地方欢迎指出,欢迎加q共同探讨学习991085978: 1.通过输入型绑定把数据从父组件传到子组件 HeroChildComponen ...
随机推荐
- 深入探索C++对象模型(六)
执行期语意学(Runtime Semantics) 对象的构造和析构(Object Constructor and Destructor) 一般而言,constructor和destructor的安插 ...
- python通过excel对数据库插入数据
1.需要有两个包文件xlrd及MySQLdb(其他数据库可以另外找) 2.读取excel文件信息 book = xlrd.open_workbook(文件地址) 3.建立MySQL链接 databas ...
- Jquery操作Table
Jquery 操作 Html Table 是很方便的,这里对表格的基本操作进行一下简单的总结. 首先建立一个通用的表格css 和一个 表格Table: table { border-collapse: ...
- Android之使用JAVA占位符格式数据(很实用)
小编虽然是学java出生,但工作之后就一直从事android开发,很多java基础都忘记完了,最近一年从ES换到了AS,原来的很多习惯都收到了挑战,比如我喜欢ES写方法的时候先在JAVA projec ...
- 【iOS】UIDynamicAnimator动画
创建动画 UIDynamicAnimator *animator = [[UIDynamicAnimator alloc] initWithReferenceView:self.view]; 协议代理 ...
- Docker Machine 简介
Docker Machine 是什么? Docker Machine 是 Docker 官方提供的一个工具,它可以帮助我们在远程的机器上安装 Docker,或者在虚拟机 host 上直接安装虚拟机并在 ...
- 【知识整理】这可能是最好的RxJava 2.x 入门教程(二)
这可能是最好的RxJava 2.x入门教程系列专栏 文章链接: 这可能是最好的RxJava 2.x 入门教程(一) GitHub 代码同步更新:https://github.com/nanchen22 ...
- Kotlin基本语法和使用
Kotlin 是一个基于 JVM 的新的编程语言,由 JetBrains 开发.与Java相比,Kotlin的语法更简洁.更具表达性,而且提供了更多的特性. Kotlin是使用Java开发者的思维被创 ...
- PHP按值合并数组
/** * PHP按值合并数组 * */ function my_array_merge(&$array1, &$array2) { $result = Array(); foreac ...
- Java注解--实现动态数据源切换
当一个项目中有多个数据源(也可以是主从库)的时候,我们可以利用注解在mapper接口上标注数据源,从而来实现多个数据源在运行时的动态切换. 实现原理 在Spring 2.0.1中引入了Abstract ...
