Jenkins系列之三——centos7.4+GitLab+Jenkins部署
GitLab介绍
[root@hejianlai-jenkins ~]# cat /etc/redhat-release

CentOS Linux release 7.4.1708 (Core)

[root@hejianlai-jenkins ~]# uname -r

3.10.0-693.el7.x86_64
[root@hejianlai-jenkins ~]# systemctl stop firewalld

[root@hejianlai-jenkins ~]# systemctl stop NetWorkManager
[root@hejianlai-jenkins ~]# systemctl disable firewalld

[root@hejianlai-jenkins ~]# systemctl disable NetWorkManager
[root@hejianlai-jenkins ~]# sed -i 's/SELINUX=enforcing/SELINUX=disabled/g' /etc/selinux/config

[root@hejianlai-jenkins ~]# setenforce 0
[root@hejianlai-jenkins ~]#mv /etc/yum.repos.d/CentOS-Base.repo /etc/yum.repos.d/CentOS-Base.repo.backup

[root@hejianlai-jenkins ~]#wget -O /etc/yum.repos.d/CentOS-Base.repo http://mirrors.aliyun.com/repo/Centos-7.repo

[root@hejianlai-jenkins ~]#wget -O /etc/yum.repos.d/epel.repo http://mirrors.aliyun.com/repo/epel-7.repo
#yum源更新,重启系统
[root@hejianlai-jenkins ~]# yum update && reboot
[root@hejianlai-jenkins ~]yum install curl policycoreutils openssh-server openssh-clients postfix -y

[root@hejianlai-jenkins ~]systemctl start postfix
[root@hejianlai-jenkins ~]# vim /etc/yum.repos.d/gitlab-ce.repo

[gitlab-ce]

name=gitlab-ce

baseurl=http://mirrors.tuna.tsinghua.edu.cn/gitlab-ce/yum/el7

repo_gpgcheck=0

gpgcheck=0

enabled=1

gpgkey=https://packages.gitlab.com/gpg.key

[root@hejianlai-jenkins ~]# yum makecache

[root@hejianlai-jenkins ~]# yum install -y gitlab-ce
[root@hejianlai-jenkins ~]# yum install git -y
[root@hejianlai-jenkins ~]# gitlab-ctl reconfigure
启动:gitlib-ctl start

关闭:gitlab-ctl stop

重启:gitlab-ctl restart

重载配置:gitlab-ctl reconfigure

查看状态:gitlab-ctl status
[root@hejianlai-jenkins ~]# lsof -i:80

COMMAND PID       USER   FD   TYPE DEVICE SIZE/OFF NODE NAME

nginx   700       root    7u  IPv4  16903      0t0  TCP *:http (LISTEN)

nginx   804 gitlab-www    7u  IPv4  16903      0t0  TCP *:http (LISTEN)
#gitlab配置文件路径
/etc/gitlab/gitlab.rb
浏览器登录gitlab,输入http://ip进入下图:
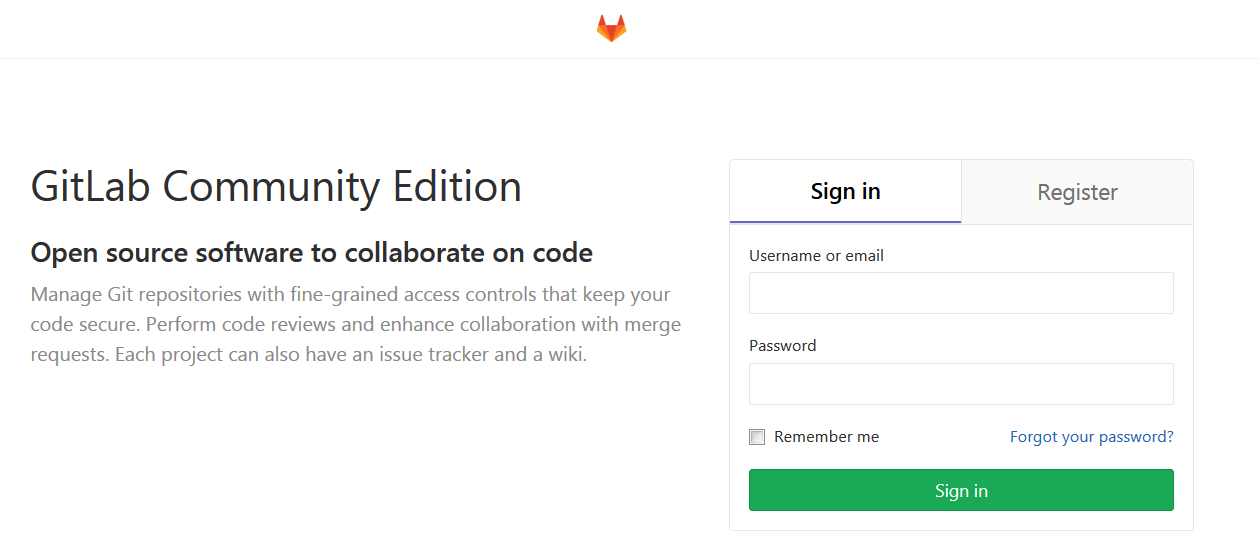
先输入密码,然后Register填写账户信息进入新建项目
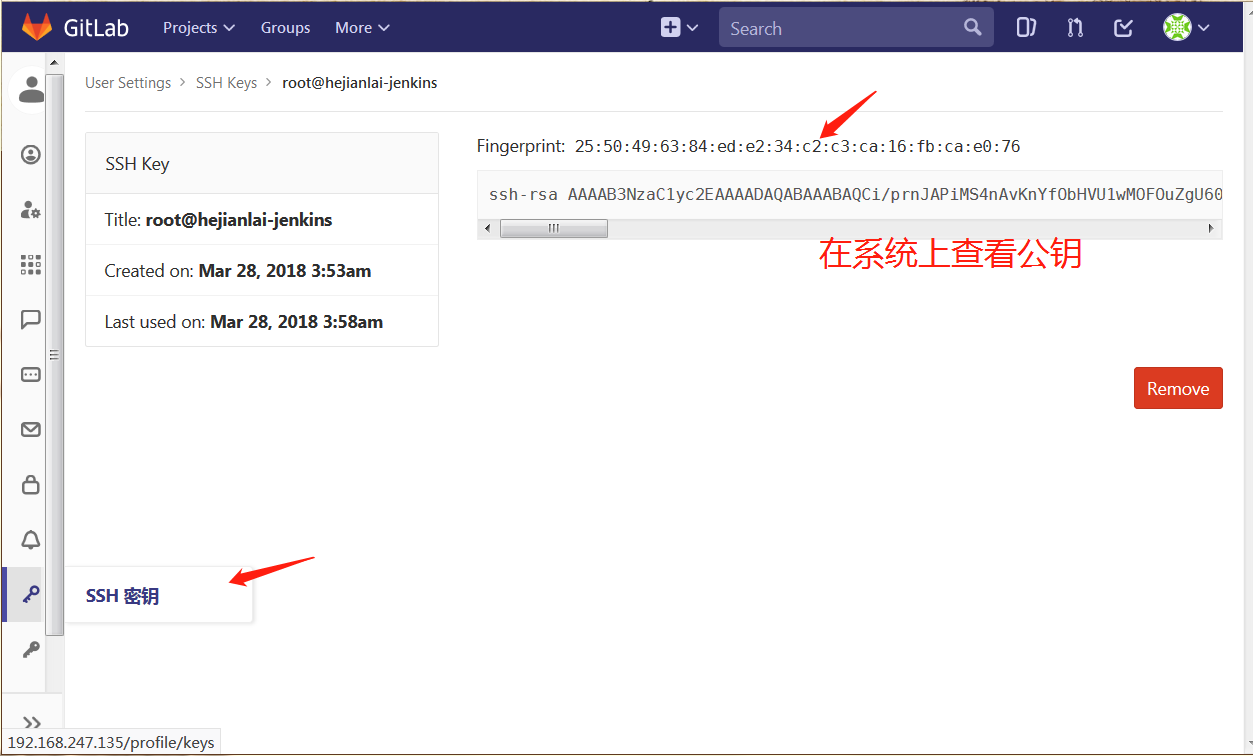
填写ssh认证
测试拉取代码
[root@hejianlai-jenkins ~]# git clone git@hejianlai-jenkins:web/web-demo.git

Cloning into 'web-demo'...

remote: Counting objects: 6, done.

remote: Compressing objects: 100% (3/3), done.

remote: Total 6 (delta 0), reused 0 (delta 0)

Receiving objects: 100% (6/6), done.

[root@hejianlai-jenkins ~]# ls

anaconda-ks.cfg  epel-release-latest-7.noarch.rpm  web-demo

[root@hejianlai-jenkins ~]# ls web-demo/

index.html  README.md
上传代码
[root@hejianlai-jenkins web-demo]# echo "test" >>test.txt

[root@hejianlai-jenkins web-demo]# git config --global user.email "you@example.com"

[root@hejianlai-jenkins web-demo]# git config --global user.name "Your Name"

[root@hejianlai-jenkins web-demo]# git add *

[root@hejianlai-jenkins web-demo]# git commit -m "add test.txt"

[master 5df66f7] add test.txt

 1 file changed, 1 insertion(+)

 create mode 100644 test.txt

[root@hejianlai-jenkins web-demo]# git push

warning: push.default is unset; its implicit value is changing in

Git 2.0 from 'matching' to 'simple'. To squelch this message

and maintain the current behavior after the default changes, use:

  git config --global push.default matching

To squelch this message and adopt the new behavior now, use:

  git config --global push.default simple

See 'git help config' and search for 'push.default' for further information.

(the 'simple' mode was introduced in Git 1.7.11. Use the similar mode

'current' instead of 'simple' if you sometimes use older versions of Git)

Counting objects: 4, done.

Delta compression using up to 2 threads.

Compressing objects: 100% (2/2), done.

Writing objects: 100% (3/3), 314 bytes | 0 bytes/s, done.

Total 3 (delta 0), reused 0 (delta 0)

To git@hejianlai-jenkins:web/web-demo.git

   18a57cf..5df66f7  master -> master
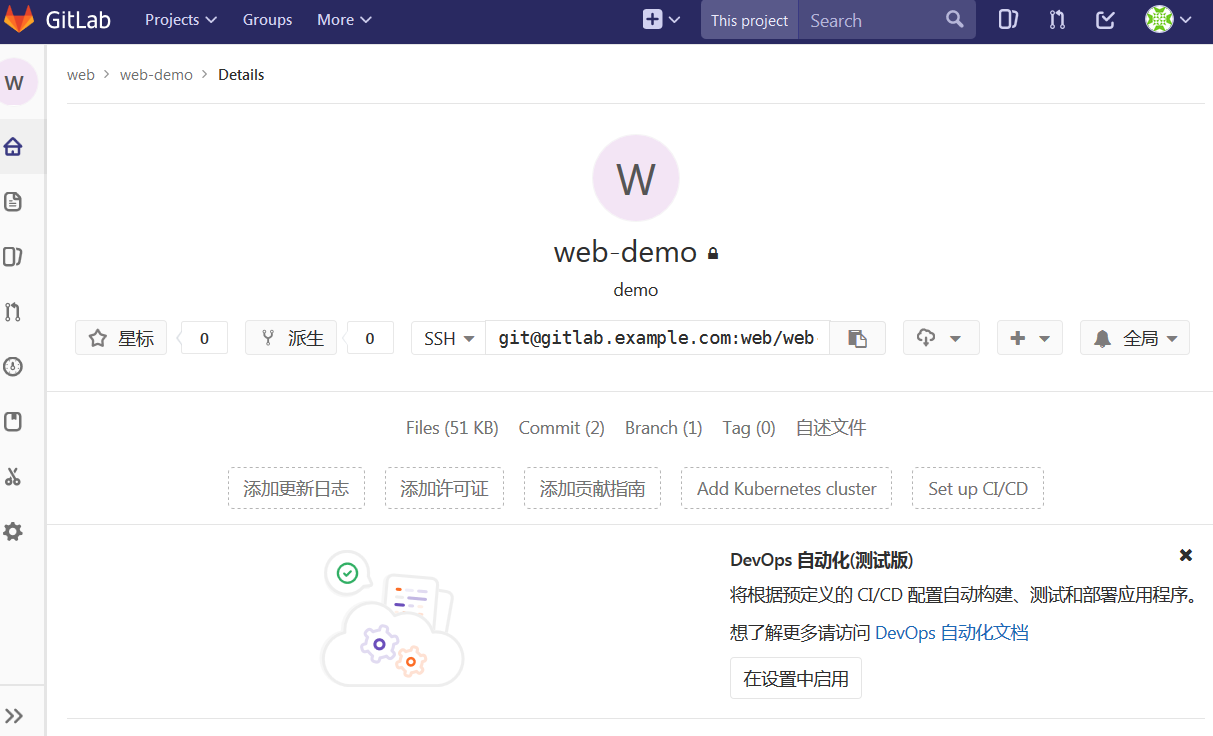
GitLab上查看: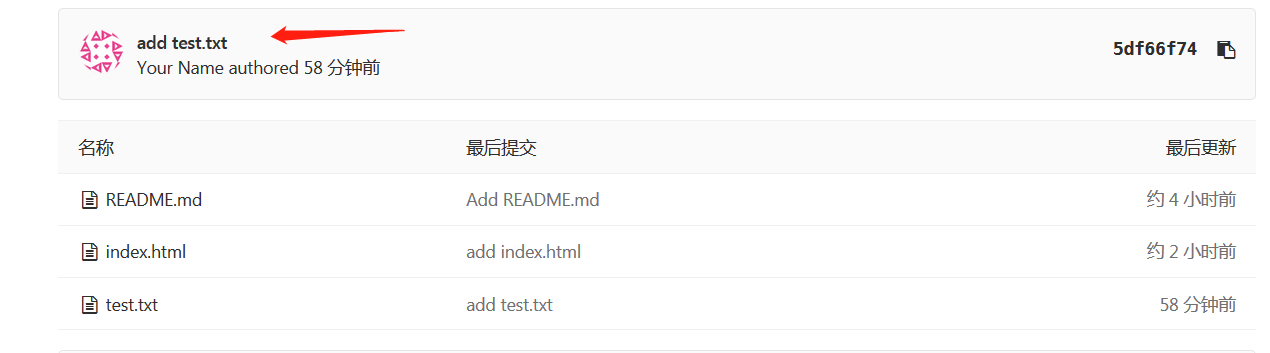
#安装JenKins
[root@hejianlai-jenkins web-demo]# sudo wget -O /etc/yum.repos.d/jenkins.repo https://pkg.jenkins.io/redhat-stable/jenkins.repo

[root@hejianlai-jenkins web-demo]# sudo rpm --import https://pkg.jenkins.io/redhat-stable/jenkins.io.key

[root@hejianlai-jenkins web-demo]# yum install java jenkins –y

#JenKins默认端口为8080,因为gitlab已经占用我们需要更改。

[root@hejianlai-jenkins web-demo]# vim /etc/sysconfig/jenkins

JENKINS_PORT="8080"  ---> JENKINS_PORT="8081"
#启动JenKins
[root@hejianlai-jenkins web-demo]# /etc/init.d/jenkins start

Starting jenkins (via systemctl):                          [  OK  ]
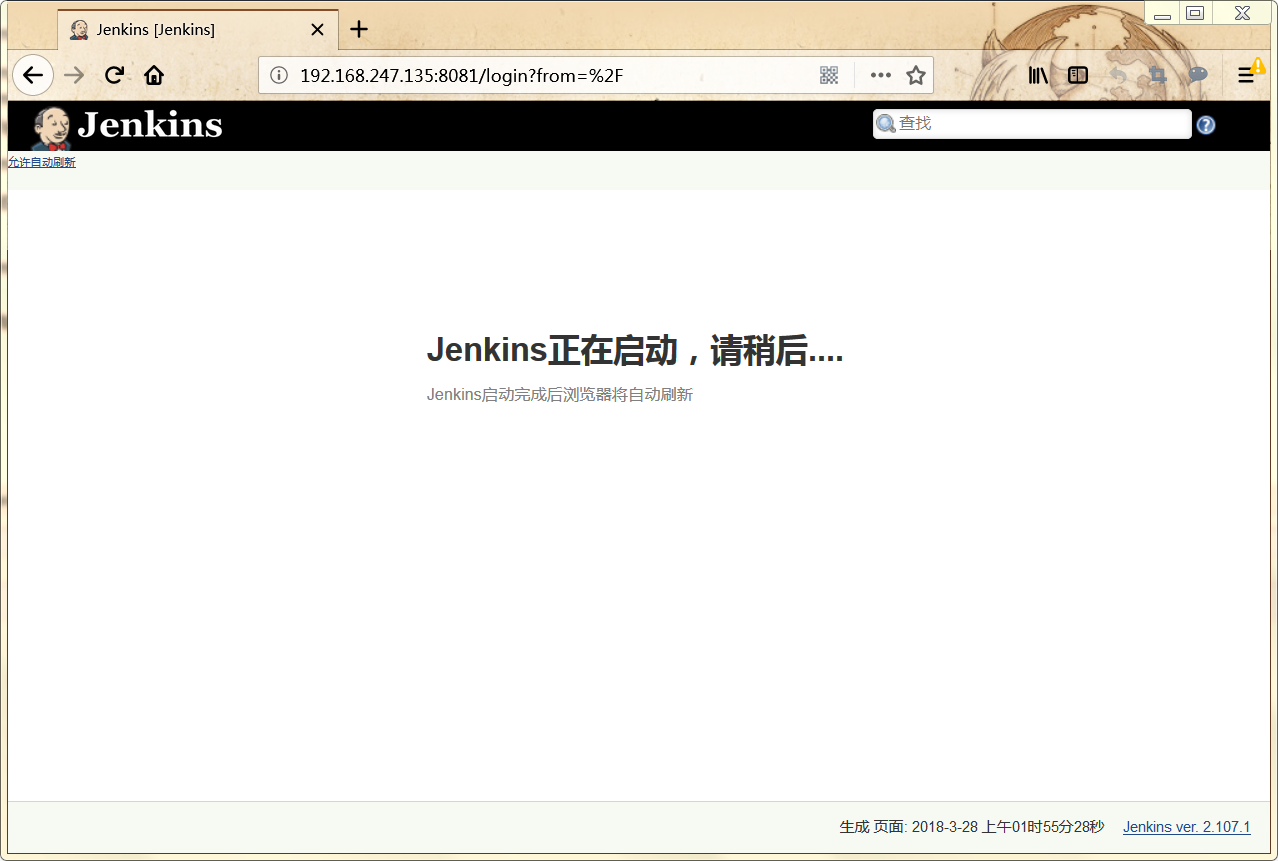
#浏览器登录JenKins,地址:http://192.168.247.135:8081/
正在启动;
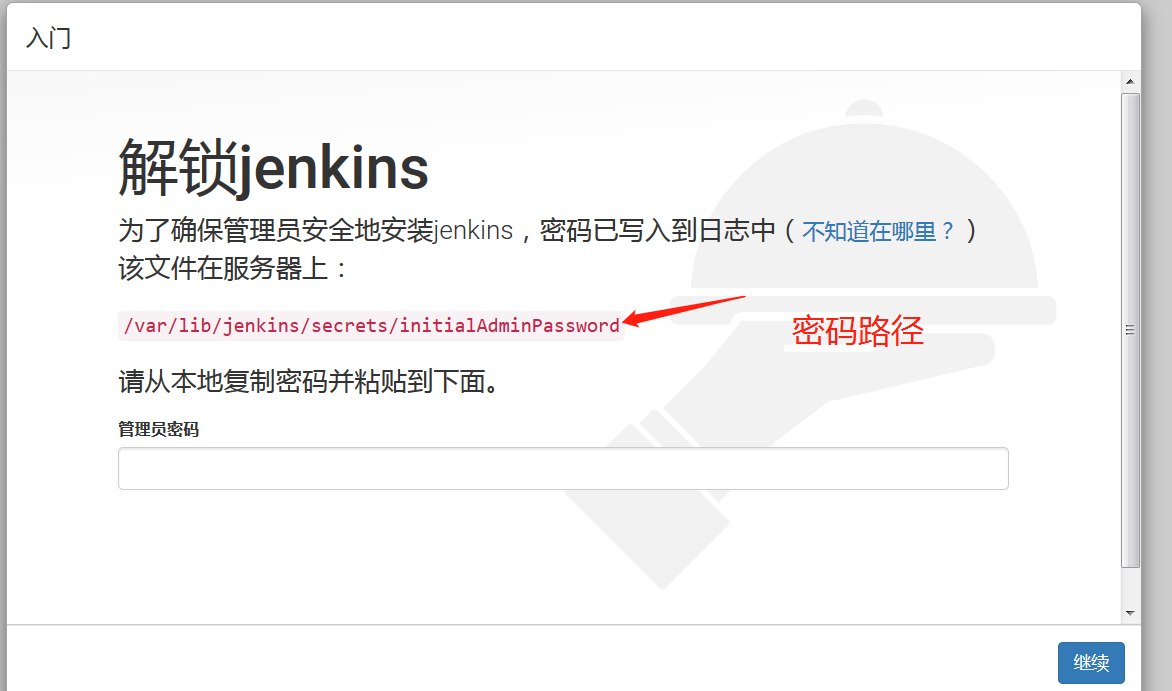
进入有个密码路径,系统上查看这个文件并把密码复制粘贴才能登录;

选择推荐安装;

创建一个管理员

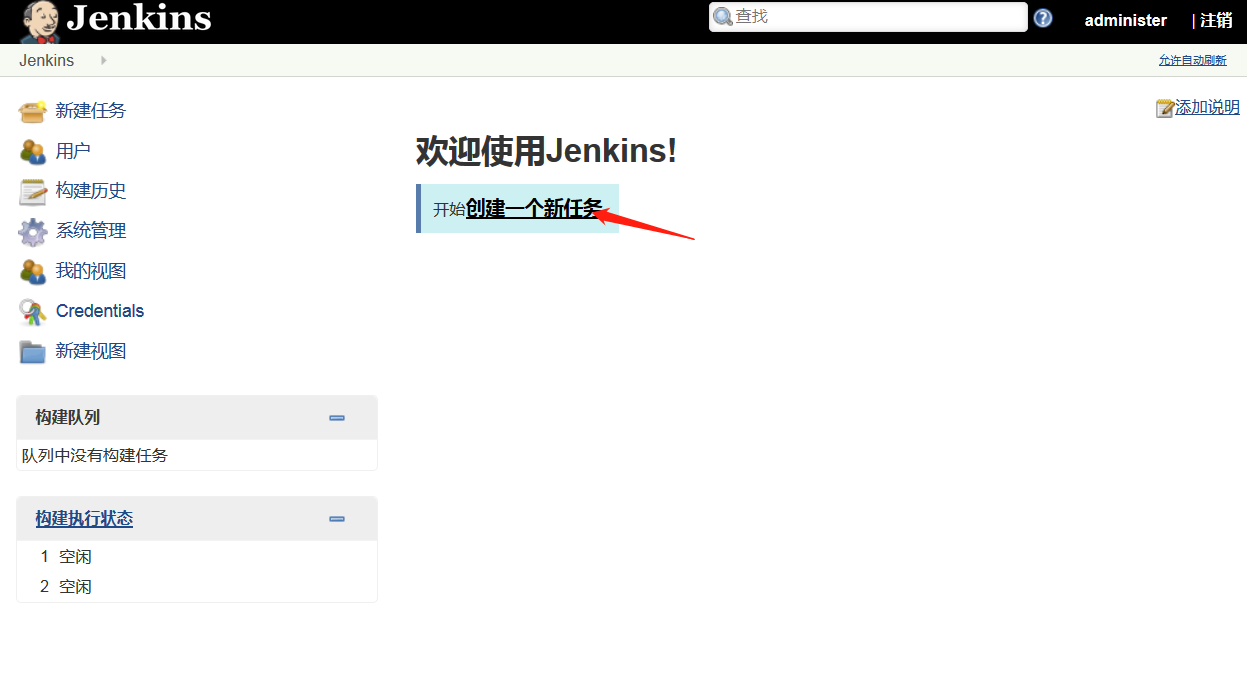
开始使用jenkins

下面实现持续集成
进入主页--创建一个新任务
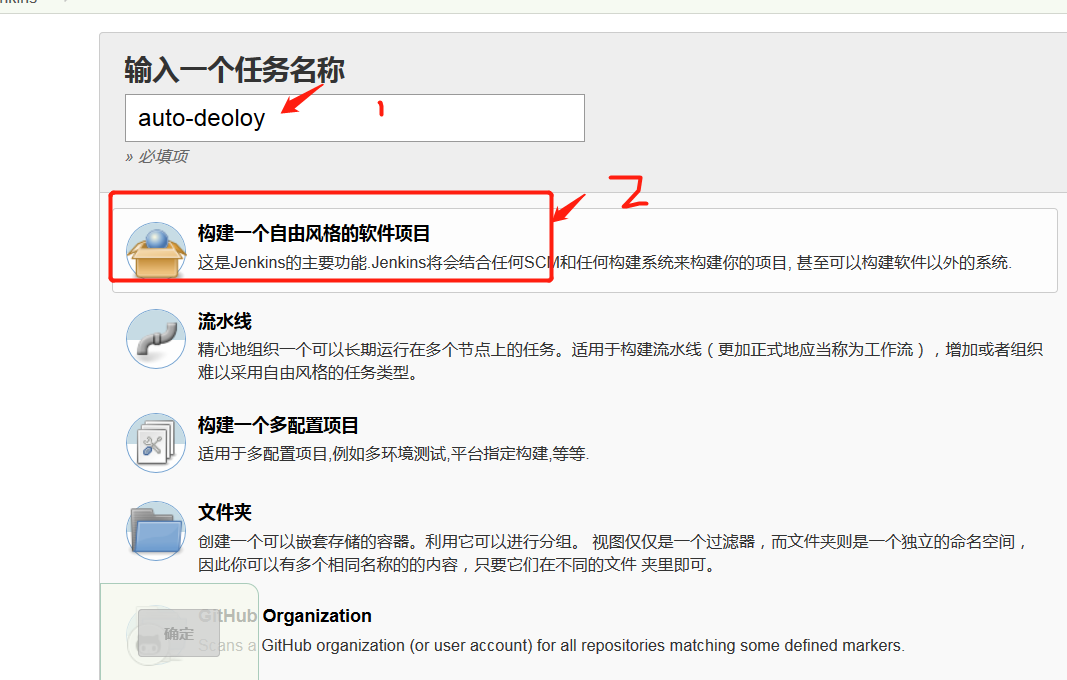
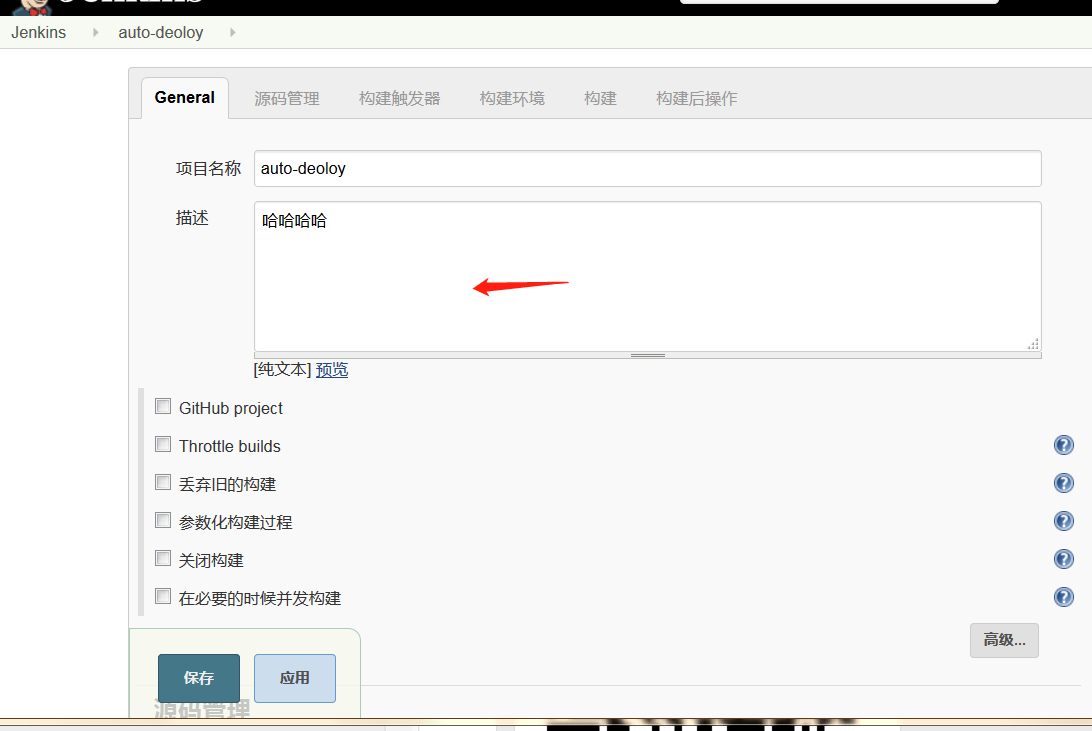
输入项目名称---构建一个自由风格的软件项目---确认
General--填写项目描述
源码管理--安装git插件--授权认证

ssh私钥认证我们在系统上查看粘贴进去即可。
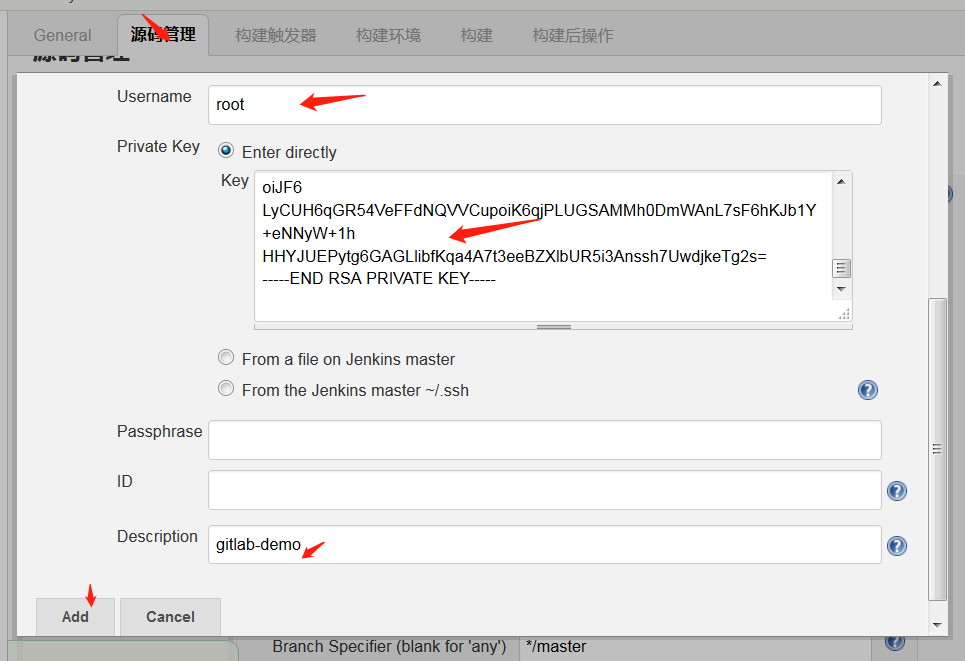

Credentials—选择root

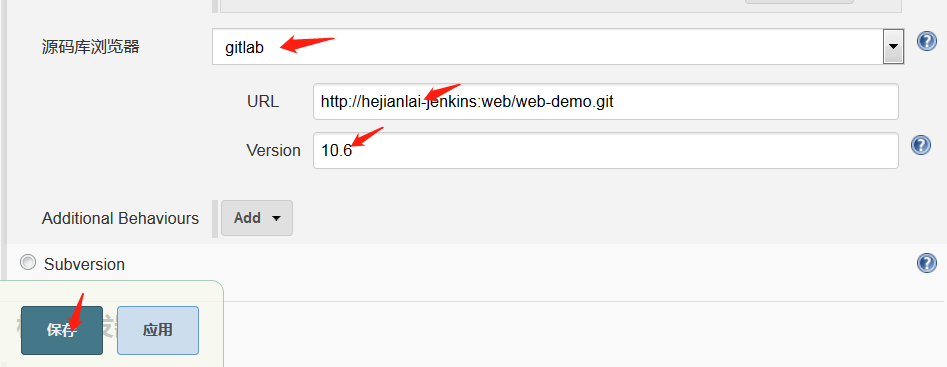
查看gitlab版本
[root@hejianlai-jenkins ~]# rpm -aq|grep gitlab

gitlab-ce-10.6.0-ce.0.el7.x86_64
点击立即构建
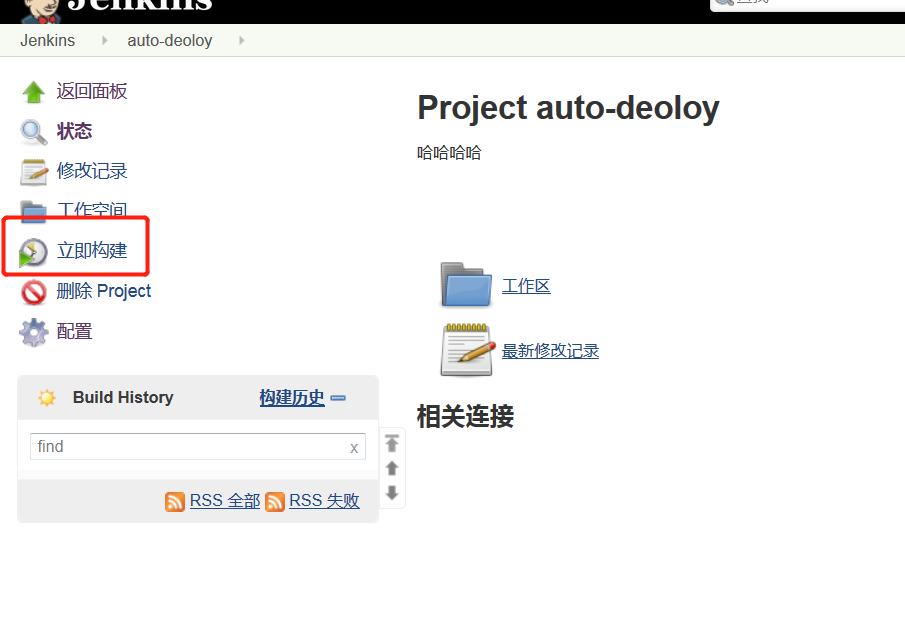
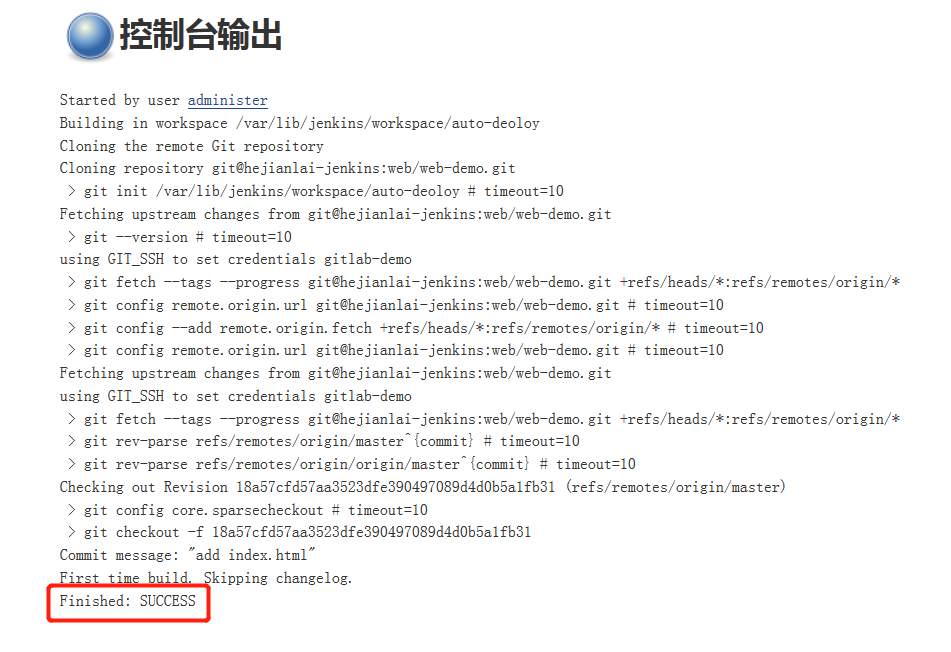
点击控制台输出查看
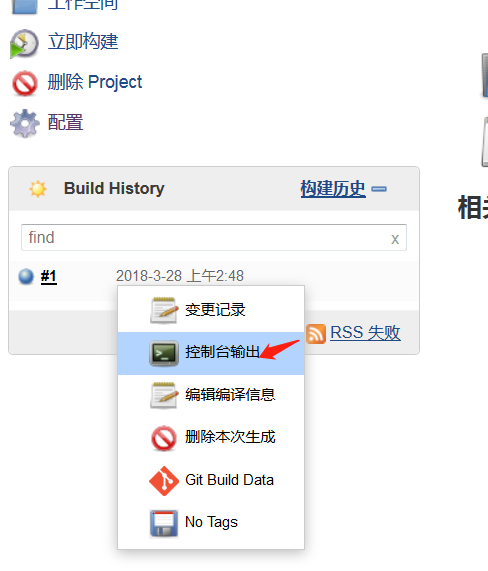
控制台输出,SUCCESS则构建成功
Jenkins系列之三——centos7.4+GitLab+Jenkins部署的更多相关文章
- SCCM 2012 R2实战系列之三:独立主站点部署
3.1 SCCM 2012 R2主站点的安装 SCCM 2012 R2跟以前的SCCM 2007不同的是多了一个管理中心站点的角色, 管理中心站点主要负责SCCM管理控制和报表查看. 主站点跟以往的S ...
- gitlab+jenkins+tomcat CI/CD 部署
整个项目的框架为: gitlab的安装与使用(Centos7) gitlab的安装 新建yum源 vim /etc/yum.repos.d/gitlab-ce.repo [gitlab-ce] nam ...
- .Net Core自动化部署系列(一):Jenkins + GitLab
项目进行微服化改造后系统发布就变得愈为重要,因为持续集成导致部署变得越来越频繁,人工部署带来的一些问题日渐凸显,大家可能都有被系统部署线问题困扰过的经历. 本篇我们将会使用Jenkins+Gitlab ...
- 【Gitlab+Jenkins+Ansible】构建自动化部署
说明: Gitlab.Jenkins.生产服务器.测试服务器上都需要安装Git. 一.安装Gitlab 1.主机配置 IP: 10.10.10.105 OS: CentOs7. Gitlab版本:gi ...
- 关于gitlab+jenkins自动部署代码的实现
本人PHP开发者,项目组大多是PHP,少量java项目. 因公司目前服务器和项目的管理比较混乱,与领导商量后,决定尝试 gitlab+jenkins自动化部署(之前用的svn FTP手动部署代码),解 ...
- devops持续集成,Centos7.6下gitlab+jenkins(pipeline)实现代码自动上线
持续集成 gitlab+jenkins(pipeline)实现代码自动上线 环境准备:Centos7.6版本ip:192.168.0.13 主机名:gitip:192.168.0.23 主机名:jen ...
- CentOS 7 Gitlab+Jenkins持续集成+自动化部署
基于上次的环境<部署Gitlab+Jenkins持续集成环境> 来实现自动化部署 系统管理–>插件管理–>安装以下插件: Credentials Plugin(默认已经安装) ...
- CentOS 7 部署Gitlab+Jenkins持续集成(CI)环境
持续集成概述及运行流程 : 持续集成概述 :持续集成(Continuous integration)持续集成是指开发者在代码的开发过程中 ,可以频繁的将代码部署集成到主干,并进行自动化测试 开发→代 ...
- Gitlab+Jenkins实现自动部署
Gitlab+Jenkins实现自动部署 系统环境: Gitlab主机 IP:192.168.1.2 Jenkins主机 IP:192.168.1.3 一.为何要做自动部署 #部署Tomcat的在 ...
随机推荐
- 深拷贝 浅拷贝 python
1. copy.copy 浅拷贝 只拷贝父对象,不会拷贝对象的内部的子对象. 2. copy.deepcopy 深拷贝 拷贝对象及其子对象 一个很好的例子: # -*-coding:utf-8 -*- ...
- jquery全国省市区三级联动插件distpicker
使用步骤: 1.引入js <script src="distpicker/jquery.min.js" type="text/javascript" ch ...
- FortiGate数据流分析 debug flow
1.工具说明 在防火墙部署中,经常会遇到防火墙接收到了数据包,但并未进行转发.可以通过diagnose debug flow 命令来对数据包的处理过程进行跟踪,可以清晰查看数据包再各个功能模块内的处理 ...
- Centos7下安装Docker[z]
[z]https://www.cnblogs.com/qgc1995/p/9553572.html https://yq.aliyun.com/articles/691610?spm=a2c4e.11 ...
- C#,如何程序使用正则表达式如何使用匹配的位置的结果修改匹配到的值
程序代码使用正则表达式如何修改匹配到的值: 代码一: using System; using System.Text.RegularExpressions; public class Example ...
- git 添加分支并与远程连接
今天由于项目需要,要改版,为了不影响当前网站,所以用分支来管理 首先,在本地添加分支dev git checkout -b dev 提交远程,让同事拉取这个分支,我是直接push了,推到远程. 同事在 ...
- 用TSQL从sqlserve 发布订阅链中删除一张或几张表
一个简单的存储过程,用来实现从一个SQLSERVE 发布订阅链中删除一张或几张表. /* 1.停日志读取代理 2.exec usp_从复制订阅中删除表 'dbtestPub','test1' 3.开日 ...
- 设计模式之模板模式 template
设计模式 模板模式如果有一个流程如下step1();step2();step3();step4();step5();其中step3() step5()是需要用户自己编写使用其他步骤是固定的那么可以写成 ...
- 学习blinker
from blinker import signal do_sth = signal('do_sth') #创建信号 def process(f, a, b, **kwargs): f(a, b, * ...
- python抢火车票 短信通知
# -*- coding: utf-8 -*- from splinter.browser import Browser from time import sleep import traceback ...