Windows下 C++ WT +VS2013配置
引出
最近在学习使用C++,另外对建站有点兴趣,所以就找到了WT。对于WT的详细介绍,这里不讲,直接看官网就好。
此文为本人原创,转载请注明出处。
先丢出官网上的干货:
- WT官方网站: https://www.webtoolkit.eu/wt/
- WT的下载页面: https://www.webtoolkit.eu/wt/download
安装
本文主要是讲Windows下如何安装配WT。
对于Windows,WT有一个已经都整理好的安装包,方便我们使用。
Windows WT (3.3.6)下载地址: https://github.com/kdeforche/wt/releases
注意:这里一定要选择清楚,自己的是什么版本的VS,还有应该选择什么版本的WT 是x86 or x64。
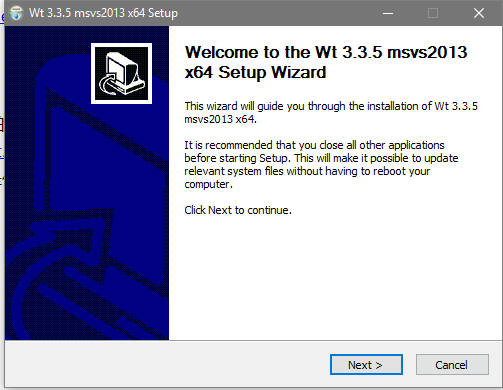
这里作者的电脑是VS2013,选择X64版本。下载好之后,打开,直接安装:
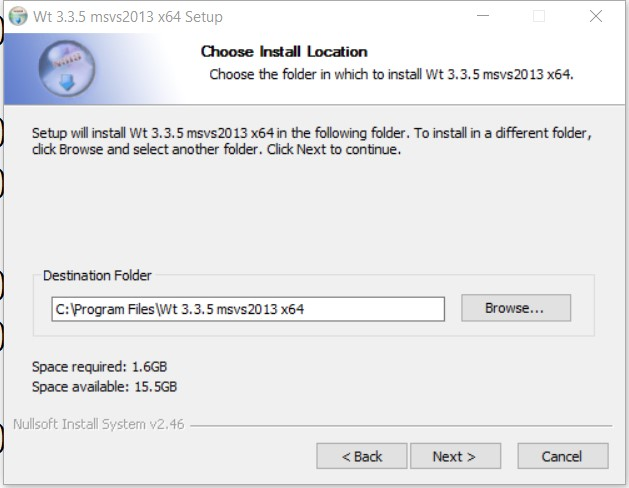
选好自己的安装路径:
安装完之后,就算已经是安装好了WT了。然后就要进行配置
配置
首先打开VS,新建一个空的工程
然后右键工程属性,开始配置

开始配置:
以下引用配置原文:
```
To compile your own application using these binary releases, set the following properties in your MSVS project:
1. In C/C++ -> General, Additional Include Directories: c:/location/of/wt-x.y.z/
2. In C/C++ -> Preprocessor, ensure that WIN32 is defined. Also define HPDF_DLL, which will allow you to generate pdf
3. In Linker->General, Additional Library Directories: c:/location/of/wt-3.3.1/
4. Go to Linker->Input. In the Additional Dependencies, fill out the Wt libraries you want to link to. At the topleft of the dialog, check the active Configuration. If it's Debug, link to wtd.lib, wthttpd.lib (and optionally wtdbod.lib, wtdbobackendXXXd.lib, ...). If it's release, link to wt.lib, wthttp.lib (and optionally wtdbo.lib, wtdbobackendXXX.lib). Notice that the debug libraries have a 'd' suffix. Be carefull. You need different libraries depending on the Release/Debug configuration, since it's not possible to mix different versions of the MSVC runtime libraries in one
5. If you want to run your fresh application, set these
In the Debugging tab, set Command Arguments to --docroot . --http-address 0.0.0.0 --http-port
In the Debugging tab, set Environment to PATH=c:/location/of/wt-x.y.z/
Pasted from: http://redmine.emweb.be/projects/wt/wiki/Installing_Wt_on_MS_Windows#The-Easy-Method
```
1. 配置**附加包含目录**:
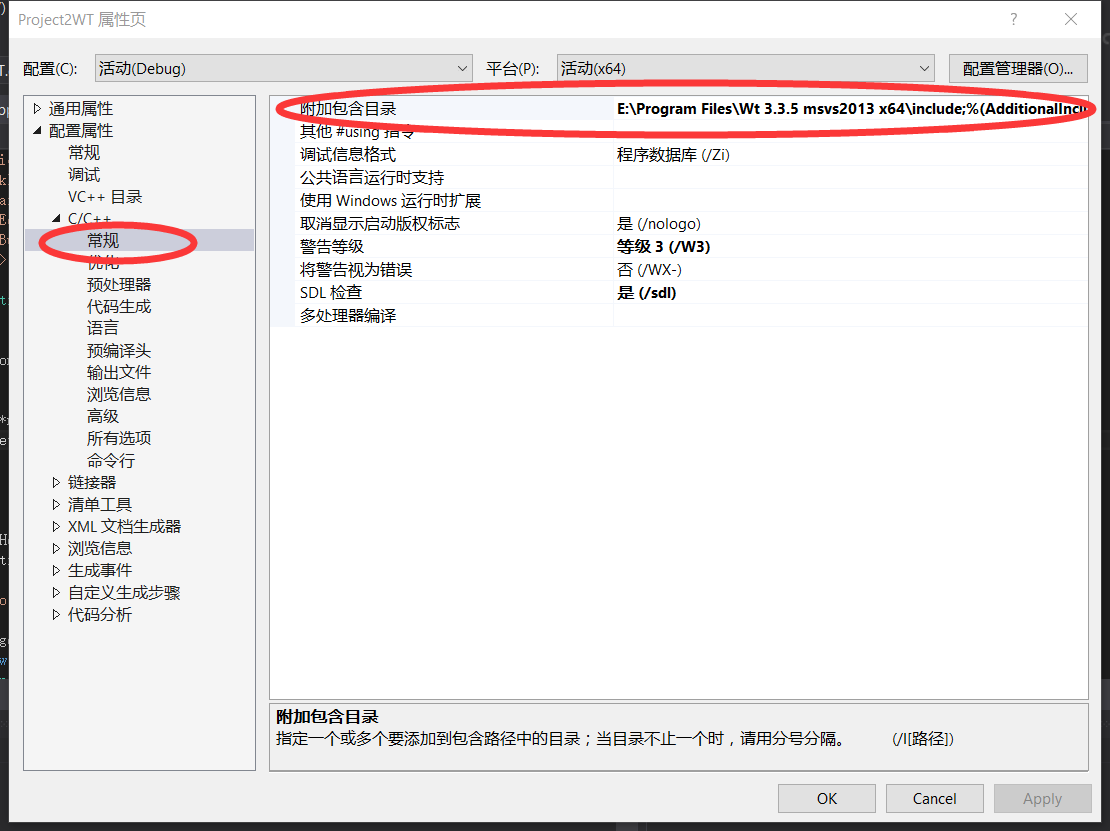
配置为所安装的 `c:/location/of/wt-x.y.z/include`,即include文件夹
2. 配置**预编译器定义**
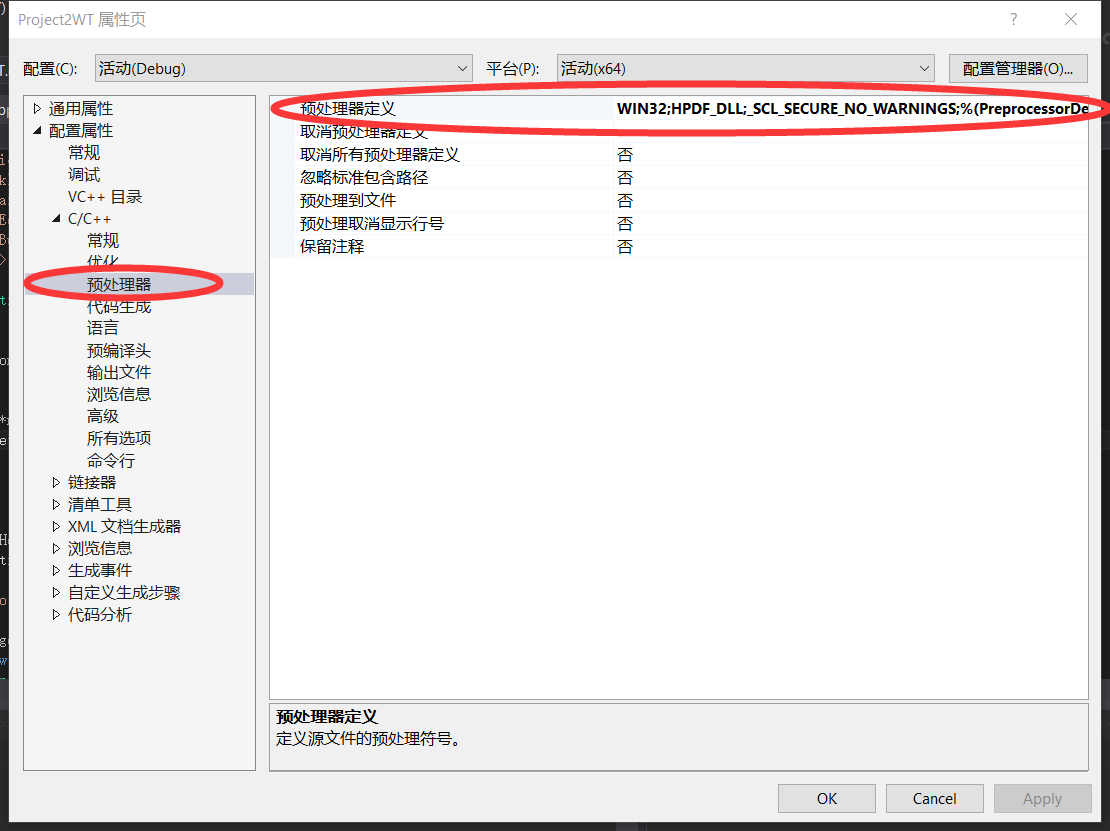
配置内容为:
WIN32;
HPDF_DLL;
_SCL_SECURE_NO_WARNINGS;
这三个宏。
**注意**:最后一个宏,是为了编译的时候不出错,所以也要包含进去。
3. 配置**附加库目录**
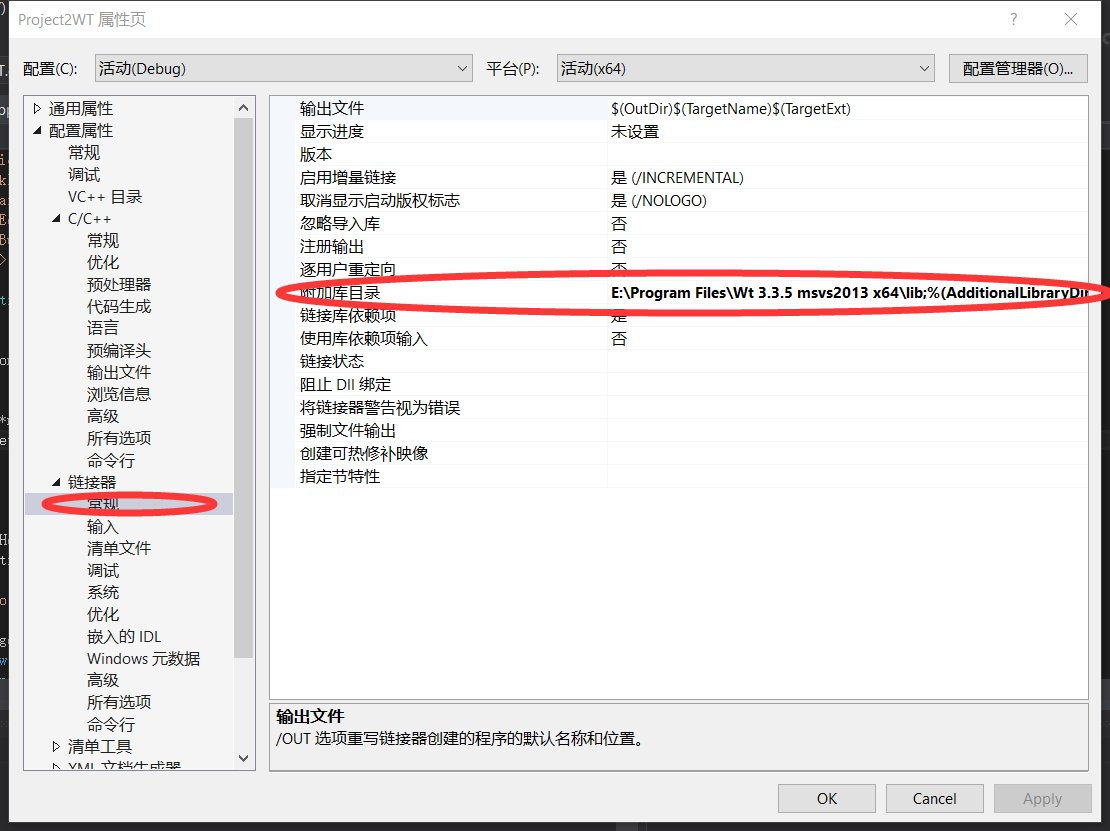
配置为:` c:/location/of/wt-3.3.1/lib`,也就是安装目录的lib文件夹。
4. 配置**附加依赖项**
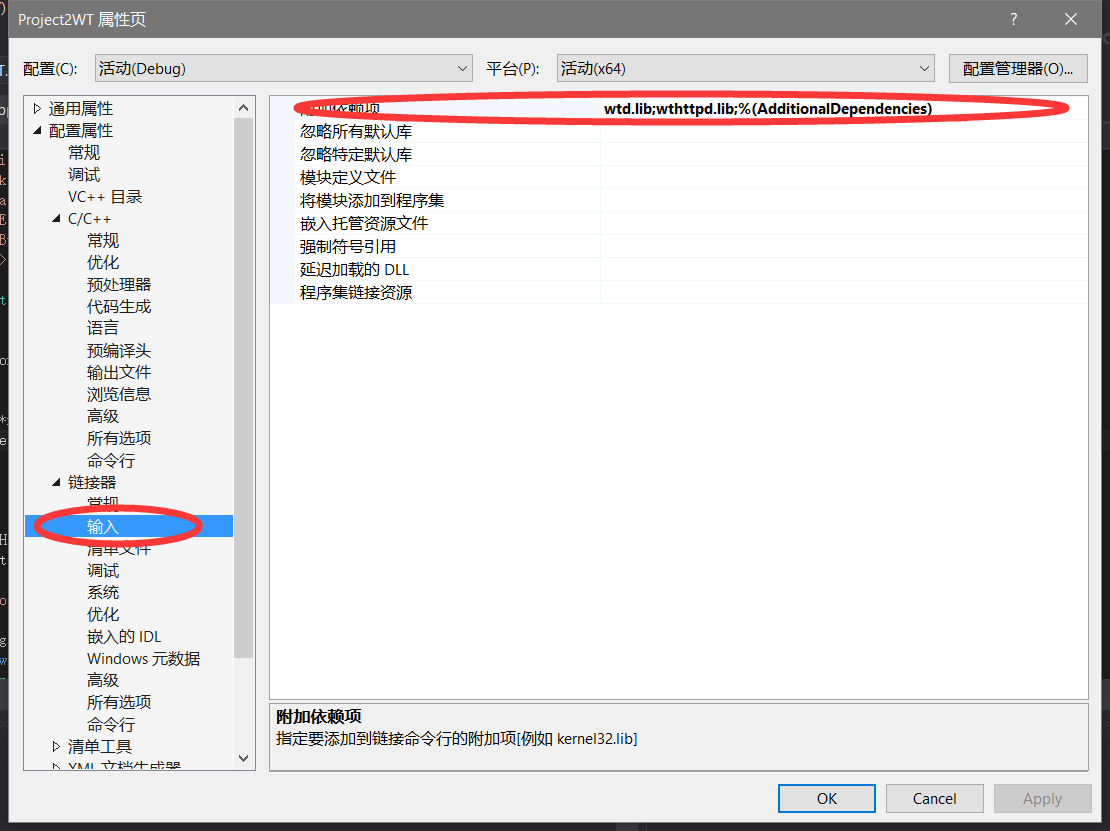
配置为:添加所要用到的lib的名字。
- 通常,如果是DEBUG的话,就要增加wtd.lib, wthttpd.lib (and optionally wtdbod.lib, wtdbobackendXXXd.lib, ...).
- 如果是RELEASE的话,就要增加wt.lib, wthttp.lib (and optionally wtdbo.lib, wtdbobackendXXX.lib).
DEBUG和RELEASE的库的名字,就缺少一个d。
4. 最后,还要配置调试命令行。
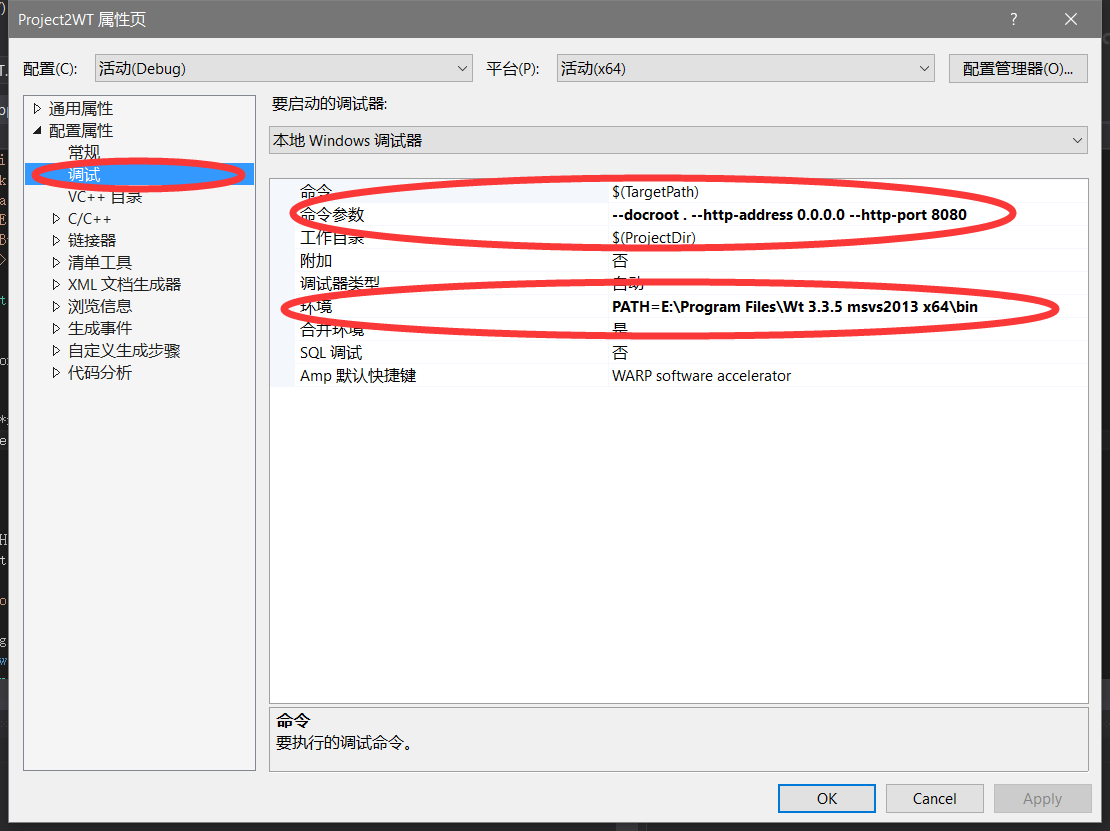
分别配置为--docroot . --http-address 0.0.0.0 --http-port 8080
PATH=c:/location/of/wt-x.y.z/bin
测试并运行
安装和配置好之后,终于可以测试一下了,下面我们选择了一个简单的小程序:
#include <Wt/WApplication>

#include <Wt/WBreak>

#include <Wt/WContainerWidget>

#include <Wt/WLineEdit>

#include <Wt/WPushButton>

#include <Wt/WText>

class HelloApplication : public Wt::WApplication

{

public:

    HelloApplication(const Wt::WEnvironment& env);

private:

    Wt::WLineEdit *nameEdit_;

    Wt::WText *greeting_;

    void greet();

};

HelloApplication::HelloApplication(const Wt::WEnvironment& env)

    : Wt::WApplication(env)

{

    setTitle("Hello world");

    root()->addWidget(new Wt::WText("Your name, please ? "));

    nameEdit_ = new Wt::WLineEdit(root());

    Wt::WPushButton *button = new Wt::WPushButton("Greet me.", root());

    root()->addWidget(new Wt::WBreak());

    greeting_ = new Wt::WText(root());

    button->clicked().connect(this, &HelloApplication::greet);

}

void HelloApplication::greet()

{

    greeting_->setText("Hello there, " + nameEdit_->text());

}

Wt::WApplication *createApplication(const Wt::WEnvironment& env)

{

    return new HelloApplication(env);

}

int main(int argc, char **argv)

{

    return Wt::WRun(argc, argv, &createApplication);

}
将程序赋值进入工程,就可以编译运行了,其中可能会有很多警告。但是还是能够正常运行
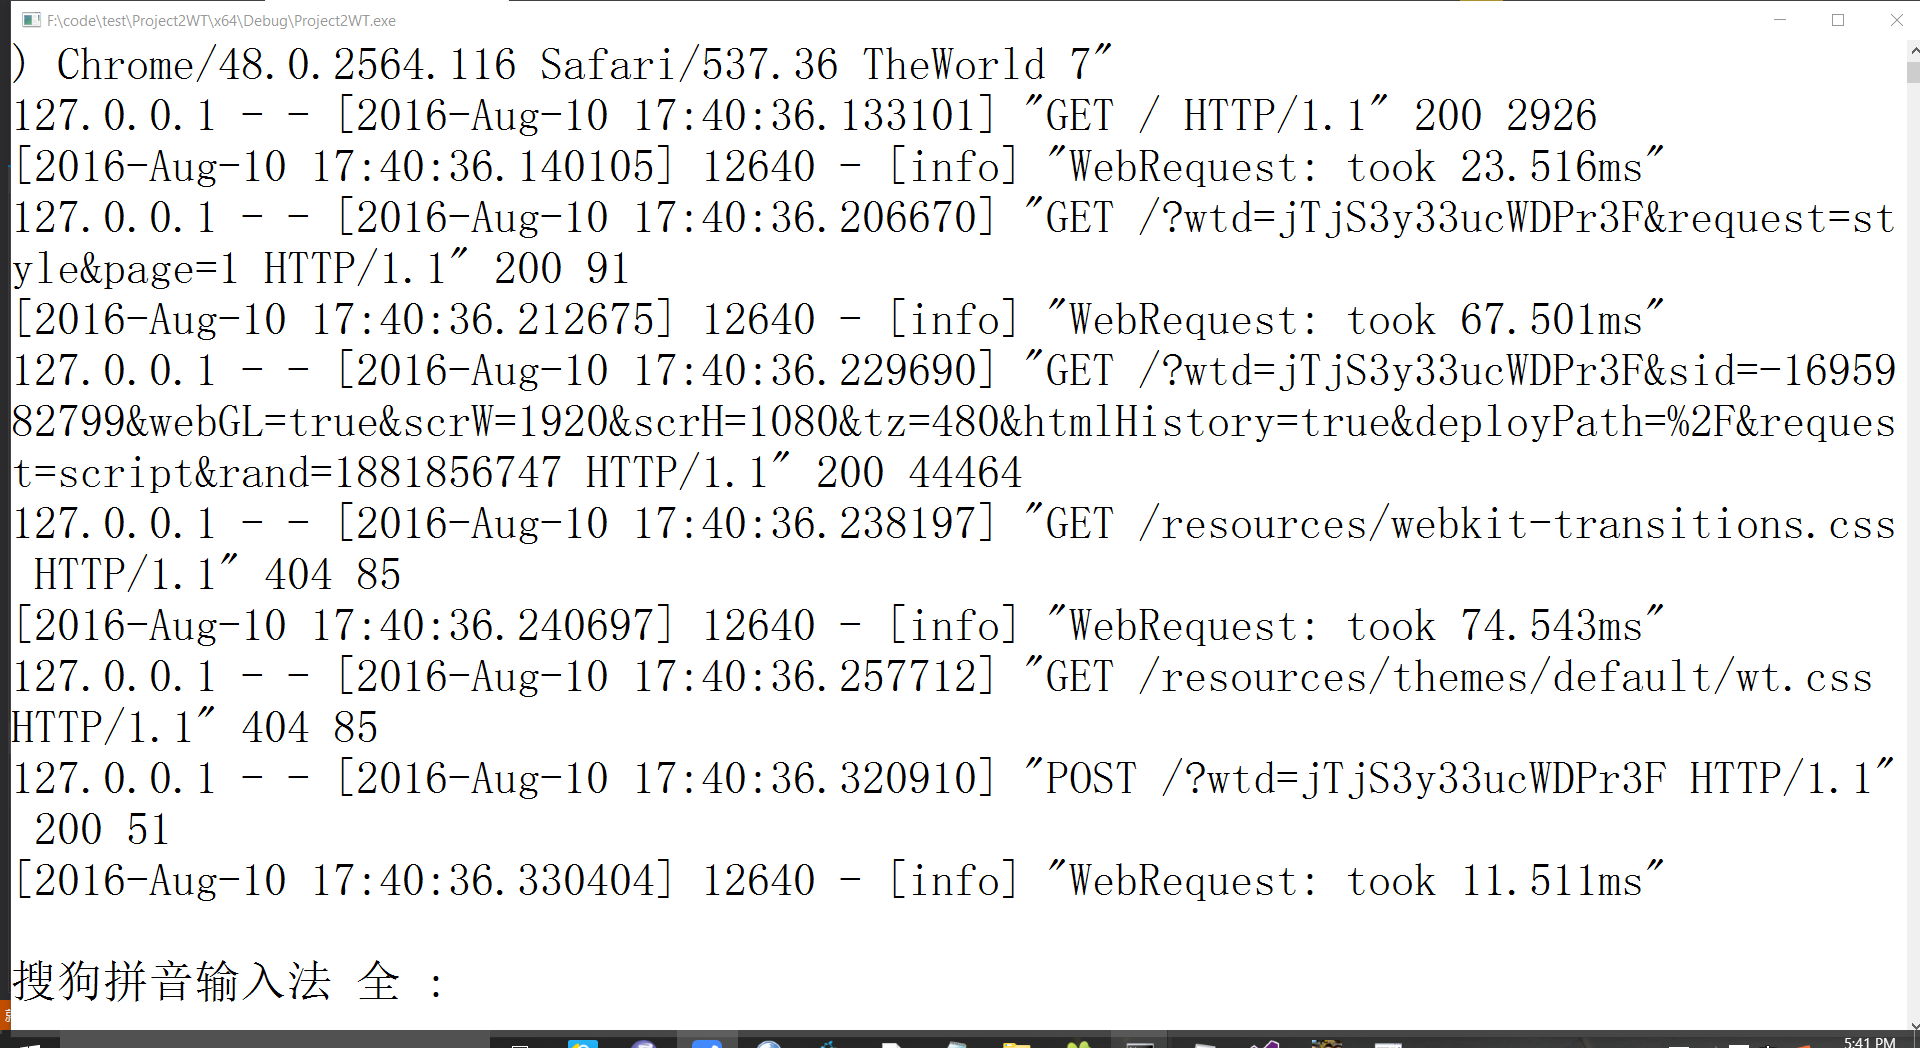
- 运行界面

表示服务器已经运行
- 通过环回地址登陆
在浏览器中输入localhost:8080然后登陆
可以看到程序所写的页面:

服务器后台方面也有反应:
结语
好啦,这就完成了我们的WT+VS2013配置。
Windows下 C++ WT +VS2013配置的更多相关文章
- Nginx + Tomcat Windows下的负载均衡配置
Nginx + Tomcat Windows下的负载均衡配置 一.为什么需要对Tomcat服务器做负载均衡? Tomcat服务器作为一个Web服务器,其并发数在300-500之间,如果超过50 ...
- Windows下pry安装和配置
Windows下pry安装和配置 pry是一个增强型的交互式命令行工具,比irb强大. 有自动完成功能,自动缩进,有颜色.有更强大的调试功能. pry 安装很简单. 在终端输入: gem instal ...
- 【Objective-C】Windows下Objective-C开发环境配置
[Objective-C]Windows下Objective-C开发环境配置 ftp://ftpmain.gnustep.org/pub/gnustep/binaries/windows/ 最近打 ...
- Windows下Apache+mod_python+Django配置
Windows下Apache+mod_python+Django配置 Apache 首先要安装Apache,我安装的版本是2.2.*: Python python肯定是要安装的,我安装的版本是2.5的 ...
- Mysql在windows下的免安装配置步骤和重新安装的步骤
windows下mysql免安装配置 1. 下载mysql免安装压缩包 下载mysql-5.6.22-winx64.zip 解压到本地D:\mysql-5.6.22-winx64 2. 修改配置文件 ...
- windows下spark开发环境配置
http://www.cnblogs.com/davidwang456/p/5032766.html windows下spark开发环境配置 --本篇随笔由同事葛同学提供. windows下spark ...
- ACE在windows下的编译及配置(VS2010)
ACE在windows下的编译及配置(VS2010) 分类: -[小西南]- 2013-08-06 16:17 2354人阅读 评论( ...
- windows下apache+https环境配置
windows下apache+https环境配置 转 https://www.cnblogs.com/sandaizi/p/7519370.html 1.修改配置文件conf/httpd.conf,去 ...
- windows下redis安装和配置
windows下redis安装和配置 redis介绍 Redis是一个开源,高级的键值存储和一个适用的解决方案,用于构建高性能,可扩展的Web应用程序. Redis有三个主要特点,使它优越于其它键值数 ...
随机推荐
- hash在Coreseek 中配置bigint
304 $sphinxapi->SetSelect('id, domain_hash'); 304 $sphinxapi->SetConnectTimeout(3); 305 $sphin ...
- aStar算法求第k短路
A*的概念主意在于估计函数,f(n)=g(n)+h(n),f(n)是估计函数,g(n)是n节点的当前代价,h(n)是n节点的估计代价:而实际中,存在最优的估计函数f'(n)=g'(n)+h'(n),那 ...
- IT痴汉的工作现状13-吓唬电话
那是一个普通的周末上午,稍微阴沉的天,使得暑气消退了好多.刚吃过早饭,我懒懒的浏览着CSDN论坛上有趣的问题和答案. 突然电话响起.是一个陌生的号码.我像往常一样接起电话,""您好 ...
- Leetcode: Spiral Matrix. Java
Given a matrix of m x n elements (m rows, n columns), return all elements of the matrix in spiral or ...
- WPF学习之绘图和动画--DarrenF
Blend作为专门的设计工具让WPF如虎添翼,即能够帮助不了解编程的设计师快速上手,又能够帮助资深开发者快速建立图形或者动画的原型. 1.1 WPF绘图 与传统的.net开发使用GDI+进行绘图不 ...
- 【python下使用OpenCV实现计算机视觉读书笔记4】保存摄像头视频
读取摄像头内容,然后保存一段十秒钟的视频. import cv2 cameraCapture = cv2.VideoCapture(0) fps = 30 # an assumption size = ...
- Android学习笔记四十Preference使用
Preference直译为偏好,博友建议翻译为首选项.一些配置数据,一些我们上次点击选择的内容,我们希望在下次应用调起的时候依旧有效,无须用户再一次进行配置或选择.Android提供preferenc ...
- C++ Primer高速学习 第一章 获得二:输入和输出 (IO)
什么是输入输出.即Input-Output,缩写是非常装B的IO?请看经典民间解释: C++语言的输入输出是指信息从外部输入设备(如键盘.磁盘等)向计算机内部(内存)输入(即Input)和从内存向外单 ...
- Nutch+Lucene搜索引擎开发实践
网络拓扑 图 1 网络拓扑图 安装Java JDK 首先查看系统是否已经安装了其它版本号的JDK,假设有,先要把其它版本号的JDK卸载. 用root用户登录系统. # rpm-qa|grep gcj ...
- repo总结
repo刚google使用Python脚本写通话git脚本.主要用于下载.管理Android工程仓库. 1. 下载 repo 的地址: http://android.git.kernel.org/re ...