LEMP平台全编译搭建
1.安装nginx1.13
1.1解决依赖关系
编译安装nginx需要事先需要安装开发包组"Development Tools"和 "Development Libraries"。同时,还需要专门安装pcre-devel包:
[root@localhost ~]# yum groupinstall "Development tools" "Compatibility libraries" -y
[root@localhost ~]# yum install pcre-devel -y
1.2 添加用户
[root@localhost ~]# groupadd -r nginx

[root@localhost ~]# useradd -r -g nginx nginx
1.3下载nginx源码包
[root@localhost src]# wget http://nginx.org/download/nginx-1.13.1.tar.gz

[root@localhost src]# tar xf nginx-1.13..tar.gz
1.4编译安装
[root@localhost src]# cd nginx-1.13.

[root@localhost nginx-1.13.]#./configure \

  --prefix=/usr \

  --sbin-path=/usr/sbin/nginx \

  --conf-path=/etc/nginx/nginx.conf \

  --error-log-path=/var/log/nginx/error.log \

  --http-log-path=/var/log/nginx/access.log \

  --pid-path=/var/run/nginx/nginx.pid  \

  --lock-path=/var/lock/nginx.lock \

  --user=nginx \

  --group=nginx \

  --with-http_ssl_module \

  --with-http_flv_module \

  --with-http_stub_status_module \

  --with-http_gzip_static_module \

  --http-client-body-temp-path=/var/tmp/nginx/client/ \

  --http-proxy-temp-path=/var/tmp/nginx/proxy/ \

  --http-fastcgi-temp-path=/var/tmp/nginx/fcgi/ \

  --http-uwsgi-temp-path=/var/tmp/nginx/uwsgi \

  --http-scgi-temp-path=/var/tmp/nginx/scgi \

  --with-pcre
[root@localhost nginx-1.13.]# make && make install
1.5提供sysV脚本
[root@localhost nginx-1.13.]# vim /etc/rc.d/init.d/nginx

[root@localhost nginx-1.13.]# cat /etc/rc.d/init.d/nginx

#!/bin/sh

#

# nginx - this script starts and stops the nginx daemon

#

# chkconfig:   -

# description:  NGINX is an HTTP(S) server, HTTP(S) reverse \

#               proxy and IMAP/POP3 proxy server

# processname: nginx

# config:      /etc/nginx/nginx.conf

# config:      /etc/sysconfig/nginx

# pidfile:     /var/run/nginx.pid

# Source function library.

. /etc/rc.d/init.d/functions

# Source networking configuration.

. /etc/sysconfig/network

# Check that networking is up.

[ "$NETWORKING" = "no" ] && exit

nginx="/usr/sbin/nginx"

prog=$(basename $nginx)

NGINX_CONF_FILE="/etc/nginx/nginx.conf"

[ -f /etc/sysconfig/nginx ] && . /etc/sysconfig/nginx

lockfile=/var/lock/subsys/nginx

make_dirs() {

   # make required directories

   user=`$nginx -V >& | grep "configure arguments:.*--user=" | sed 's/[^*]*--user=\([^ ]*\).*/\1/g' -`

   if [ -n "$user" ]; then

      if [ -z "`grep $user /etc/passwd`" ]; then

         useradd -M -s /bin/nologin $user

      fi

      options=`$nginx -V >& | grep 'configure arguments:'`

      for opt in $options; do

          if [ `echo $opt | grep '.*-temp-path'` ]; then

              value=`echo $opt | cut -d "=" -f `

              if [ ! -d "$value" ]; then

                  # echo "creating" $value

                  mkdir -p $value && chown -R $user $value

              fi

          fi

       done

    fi

}

start() {

    [ -x $nginx ] || exit

    [ -f $NGINX_CONF_FILE ] || exit

    make_dirs

    echo -n $"Starting $prog: "

    daemon $nginx -c $NGINX_CONF_FILE

    retval=$?

    echo

    [ $retval -eq  ] && touch $lockfile

    return $retval

}

stop() {

    echo -n $"Stopping $prog: "

    killproc $prog -QUIT

    retval=$?

    echo

    [ $retval -eq  ] && rm -f $lockfile

    return $retval

}

restart() {

    configtest || return $?

    stop

    sleep

    start

}

reload() {

    configtest || return $?

    echo -n $"Reloading $prog: "

    killproc $nginx -HUP

    RETVAL=$?

    echo

}

force_reload() {

    restart

}

configtest() {

  $nginx -t -c $NGINX_CONF_FILE

}

rh_status() {

    status $prog

}

rh_status_q() {

    rh_status >/dev/null >&

}

case "$1" in

    start)

        rh_status_q && exit

        $

        ;;

    stop)

        rh_status_q || exit

        $

        ;;

    restart|configtest)

        $

        ;;

    reload)

        rh_status_q || exit

        $

        ;;

    force-reload)

        force_reload

        ;;

    status)

        rh_status

        ;;

    condrestart|try-restart)

        rh_status_q || exit

            ;;

    *)

        echo $"Usage: $0 {start|stop|status|restart|condrestart|try-restart|reload|force-reload|configtest}"

        exit

esac
1.6 开机自启
[root@localhost nginx-1.13.]# chmod +x /etc/rc.d/init.d/nginx

[root@localhost nginx-1.13.]# chkconfig --add nginx

[root@localhost nginx-1.13.]# chkconfig nginx on
1.7启动
[root@localhost nginx-1.13.]# service nginx start             #注意:启动前需要查看80端口是不是被httpd占用

Starting nginx:                                            [  OK  ]
1.8测试nginx

2.安装mariadb
2.1创建lvm存放数据
[root@localhost src]# fdisk /dev/sdb

Device contains neither a valid DOS partition table, nor Sun, SGI or OSF disklabel

Building a new DOS disklabel with disk identifier 0xc78823e1.

Changes will remain in memory only, until you decide to write them.

After that, of course, the previous content won't be recoverable.

Warning: invalid flag 0x0000 of partition table  will be corrected by w(rite)

WARNING: DOS-compatible mode is deprecated. It's strongly recommended to

         switch off the mode (command 'c') and change display units to

         sectors (command 'u').

Command (m for help): n

Command action

   e   extended

   p   primary partition (-)

p

Partition number (-):

First cylinder (-, default ):

Last cylinder, +cylinders or +size{K,M,G} (-, default ): +2G

Command (m for help): t

Selected partition

Hex code (type L to list codes): 8e

Changed system type of partition  to 8e (Linux LVM)

Command (m for help): p

Disk /dev/sdb: 10.7 GB,  bytes

 heads,  sectors/track,  cylinders

Units = cylinders of  *  =  bytes

Sector size (logical/physical):  bytes /  bytes

I/O size (minimum/optimal):  bytes /  bytes

Disk identifier: 0xc78823e1

   Device Boot      Start         End      Blocks   Id  System

/dev/sdb1                             +  8e  Linux LVM

Command (m for help): w

The partition table has been altered!

Calling ioctl() to re-read partition table.

Syncing disks.

[root@localhost src]# pvcreate  /dev/sdb1

  Writing physical volume data to disk "/dev/sdb1"

  Physical volume "/dev/sdb1" successfully created

[root@localhost src]# vgcreate vg_mysql /dev/sdb1

  Volume group "vg_mysql" successfully created

[root@localhost src]# lvcreate -L 1G -n lv_mysql vg_mysql

  Logical volume "lv_mysql" created

[root@localhost src]# mke2fs -t ext3 /dev/vg

vga_arbiter  vg_mysql/

[root@localhost src]# mke2fs -t ext3 /dev/vg

vga_arbiter  vg_mysql/

[root@localhost src]# mke2fs -t ext3 /dev/vg_mysql/lv_mysql

mke2fs 1.41. (-May-)

Filesystem label=

OS type: Linux

Block size= (log=)

Fragment size= (log=)

Stride= blocks, Stripe width= blocks

 inodes,  blocks

 blocks (5.00%) reserved for the super user

First data block=

Maximum filesystem blocks=

 block groups

 blocks per group,  fragments per group

 inodes per group

Superblock backups stored on blocks:

    , , ,

Writing inode tables: done

Creating journal ( blocks): done

Writing superblocks and filesystem accounting information: done

This filesystem will be automatically checked every  mounts or

 days, whichever comes first.  Use tune2fs -c or -i to override.

[root@localhost src]# mkdir /mydata

[root@localhost src]# mount /dev/vg_mysql/lv_mysql /mydata/

[root@localhost src]# tail -n  /etc/mtab  >> /etc/fstab

[root@localhost src]# cat /etc/fstab

#

# /etc/fstab

# Created by anaconda on Mon Jan  ::

#

# Accessible filesystems, by reference, are maintained under '/dev/disk'

# See man pages fstab(), findfs(), mount() and/or blkid() for more info

#

/dev/mapper/VolGroup-lv_root /                       ext4    defaults

UUID=5c3d4278-fa8d---67c0c26831b5 /boot                   ext4    defaults

/dev/mapper/VolGroup-lv_swap swap                    swap    defaults

tmpfs                   /dev/shm                tmpfs   defaults

devpts                  /dev/pts                devpts  gid=,mode=

sysfs                   /sys                    sysfs   defaults

proc                    /proc                   proc    defaults

/dev/sr0 /mnt/cdrom iso9660 ro

/dev/mapper/vg_mysql-lv_mysql /mydata ext3 rw

[root@localhost src]# chown -R mysql.mysql /mydata/
2.2创建mysql用户
root@localhost src]# groupadd -r mysql

[root@localhost src]# useradd -r -g mysql mysql -s /sbin/nologin -M -d /mydata/data

[root@localhost src]# mkdir /mydata/data
2.3下载安装mariadb
[root@localhost src]#  wget https://downloads.mariadb.org/interstitial/mariadb-10.2.6/source/mariadb-10.2.6.tar.gz/from/http%3A//mirrors.neusoft.edu.cn/mariadb/

[root@localhost src]# tar xf mariadb-10.2.

[root@localhost src]# cd mariadb-10.2.

[root@localhost yum.repos.d]# yum update cmake

[root@localhost mariadb-10.2.]# cmake . -DCMAKE_INSTALL_PREFIX=/usr/local/mysql -DMYSQL_DATADIR=/data/mydata -DSYSCONFDIR=/etc  -DWITH_INNOBASE_STORAGE_ENGINE= -DWITH_ARCHIVE_STORAGE_ENGINE= -DWITH_BLACKHOLE_STORAGE_ENGINE= -DWITH_READLINE= -DWITH_SSL=system -DWITH_ZLIB=system -DWITH_LIBWRAP= -DMYSQL_UNIX_ADDR=/tmp/mysql.sock -DDEFAULT_CHARSET=utf8 -DDEFAULT_COLLATION=utf8_general_ci

[root@localhost mariadb-10.2.]# make && make install
2.4初始化数据库
[root@localhost ~]# cd /usr/local/mysql/

[root@localhost mysql]# scripts/mysql_install_db  --user=mysql --datadir=/mydata/data
2.5设置配置文件
[root@localhost mysql]# vim /etc/my.cnf

[root@localhost mysql]# cat /etc/my.cnf

[mysqld]

port            =

socket          = /tmp/mysql.sock

skip-external-locking

key_buffer_size = 256M

max_allowed_packet = 1M

table_open_cache =

sort_buffer_size = 1M

read_buffer_size = 1M

read_rnd_buffer_size = 4M

myisam_sort_buffer_size = 64M

thread_cache_size =

query_cache_size= 16M

# Try number of CPU's*2 for thread_concurrency

thread_concurrency =

datadir=/mydata/data
2.6设置启动脚本
[root@localhost mysql]# cp support-files/mysql.server  /etc/rc.d/init.d/mysqld

[root@localhost mysql]# chkconfig --add mysqld

[root@localhost mysql]# chkconfig mysqld on
2.7启动服务
[root@localhost mysql]# service mysqld start

Starting MySQL. :: mysqld_safe Logging to '/mydata/data/localhost.localdomain.err'.

 :: mysqld_safe Starting mysqld daemon with databases from /mydata/data

                                                           [  OK  ]

[root@localhost mysql]# netstat -tunlp |grep

tcp               :::                     :::*                        LISTEN      /mysqld
2.8导出环境变量
[root@localhost mysql]# vim /etc/profile.d/mysql.sh

[root@localhost mysql]# cat /etc/profile.d/mysql.sh

export PATH=/usr/local/mysql/bin:$PATH
[root@localhost mysql]# source /etc/profile.d/mysql.sh
2.9导出头文件
[root@localhost mysql]# ln -sv /usr/local/mysql/include/ /usr/local/include/mysql

`/usr/local/include/mysql' -> `/usr/local/mysql/include/'
2.10导出库文件
[root@localhost mysql]# echo "/usr/local/mysql/lib" >> /etc/ld.so.conf.d/mysql.conf

[root@localhost mysql]# ldconfig -v
2.11导出帮助文档
[root@localhost mysql]# echo "/usr/local/mysql/man" >> /etc/man.config
2.12设置数据库用户密码
[root@localhost mysql]# mysql

Welcome to the MariaDB monitor.  Commands end with ; or \g.

Your MariaDB connection id is

Server version: 10.2.-MariaDB Source distribution

Copyright (c) , , Oracle, MariaDB Corporation Ab and others.

Type 'help;' or '\h' for help. Type '\c' to clear the current input statement.

MariaDB [(none)]> grant all privileges on *.* to root@'localhost' identified by 'zhaojiedi';

Query OK,  rows affected (0.00 sec)

MariaDB [(none)]> grant all privileges on *.* to root@'127.0.0.1' identified by 'zhaojiedi';

Query OK,  rows affected (0.00 sec)

MariaDB [(none)]> select host,user,password from user;

ERROR  (3D000): No database selected

MariaDB [(none)]> select host,user,password from mysql.user;

+-----------------------+------+-------------------------------------------+

| host                  | user | password                                  |

+-----------------------+------+-------------------------------------------+

| localhost             | root | *2F9ACBF8883BE76FAA7C042FDA59A7CC0841B40F |

| localhost.localdomain | root |                                           |

| 127.0.0.1             | root | *2F9ACBF8883BE76FAA7C042FDA59A7CC0841B40F |

| ::                   | root |                                           |

| localhost             |      |                                           |

| localhost.localdomain |      |                                           |

+-----------------------+------+-------------------------------------------+

 rows in set (0.00 sec)
3.编译安装php
3.1安装php依赖包
[root@localhost src]# yum install libxml2 libxml2-devel openssl openssl-devel bzip2 bzip2-devel libcurl libcurl-devel libjpeg libjpeg-devel libpng libpng-devel freetype freetype-devel gmp gmp-devel libmcrypt libmcrypt-devel readline readline-devel libxslt libxslt-devel
3.2下载并编译安装php
[root@localhost src]# wget http://cn2.php.net/get/php-7.1.6.tar.bz2/from/this/mirror

[root@localhost src]# tar xf php-7.1..tar.bz2
[root@localhost src]# cd php-7.1.
[root@localhost php-7.1.6]# ./configure --prefix=/usr/local/php --with-config-file-path=/etc --enable-fpm --with-fpm-user=nginx  --with-fpm-group=nginx --enable-inline-optimization --disable-debug --disable-rpath --enable-shared  --enable-soap --with-libxml-dir --with-xmlrpc --with-openssl --with-mcrypt --with-mhash --with-pcre-regex --with-sqlite3 --with-zlib --enable-bcmath --with-iconv --with-bz2 --enable-calendar --with-curl --with-cdb --enable-dom --enable-exif --enable-fileinfo --enable-filter --with-pcre-dir --enable-ftp --with-gd --with-openssl-dir --with-jpeg-dir --with-png-dir --with-zlib-dir  --with-freetype-dir --enable-gd-native-ttf --enable-gd-jis-conv --with-gettext --with-gmp --with-mhash --enable-json --enable-mbstring --enable-mbregex --enable-mbregex-backtrack --with-libmbfl --with-onig --enable-pdo --with-mysqli=mysqlnd --with-pdo-mysql=mysqlnd --with-zlib-dir --with-pdo-sqlite --with-readline --enable-session --enable-shmop --enable-simplexml --enable-sockets  --enable-sysvmsg --enable-sysvsem --enable-sysvshm --enable-wddx --with-libxml-dir --with-xsl --enable-zip --enable-mysqlnd-compression-support --with-pear --enable-opcache
[root@localhost php-7.1.6]#  make && make install
3.7提供php配置文件
[root@localhost php-7.1.]# cp php.ini-production /etc/php.ini
[root@localhost php-7.1.6]# cp sapi/fpm/init.d.php-fpm /etc/rc.d/init.d/php-fpm
[root@localhost php-7.1.6]# cp /usr/local/php/etc/php-fpm.conf.default /usr/local/php/etc/php-fpm.conf
[root@localhost php-7.1.6]# cp /usr/local/php/etc/php-fpm.d/www.conf.default /usr/local/php/etc/php-fpm.d/www.conf
[root@localhost php-7.1.6]# chmod +x /etc/rc.d/init.d/php-fpm
3.8自动启动
[root@localhost php-7.1.]# chkconfig --add php-fpm

[root@localhost php-7.1.]# chkconfig php-fpm on
3.3导出环境变量
[root@localhost mysql]# vim /etc/profile.d/php.sh

[root@localhost mysql]# cat /etc/profile.d/php.sh

export PATH=/usr/local/php/bin:$PATH
[root@localhost mysql]# source /etc/profile.d/php.sh
3.4导出头文件
[root@localhost mysql]# ln -sv /usr/local/php/include/ /usr/local/include/php

`/usr/local/include/php' -> `/usr/local/php/include/'
3.5导出库文件
[root@localhost mysql]# echo "/usr/local/php/lib" >> /etc/ld.so.conf.d/php.conf

[root@localhost mysql]# ldconfig -v
3.6导出帮助文档
[root@localhost mysql]# echo "/usr/local/php/man" >> /etc/man.config
3.7启动php并查看
[root@localhost php-7.1.]# service php-fpm start

Starting php-fpm  done

[root@localhost php-7.1.]# ps aux |grep php-fpm

root       0.0  0.1     ?        Ss   :   : php-fpm: master process (/usr/local/php/etc/php-fpm.conf)

nginx      0.0  0.1     ?        S    :   : php-fpm: pool www

nginx      0.0  0.1     ?        S    :   : php-fpm: pool www

root       0.0  0.0       pts/    S+   :   : grep php-fpm
4.整合nginx和php7
4.1 nginx配置php页面
[root@localhost php-7.1.]# vim /etc/nginx/nginx.conf
启用如下几行
 location ~ \.php$ {
            root           html;
            fastcgi_pass   127.0.0.1:9000;
            fastcgi_index  index.php;
            fastcgi_param  SCRIPT_FILENAME  /scripts$fastcgi_script_name;
            include        fastcgi_params;
        }
下面的位置加入index.php默认主页
   location / {
            root   html;
            index   index.php index.html index.htm;
        }
4.2添加fatcgi_params文件
[root@localhost php-7.1.]# mv /etc/nginx/fastcgi_params /etc/nginx/fastcgi_params.bak

[root@localhost php-7.1.]# vim /etc/nginx/fastcgi_params

[root@localhost php-7.1.]# cat /etc/nginx/fastcgi_params

fastcgi_param  GATEWAY_INTERFACE  CGI/1.1;

fastcgi_param  SERVER_SOFTWARE    nginx;

fastcgi_param  QUERY_STRING       $query_string;

fastcgi_param  REQUEST_METHOD     $request_method;

fastcgi_param  CONTENT_TYPE       $content_type;

fastcgi_param  CONTENT_LENGTH     $content_length;

fastcgi_param  SCRIPT_FILENAME    $document_root$fastcgi_script_name;

fastcgi_param  SCRIPT_NAME        $fastcgi_script_name;

fastcgi_param  REQUEST_URI        $request_uri;

fastcgi_param  DOCUMENT_URI       $document_uri;

fastcgi_param  DOCUMENT_ROOT      $document_root;

fastcgi_param  SERVER_PROTOCOL    $server_protocol;

fastcgi_param  REMOTE_ADDR        $remote_addr;

fastcgi_param  REMOTE_PORT        $remote_port;

fastcgi_param  SERVER_ADDR        $server_addr;

fastcgi_param  SERVER_PORT        $server_port;

fastcgi_param  SERVER_NAME        $server_name;
4.3添加测试主页
[root@localhost php-7.1.]# cd /usr/html/

50x.html    index.html

[root@localhost php-7.1.]# vim /usr/html/index.php

[root@localhost php-7.1.]# cat /usr/html/index.php

<?php

phpinfo();

?>
4.4测试
[root@localhost php-7.1.]# service nginx reload

nginx: the configuration file /etc/nginx/nginx.conf syntax is ok

nginx: configuration file /etc/nginx/nginx.conf test is successful

Reloading nginx:                                           [  OK  ]

5.安装具体的应用
5.1配置discuz应用
5.1.1下载并解压discuz
[root@localhost src]#wget http://download.comsenz.com/DiscuzX/3.3/Discuz_X3.3_SC_UTF8.zip

[root@localhost src]#unzip Discuz_X3.3_SC_UTF8.zip -d /usr/html/discuz
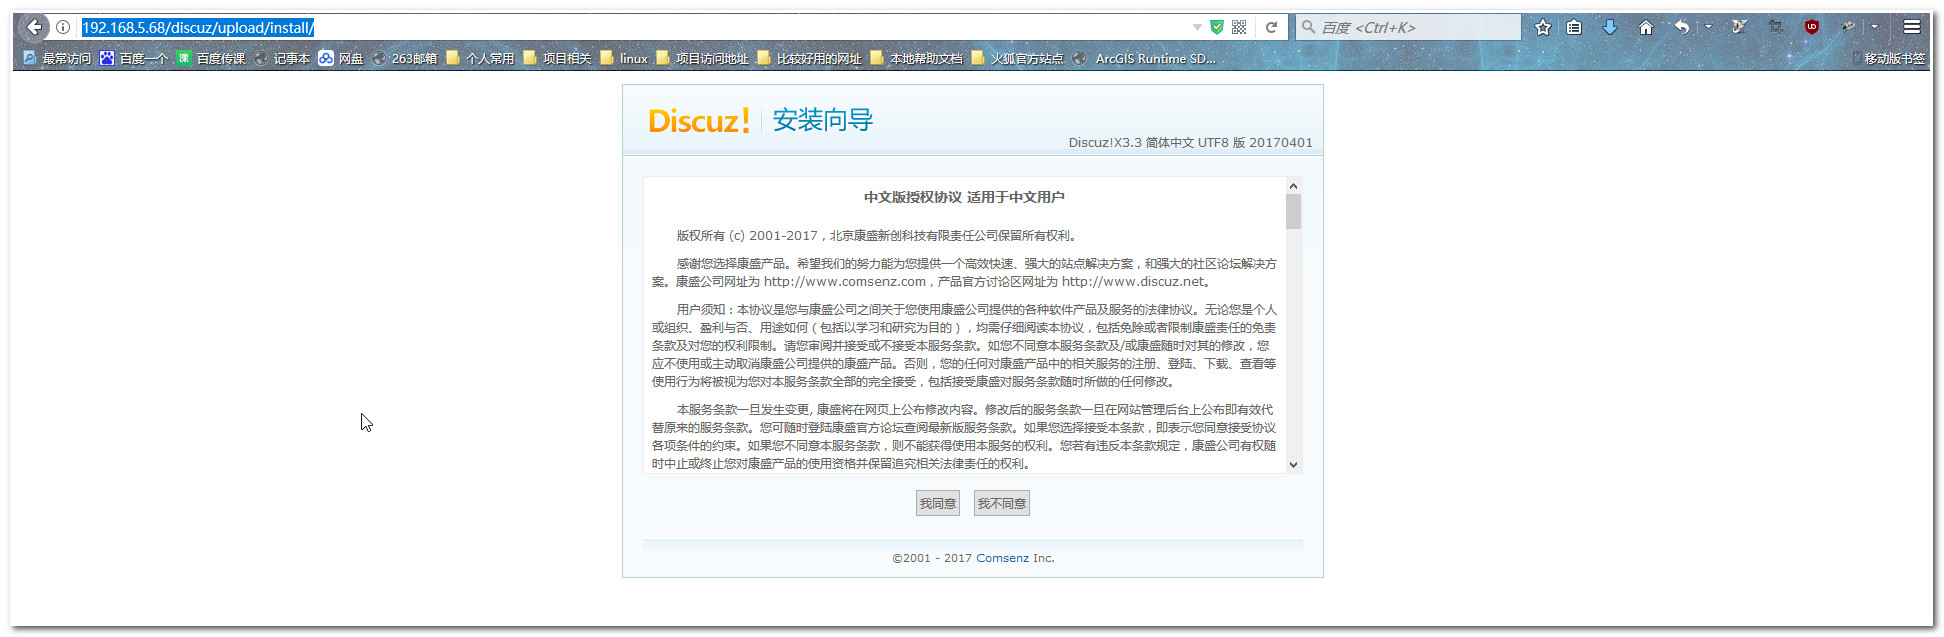
5.1.2 访问 http://192.168.5.68/discuz/upload/home.php
5.1.3 创建需要的目录

#这里我就简单的设置了777权限了

[root@localhost upload]# chmod  -R ./data/

[root@localhost upload]# chmod  -R ./config/

[root@localhost upload]# chmod  -R ./uc_client/

[root@localhost upload]# chmod  -R ./uc_server/
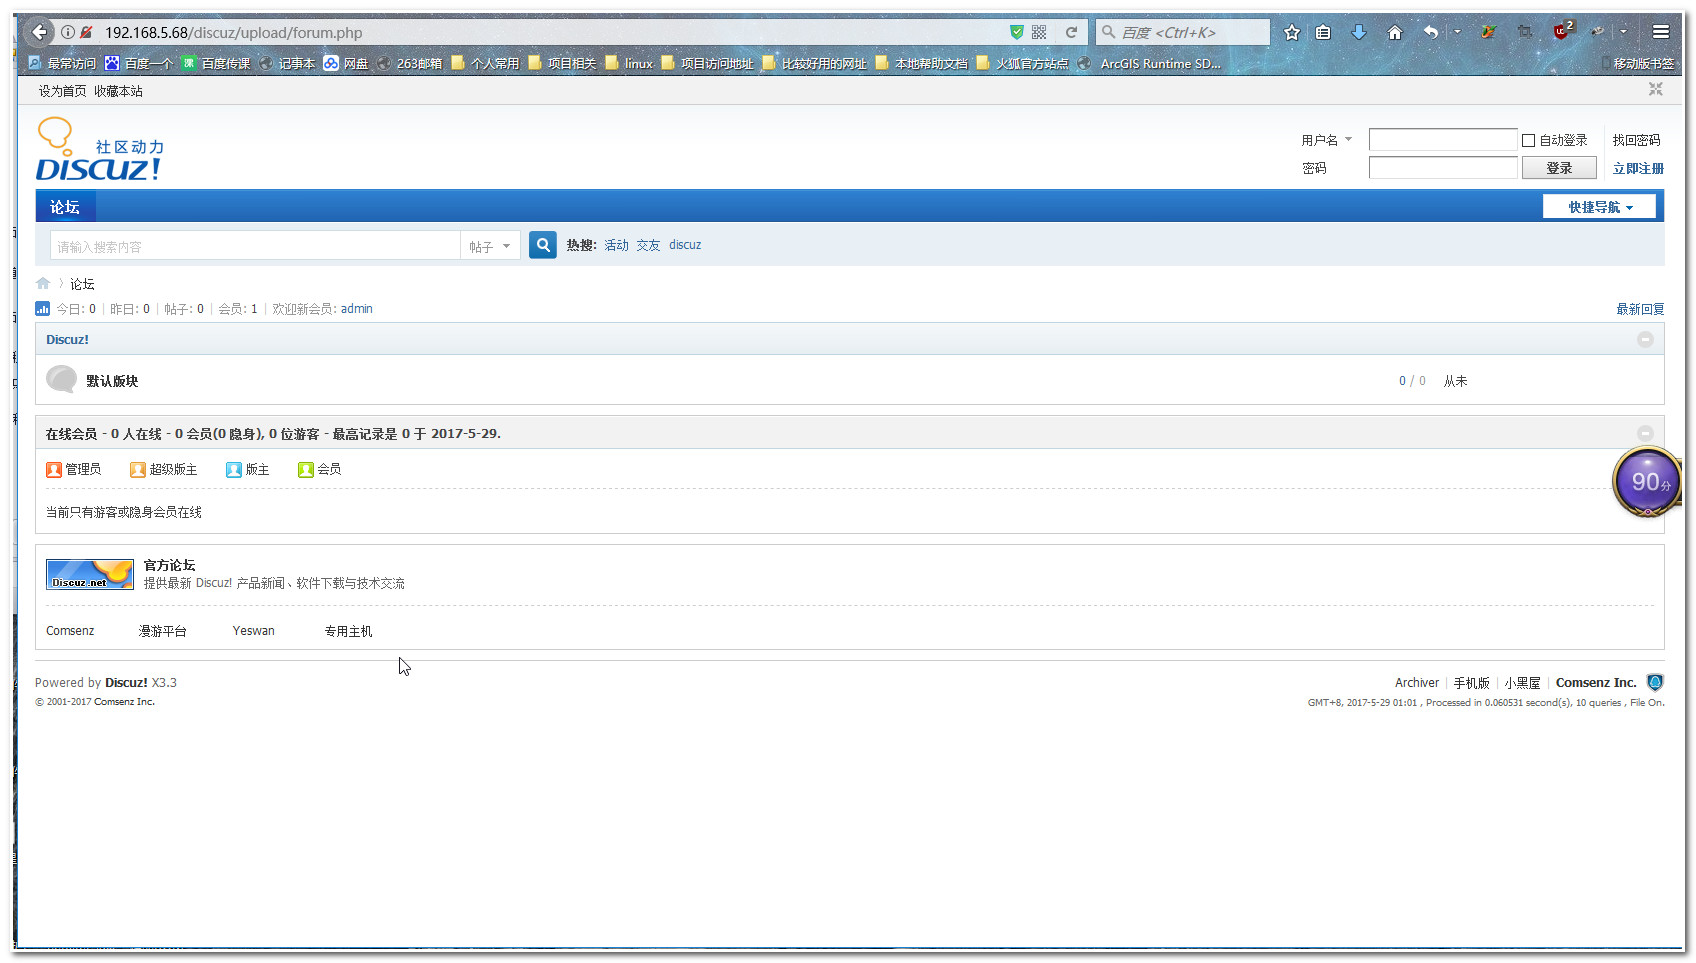
5.1.4访问主页
LEMP平台全编译搭建的更多相关文章
- QT全平台设置图标,全平台静态编译 good
1. 概述 当我们用QT写好了一个软件,要把你的程序分享出去的时候,不可能把编译的目录拷贝给别人去运行.编译好的程序应该是一个主程序,加一些资源文件,再加一些动态链接库,高大上一些的还可以做一个安装 ...
- Qt在各平台上的搭建qt-everywhere
Qt for windows7-64bit 在电脑上安装mingw(搜索mingw for windows),将C:\MinGW\bin添加进环境变量,打开命令行输入gcc --version和g++ ...
- Qt在各平台上的搭建qt-everywhere(Qt for windows7-64bit, Ubuntu 12.04-32bit, 嵌入式x86平台, 嵌入式arm平台)
下载地址:http://download.qt.io/ 当进入解压好的源码包后,使用./configure –help命令,可以获得相应帮助,前面是*号的表示默认参数. +号表示该功能要求被评估,评估 ...
- 如何在Windows平台使用VS搭建C++/Lua的开发环境
转自:http://ju.outofmemory.cn/entry/95358 本文主要介绍如何在Windows平台利用VS搭建C++/Lua开发环境.这里的“C++/Lua开发环境”主要指的是C++ ...
- Linux下php+mysql+nginx编译搭建(一)
之前一直都是一键搭建的webserver,可是一键搭建的环境相对来说都是比較老的.假设要用比較新的环境,特别是正式server,就必须自己手动编译搭建了(下面搭建基于linux centos6.5 3 ...
- Quartus13.1全编译出现引脚错误(神级bug)
BUG现象:分配完管脚后全编译出现如下错误. Error (171172):Detected confilicting assignments for the following nodes.Erro ...
- 基于UML网络教学管理平台模型的搭建
一.基本信息 标题:基于UML网络教学管理平台模型的搭建 时间:2013 出版源:网络安全技术与应用 领域分类:UML:网络教学管理平台:模型 二.研究背景 问题定义:网络教学管理平台模型的搭建 难点 ...
- Windows平台使用Gitblit搭建Git服务器教程
Windows平台使用Gitblit搭建Git服务器图文教程 Git服务现在独树一帜,相比与SVN有更多的灵活性,最流行的开源项目托管网站Github上面,如果托管开源项目,那么就是免费使用的,但是闭 ...
- 比特币BTC全节点搭建
比特币BTC全节点搭建 #环境 ubuntu 16.4 #硬盘500GB #截止2018-12-31磁盘占用超过230GB #客户端安装 #下载页面 #https://bitcoin.org/zh_C ...
随机推荐
- FoxMail邮件设置
最近部门变动,要求所有的沟通及交流都需要用企业邮箱,对于一般不喜欢看邮箱的我,经常会错过很多邮件.为了统一接收企业邮件及个人邮件,开始使用Foxmail(以前不喜欢整这些东西).下面分享一下FoxMa ...
- MVC Ajax上传文件
前台:首先要导入jQuery <html><head> <meta name="viewport" content="width=devic ...
- 使用kolin开发你的android应用
转载请注明出处,谢谢! 前段时间花了大概三周时间学习了kotlin,借着kotlin正好发布1.2,使用kotlin撸了一个android demo Github地址:https://github.c ...
- 解决用友U8删除用户时提示“用户已启用”不能删除的问题
USE UFSystem go DECLARE @cUser_Id NVARCHAR(20) SET @cUser_Id='用户的登录名' DELETE l FROM dbo.UA_TaskLog l ...
- HBuilder git使用-环境配置
HBuilder中使用的是Egit插件,但提供的相关资料太少,这是目前遇到的一些问题的总结 1. 安装好egit插件后,本机需要安装Git windows的安装程序,并配置好相关的环境变量(理论上是自 ...
- Android APK反编译:APKtool使用详解
导言:在我们安卓开发当中,我们不仅需要掌握基础的开发技能,也需要掌握软件的安全技能,这样才可以让我们的软件能够成为一款能够真正可以进行发布的软件,同时也可以让自己的核心技术不会被别人所盗取. 第一步. ...
- vue1.0与vue2.0对于v-for的使用的区别
vue1.0与vue2.0对于v-for的使用的区别: 1,vue1.0中有$index,而vue2.0将$index移除. 2,vue1.0中(index,item) in list 而vue2.变 ...
- vue+mescroll=VScrollFull
VScrollFull 介绍 这个组件是什么? 是为了方便的使用下拉刷新,上拉加载而去封装的一个依赖于 mescroll.js 的 vue 组件(未发布,文末代码~) 封装这个组件使用了什么? mes ...
- 【RL-TCPnet网络教程】第17章 RL-TCPnet之UDP通信
第17章 RL-TCPnet之UDP通信 本章节为大家讲解RL-TCPnet的UDP通信实现,学习本章节前,务必要优先学习第16章UDP用户数据报协议基础知识.有了这些基础知识之后,再搞本章 ...
- 关于HTTP协议,这一篇就够了
HTTP简介 HTTP协议是Hyper Text Transfer Protocol(超文本传输协议)的缩写,是用于从万维网(WWW:World Wide Web )服务器传输超文本到本地浏览器的传送 ...