centos7下安装配置redis
1.1. Redis下载安装(linux)
1.1.1. 下载:
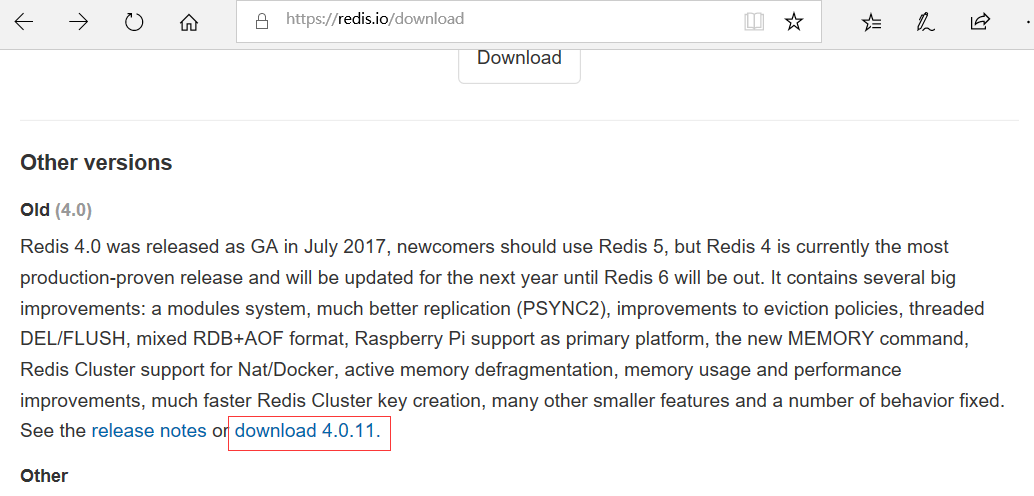
下载地址:https://redis.io/download
选择合适的版本下载,如下图:
1.1.2. 安装:
(1)把下载好的redis安装包上传到要安装的服务器上
(2)解压:
[root@desktop-blv0c82 opt]# tar -zxvf redis-4.0.11.tar.gz
(3)对redis解压后的文件进行编译:
[root@desktop-blv0c82 opt]# cd redis-4.0.11
[root@desktop-blv0c82 redis-4.0.11]# ls
[root@desktop-blv0c82 redis-4.0.11]# make
注意此步可能会出现的问题:
---><1>如果时间错误
需要把服务器的时间修改正确即可
---><2>提示:...Hint: It's a good idea to run 'make test' ;)
[root@desktop-blv0c82 redis-4.0.11]# make test
有报错提示:
......
You need tcl 8.5 or newer in order to run the Redis test
make[1]: *** [test] Error 1
安装tcl:
[root@desktop-blv0c82 redis-4.0.11]# yum install tcl
(根据提示安装成功)
再make test一下:
[root@desktop-blv0c82 redis-4.0.11]# make test
(等待测试通过)
(4)安装:(安装到指定目录)
[root@desktop-blv0c82 redis-4.0.11]# make PREFIX=/usr/local/redis install
(5)查看安装目录下的文件:
[root@desktop-blv0c82 redis-4.0.11]# cd /usr/local/redis/
[root@desktop-blv0c82 redis]# ls
bin
[root@desktop-blv0c82 redis]# cd bin/
[root@desktop-blv0c82 bin]# ls
redis-benchmark redis-check-rdb redis-sentinel
redis-check-aof redis-cli redis-server
【
注:
redis-benchmark #redis性能测试工具
redis-check-rdb #检查rdb日志的工具
redis-sentinel
redis-check-aof #检查aof日志的工具(比如断电造成日志损坏,可以检测并修复)
redis-cli #连接用的客户端
redis-server #redis服务进程
】
(6)把解压目录中的redis.cnf文件拷贝到安装目录redis中一份:
[root@desktop-blv0c82 bin]# cd ..
[root@desktop-blv0c82 redis]# cp /opt/redis-4.0.11/redis.conf ./
[root@desktop-blv0c82 redis]# ls
bin redis.conf
(7)启动redis服务:
[root@desktop-blv0c82 redis]# ./bin/redis-server ./redis.conf
(以当前目录下的bin下的server服务;用当前目录下的配置文件(redis.conf))
启动成功如下图:

注:这个终端被占用了,不能关闭(关闭后就会自动退出)
(8)再打开一个终端窗口,连接客户端:
[root@desktop-blv0c82 redis-4.0.11]# cd /usr/local/redis/
[root@desktop-blv0c82 redis]# ./bin/redis-cli
127.0.0.1:6379>
#连接成功如下:

例:
127.0.0.1:6379> set site www.baidu.com
OK
127.0.0.1:6379> get site
"www.baidu.com"
127.0.0.1:6379>
(9)设置redis-server在后台运行:(让redis以后台进程的形式运行)
---<1>关闭(即出:ctrl+c)redis-server服务
---<2>修改redis安装目录(如:/usr/local/redis)下的redis.conf配置文件:
[root@desktop-blv0c82 redis]# vim redis.conf
找到: daemonize no
修改为:daemonize yes
保存退出
(10)再次启动redis-server服务,就可以看到redis在后台运行:
[root@desktop-blv0c82 redis]# ./bin/redis-server ./redis.conf
8846:C 14 Nov 23:20:51.920 # oO0OoO0OoO0Oo Redis is starting oO0OoO0OoO0Oo
8846:C 14 Nov 23:20:51.920 # Redis version=4.0.11, bits=64, commit=00000000, modified=0, pid=8846, just started
8846:C 14 Nov 23:20:51.920 # Configuration loaded
[root@desktop-blv0c82 redis]# ps aux|grep redis|grep -v grep
root 8847 0.1 0.7 145312 7592 ? Ssl 23:20 0:00 ./bin/redis-server 127.0.0.1:6379
(11)连接客户端:
[root@desktop-blv0c82 redis]# ./bin/redis-cli
127.0.0.1:6379>
centos7下安装配置redis的更多相关文章
- Linux centos7下安装配置redis及Redis desktop Manager工具连接注意事项
基本工具:VMware12.CentOS-7-x86_64-Everything-1611.iso.redis-desktop-manager-0.8.0.3841 废话不多说,首先,关于什么是Red ...
- Centos7下安装配置Redsocks
Redsocks是一个开源的网络程序,代码依赖开源的libevent网络库.Redsocks允许你将所有TCP连接重定向到SOCKS或HTTPS代理,比如Shadowsocks(Centos7下安装配 ...
- centos7 yum安装配置redis 并设置密码
原文:https://www.cnblogs.com/fanlinglong/p/6635828.html centos7 yum安装配置redis 并设置密码 1.设置Redis的仓库地址 yum ...
- linux下安装 配置 redis数据库
通过终端命令安装(推荐): 1 确保更新源服务器能正常使用 如果没有更换更新源服务器,那么可能一直都下不了软件.欢迎参考我之前的博文来更换成国内的镜像服务器http://www.cnblogs.com ...
- Centos7 下安装配置tomcat7
首先下载压缩包 wget http://mirrors.tuna.tsinghua.edu.cn/apache/tomcat/tomcat-7/v7.0.78/bin/apache-tomcat-7. ...
- centos下安装&&配置redis
一.Redis介绍 Redis是当前比较热门的NOSQL系统之一,它是一个key-value存储系统.和Memcache类似,但很大程度补偿了Memcache的不足,它支持存储的value类型相对更多 ...
- centos7下安装配置redis3.0.4
安装redis 1.进入redis官网(redis.io)下载redis稳定版安装包,目前稳定版本为3.0.4 2.在linux /usr文件夹下新建redis文件夹,拷贝安装包redis-3.0. ...
- Ubuntu下安装配置redis
安装redis apt-get install redis-server 查看是否启动 ps -aux|grep redis 客户端连接 注: 安装Redis服务器,会自动地一起安装Redis命令行客 ...
- CentOS7 yum安装配置 +redis主从配置
一.安装必要包 yum install gcc 二.linux下安装 #下载 wget http://download.redis.io/releases/redis-3.0.0.tar.gz tar ...
随机推荐
- 浏览器LocalStroage使用
http://www.cnblogs.com/st-leslie/p/5617130.html
- python--使用递归优雅实现列表相加和进制转换
咦,好像坚持了一段时间,感觉又有新收获啦. # coding: utf-8 class Stack: def __init__(self): self.items = [] # 是否为空 def is ...
- tp3.2上传图片生成缩略图
//引入 use think\Image; /* * $name为表单上传的name值 * $filePath为为保存在入口文件夹public下面uploads/下面的文件夹名称,没有的话会自动创建 ...
- HDU 1384 Intervals【差分约束-SPFA】
类型:给出一些形如a−b<=k的不等式(或a−b>=k或a−b<k或a−b>k等),问是否有解[是否有负环]或求差的极值[最短/长路径].例子:b−a<=k1,c−b&l ...
- Python图表数据可视化Seaborn:4. 结构化图表可视化
1.基本设置 import numpy as np import pandas as pd import matplotlib.pyplot as plt import seaborn as sns ...
- FileZilla FTP Client
FileZilla Client是一个快速.实用.多功能和界面直观的免费的FTP客户端,虽然它是免费软件,可功能却一点也不含糊,比起那些共享软件来有过之而无不及,在新的版本中作者改进了手动下载的界面和 ...
- spring security学习
https://www.cnblogs.com/leihenqianshang/articles/5313159.html
- StringBuffer 可变参数拼接
@RequestMapping(value="/getFundsCount",method=RequestMethod.POST) public Result getFundsCo ...
- 用sql的avg(score)求完平均值后,保存两位小数的方法(用于查询或视图)
查jx_score表的平均值,以哪次考试(testid)和科目分组(courseid) select testid, courseid, round(avg(`jx_score`.`score`),2 ...
- BroadcastReceiver工作原理
--摘自<android插件化开发指南> 1.动态注册过程是注册Receiver并通知AMS,发送内容包括IntentFilter.一个实现了IIntentReceiver接口的Binde ...