Django入门项目实践(下)
5.设置应用程序的样式
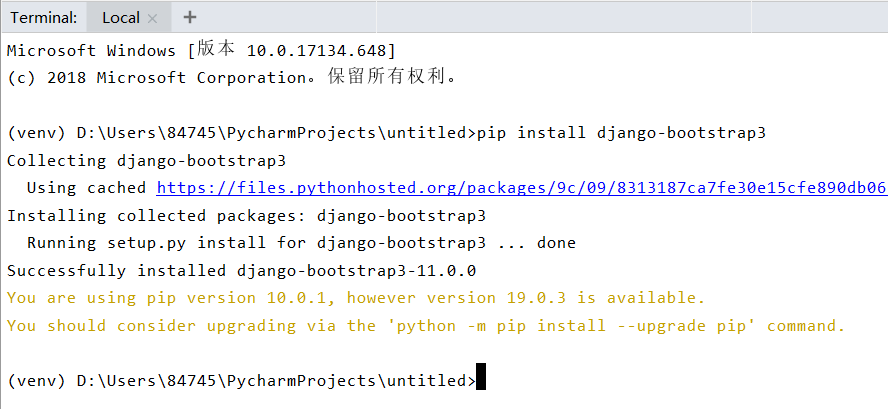
安装django-bootstrap3。
# untitled/untitled/settings.py

# ···

INSTALLED_APPS = [

    'django.contrib.admin',

    'django.contrib.auth',

    'django.contrib.contenttypes',

    'django.contrib.sessions',

    'django.contrib.messages',

    'django.contrib.staticfiles',

    # 第三方应用程序

    'bootstrap3',

    # 我的应用程序

    'learning_logs',

    'users'

]

# ···

BOOTSTRAP3 = {

    'include_jquery' : True

}
<!-- untitled/templates/learning_logs/base.html -->

{% load bootstrap3 %}

<!DOCTYPE html>

<html lang="en">

  <head>

    <meta charset="utf-8">

    <meta http-equiv="X-UA-Compatible" content="IE=edge">

    <meta name="viewport" content="width=device-width, initial-scale=1">

    <title>Learning Log</title>

    {% bootstrap_css %}

    {% bootstrap_javascript %}

  </head>

  <body>

    <!-- Static navbar -->

    <nav class="navbar navbar-default navbar-static-top">

      <div class="container">

        <div class="navbar-header">

          <button type="button" class="navbar-toggle collapsed"

              data-toggle="collapse" data-target="#navbar"

              aria-expanded="false" aria-controls="navbar">

          </button>

          <a class="navbar-brand" href="{% url 'learning_logs:index' %}">

              Learning Log</a>

        </div>

        <div id="navbar" class="navbar-collapse collapse">

          <ul class="nav navbar-nav">

            <li><a href="{% url 'learning_logs:topics' %}">Topics</a></li>

          </ul>

          <ul class="nav navbar-nav navbar-right">

            {% if user.is_authenticated %}

              <li><a>Hello, {{ user.username }}.</a></li>

              <li><a href="{% url 'users:logout' %}">log out</a></li>

            {% else %}

              <li><a href="{% url 'users:register' %}">register</a></li>

              <li><a href="{% url 'users:login' %}">log in</a></li>

            {% endif %}

          </ul>

        </div><!--/.nav-collapse -->

      </div>

    </nav>

    <div class="container">

      <div class="page-header">

        {% block header %}{% endblock %}

      </div>

      <div>

        {% block content %}{% endblock %}

      </div>

    </div> <!-- /container -->

  </body>

</html>
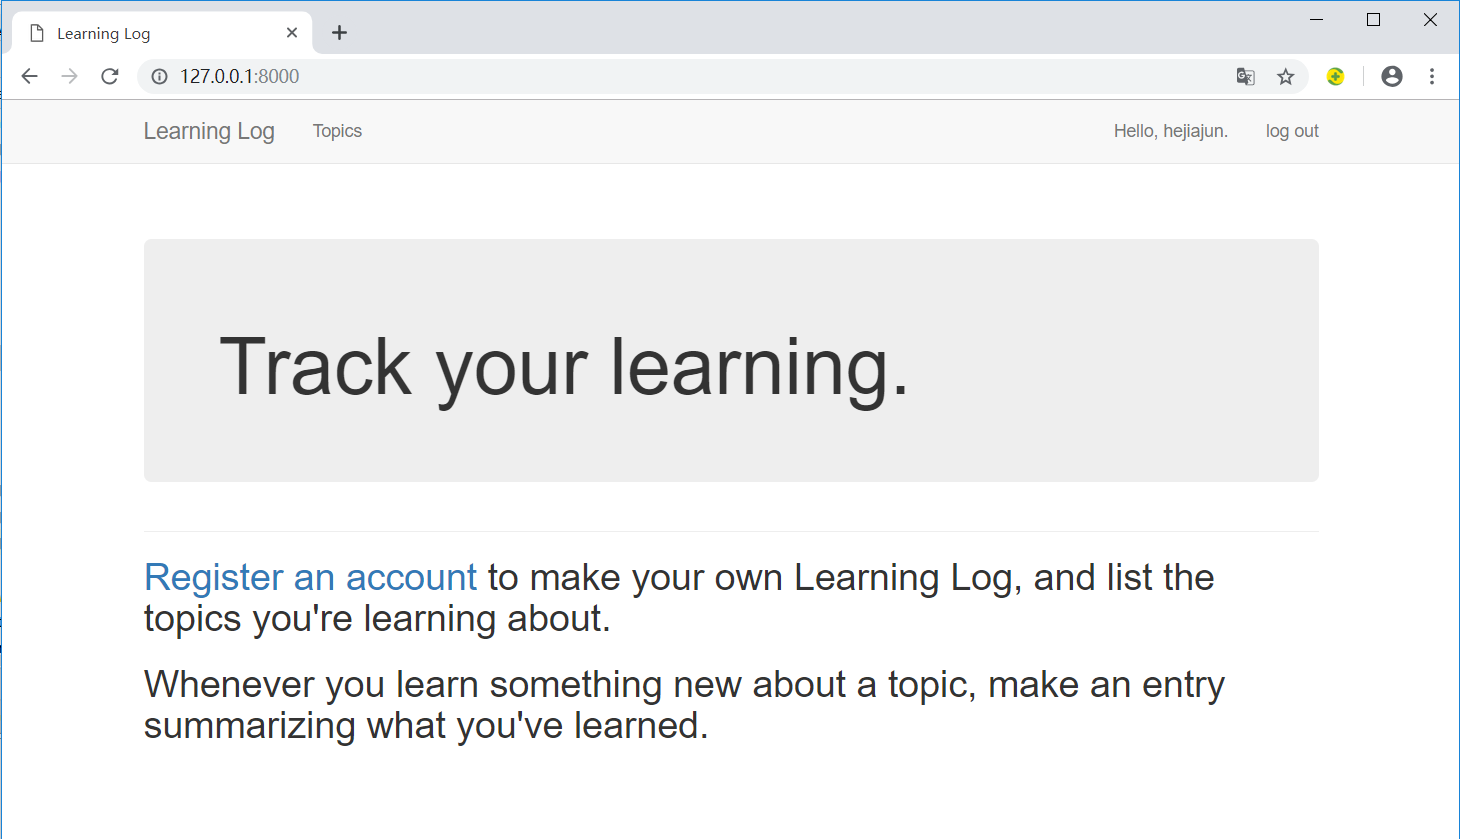
使用jumbotron设置主页的样式。
<!-- untitled/templates/learning_logs/index.html -->

{% extends "learning_logs/base.html" %}

{% block header %}

  <div class='jumbotron'>

      <h1>Track your learning.</h1>

  </div>

{% endblock %}

{% block content %}

  <h2>

    <a href="{% url 'users:register' %}">Register an account</a> to make

     your own Learning Log, and list the topics you're learning about.

  </h2>

  <h2>

    Whenever you learn something new about a topic, make an entry

    summarizing what you've learned.

  </h2>

{% endblock %}
6.部署应用程序到Heroku
我们将项目部署到Heroku的服务器并对其进行管理。
- 首先需要到官网https://dashboard.heroku.com注册账号。
- 接着安装Heroku客户端,请访问https://devcenter.heroku.com/articles/heroku-cli。
注意:访问Heroku官网需要VPN,注册账号需要用国外的邮箱,我试过outlook邮箱可以注册。
6.1 安装必要的包
在PyCharm的Terminal窗口逐个执行以下几个命令:
pip install dj-database-urlpip install dj-staticpip install static3pip install gunicorn
6.2 创建requirements.txt
执行pip freeze > requirements.txt命令,将项目当前安装的所有包的名称都写入到文件requirements.txt中。
dj-database-url==0.5.0

dj-static==0.0.6

Django==2.1.7

django-bootstrap3==11.0.0

gunicorn==19.9.0

pytz==2018.9

static3==0.7.0

psycopg2>=2.6.1
我们在包列表中添加psycopg2,它帮助Heroku管理活动数据库。
6.3 指定Python版本
runtime.txt
python-3.6.3
6.4 修改settings.py
# untitled/untitled/settings.py

# ···

STATIC_ROOT = os.path.join(BASE_DIR, 'static')

# Heroku settings

if os.getcwd() == '/app':

    import dj_database_url

    DATABASES = {

        'default': dj_database_url.config(default='postgres://localhost')

    }

    # Honor the 'X-Forwarded-Proto' header for request.is_secure().

    SECURE_PROXY_SSL_HEADER = ('HTTP_X_FORWARDED_PROTO', 'https')

    # Only allow heroku to host the project.

    ALLOWED_HOSTS = ['learning-log-final.herokuapp.com']

    DEBUG = True

    # Static asset configuration

    BASE_DIR = os.path.dirname(os.path.abspath(__file__))

    # STATIC_ROOT = 'staticfiles'

    STATICFILES_DIRS = (

        os.path.join(BASE_DIR, 'static'),

    )
注意STATIC_ROOT = os.path.join(BASE_DIR, 'static')这行代码,它写在if测试外面。
6.5 创建启动进程的Procfile
Procfile
web: gunicorn learning_log.wsgi --log-file -
6.6 修改wsgi.py
# untitled/untitled/wsgi.py

import os

from dj_static import Cling

from django.core.wsgi import get_wsgi_application

os.environ.setdefault('DJANGO_SETTINGS_MODULE', 'untitled.settings')

application = Cling(get_wsgi_application())
6.7 创建用于存储静态文件的目录
untitled/untitled/static/placeholder.txt
This file ensures that learning_log/static/ will be added to the project.

Django will collect static files and place them in learning_log/static/.
6.8 使用Git跟踪项目文件
我们无需让Git跟踪项目中的每个文件,因此将让Git忽略一些文件。
.gitignore
venv/

__pycache__/

*.sqlite3
提交项目


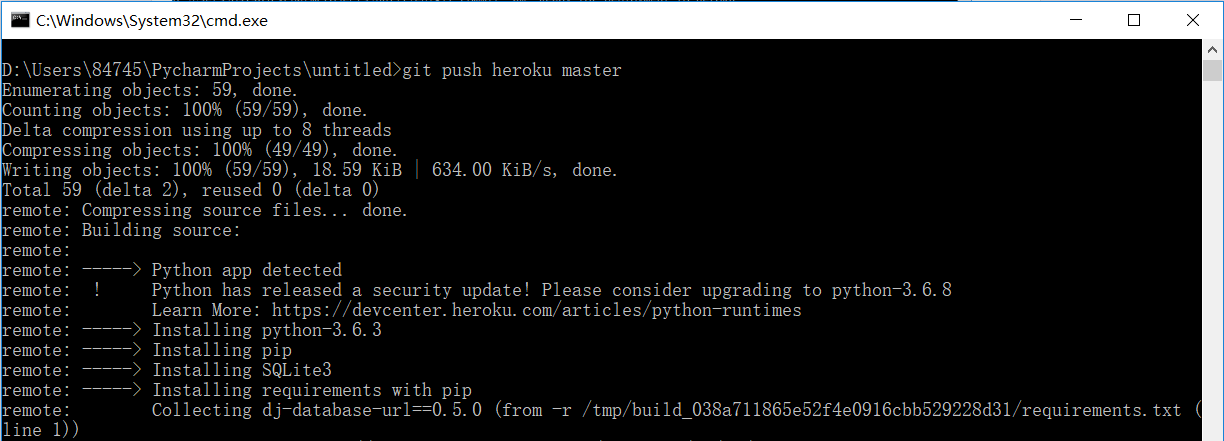
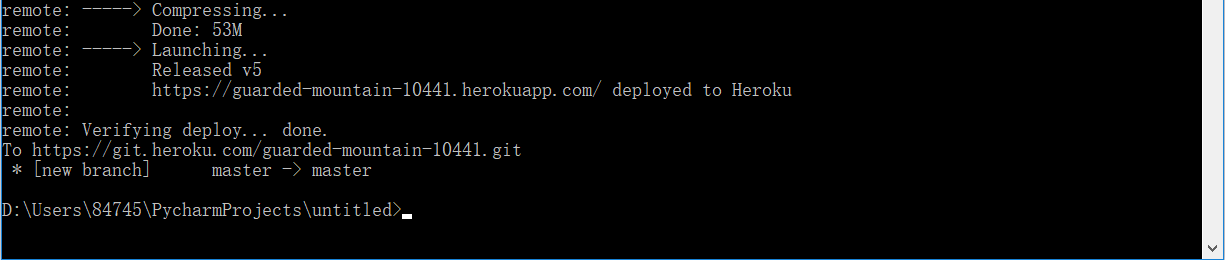
推送到Heroku


项目源码地址:https://github.com/gorgeous-h/learning_log.git
注意:这个项目是在Windows环境下做的。
参考资料:《Python编程从入门到实践》—【美】Eric Matthes 著
Django入门项目实践(下)的更多相关文章
- Django入门项目实践(上)
项目结构 1.建立项目 File -->> New Project... 第一个Location是项目所在的目录,第二个Location是项目独立的Python运行环境,我们称之为Virt ...
- Django入门项目实践(中)
4.用户账户 4.1 让用户能够输入数据 添加新主题 # untitled/learning_logs/forms.py from django import forms from .models i ...
- Django入门与实践 17-26章总结
Django入门与实践-第17章:保护视图 Django 有一个内置的视图装饰器 来避免它被未登录的用户访问: 现在如果用户没有登录,将被重定向到登录页面: 现在尝试登录,登录成功后,应用程序会跳转到 ...
- Django 入门项目案例开发(上)
关注微信公众号:FocusBI 查看更多文章:加QQ群:808774277 获取学习资料和一起探讨问题. Django 入门案例开发(中) http://www.cnblogs.com/focusBI ...
- Django入门与实践
安装: 1.https://www.djangoproject.com/查找最新版本 2.pip install Django==1.10.6安装Django 创建项目: 1.打开命令行,进入想要 ...
- django入门与实践(开)
1.什么是Django? 基于python的高级web开发框架 高效 快速 免费 开源 正常上网流程 浏览器浏览网页的基本原理 请求响应过程 开发环境搭建 Python Django pip inst ...
- Django 入门项目案例开发(下)——创建项目应用及模型类
关注微信公众号:FocusBI 查看更多文章:加QQ群:808774277 获取学习资料和一起探讨问题. 前面两章是在已经开发好的项目上用来描述环境和业务,这一章创建一个全新的项目来用作开发,你可以跟 ...
- Django入门与实践-第13章:表单处理(完结)
http://127.0.0.1:8000/boards/1/ http://127.0.0.1:8000/boards/2/ http://127.0.0.1:8000/boards/3/ http ...
- Django入门与实践 1-16章总结
注意事项:随时备份.随时记录.从宏观到微观 不闻不若闻之,闻之不若见之,见之不若知之,知之不若行之:学至于行之止矣 安装 Python 3.6.2 pip install django==1.11.4 ...
随机推荐
- PX Deq: Execution Msg 等待事件
可参考 MOS文档: WAITEVENT: "PX Deq Credit: send blkd" (Doc ID 271767.1) P1 = sleeptime/senderid ...
- [Deep-Learning-with-Python]机器学习基础
机器学习类型 机器学习模型评估步骤 深度学习数据准备 特征工程 过拟合 解决机器学习问题的一般性流程 机器学习四分支 二分类.多分类以及回归问题都属于监督学习--目标是学习训练输入和对应标签之间的关系 ...
- Linux 下的编译安装说明
https://www.linuxidc.com/Linux/2017-02/140309.htm
- LOJ#6354. 「CodePlus 2018 4 月赛」最短路[最短路优化建图]
题意 一个 \(n\) 个点的完全图,两点之间的边权为 \((i\ xor\ j)*C\) ,同时有 \(m\) 条额外单向路径,问从 \(S\) 到 \(T\) 的最短路. \(n\leq 10^5 ...
- SQL SERVER 2008R2 安装问题
背景 今天帮可以安装数据库.操作系统是windows server 2012 标准版, 安装SQL SERVER 2008R2 . 运行安装程序,提示如下 这是因为两者之间存在兼容性问题. ...
- Anibei前端基础学习
html.html5.CSS2.CSS3.JQuery.Vue.js学习,后端程序媛开始学习前端开发啦.
- DRF框架QQ登录功能
用户模块---QQ登录 流程图 QQ登录文档:http://wiki.connect.qq.com/%E5%87%86%E5%A4%87%E5%B7%A5%E4%BD%9C_oauth2-0 流程简述 ...
- 11.19daily_scrum
本阶段的工作内容为测试并且撰写笔记本APP应用的测试报告,目的在于总结测试阶段的测试以及分析测试结果,描述系统是否符合需求,测试软件功能的完善性.除了音频界面还未完成,其他部分均已开始实现测试功能,具 ...
- VS系列软件中debug和release编译环境有什么区别
当编译和执行一个工程时,可以在Debug和Release两种配置下执行. Debug模式用于调试程序,这是个受保护的运行环境,它将告诉你程序是否有泄露,在运行时也能对特定函数的结果进行检查.然而它生成 ...
- 作业六:小学生四则运算之NABCD模型与产品Backlog。
NABCD模型与产品Backlog NABCD模型 ) N (Need 需求) 方便了老师和学生,使他们可以想要的时候随时可以得到,省时省力,快速出题,马上得到答案. ) A (Approach 做法 ...