IOS开发学习笔记027-UITableView 使用模型对象
1、模型对象
2、单组数据的显示
1、模型对象
继续优化上一个程序
上一次用到字典,但是坏处多多。这里将这些数据封装到类中。
这就是MVC中得模型,模型就是数据的显示结构
新建一个类,添加几个属性和一个类方法用于快速返回对象
 #import <Foundation/Foundation.h>

 @interface Province : NSObject

 // UI控件用weak

 // nsstring 用copy

 @property (nonatomic,copy) NSString *header;

 @property (nonatomic,copy) NSString *footer;

 @property (nonatomic,strong) NSArray *cities;

 //

 + (id)provinceWithHeader:(NSString *)header andFooter:(NSString *)footer andCities:(NSArray *)cities;

 @end
 #import "Province.h"

 @implementation Province

 + (id)provinceWithHeader:(NSString *)header andFooter:(NSString *)footer andCities:(NSArray *)cities

 {

     Province *pp = [[Province alloc] init];

     pp.footer = footer;

     pp.header = header;

     pp.cities = cities;

     return pp;

 }

 @end
初始化对象时使用类方法
     Province *gd = [Province provinceWithHeader:@"广东" andFooter:@"广东怒啊啊" andCities:@[@"广州",@"深圳"]];

     Province *hn = [Province provinceWithHeader:@"湖南" andFooter:@"湖南哈哈哈啊啊" andCities:@[@"长沙",@"岳阳"]];
修改一下 方法 numberOfRowsInSection
 // 2 设置每组多少行 row

 - (NSInteger)tableView:(UITableView *)tableView numberOfRowsInSection:(NSInteger)section

 {

     // 取出对象中得数据

     return [_allProvince[section] cities].count;

 }
修改一下方法 cellForRowAtIndexPath
 // 3 返回每一行显示的内容

 // indexPath 标识唯一的一行,第几组第几行

 - (UITableViewCell *)tableView:(UITableView *)tableView cellForRowAtIndexPath:(NSIndexPath *)indexPath

 {

     UITableViewCell *tableCell = [[UITableViewCell alloc] initWithStyle:UITableViewCellStyleDefault reuseIdentifier:nil];

     // 设置cell显示的文字

     NSString *text =  [_allProvince[indexPath.section] cities][indexPath.row];

     tableCell.textLabel.text = text;

     return tableCell;

 }
修改一下方法 titleForHeaderInSection
 #pragma mark 第section组的头部标题

 - (NSString *)tableView:(UITableView *)tableView titleForHeaderInSection:(NSInteger)section

 {

     return  [_allProvince[section] header];

 }
在修改一下 titleForFooterInSection
 #pragma mark 第section组的尾部显示

 - (NSString *)tableView:(UITableView *)tableView titleForFooterInSection:(NSInteger)section

 {

     return [_allProvince[section] footer];

 }
效果是一样的,但是代码的可扩展性更好了。
显示表格右侧的索引

需要用法一个方法
- (NSArray *)sectionIndexTitlesForTableView:(UITableView *)tableView
返回的数组就是要现实的索引数组,单击索引文字会跳转到对应的组
 #pragma mark 返回表格右边显示的索引条

 - (NSArray *)sectionIndexTitlesForTableView:(UITableView *)tableView

 {

     NSMutableArray *title = [NSMutableArray array];

     for (Province *p in _allProvince)

     {

         [title addObject:p.header]; // 获取标题显示在索引中

     }

     return title;

 }
2、单组数据的显示
以上说到的都是多组数据的显示,下面说单组数据的显示。
主要是在创建view时指定style参数为Plain
设置组和行
 // 设置行,既然是单组,那就只有一行

 - (NSInteger)numberOfSectionsInTableView:(UITableView *)tableView

 {

     return ;

 }

 // 设置行

 - (NSInteger)tableView:(UITableView *)tableView numberOfRowsInSection:(NSInteger)section

 {

     return ;

 }

 // 设置行内容

 - (UITableViewCell *)tableView:(UITableView *)tableView cellForRowAtIndexPath:(NSIndexPath *)indexPath

 {

     UITableViewCell *cell = [[UITableViewCell alloc] initWithStyle:UITableViewCellStyleDefault reuseIdentifier:nil];

     cell.textLabel.text = [NSString stringWithFormat:@"第%d行数据",indexPath.row]; // 中间文字

     cell.imageView.image = [UIImage imageNamed:[NSString stringWithFormat:@"00%d.png",indexPath.row + ]]; // 左侧图像

     cell.detailTextLabel.text = [NSString stringWithFormat:@"第%d行数据的描述",indexPath.row]; //描述文字,对textLable的描述

     return cell;

 }
其中UITableViewCell的几种显示方式:
UITableViewCellStyleDefault:不显示子标题

UITableViewCellStyleValue1:detial标签显示在右边
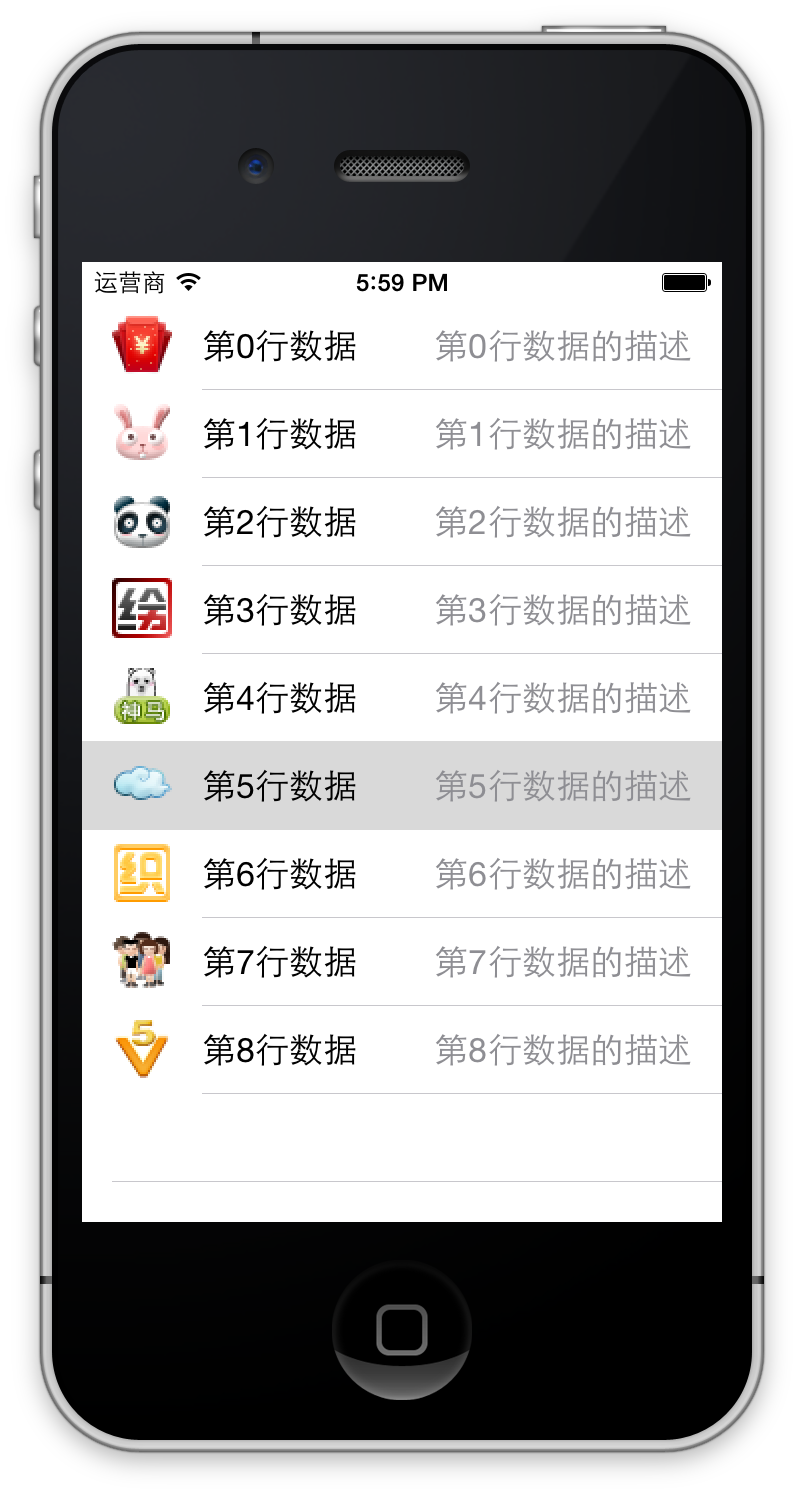
UITableViewCellStyleValue2:不显示图片

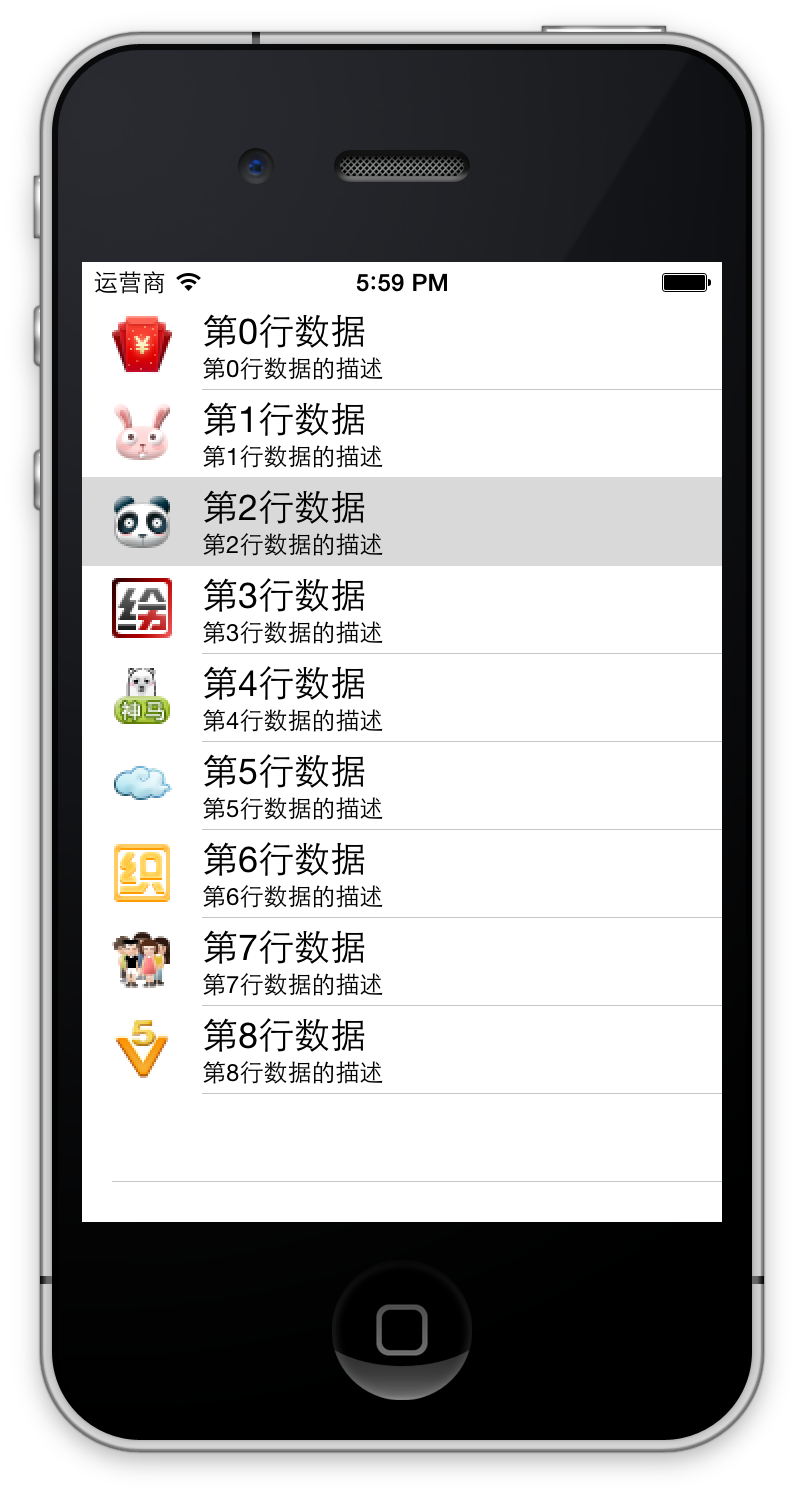
UITableViewCellStyleSubTitle:显示子标题
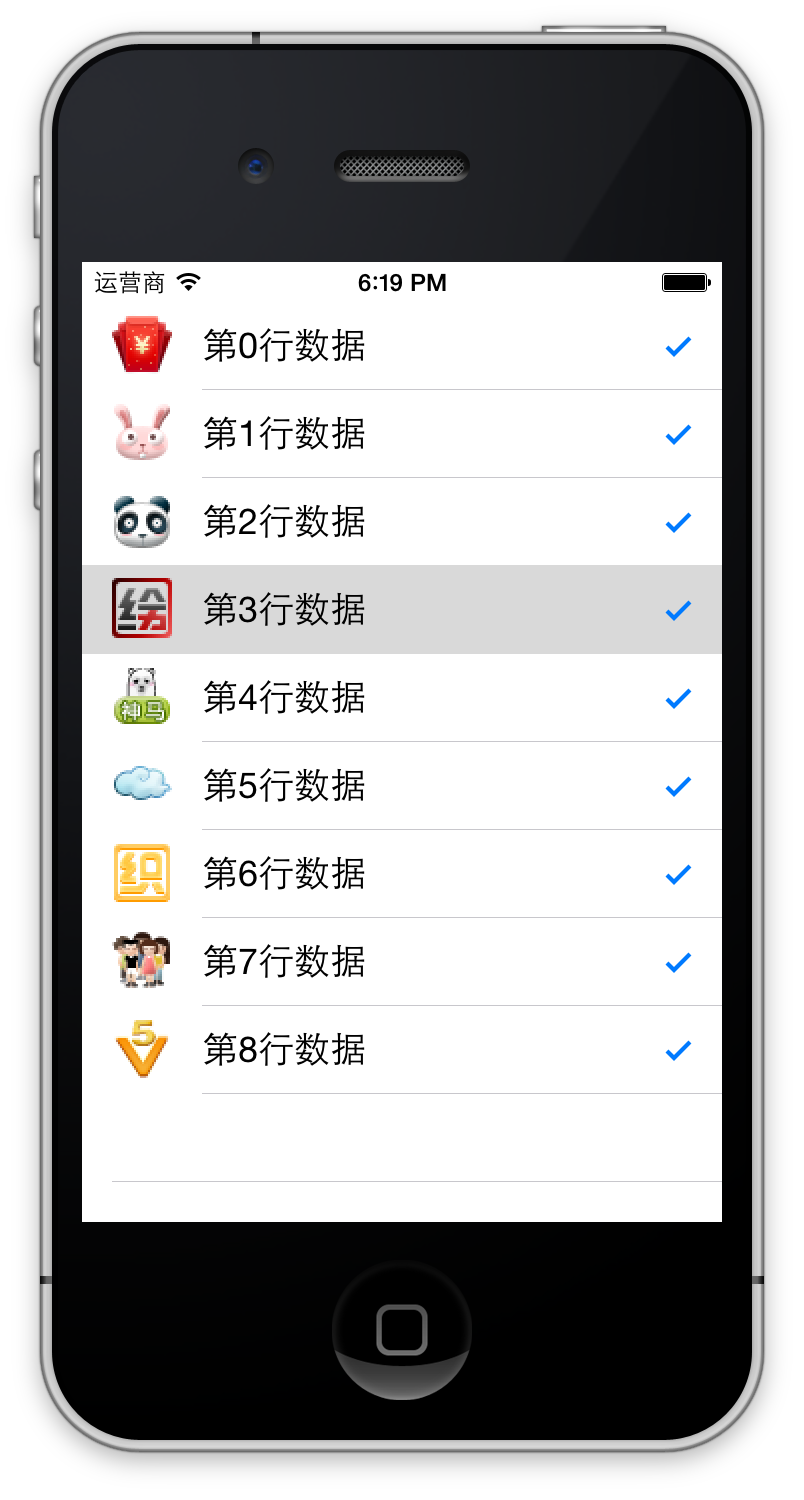
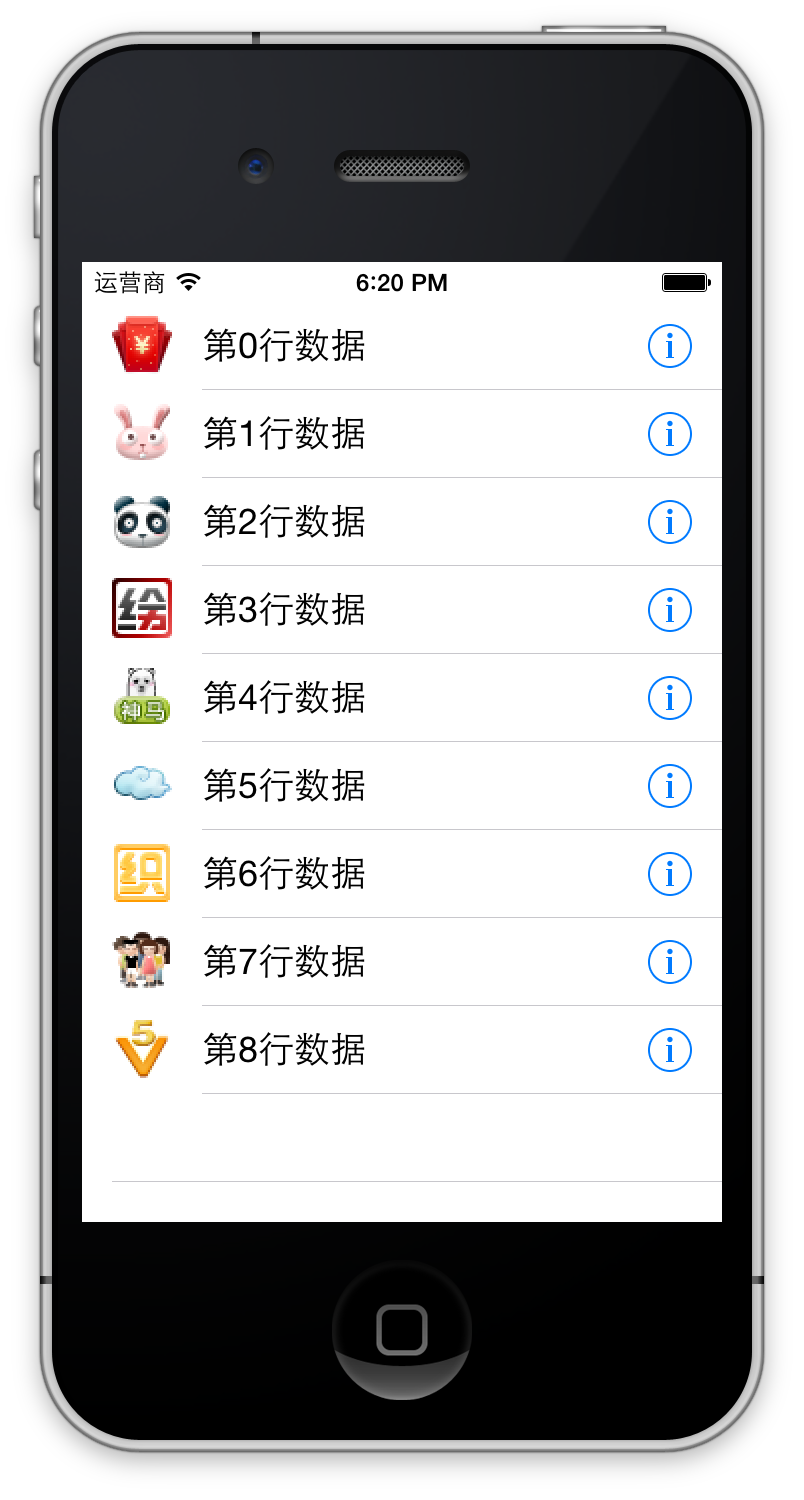
设置显示在最右侧的按钮或者图标
cell.accessoryType = UITableViewCellAccessoryDisclosureIndicator; // 最右侧指示信息
UITableViewCellAccessoryCheckmark 最右侧显示一个对号
UITableViewCellAccessoryDetailButton 最右侧显示一个i按钮
UITableViewCellAccessoryDetailDisclosureButton 显示一个I按钮和一个尖括号>

UITableViewCellAccessoryDisclosureIndicator 显示一个尖括号 >
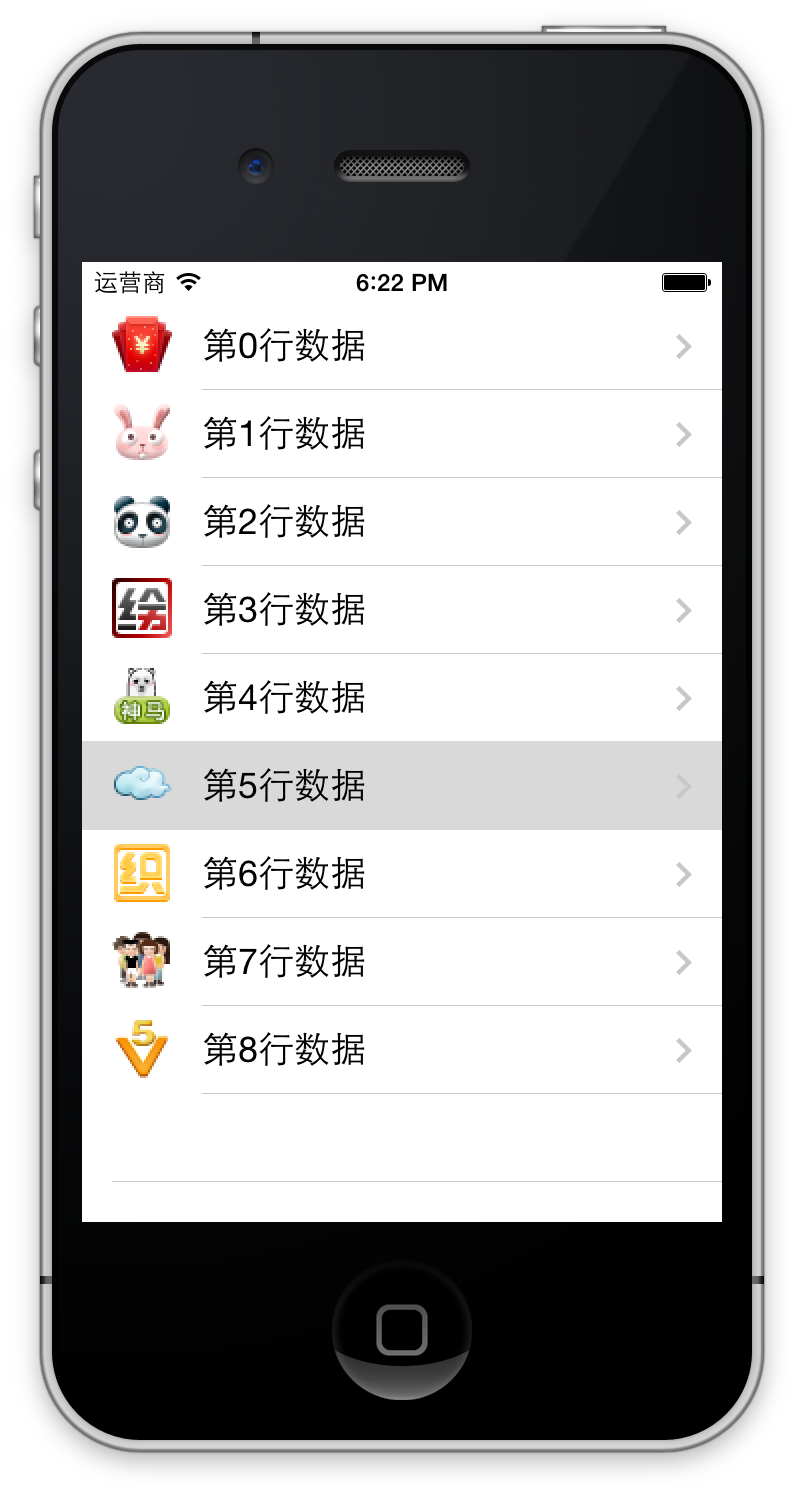
最终效果是这样

代码如下
 //

 //  SLQViewController.m

 //  UITableView-单组数据显示

 //

 //  Created by Christian on 15/5/16.

 //  Copyright (c) 2015年 slq. All rights reserved.

 //

 #import "SLQViewController.h"

 @interface SLQViewController () <UITableViewDataSource, UITableViewDelegate>

 @end

 @implementation SLQViewController

 - (void)viewDidLoad

 {

     [super viewDidLoad];

     // Do any additional setup after loading the view, typically from a nib.

 }

 // 设置行,既然是单组,那就只有一行

 - (NSInteger)numberOfSectionsInTableView:(UITableView *)tableView

 {

     return ;

 }

 // 设置行

 - (NSInteger)tableView:(UITableView *)tableView numberOfRowsInSection:(NSInteger)section

 {

     return ;

 }

 // 设置行内容

 - (UITableViewCell *)tableView:(UITableView *)tableView cellForRowAtIndexPath:(NSIndexPath *)indexPath

 {

     UITableViewCell *cell = [[UITableViewCell alloc] initWithStyle:UITableViewCellStyleSubtitle reuseIdentifier:nil];

     cell.textLabel.text = [NSString stringWithFormat:@"第%ld行数据",indexPath.row]; // 中间文字

     cell.imageView.image = [UIImage imageNamed:[NSString stringWithFormat:@"00%ld.png",indexPath.row + ]]; // 左侧图像

     cell.detailTextLabel.text = [NSString stringWithFormat:@"第%ld行数据的描述",indexPath.row]; // 描述信息

     cell.accessoryType = UITableViewCellAccessoryDisclosureIndicator; // 最右侧指示信息

     return cell;

 }

 @end
3、选中行后弹出对话框
弹出对话框使用UIAlertView,遵守代理UIAlertViewDelegate的对象都可弹出UIAlertView对话框
获取选中行的方法是 didSelectRowAtIndexPath
 1 // 选中了某一行的cell就会调用

 2 - (void)tableView:(UITableView *)tableView didSelectRowAtIndexPath:(NSIndexPath *)indexPath

 3 {

 4     // 1、取出点击的行对象

 5     Shop *shop = _shops[indexPath.row] ;

 6     // 2、创建UIAlertView提示窗口,指定代理

 7     UIAlertView *alert = [[UIAlertView alloc] initWithTitle:@"提示信息" message:shop.name delegate:self cancelButtonTitle:@"取消" otherButtonTitles:@"确定", nil];

 8     // 3、设置窗口显示样式,以明文显示还是以密文显示

 9     alert.alertViewStyle = UIAlertViewStylePlainTextInput;

10     // 4、设置输入文本框默认显示的文字

11     [alert textFieldAtIndex:0].text = shop.name;

12     // 5、显示

13     [alert show];

14     // 6、绑定显示的行号,在代理方法中更新数据

15     alert.tag = indexPath.row;

16 }
然后弹出对话框后对数据进行修改,最后将修改后的数据更新到表格中,单击确定按钮保存结果
 1 // alertview的代理方法,在创建alertView时传递代理

 2 - (void)alertView:(UIAlertView *)alertView clickedButtonAtIndex:(NSInteger)buttonIndex

 3 {

 4     // 1、取消按钮直接返回

 5     if(buttonIndex == 0) return ;

 6     // 2、点击的时确定按钮

 7     //   2.1获取字符串

 8     NSString *text = [alertView textFieldAtIndex:0].text;

 9     //   2.2修改模型数据

10     int row = alertView.tag;

11     Shop *shop = _shops[row];

12     shop.name = text;

13     //   2.3更新行,tableView给UITableView绑定的变量

14     [_tableView reloadData]; // 重新刷新所有行

15

16 }
reloadData方法刷新所有行,如果只修改一行,显然没必要刷新所有行。
刷新某一行使用方法 reloadRowsAtIndexPaths
1     // 刷新某一行,自带动画效果

2     NSIndexPath *path = [NSIndexPath indexPathForRow:row inSection:0];

3     [_tableView reloadRowsAtIndexPaths:@[path] withRowAnimation:UITableViewRowAnimationLeft];
IOS开发学习笔记027-UITableView 使用模型对象的更多相关文章
- iOS开发学习笔记:基础篇
iOS开发需要一台Mac电脑.Xcode以及iOS SDK.因为苹果设备都具有自己封闭的环境,所以iOS程序的开发必须在Mac设备上完成(当然,黑苹果应该也是可以的,但就需要花很多的精力去折腾基础环境 ...
- ios开发学习笔记(1)
objective-c基础总结 第一二章 1.application:didiFinishLauchingWithOptions:程序启动后立即执行 2.启动界面代码格式:self.window = ...
- IOS开发学习笔记043-QQ聊天界面实现
QQ聊天界面实现 效果如下: 实现过程: 1.首先实现基本界面 头像使用 UIImageView : 文字消息使用 UIButton 标签使用 UILable :水平居中 所有元素在一个cell中,在 ...
- IOS开发学习笔记041-UITableView总结1
一.UITableView的常用属性 1.分割线 // 分割线 self.tableView.separatorColor = [UIColorredColor]; // 隐藏分割线 self.tab ...
- IOS开发学习笔记032-UITableView 的编辑模式
UITableView 的三种编辑模式 1.删除 2.排序 3.添加 进入编辑模式,需要设置一个参数 - (IBAction)remove:(UIBarButtonItem *)sender { NS ...
- iOS开发学习笔记
1 常用的第三方工具 1.1 iPhone Simulator 测试程序需要模拟器iPhone Simulator 1.2 设计界面需要Interface Builder,Interface Buil ...
- ios开发学习笔记(这里一定有你想要的东西,全部免费)
1,Search Bar 怎样去掉背景的颜色(storyboard里只能设置background颜色,可是发现clear Color无法使用). 其实在代码里还是可以设置的,那就是删除背景view [ ...
- IOS开发学习笔记042-UITableView总结2
一.自定义非等高的cell 如常见的微博界面,有的微博只有文字,有的有文字和图片.这些微博的高度不固定需要重新计算. 这里简单说一下几种方法.前面的步骤和设置等高的cell一样.现在来 ...
- IOS开发学习笔记031-代码实现微博界面
微博界面如下 1.准备资源文件 新建一个plist文件,添加条目,root类型是array,子类型是Dictionary 2.更改父类,实现代理方法 接下来得实现过程如上一篇文章,改变父类为UITab ...
随机推荐
- 时序js插件cubism使用
document http://iwantmyreal.name/blog/2012/09/16/visualising-conair-data-with-cubism-dot-js https:// ...
- 奇怪的Unrooted Tests错误
错误如图: 条件如下: Eclipse里的Maven工程. 使用JUnit4(这个是否必须不知,反正我的工程用的4) 修改某个Test类里的方法名,或者增加一个Test方法. 现象: 在MyEclip ...
- POJ 3057 Evacuation(二分匹配)
分析: 这是一个时间和门的二元组(t,d)和人p匹配的问题,当我们固定d0时,(t,d0)匹配的人数和t具有单调性. t增加看成是多增加了边就行了,所以bfs处理出p到每个d的最短时间,然后把(t,d ...
- centos 7 虚拟机启用网卡
1.vi /etc/sysconfig/network-scripts/ifcfg-enp0s3 2.编辑默认网卡配置文件,将ONBOOT由no改为yes,编辑完成后,按ESC回至命令模板,输入&qu ...
- R+hadoop
这里面的配置 http://www.rdatamining.com/big-data/r-hadoop-setup-guide root@kali:~/hadoop_home/hadoop-1.2.1 ...
- python换行
python中如果一行代码太长,看着不方便时,怎么办? 只需要在需要换行的地方添加上符号 \ 就行了.
- vue实现tab切换功能精简版
<template> <div> <p class="tabs" v-for="(list,index) in lists" :c ...
- java算法面试题:编写一个程序,将a.txt文件中的单词与b.txt文件中的单词交替合并到c.txt文件中,a.txt文件中的单词用回车符分隔,b.txt文件中用回车或空格进行分隔。
package com.swift; import java.io.BufferedReader; import java.io.BufferedWriter; import java.io.File ...
- java 实现猜数字游戏 随机给定一个数字,猜大小直到正确
package com.swift; import java.util.Random; import java.util.Scanner; public class GuessBigSmall { p ...
- runtime运行时,类、对象、isa指针
先查看一段OC源码,关于类的定义: /// An opaque type that represents an Objective-C class. typedef struct objc_class ...