Mac上使用brew安装Nginx服务器
使用brew安装nginx
$ brew install nginx
启动nginx
sudo nginx
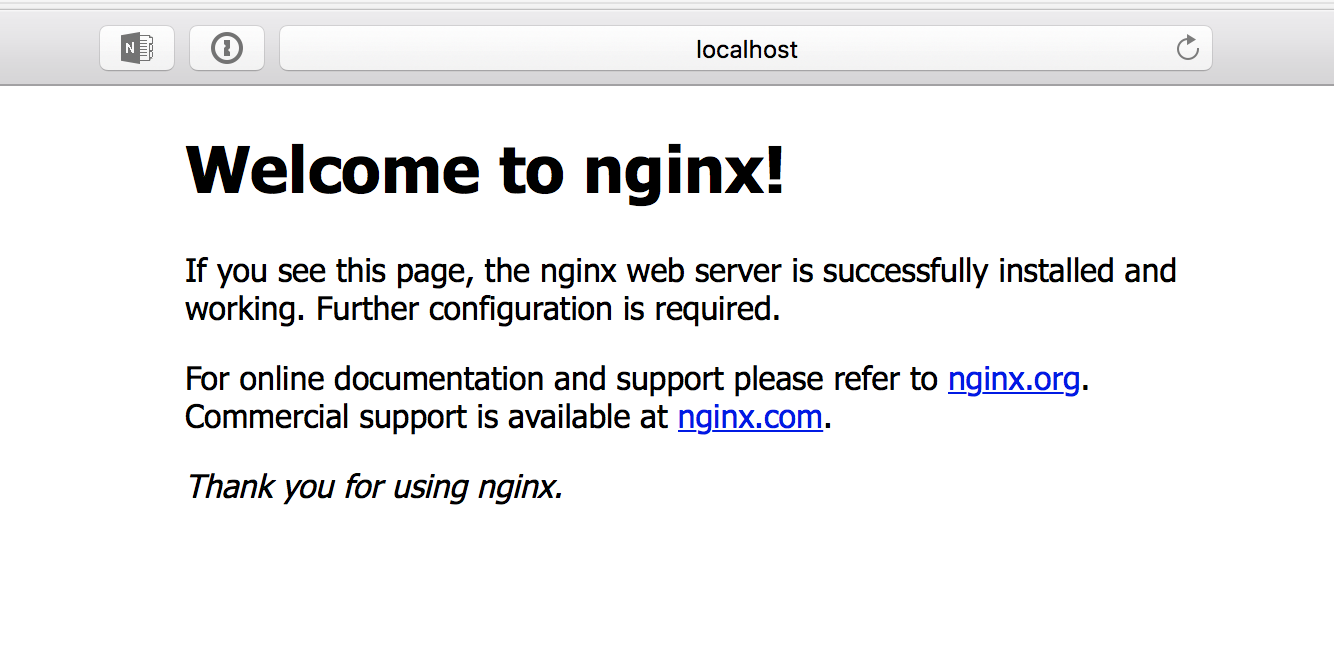
访问localhost:8080 发现已出现nginx的欢迎页面了。
 

为方便期间,做个软连接:
- sudo ln -s /usr/local/bin/nginx /usr/bin/nginx #我的mac没有成功,提示没有权限
常用的指令有:
- nginx -V 查看版本,以及配置文件地址
- nginx -v 查看版本
- nginx -c filename 指定配置文件
- nginx -h 帮助
- 打开 nginx
- sudo nginx
- nginx 重新加载配置|重启|停止|退出
- nginx -s reload|reopen|stop|quit
- 测试配置是否有语法错误
- nginx -t
例子:
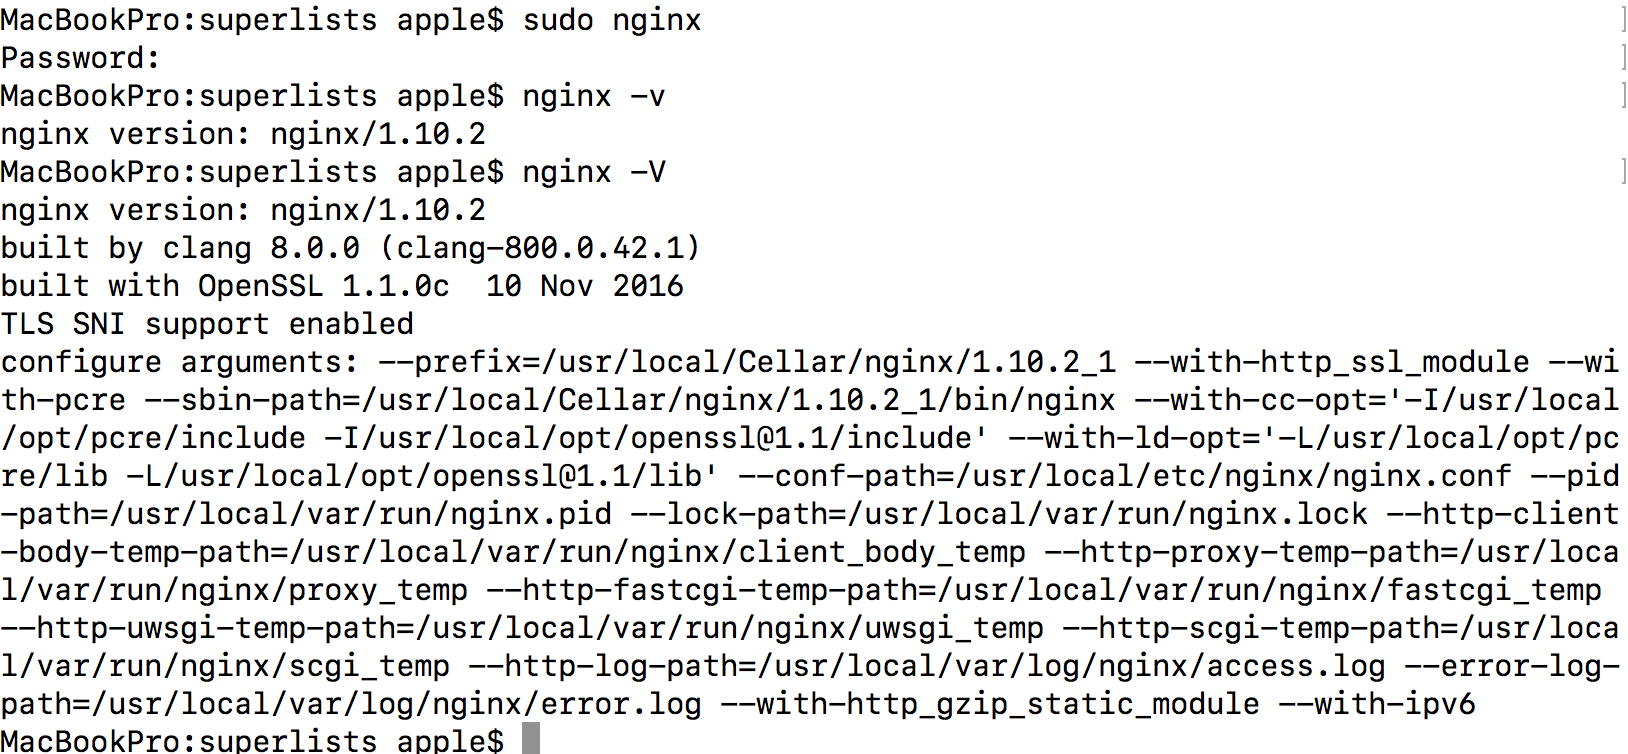
- MacBookPro:superlists apple$ ln -s /usr/local/bin/nginx /usr/bin/nginx
- ln: /usr/bin/nginx: Operation not permitted
- MacBookPro:superlists apple$ sudo nginx
- Password:
- MacBookPro:superlists apple$ nginx -v
- nginx version: nginx/1.10.
- MacBookPro:superlists apple$ nginx -V
- nginx version: nginx/1.10.
- built by clang 8.0. (clang-800.0.42.1)
- built with OpenSSL 1.1.0c Nov
- TLS SNI support enabled
- configure arguments: --prefix=/usr/local/Cellar/nginx/1.10.2_1 --with-http_ssl_module --with-pcre --sbin-path=/usr/local/Cellar/nginx/1.10.2_1/bin/nginx --with-cc-opt='-I/usr/local/opt/pcre/include -I/usr/local/opt/openssl@1.1/include' --with-ld-opt='-L/usr/local/opt/pcre/lib -L/usr/local/opt/openssl@1.1/lib' --conf-path=/usr/local/etc/nginx/nginx.conf --pid-path=/usr/local/var/run/nginx.pid --lock-path=/usr/local/var/run/nginx.lock --http-client-body-temp-path=/usr/local/var/run/nginx/client_body_temp --http-proxy-temp-path=/usr/local/var/run/nginx/proxy_temp --http-fastcgi-temp-path=/usr/local/var/run/nginx/fastcgi_temp --http-uwsgi-temp-path=/usr/local/var/run/nginx/uwsgi_temp --http-scgi-temp-path=/usr/local/var/run/nginx/scgi_temp --http-log-path=/usr/local/var/log/nginx/access.log --error-log-path=/usr/local/var/log/nginx/error.log --with-http_gzip_static_module --with-ipv6
 

Nginx安装日志如下:
- MacBookPro:superlists apple$ brew install nginx
- Updating Homebrew...
- ==> Auto-updated Homebrew!
- Updated tap (homebrew/core).
- ==> New Formulae
- cnats mingw-w64-binutils opencoarrays
- imagemagick@ molecule watchexec
- ==> Updated Formulae
- abcde gitup mongoose
- afl-fuzz gnupg-pkcs11-scd openshift-cli
- ansible godep orientdb
- aria2 groonga pius
- arping gtk+ pngcrush
- aws-sdk-cpp h2o pyenv
- awscli htmlcleaner rocksdb
- certbot httrack speedtest_cli
- deis hyperscan sshguard
- deisctl ios-webkit-debug-proxy swaks
- docker-compose iso-codes swiftformat
- docker-machine kobalt tcpkali
- docker-machine-nfs libgcrypt tomcat
- dpkg libgtop vim
- eiffelstudio libtasn1 xz
- fabio libxc yank
- flow lighttpd yash
- fossil logentries youtube-dl
- fwup makeself
- ==> Installing dependencies for nginx: pcre, openssl@1.1
- ==> Installing nginx dependency: pcre
- ==> Downloading https://homebrew.bintray.com/bottles/pcre-8.39.sierra.bottle.tar.gz
- ######################################################################## 100.0%
- ==> Pouring pcre-8.39.sierra.bottle.tar.gz
Mac上使用brew安装Nginx服务器的更多相关文章
1. nginx nginx [engine x] is an HTTP and reverse proxy server, a mail proxy server, and a generic TC ...
准备工作 新版的 Mac OS 内置了Apache 和 PHP,我的系统版本是OS X 10.9.3,可以通过以下命令查看Apache和PHP的版本号: httpd -v Server version ...
有没有出现一下这样的情况: 如果有,请继续往下走 1.打开mac的命令窗口,键入如下命令 cd /usr/local/Homebrew 2.更换homebrew的默认源[更换为中科大的镜像源] git ...
brew方式 如果机器没有安装过node,那么首先brew install nvm安装nvm. 其次需要在shell的配置文件(~/.bashrc, ~/.profile, or ~/.zshrc)中 ...
下面我就我在CentOS上安装Nginx经验做简单的记录,以备后查. 1.下载nginx-release包 以CentOS 7为例,下载nginx软件包:http://nginx.org/packag ...
在Linux和Windows系统上安装Nginx服务器的教程 1.在CentOS系统上安装Nginx 在 CentOS6 版本的 EPEL 源中,已经加入了 nginx 的 rpm 包,不过此 RP ...
mac中使用brew安装软件,下载太慢怎么办? 本文所说的软件是指较大的软件,如果软件较小,例如软件只有几M,那么使用此方法后,提升会非常小. 了解brew原理: 1: 从网络下载安装包 2: 执行一 ...
转自:mac 下用 brew 安装mongodb 经过这位仁兄的文章指导,终于连上了mongodb. 启动mongo数据库,就是打开一个终端sudo mongod,然后打开另一个终端sudo mong ...
Mac上tesseract-OCR的安装配置 tesseract简介 OCR(Optical Character Recognition)即光学字符识别技术,专门用于对图片文字进行识别,并获取文本. ...
随机推荐
vue路由跳转取消上个页面的请求和去掉重复请求 axios 的二次封装(拦截重复请求.异常统一处理) axios里面拦截重复请求
本文原文地址:https://www.cnblogs.com/wintrysec/p/10875232.html 一.利用xp_cmdshell提权 xp_cmdshell默认是关闭的,可以通过下面的 ...
下载Linux环境下的jdk1.8,请去(官网)中下载jdk的安装文件: 由于我的Linux是64位的,因此我下载jdk-8u131-linux-x64.tar.gz. 下载之后 解压命令进行解压 1 ...
1 qmake技巧: https://blog.csdn.net/chenjianqi0502/article/details/79092433
import torch import torch.nn as nn import torchvision import torchvision.transforms as transforms # ...
1.自定义控件的优点 Android自身带的控件不能满足需求, 需要根据自己的需求定义控件. 2.自定义控件的分类: (1)组合已有的控件实现 (2)继承已有的控件实现(扩展已有的功能) (3)完全自 ...
1.在Linux中进入SVN配置文件目录. 2.authz是设置权限的,只读还是可读可写,passwd是增加访问用户的. vim passwd; vim authz;
1.创建eureka-server注册中心工程,配置跟之前讲eureka文章中一样,这里不再赘述 1.1.端口8888 2.创建一个demo-client工程 2.1.demo-client启动类跟之 ...
题目 题意 给出两个字符串 $ s1,s2 $,每次操作可以使一段连续的子串全变成一个字母,问最少多少次操作可以使 $ s1 $ 变为 $ s2 $. 例如 $ zzzzzfzzzzz $,长度为 $ ...
1. 设计数据结构 问题表Question:作用存放问题 id 主键 自增 question_text 题目 varchar120 created 创建时间 datetime 选项表Choice: ...
