SpringCloud Bus 动态刷新全局广播和定点通知
全局广播
前提: 先具备良好的 RabbitMQ 环境
1. 演示广播效果,增加复杂度,再以3355为模板再制做一个3366模块
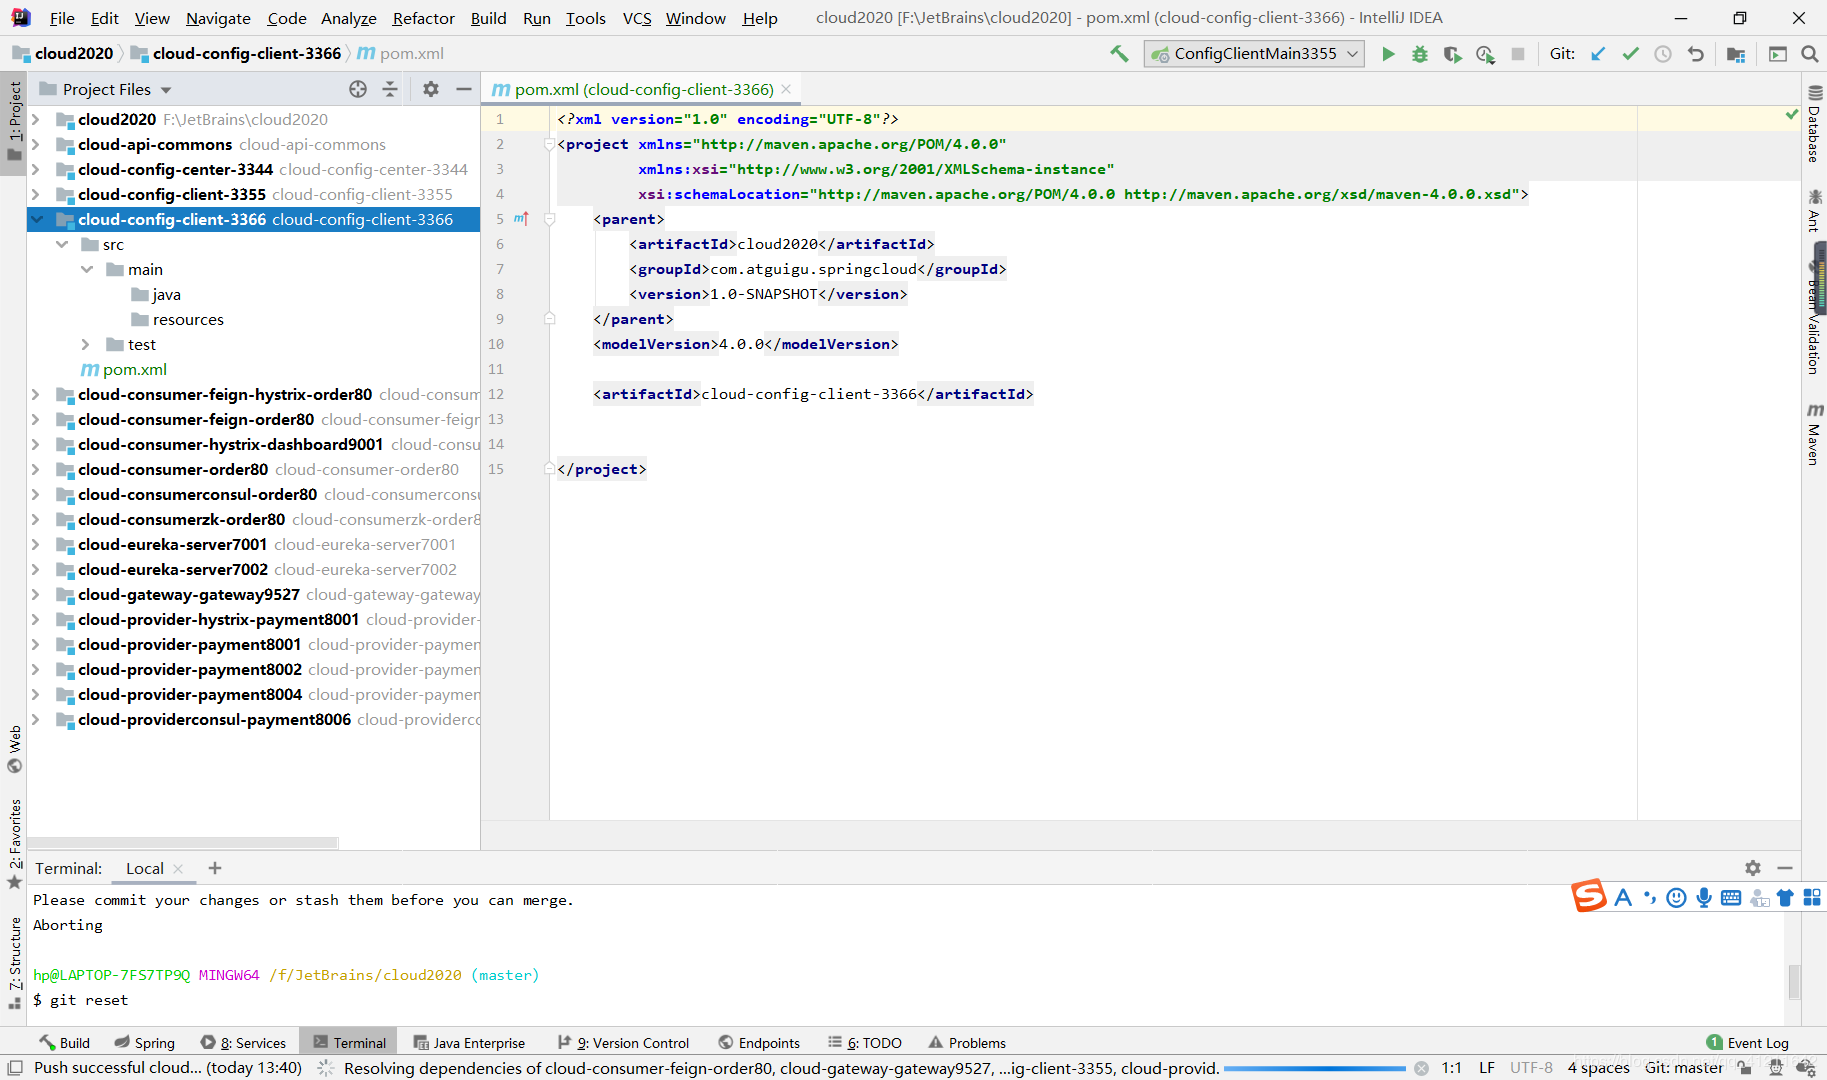
<!--pom.xml-->

<?xml version="1.0" encoding="UTF-8"?>

<project xmlns="http://maven.apache.org/POM/4.0.0"

         xmlns:xsi="http://www.w3.org/2001/XMLSchema-instance"

         xsi:schemaLocation="http://maven.apache.org/POM/4.0.0 http://maven.apache.org/xsd/maven-4.0.0.xsd">

    <parent>

        <artifactId>cloud2020</artifactId>

        <groupId>com.atguigu.springcloud</groupId>

        <version>1.0-SNAPSHOT</version>

    </parent>

    <modelVersion>4.0.0</modelVersion>

    <artifactId>cloud-config-client-3366</artifactId>

    <dependencies>

        <dependency>

            <groupId>org.springframework.cloud</groupId>

            <artifactId>spring-cloud-starter-config</artifactId>

        </dependency>

        <dependency>

            <groupId>org.springframework.cloud</groupId>

            <artifactId>spring-cloud-starter-netflix-eureka-client</artifactId>

        </dependency>

        <dependency>

            <groupId>org.springframework.boot</groupId>

            <artifactId>spring-boot-starter-web</artifactId>

        </dependency>

        <dependency>

            <groupId>org.springframework.boot</groupId>

            <artifactId>spring-boot-starter-actuator</artifactId>

        </dependency>

        <dependency>

            <groupId>org.springframework.boot</groupId>

            <artifactId>spring-boot-devtools</artifactId>

            <scope>runtime</scope>

            <optional>true</optional>

        </dependency>

        <dependency>

            <groupId>org.projectlombok</groupId>

            <artifactId>lombok</artifactId>

            <optional>true</optional>

        </dependency>

        <dependency>

            <groupId>org.springframework.boot</groupId>

            <artifactId>spring-boot-starter-test</artifactId>

            <scope>test</scope>

        </dependency>

    </dependencies>

</project>
#bootstrap.yml

server:

  port: 3366

spring:

  application:

    name: config-client

  cloud:

    #Config客户端配置

    config:

      label: master #分支名称

      name: config #配置文件名称

      profile: dev #读取后缀名称 上述3个综合:master分支上config-dev.yml的配置文件被读取 http://config-3344.com:3344/master/config-dev.yml

      uri: http://localhost:3344 #配置中心地址

#服务注册到eureka地址

eureka:

  client:

    service-url:

      defaultZone: http://localhost:7001/eureka

#暴露监控端点

management:

  endpoints:

    web:

      exposure:

        include: "*"
//主启动类

package com.atguigu.springcloud;

import org.springframework.boot.SpringApplication;

import org.springframework.boot.autoconfigure.SpringBootApplication;

import org.springframework.cloud.netflix.eureka.EnableEurekaClient;

@SpringBootApplication

@EnableEurekaClient

public class ConfigClientMain3366 {

    public static void main(String[] args) {

        SpringApplication.run(ConfigClientMain3366.class,args);

    }

}
//controller

package com.atguigu.springcloud.config;

import org.springframework.beans.factory.annotation.Value;

import org.springframework.cloud.context.config.annotation.RefreshScope;

import org.springframework.web.bind.annotation.GetMapping;

import org.springframework.web.bind.annotation.RestController;

@RestController

@RefreshScope

public class ConfigClientController {

    @Value("${server.port}")

    private String serverPort;

    @Value(("${config.info}"))

    private String configInfo;

    @GetMapping("/configInfo")

    public String getConfigInfo(){

        return "serverPort: "+serverPort+"\t\n\n configInfo: "+configInfo;

    }

}
2. 讲一下设计思想
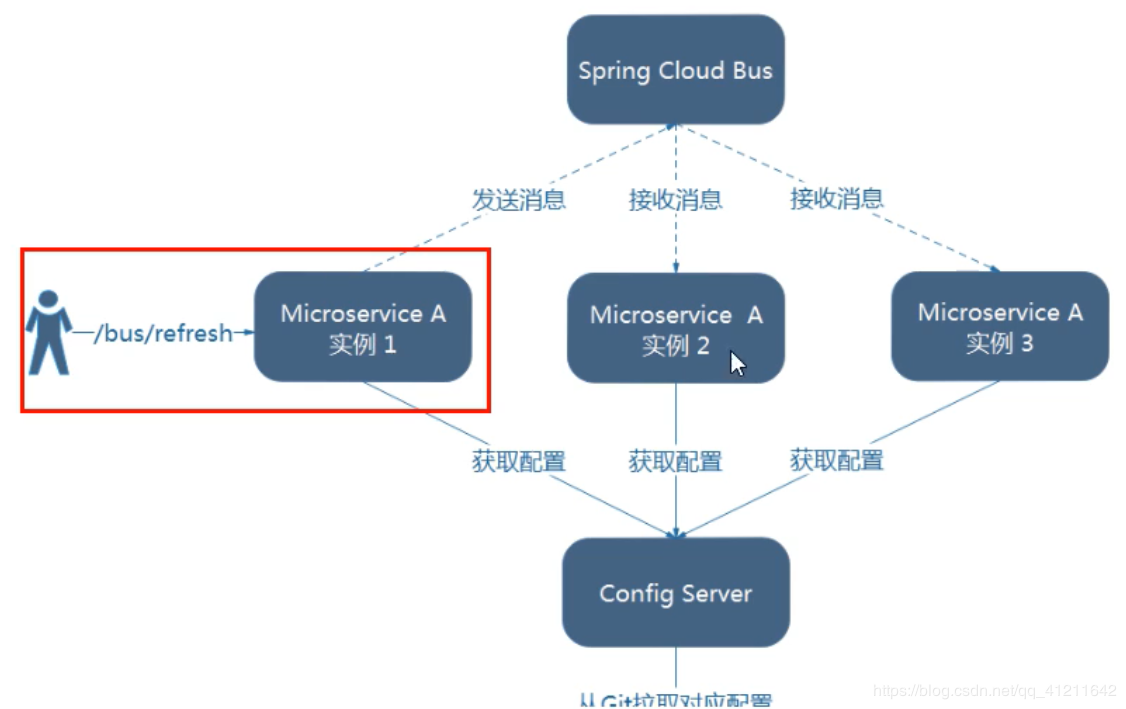
1)利用消息总线触发一个客户端/bus/refresh,而刷新所有客户端的配置
2)利用消息总线触发一个服务端ConfigServer的/bus/refresh端点,而刷新所有客户端的配置
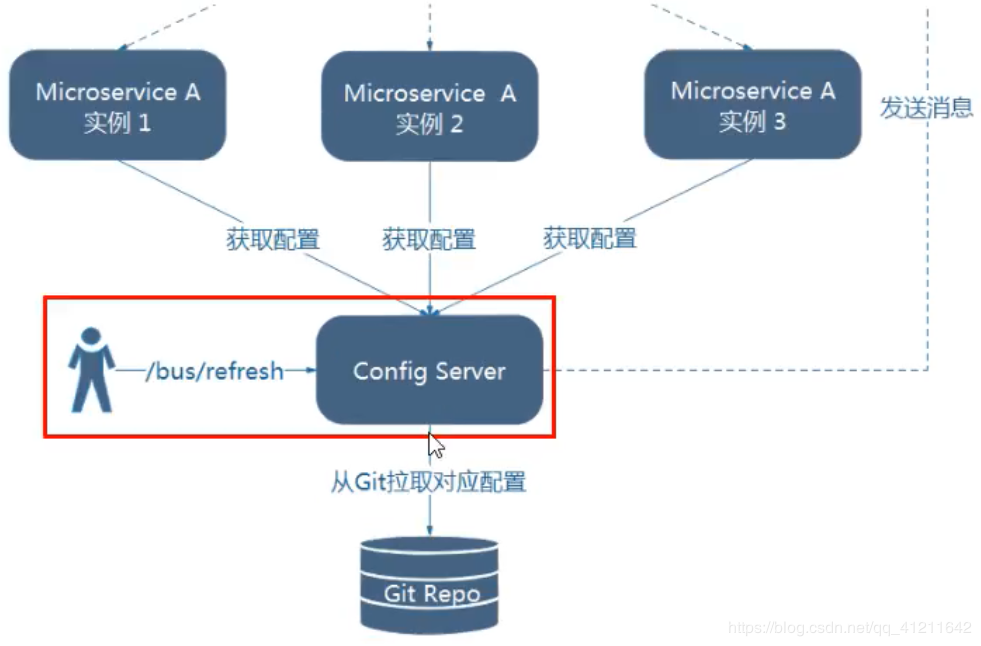
图二的架构显然更加合适,图一不合适的原因如下:
打破了微服务的职责单一性,因为微服务本身是业务模块,它本不应该承担配置刷新的职责
破坏了微服务各节点的对等性
有一定的局限性。例如,微服务在迁移时,它的网络地址常常会发生变化,此时如果想要做到自动刷新,那就好增加更多的修改
3. 给cloud-config-center-3344配置中心服务端端架消息总线支持
<!--添加消息总线RbbitMQ支持-->

<dependency>

    <groupId>org.springframework.cloud</groupId>

    <artifactId>spring-cloud-starter-bus-amqp</artifactId>

</dependency>

<dependency>

    <groupId>org.springframework.boot</groupId>

    <artifactId>spring-boot-starter-actuator</artifactId>

</dependency>
#rabbit相关配置

  rabbitmq:

    host: localhost

    port: 5672

    username: guest

    password: guest

#rabbitmq相关配置,暴露bus刷新配置的端点

management:

  endpoints:  #暴露bus刷新配置的端点

    web:

      exposure:

        include: 'bus-refresh'  #凡是暴露监控、刷新的都要有actuator依赖,bus-refresh就是actuator的刷新操作
4. 给cloud-config-client-3355客户端添加消息总线支持
<!--添加消息总线rabbitMQ支持-->

<dependency>

    <groupId>org.springframework.cloud</groupId>

    <artifactId>spring-cloud-starter-bus-amqp</artifactId>

</dependency>

<dependency>

    <groupId>org.springframework.boot</groupId>

    <artifactId>spring-boot-starter-actuator</artifactId>

</dependency>
 #rabbit相关配置 15672是web管理界面的端口,5672是MQ访问的端口

  rabbitmq:

    host: localhost

    port: 5672

    username: guest

    password: guest    #这是客户端,不需要刷新
5. 给cloud-config-client-3366客户端添加消息总线支持
<!--添加消息总线rabbitMQ支持-->

<dependency>

    <groupId>org.springframework.cloud</groupId>

    <artifactId>spring-cloud-starter-bus-amqp</artifactId>

</dependency>

<dependency>

    <groupId>org.springframework.boot</groupId>

    <artifactId>spring-boot-starter-actuator</artifactId>

</dependency>
 #rabbit相关配置 15672是web管理界面的端口,5672是MQ访问的端口

  rabbitmq:

    host: localhost

    port: 5672

    username: guest

    password: guest    #这是客户端,不需要刷新
6. 启动7001、3344、3355、3366,测试
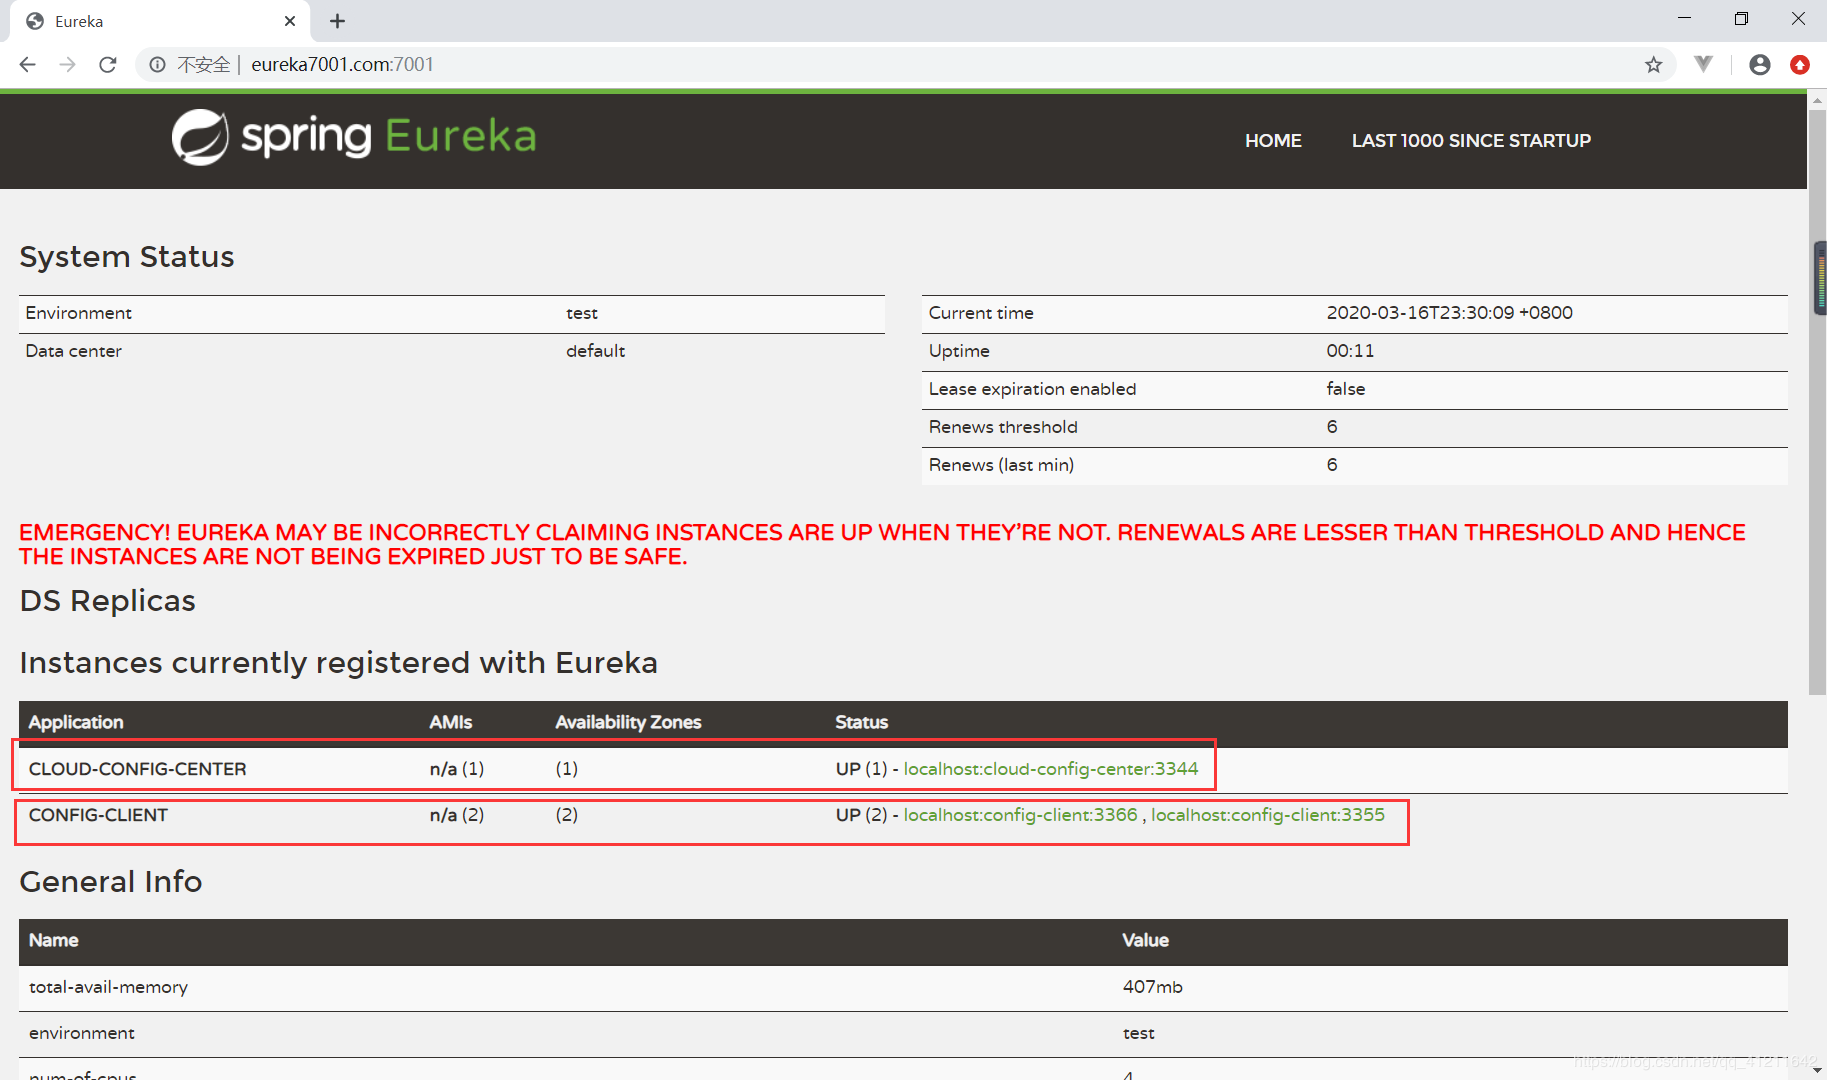
先看一下eureka注册中心,3344,3355,3366都已经注册进来了
github上现在version 是3,访问3344,看拿到的是多少

是3,正常,访问3355

正常,访问3366

现在,在github将version改为4,如果不使用Bus消息总线通知,3344可以拿到新数据:

3355/3366要想拿到新数据需要每个都发送一个Post请求激活,但现在使用了Bus总线,我们只需给3344服务端发送一次Post请求,3355/3366就能自动的跟着更新。测试一下,给3344发送Post:
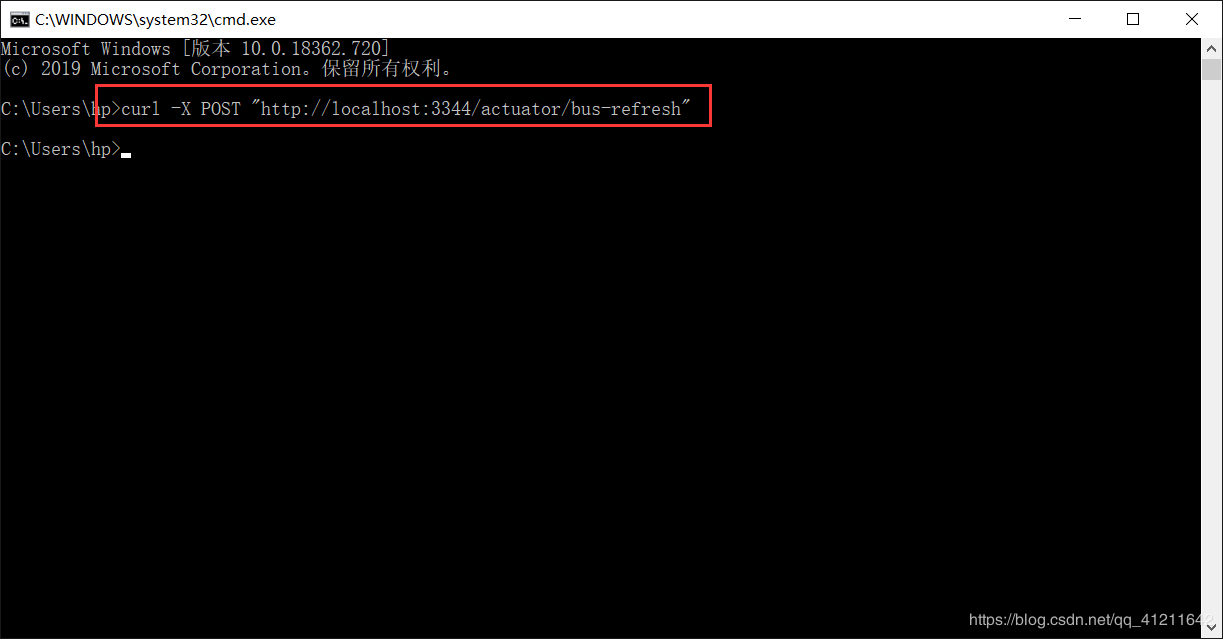
然后测试3355、3366,这时候已经可以拿到新数据了,但我们并没有重启3355/3366,或给每一个发送post请求


这样就达到了一次修改,广播通知,处处生效。
定点通知
如果现在不想全部通知,指向定点通知该如何呢?
解决:
指定具体某一个实例生效而不是全部
公式:http://localhost:配置中心端口号/actuator/bus-refresh/{destination}
/bus/refresh请求不再发送到具体的服务实例上,而是发给 config server并通过destination参数类指定需要更新配置的服务或实例
案例: 这里我们以刷新运行在3355端口上的config-client为例,只通知3355,不通知3366
现在再来修改github配置文件的version,改为5

现在3344是可以直接拿到新数据,3355/3366不能,我们来发一条这样的Post请求
curl -X -POST "http://localhost:3344/actuator/bus-refresh/config-client:3355"
config-client就是3355的微服务名,3355即端口号
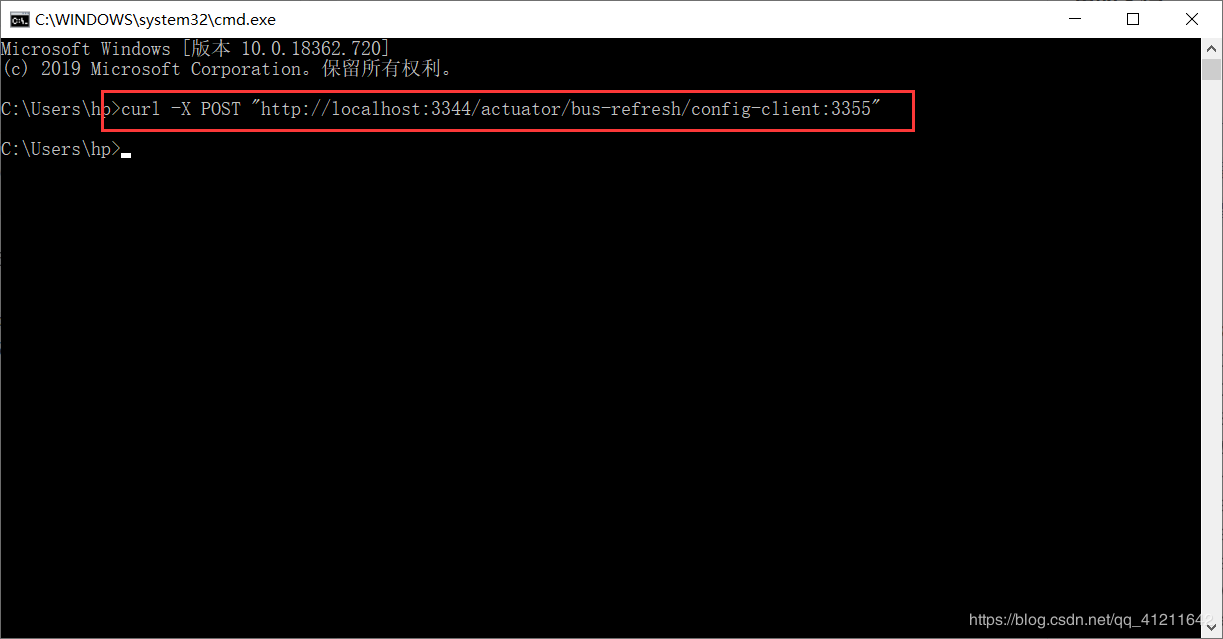
现在来刷新3355、3366,只有3355拿到了新数据,3366没被通知,没拿到新数据


通知总结

SpringCloud Bus 动态刷新全局广播和定点通知的更多相关文章
- SpringCloud Bus消息总线简介
简介: SpringCloud Bus配合SpringCloud Config使用可以实现配置的动态刷新 SpringCloud Bus是用来将分布式系统的节点与轻量级消息系统链接起来的框架,它整合了 ...
- SpringCloud Bus消息总线
在微服务架构中,通常会使用轻量级的消息代理来构建一个共用的消息主题来连接各个微服务实例,它广播的消息会被所有在注册中心的微服务实例监听和消费,也称消息总线. SpringCloud中也有对应的解决方案 ...
- 带你入门SpringCloud 之 通过SpringCloud Bus 自动更新配置
前言 在<带你入门SpringCloud统一配置 | SpringCloud Config>中通过 SpringCloud Config 完成了统一配置基础环境搭建,但是并没有实现配置修改 ...
- SpringCloud学习笔记(八、SpringCloud Bus)
目录: 什么是bus消息总栈 如何使用bus消息总栈 什么是bus消息总栈 SpringCloud Bus使用轻量的消息代理连接分布式系统的各个节点,可以用于系统状态变更时的广播(如配置变更)或其它管 ...
- SpringCloud全家桶学习之消息总线---SpringCloud Bus
一.概述 ConfigClient(微服务)从ConfigServer端获取自己对应的配置文件,但是目前的问题是:当远程git仓库配置文件发生改变时,每次都是需要重启ConfigCient(微服务), ...
- 使用SetLocaleInfo设置时间后必须调用广播WM_SETTINGCHANGE,通知其他程序格式已经更改
uses messages; Procedure SetDateFormat; //设置系统日期格式var buf:pchar; i:integer; p:DWORD;begin getmem(buf ...
- workerman Channel组件全局广播
<?phpuse Workerman\Worker; require_once '../../web/Workerman/Autoloader.php';require_once '../../ ...
- iview Message(全局提示)与Notice(通知提醒)全局配置方法
在使用iview 的Message与Notice组件时,可以对提示框的显示位置与显示时长进行配置. iview提供了两个配置属性.分别是: top 提示组件距离顶端的距离,单位像素. duration ...
- springcloud Eureka设置服务下线上线事件通知
最近由于微服务会莫名其妙挂掉,导致一些服务宕机: 固所以寻找解决办法,莫名宕机暂时还未查明原因,先人肉解决办法 Eureka的server端会发出5个事件通知,分别是: EurekaInstanceC ...
随机推荐
- 看完这篇Redis缓存三大问题,保你面试能造火箭,工作能拧螺丝。
前言 日常的开发中,无不都是使用数据库来进行数据的存储,由于一般的系统任务中通常不会存在高并发的情况,所以这样看起来并没有什么问题. 一旦涉及大数据量的需求,如一些商品抢购的情景,或者主页访问量瞬间较 ...
- Write a program to copy its input to its output, replacing each string of one or more blanks by a single blank.
#include <stdio.h> void main() { int c,c_BCN; while((c=getchar())!=EOF) { if(c!=' ') c_BCN=; i ...
- 简述vue的双向绑定原理
一.前言 在vue的视图层与modal层进行数据交互的时,视图层的数据传入到modal层,modal层通过defineProperty来劫持每个元素,并绑定监听事件进行监听,一旦监听到数据变化,就通过 ...
- 小师妹学JVM之:JIT中的PrintAssembly续集
目录 简介 JDK8和JDK14中的PrintAssembly JDK8中使用Assembly JDK14中的Assembly 在JMH中使用Assembly 总结 简介 上篇文章和小师妹一起介绍了P ...
- 多线程下的list
前言 list 是 Python 常用的几个基本数据类型之一.正常情况下我们会对 list 有增删改查的操作,显然易见不会有任何问题.那么如果我们试着在多线程下操作list 会有问题吗? 多线程下的 ...
- C#6.0到C#8.0的新特性
C#6.0新特性 C#7.0新特性 C#8.0新特性
- PreparedStatement 防止sql注入 练习
使用的数据库 MariaDB 10.5.4版本 端口1054 数据库为jt_db,表 为user 数据库的建表和插入相关数据代码: create table user( id int pr ...
- 数学计算 LibreOJ - 2573
题目描述 小豆现在有一个数 x ,初始值为 1 . 小豆有 Q 次操作,操作有两种类型: 1 m: x=x×m ,输出 xmodM : 2 pos: x=x/ 第 pos 次操作所乘的数(保证第 po ...
- 如何实现 token 加密
jwt举例 需要一个secret(随机数) 后端利用secret和加密算法(如:HMAC-SHA256)对payload(如账号密码)生成一个字符串(token),返回前端 前端每次request在h ...
- 简单讲解一下http2的多路复用
在 HTTP/1 中,每次请求都会建立一次HTTP连接,也就是我们常说的3次握手4次挥手,这个过程在一次请求过程中占用了相当长的时间,即使开启了 Keep-Alive ,解决了多次连接的问题,但是依然 ...

