React react-ui-tree的使用
公司需要做一个IDE,要做IDE当然少不了文件列表了。下面我就来展示一下刚刚研究的一个库。
下面是链接:https://react.rocks/example/react-ui-tree
至于如何导入module,官方文档都写的很清楚我就不再贴出。
这里由于给的介绍太过简单。我就将我的代码贴出:
第一个文件就是我们组件文件:
var cx = require('classnames');

var React = require('react');

var ReactDOM = require('react-dom');

var Tree = require('react-ui-tree');

var tree = require('./tree');

require('react-ui-tree/dist/react-ui-tree.css')

require('./css.css')

var UiTree = React.createClass({

  getInitialState() {

    return {

      active: null,

      tree: tree

    };

  },

  renderNode(node) {

    return (

      <span className={cx('node', {

        'is-active': node === this.state.active

        })} onClick={this.onClickNode.bind(null, node)}>

        {node.module}

      </span>

    );

  },

  onClickNode(node) {

    this.setState({

      active: node

    });

  },

  render() {

    return (

      <div className="app">

        <div className="tree">

          <Tree

            paddingLeft={20}

            tree={this.state.tree}

            onChange={this.handleChange}

            isNodeCollapsed={this.isNodeCollapsed}

            renderNode={this.renderNode}

          />

        </div>

        <div className="inspector">

          <button onClick={this.updateTree}>update tree</button>

          <pre>

          {JSON.stringify(this.state.tree, null, '  ')}

          </pre>

        </div>

      </div>

    );

  },

  handleChange(tree) {

    this.setState({

      tree: tree

    });

  },

  updateTree() {

    var tree = this.state.tree;

    tree.children.push({module: 'test'});

    this.setState({

      tree: tree

    });

  }

});

module.exports = UiTree;
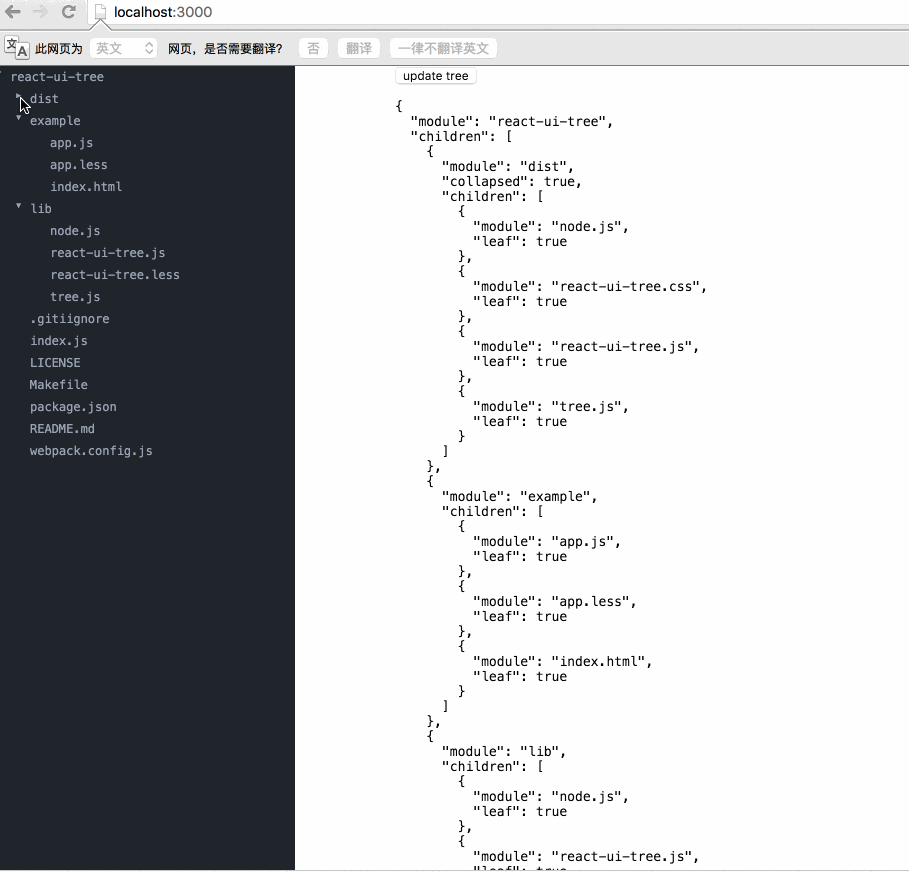
下面是数据:
module.exports = {

  module: 'react-ui-tree',

  children: [{

    module: 'dist',

    collapsed: true,

    children: [{

      module: 'node.js',

      leaf: true

    }, {

      module: 'react-ui-tree.css',

      leaf: true

    }, {

      module: 'react-ui-tree.js',

      leaf: true

    }, {

      module: 'tree.js',

      leaf: true

    }]

  }, {

    module: 'example',

    children: [{

      module: 'app.js',

      leaf: true

    }, {

      module: 'app.less',

      leaf: true

    }, {

      module: 'index.html',

      leaf: true

    }]

  }, {

    module: 'lib',

    children: [{

      module: 'node.js',

      leaf: true

    }, {

      module: 'react-ui-tree.js',

      leaf: true

    }, {

      module: 'react-ui-tree.less',

      leaf: true

    }, {

      module: 'tree.js',

      leaf: true

    }]

  }, {

    module: '.gitiignore',

    leaf: true

  }, {

    module: 'index.js',

    leaf: true

  }, {

    module: 'LICENSE',

    leaf: true

  }, {

    module: 'Makefile',

    leaf: true

  }, {

    module: 'package.json',

    leaf: true

  }, {

    module: 'README.md',

    leaf: true

  }, {

    module: 'webpack.config.js',

    leaf: true

  }]

}
这里有个坑,就是当我们将程序运行起来的时候发现样式是不对的,查阅它的源码才知道他是将样式放入了“.less”的文件之中,所以我们需要将文件先转化成css文件,然后添加文件手动导入:
.tree {

  position: fixed;

  top:;

  left:;

  bottom:;

  width: 300px;

  overflow-x: hidden;

  overflow-y: auto;

  background-color: #21252B;

}

.m-node.placeholder {

  border: 1px dashed #1385e5;

}

.m-node .inner {

  color: #9DA5B4;

  font-size: 12px;

  font-family: Menlo;

}

.m-node .node {

  display: inline-block;

  width: 100%;

  padding: 4px 5px;

}

.m-node .node.is-active {

  background-color: #31363F;

}

.m-node .children {

  transition: 1s;

}

*,

*:before,

*:after {

  -webkit-box-sizing: border-box;

  -moz-box-sizing: border-box;

  box-sizing: border-box;

}

body {

  margin:;

  padding:;

  font-size: 100%;

}

.inspector {

  margin-left: 400px;

}

.inspector pre {

  font-family: Menlo;

  font-size: 13px;

}
最后还有一个坑就是他跟bootstrap是有冲突的,所以如果你使用了bootstrap再使用它,可能样式会有所改变。
demo可以从我的github上看到:
https://github.com/weifengzz/react-ui-tree-demo
React react-ui-tree的使用的更多相关文章
- [React] react+redux+router+webpack+antd环境搭建一版
好久之前搭建的一个react执行环境,受历史影响是webpack3.10.0和webpack-dev-server2.7.1的环境,新项目准备用webpack4重新弄弄了,旧的记录就合并发布了(在没有 ...
- React/React Native 的ES5 ES6写法对照表
//es6与es5的区别很多React/React Native的初学者都被ES6的问题迷惑:各路大神都建议我们直接学习ES6的语法(class Foo extends React.Component ...
- React/React Native 的ES5 ES6写法对照表-b
很多React/React Native的初学者都被ES6的问题迷惑:各路大神都建议我们直接学习ES6的语法(class Foo extends React.Component),然而网上搜到的很多教 ...
- [React] React Fundamentals: Integrating Components with D3 and AngularJS
Since React is only interested in the V (view) of MVC, it plays well with other toolkits and framewo ...
- Element ui tree树形控件获取当前节点id和父节点id
低版本Element ui tree树形控件获取当前节点id和父节点id的方法:点击查看 最新版本Element ui tree树形控件获取当前节点id和父节点id教程: 1.找到node_modul ...
- React: React组件的生命周期
一.简介 在前面的第二篇博文中对组件的生命周期虽然做了一个大略介绍,但总感觉说的过于简单,毕竟生命周期是React组件的核心部分.在我们熟练使用React挂载和合成组件来创建应用表现层的过程中,针对数 ...
- React: React的属性验证机制
一.简介 在开发中,属性变量类型的验证,几乎是任何语言都必须关注的问题,因为如果传入的数据类型不对,轻者程序运行仅仅是给出警告⚠️,严重的会直接导致程序中断,APP闪退或者web页面挂掉,这是很严重的 ...
- React/react相关小结
React React组件由React元素组成,React组件使用React.Component或React.PureComponent来生成:React元素使用JSX的语法来编写或使用React.c ...
- 使用CRA开发的基于React的UI组件发布到内网NPM上去
前言:构建的ES组件使用CNPM发布内网上过程 1. 使用Create-React-APP开的组件 如果直接上传到NPM,你引用的时候会报: You may need an appropriate l ...
- [React] Optimistic UI update in React using setState()
In this lesson we will refactor an existing UI update from a typical loading approach to an optimist ...
随机推荐
- c#使用Dictionary统计字符串中出现次数最多字符
最近在找工作,遇到这样一道面试题: 对于给定的一个字符串,统计出该串中各个字符出现的次数,并打印出出现次数最多的那个字符 因为本人是个菜鸟,所以当时写的思路是用递归 /*str 字符串, strA 第 ...
- ps 换图片的背景颜色
先把图像格式换乘RGB然后调整颜色,不用谢我是活雷锋!www.idouly.com
- 6 log4j -- 一个笨的使用方法
log4j的说明: Log4j是Apache的一个开源项目,通过使用Log4j,我们可以控制日志信息输送的目的地是控制台.文件.GUI组件,甚至是套接口服务器.NT的事件记录器.UNIX Syslog ...
- NDK编译Python2.7.5
[背景] 网上有一些ndk编译python的做法,但按照教程做总是不成功,可能是环境版本不一样,导致很多地方的配置都不成功. 网上的教程大多只有做法,没有解释,即使按照教程编译成功,很多细节都不知道为 ...
- Jquery去除从数据库中查询到的内容含有的p标签
$("#topic_content").html($("#topic_content").text()); 如果这个数据是通过循环遍历出的数据,就需要下面这个代 ...
- C#按键打开文件选择对话框,并把选择好的路径保存/显示到textBox
1.选择文件夹 FolderBrowserDialog fbd = new FolderBrowserDialog(); fbd.SelectedPath = "D:";//默认路 ...
- C++中使用stringstream简化类型转换
C++标准库中的<sstream>提供了一个stringstream,以前基本没用过,突然发现很好用(^-^)V 参见 http://www.cplusplus.com/reference ...
- unique &unique_copy
unique (ForwardIterator first, ForwardIterator last); unique (ForwardIterator first, ForwardIterat ...
- 【android】Android检查是否已经连接到网络
ConnectivityManager con=(ConnectivityManager)getSystemService(Activity.CONNECTIVITY_SERVICE); boolea ...
- Rescue--hdu1242
Rescue Time Limit: 2000/1000 MS (Java/Others) Memory Limit: 65536/32768 K (Java/Others)Total Subm ...