爬虫的基本操作 requests / BeautifulSoup 的使用
爬虫的基本操作
爬虫基础知识
什么是爬虫?
在最开始,还没有诞生Google和百度等一系列搜索引擎的公司的时候,人们进入一些公司的网站只能通过在浏览器地址栏输入网址的方式访问,如同在很早之前前手机不流行的时候,我们会把各个好友的电话号码抄写在一个电话本上一样将各个公司的网站记录在文档中,很不方便。
当搜索引擎公司出现的时候,这些搜索引擎公司来做了一个大黄页,把所有网站的网址搜集起来,用户不用和各个公司打交道,而是直接和搜索引擎公司打交道,让搜索引擎帮助自己在它自己制作的大黄页中找出用户需要的内容返回给用户使用。简单点说,就是公司把信息交给搜索引擎公司,让搜索引擎公司在有用户需要本公司信息的时候提交给用户。
搜索引擎公司搜集数据不光是公司或个人主动上传,主要还会通过网络爬虫爬去网上信息并且提取出关键字更网友搜索。
整个网络可以理解为通过a标签链接起来的蜘蛛网,可以在网络中获取任何信息。
爬虫的作用就是搜集网络信息为我所用。
爬虫的分类
定向爬虫:只爬取某一个或某几个网站,根据自己的需要有专一目的性爬取。
非定向爬虫:随机爬去整个网络的网站,见什么爬什么。
爬虫爬取大体步骤
假设我们爬取“汽车之家”的相关数据:https://www.autohome.com.cn/news/

下载页面:
请求网站:https://www.autohome.com.cn/news/ ,返回的为 HTML 页面字符串。
筛选信息:
使用正则表达式筛选出我们需要的信息。(python非常牛逼的是有大神把正则表达式写好了,都在开源模块里边了。)
开源模块使用的简单案例
# __author : "王佳伟"

# date : 2019-01-16

import requests

from bs4 import BeautifulSoup

# 1.request 模块

respone = requests.get("https://www.autohome.com.cn/news/")

respone.text

# 2.BeautifulSoup 模块

soup = BeautifulSoup(respone.text, features='html.parser')  # 把HTML文本转换为对象

target = soup.find(id='auto-channel-lazyload-article')

print(target)
爬取汽车之家数据案例
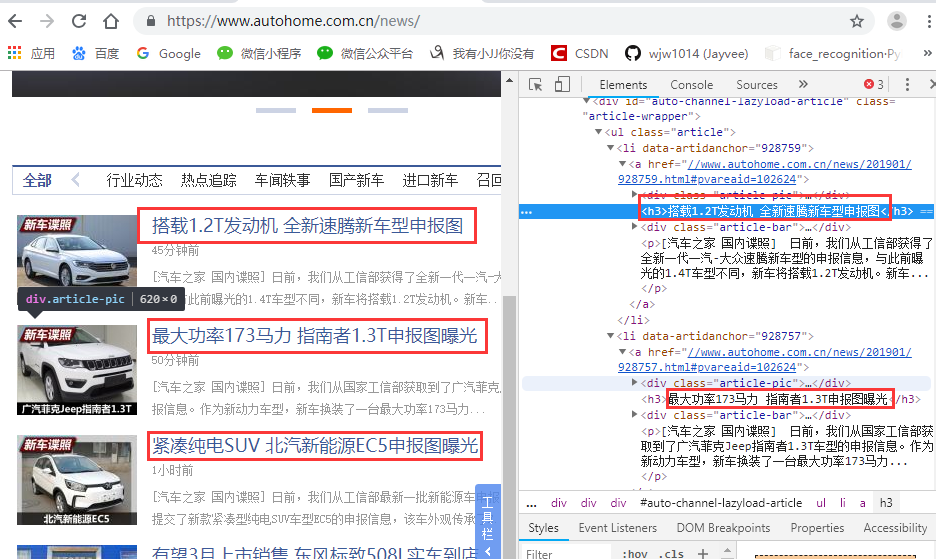
爬取汽车之家新闻列表的标题即链接
# __author : "王佳伟"
# date : 2019-01-16 import requests
from bs4 import BeautifulSoup # 1.request 模块 # 下载目标网站的HTML源码
response = requests.get(
url="https://www.autohome.com.cn/news/"
)
# 编码查看网页头
# respone.encoding='gb2312'
# 拿到文本并转换为网页自己的编码
response.encoding = response.apparent_encoding
# print(response.text) # 2.BeautifulSoup 模块 # 把HTML文本转换为对象,features表示以什么引擎处理 html.parser / lxml
soup = BeautifulSoup(response.text, features='html.parser')
# 根据id属性找,找到对象中 id = auto-channel-lazyload-article 的标签
target = soup.find(id='auto-channel-lazyload-article')
# 打印输出
# print(target)
# 根据标签找 找到所有标签为li的所有标签
li_list = target.find_all('li')
# print(obj) # 循环列表
for i in li_list:
# 找到每个li标签中包含的a标签
# a = i.find('a')
# print(a)
a = i.find('a')
if a:
# print(a.attrs) # 找到a标签的所有属性
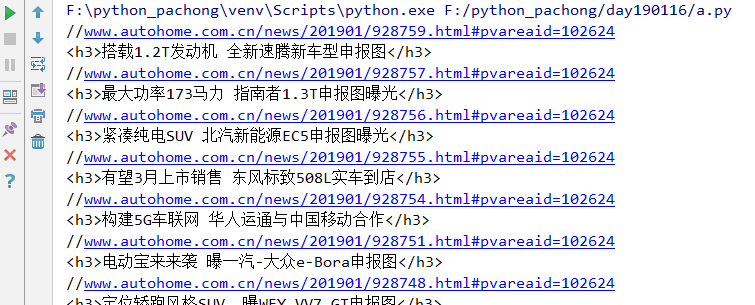
print(a.attrs.get('href')) # 找到a标签的href属性
txt = a.find('h3') # 获取a标签中的h3标签
print(txt)
# print(txt.text)
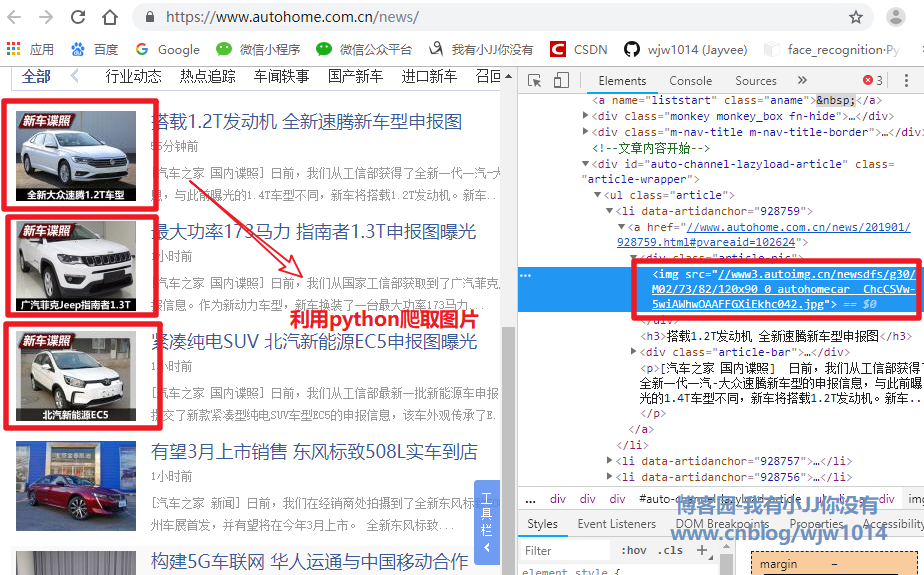
爬取下载汽车之家新闻列表的图片
# __author : "王佳伟"
# date : 2019-01-16 import requests
from bs4 import BeautifulSoup # 1.request 模块 # 下载目标网站的HTML源码
response = requests.get(
url="https://www.autohome.com.cn/news/"
)
# 编码查看网页头
# respone.encoding='gb2312'
# 拿到文本并转换为网页自己的编码
response.encoding = response.apparent_encoding
# print(response.text) # 2.BeautifulSoup 模块 # 把HTML文本转换为对象,features表示以什么引擎处理 html.parser / lxml
soup = BeautifulSoup(response.text, features='html.parser')
# 根据id属性找,找到对象中 id = auto-channel-lazyload-article 的标签
target = soup.find(id='auto-channel-lazyload-article')
# 打印输出
# print(target)
# 根据标签找 找到所有标签为li的所有标签
li_list = target.find_all('li')
# print(obj) # 循环列表
for i in li_list:
# 找到每个li标签中包含的a标签
# a = i.find('a')
# print(a)
a = i.find('a')
if a:
# print(a.attrs) # 找到a标签的所有属性
# print(a.attrs.get('href')) # 找到a标签的href属性
txt = a.find('h3') # 获取a标签中的h3标签
# print(txt)
print(txt.text)
# 找a标签中的img标签的src属性
img_url = a.find('img').attrs.get('src')
print(img_url)
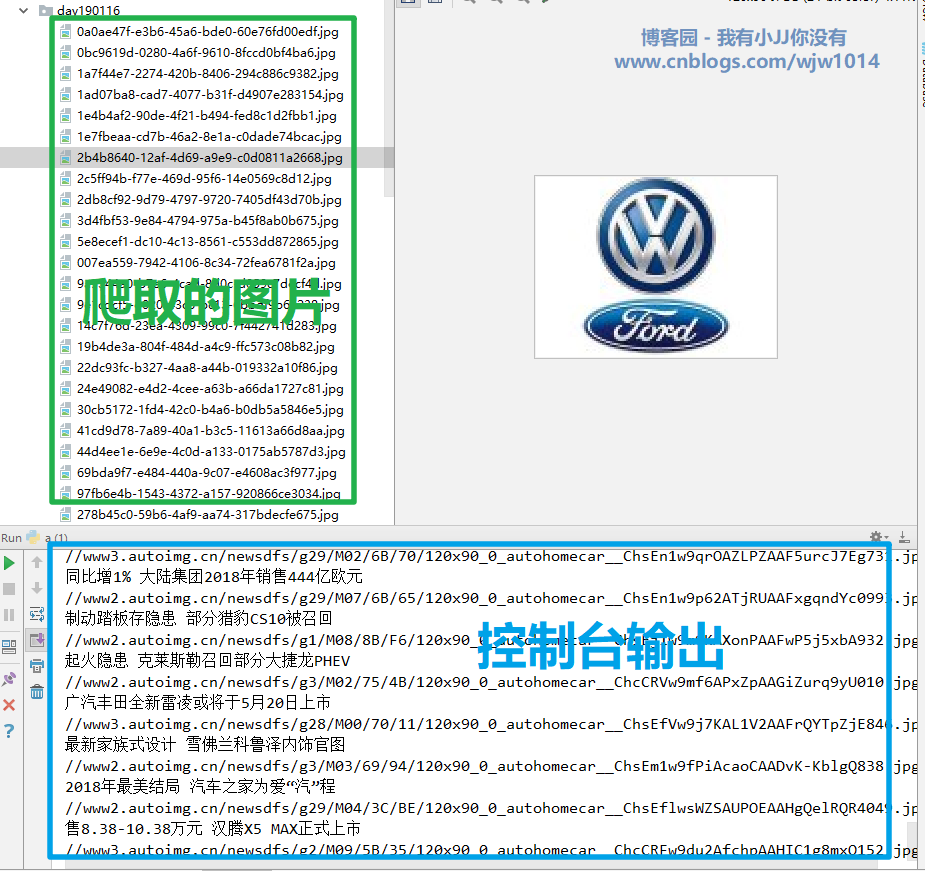
# 下载图片
img_response = requests.get(url='https:'+img_url)
# 设置文件名
import uuid
# 随机生成文件名
file_name = str(uuid.uuid4()) + '.jpg'
with open(file_name,'wb') as f:
f.write(img_response.content)
总结
requests 模块的使用
# 导包

import requests

# 爬取那个网站,填写URL地址

response = requests.get('URL')

# 获取对象的文本内容

response.text

# 获取图片/视频内容

response.content

# 设置编码

response.encoding

# 获取网站自己的编码类型

response.apparent_encoding

# 获取状态码

response.status_code
BeautifulSoup 模块的使用
# 导包

from bs4 import BeautifulSoup

# 获取对象

soup = BeautifulSoup('<html>......</html>', features='html.paeser')

# 找到它孩子第一个符合条件的第一个div

v1 = soup.find('div')

# 找它孩子中第一个 id = d1 的标签

v1 = soup.find(id='d1')

# 找到它孩子第一个id=d1的div

v1 = soup.find('div', id='d1')

# 用法同find,找所有,返回值为列表

v2 = soup.find_all('div')

v2 = soup.find_all(id='d1')

v2 = soup.find_all('div', id='d1')

obj = v1

obj = v2[0]

# 获取值

obj.text

# 获取属性

obj.attrs

# 获取属性值

obj.attrs.get('属性')
完成!
爬虫的基本操作 requests / BeautifulSoup 的使用的更多相关文章
- Python爬虫学习三------requests+BeautifulSoup爬取简单网页
第一次第一次用MarkDown来写博客,先试试效果吧! 昨天2018俄罗斯世界杯拉开了大幕,作为一个伪球迷,当然也得为世界杯做出一点贡献啦. 于是今天就编写了一个爬虫程序将腾讯新闻下世界杯专题的相关新 ...
- 一个超实用的python爬虫功能使用 requests BeautifulSoup
一个简单的数据爬取的示例 import os,re import requests import random import time from bs4 import BeautifulSoup us ...
- 【Python】在Pycharm中安装爬虫库requests , BeautifulSoup , lxml 的解决方法
BeautifulSoup在学习Python过程中可能需要用到一些爬虫库 例如:requests BeautifulSoup和lxml库 前面的两个库,用Pychram都可以通过 File--> ...
- python 爬虫(一) requests+BeautifulSoup 爬取简单网页代码示例
以前搞偷偷摸摸的事,不对,是搞爬虫都是用urllib,不过真的是很麻烦,下面就使用requests + BeautifulSoup 爬爬简单的网页. 详细介绍都在代码中注释了,大家可以参阅. # -* ...
- Python爬虫入门——使用requests爬取python岗位招聘数据
爬虫目的 使用requests库和BeautifulSoup4库来爬取拉勾网Python相关岗位数据 爬虫工具 使用Requests库发送http请求,然后用BeautifulSoup库解析HTML文 ...
- 从0开始学爬虫8使用requests/pymysql和beautifulsoup4爬取维基百科词条链接并存入数据库
从0开始学爬虫8使用requests和beautifulsoup4爬取维基百科词条链接并存入数据库 Python使用requests和beautifulsoup4爬取维基百科词条链接并存入数据库 参考 ...
- 利用requests, beautifulsoup包爬取股票信息网站
这是第一次用requests, beautifulsoup实现爬虫,此次爬取的是一个股票信息网站:http://www.gupiaozhishi.net.cn. 实现非常简单,只是为了demo使用的数 ...
- 【python网络爬虫】之requests相关模块
python网络爬虫的学习第一步 [python网络爬虫]之0 爬虫与反扒 [python网络爬虫]之一 简单介绍 [python网络爬虫]之二 python uillib库 [python网络爬虫] ...
- 猫眼电影爬取(二):requests+beautifulsoup,并将数据存储到mysql数据库
上一篇通过requests+正则爬取了猫眼电影榜单,这次通过requests+beautifulsoup再爬取一次(其实这个网站更适合使用beautifulsoup库爬取) 1.先分析网页源码 可以看 ...
随机推荐
- CentOS 7 时间, 日期设置 (含时间同步)
from http://blog.itnmg.net/centos-7-time-date/ yum install ntp //安装ntp服务systemctl enable ntpd //开机启动 ...
- cocos2dx 3.x(打开网页webView)
#include "ui/CocosGUI.h" using namespace cocos2d::experimental::ui; WebView *webView = Web ...
- laravel更改默认的登录密码加密方式
laravel更改默认的登录密码加密方式 laravel 默认用的登录密码加密方式是: $password = Hash::make('password'); 而我平时用的密码加密方式是: $pa ...
- FutureTask demo
package com.xinwei.order.entity; import java.util.concurrent.ExecutorService; import java.util.concu ...
- 解决乱码的方法是,在执行SQL语句之前,将MySQL以下三个系统参数设置为与服务器字符集character-set-server相同的字符集
character-set-server/default-character-set:服务器字符集,默认情况下所采用的. character-set-database:数据库字符集. characte ...
- 如何让多个dz论坛共用一个用户数据库
用户数据库在论坛中是可以独立备份的,备份方法:论坛后台——站长——数据库,备份所有ucenter数据表,也就是用户数据.其他DZ论坛搭建完成以后,可以上传用户数据库,将备份文件使用上传至网站所使用的主 ...
- 关于nginx的安装
今天倒腾nginx,当运用命令service nginx start 出现了这个:Job for nginx.service failed because the control process ex ...
- Qt5 信号重载
下面以最常用的QComboBox为例说明. [1]Qt4风格的connect 示例代码: connect(ui->comboBox, SIGNAL(activated(int index)), ...
- 在Eclipse下配置算法(第四版)运行环境
第一步:配置Eclipse运行环境 Eclipse运行环境配置过程是很简单的,用过Eclipse进行java开发或学习的同学应该都很熟悉这个过程了. 配置过程: (1)系统环境:Windows7 64 ...
- Linux基础命令---文本过滤colrm
colrm 从标准输入读取数据,删除指定的列,然后送到标准输出.如果用一个参数调用,则将从指定的列开始删除每一行的列.如果使用两个参数调用,则将删除从第一列到最后一列的列.列编号以第1列开始. 此命令 ...