安装Sonarqube到CentOS(YUM)
SonarQube 是一个用于代码质量管理的开源平台,用于管理源代码的质量。 通过插件形式,可以支持包括 java, C#, C/C++, PL/SQL, Cobol, JavaScrip, Groovy 等等二十几种编程语言的代码质量管理与检测。Sonar可以从以下七个维度检测代码质量,而作为开发人员至少需要处理前5种代码质量问题。
运行环境
系统版本:CentOS Linux release 7.6.1810 (Core)
软件版本:sonarqube-8.2
硬件要求:最低2核4GB
安装过程
1、配置系统环境
1.1、关闭防火墙和SeLinux
[root@localhost ~]# systemctl stop firewalld

[root@localhost ~]# systemctl disable firewalld

[root@localhost ~]# setenforce 0

[root@localhost ~]# sed -i 's/SELINUX=.*/SELINUX=disabled/g' /etc/sysconfig/selinux
1.2、设置系统可并发打开的文件数量为65535
[root@localhost ~]# vim /etc/security/limits.conf

root soft nofile 65536

root hard nofile 65536

* soft nofile 65536

* hard nofile 65536

[root@localhost ~]# ulimit -n 65536
1.3、设置mmap计数为262144
Elasticsearch默认使用mmapfs来存储索引,mmap计数可能由于系统限制值太低了,可能会导致ES出现内存不足的异常,我们需要将其设置为更大。
[root@localhost ~]# vim /etc/sysctl.conf

vm.max_map_count=262144

[root@localhost ~]# sysctl -p
1.4、关闭SWAP
[root@localhost ~]# swapoff -a
2、安装PostgreSQL
2.1、安装YUM-PostgreSQL存储库
YUM-PostgreSQL存储库由PostgreSQL官方提供。
[root@localhost ~]# yum -y install https://download.postgresql.org/pub/repos/yum/reporpms/EL-7-x86_64/pgdg-redhat-repo-latest.noarch.rpm
2.2、安装PostgreSQL12
[root@localhost ~]# yum -y install postgresql12 postgresql12-server
2.3、初始化数据库
[root@localhost ~]# /usr/pgsql-12/bin/postgresql-12-setup initdb
2.4、修改配置,监听所有网卡地址
这样其他主机也可以通过主网卡访问到PostgreSQL数据库,默认情况下如果不修改,则PostgreSQL只允许本地访问。
[root@localhost ~]# vi /var/lib/pgsql/12/data/postgresql.conf

listen_addresses = '*'

port = 5432
2.5、添加信任网段,允许其他主机访问
[root@localhost ~]# vi /var/lib/pgsql/12/data/pg_hba.conf

# 添加以下内容到文件尾部。

# TYPE  DATABASE        USER            ADDRESS                 METHOD

host    all             all             0.0.0.0/0               md5

# 身份验证方法(METHOD):

# - md5       密码经过MD5加密后登陆到数据库,一般采用选择这种方式。

# - password  使用明文密码登陆到数据库。

# - trust     信任该主机,无需密码即可登陆到数据库。

# - ident     通过读取"pg_ident.conf"文件里面具有系统用户=数据库用户的映射关系,可以使用系统用户登陆到

#             数据库。
2.6、启动服务
[root@localhost ~]# systemctl enable postgresql-12

[root@localhost ~]# systemctl start postgresql-12

[root@localhost ~]# systemctl status postgresql-12

● postgresql-12.service - PostgreSQL 12 database server

   Loaded: loaded (/usr/lib/systemd/system/postgresql-12.service; enabled; vendor preset: disabled)

   Active: active (running) since Thu 2020-03-05 08:22:38 EST; 5s ago

     Docs: https://www.postgresql.org/docs/12/static/

[root@localhost ~]# netstat -lnupt |grep postmaster

tcp        0      0 0.0.0.0:5432            0.0.0.0:*               LISTEN      35219/postmaster

tcp6       0      0 :::5432                 :::*                    LISTEN      35219/postmaster
2.7、配置环境变量
配置环境变量,使“psql”客户端命令可以再全局使用。
[root@localhost ~]# vi /etc/profile

# PostgreSQL

export POSTGRESQL_BIN="/usr/pgsql-12/bin/"

export PATH=$PATH:$POSTGRESQL_BIN

[root@localhost ~]# source /etc/profile
2.8、查看数据库版本
切换操作用户“postgres”,“postgres”用户是PostgreSQL的超级用户。
[root@localhost ~]# sudo -i -u postgres

-bash-4.2$ psql

psql (12.2)

Type "help" for help.

postgres=# SELECT version();

                                                 version

-------------------------------------------------------------------------------------------------------

 PostgreSQL 12.2 on x86_64-pc-linux-gnu, compiled by gcc (GCC) 4.8.5 20150623 (Red Hat 4.8.5-39), 64-bit

(1 row)
2.9、查看数据库列表
postgres=# select pg_database.datname from pg_database;

  datname

-----------

 postgres

 template1

 template0
2.10、修改"postgres"用户密码
默认情况下"postgres"用户没有密码,我们需要给超级管理员一个密码。
postgres=# \password

Enter new password: XXX

Enter it again: XXX

postgres=# exit

-bash-4.2$ exit
3、创建一个数据库"sonarqube"
postgres=# exit

-bash-4.2$ createdb sonarqube
4、创建一个数据库用户"sonarqube"并授权
sonarqube=# CREATE USER sonarqube WITH PASSWORD 'abc-123';

sonarqube=# GRANT all ON all tables in SCHEMA PUBLIC to sonarqube;
5、连接数据库"sonarqube"测试
sonarqube=# exit

-bash-4.2$ exit

logout

[root@localhost ~]# PGPASSWORD='abc-123' psql --host='172.16.254.129' --port='5432' --username='sonarqube' sonarqube

sonarqube=>
6、安装依赖
[root@localhost ~]# yum -y install java-11-openjdk
7、安装Sonarqube
7.1、下载Sonarqube
[root@localhost ~]# wget https://binaries.sonarsource.com/Distribution/sonarqube/sonarqube-8.2.0.32929.zip
7.2、解压包到指定目录
[root@localhost ~]# unzip sonarqube-8.2.0.32929.zip -d /opt
7.3、修改Sonarqube配置
[root@localhost ~]# vi /opt/sonarqube-8.2.0.32929/conf/sonar.properties

sonar.jdbc.username=sonarqube

sonar.jdbc.password=abc-123

sonar.jdbc.url=jdbc:postgresql://172.16.254.129/sonarqube

sonar.web.host=0.0.0.0

sonar.web.port=9000
7.4、创建运行用户并授权程序目录
Sonarqube不允许使用root用户运行,所以我们需要创建一个运行用户。
[root@localhost ~]# useradd sonarqube

[root@localhost ~]# chown -R sonarqube.sonarqube /opt/sonarqube-8.2.0.32929/
7.5、启动Sonarqube服务
可以先使用“sonar.sh console”命令测试运行下,若有问题可以通过错误信息进行排错。
[root@localhost ~]# sudo -u sonarqube /opt/sonarqube-8.2.0.32929/bin/linux-x86-64/sonar.sh console

jvm 1    | 2020.03.10 05:42:14 INFO  app[][o.s.a.SchedulerImpl] Process[ce] is up

jvm 1    | 2020.03.10 05:42:14 INFO  app[][o.s.a.SchedulerImpl] SonarQube is up

[root@localhost ~]# sudo -u sonarqube /opt/sonarqube-8.2.0.32929/bin/linux-x86-64/sonar.sh start

[root@localhost ~]# netstat -lnupt |grep 9000

3tcp6       0      0 :::9000                 :::*                    LISTEN      19957/java
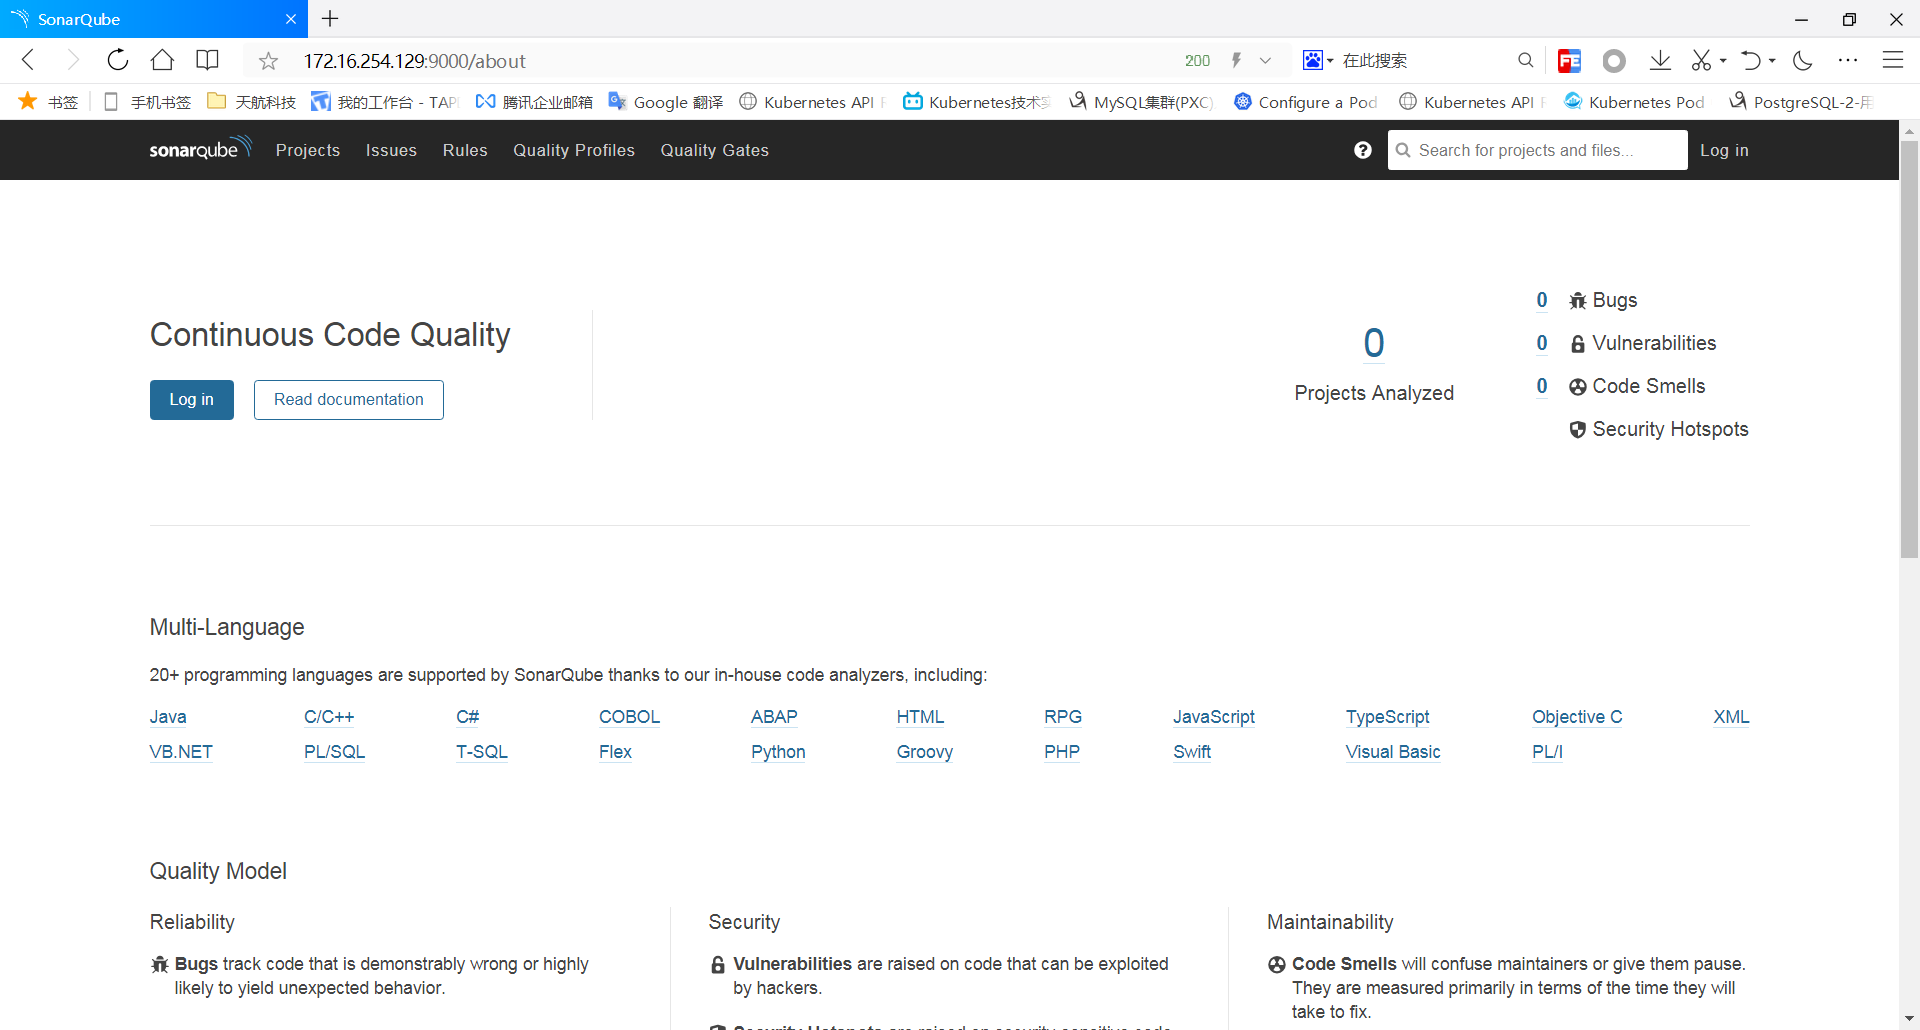
8、使用浏览器访问到Sonarqube服务端WEB管理控制台
在浏览器中输入“http://Server_IP:Port”。
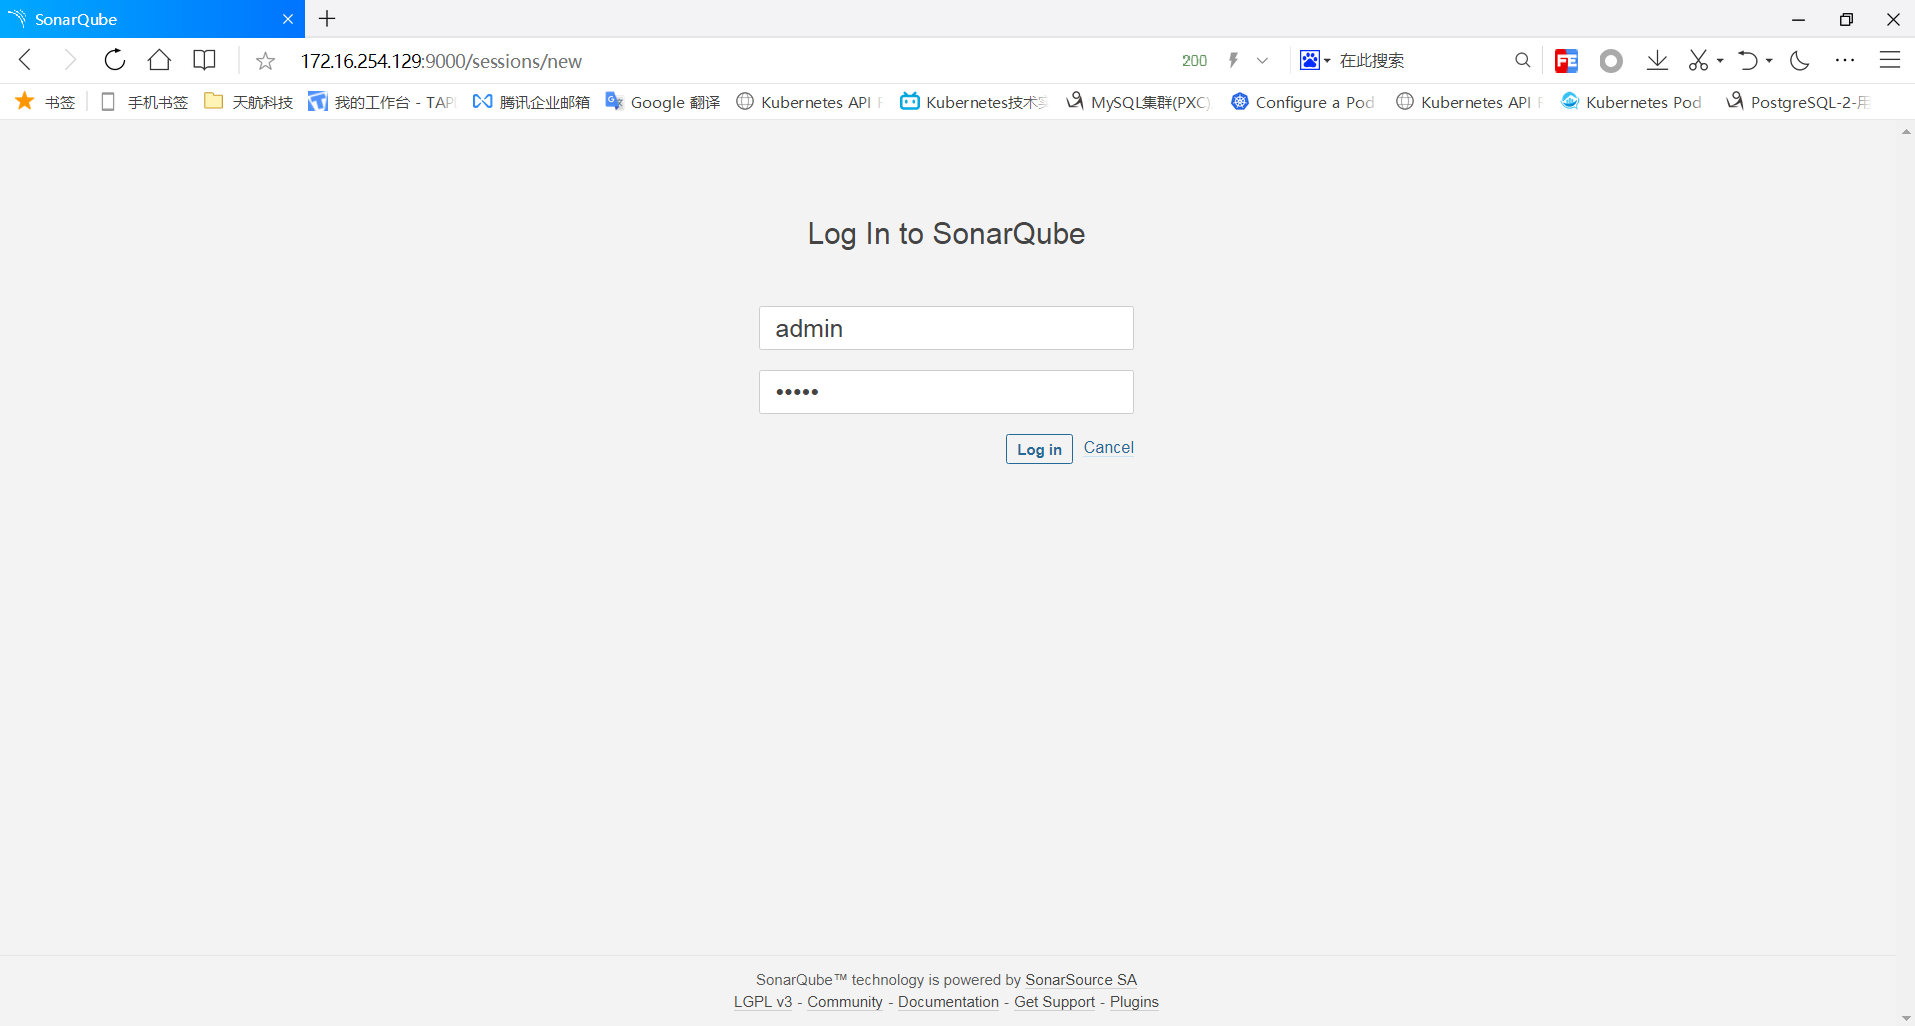
然后点击登陆,默认管理员账号:admin,密码:admin。
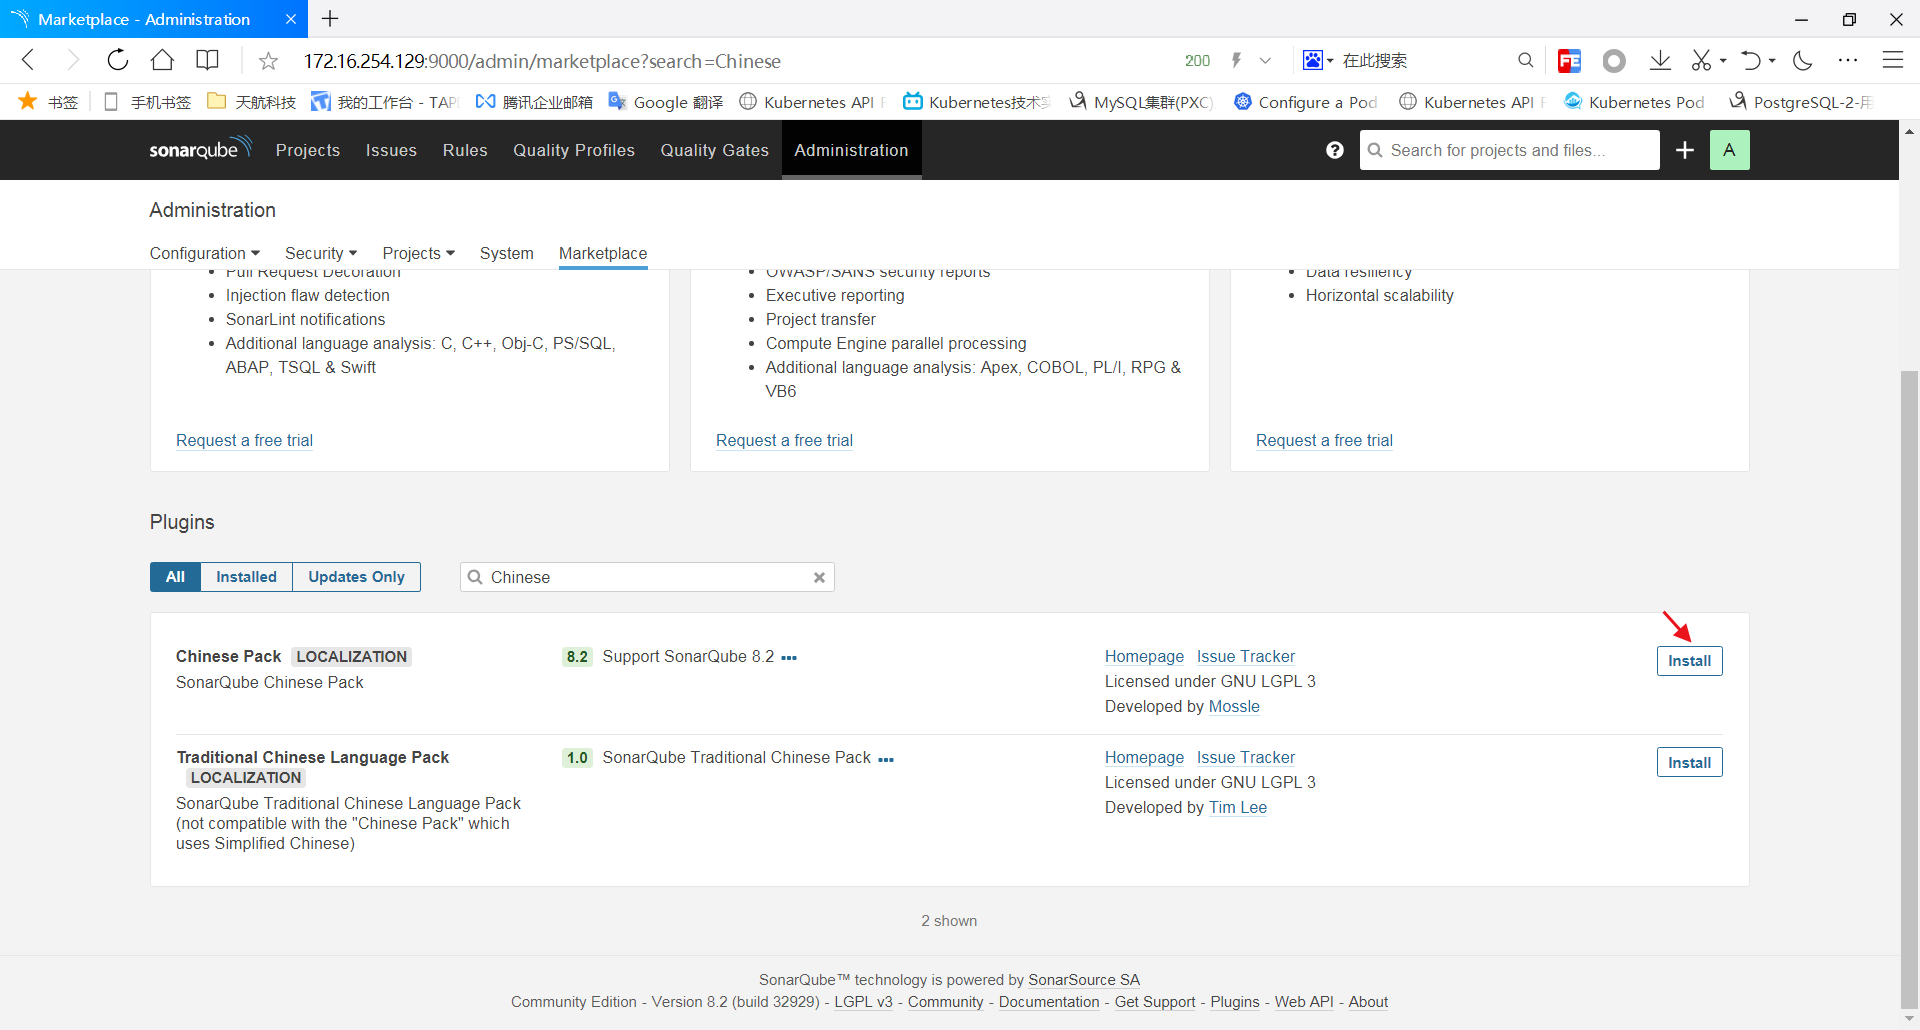
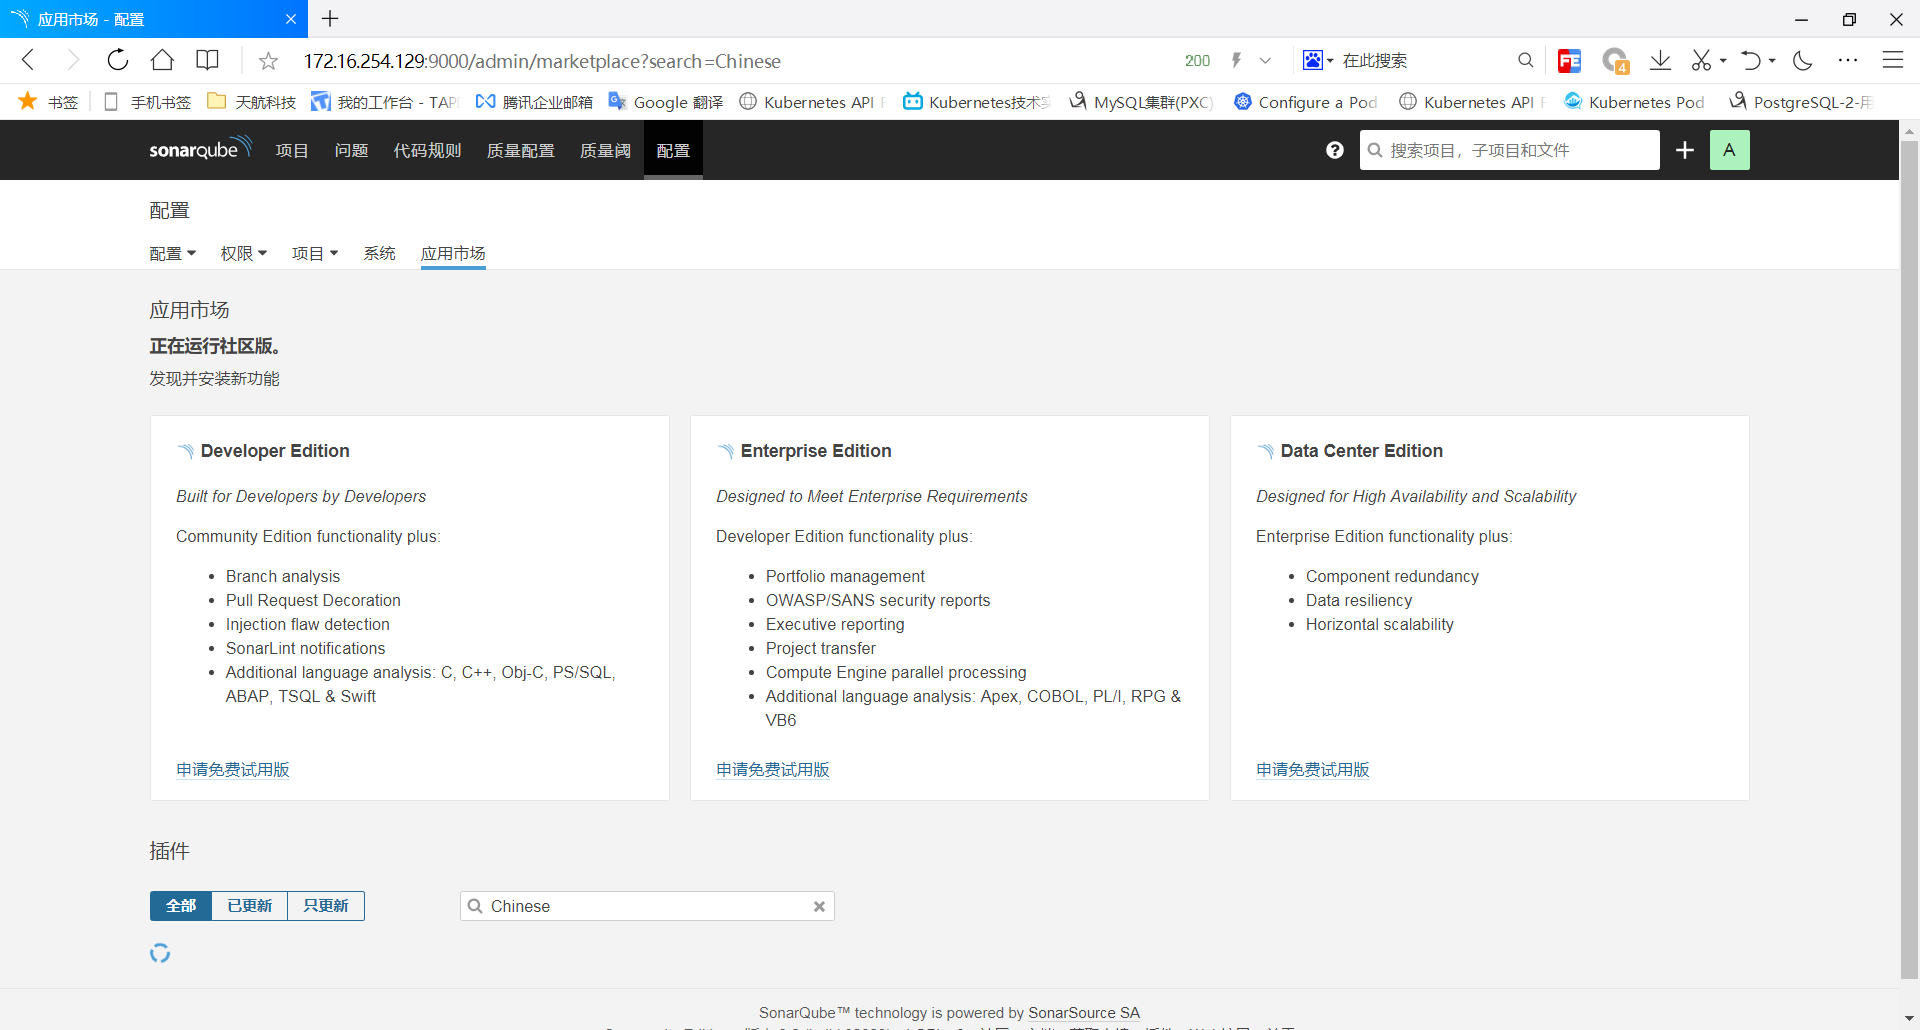
9、设置Sonarqube管理控制台为简体中文
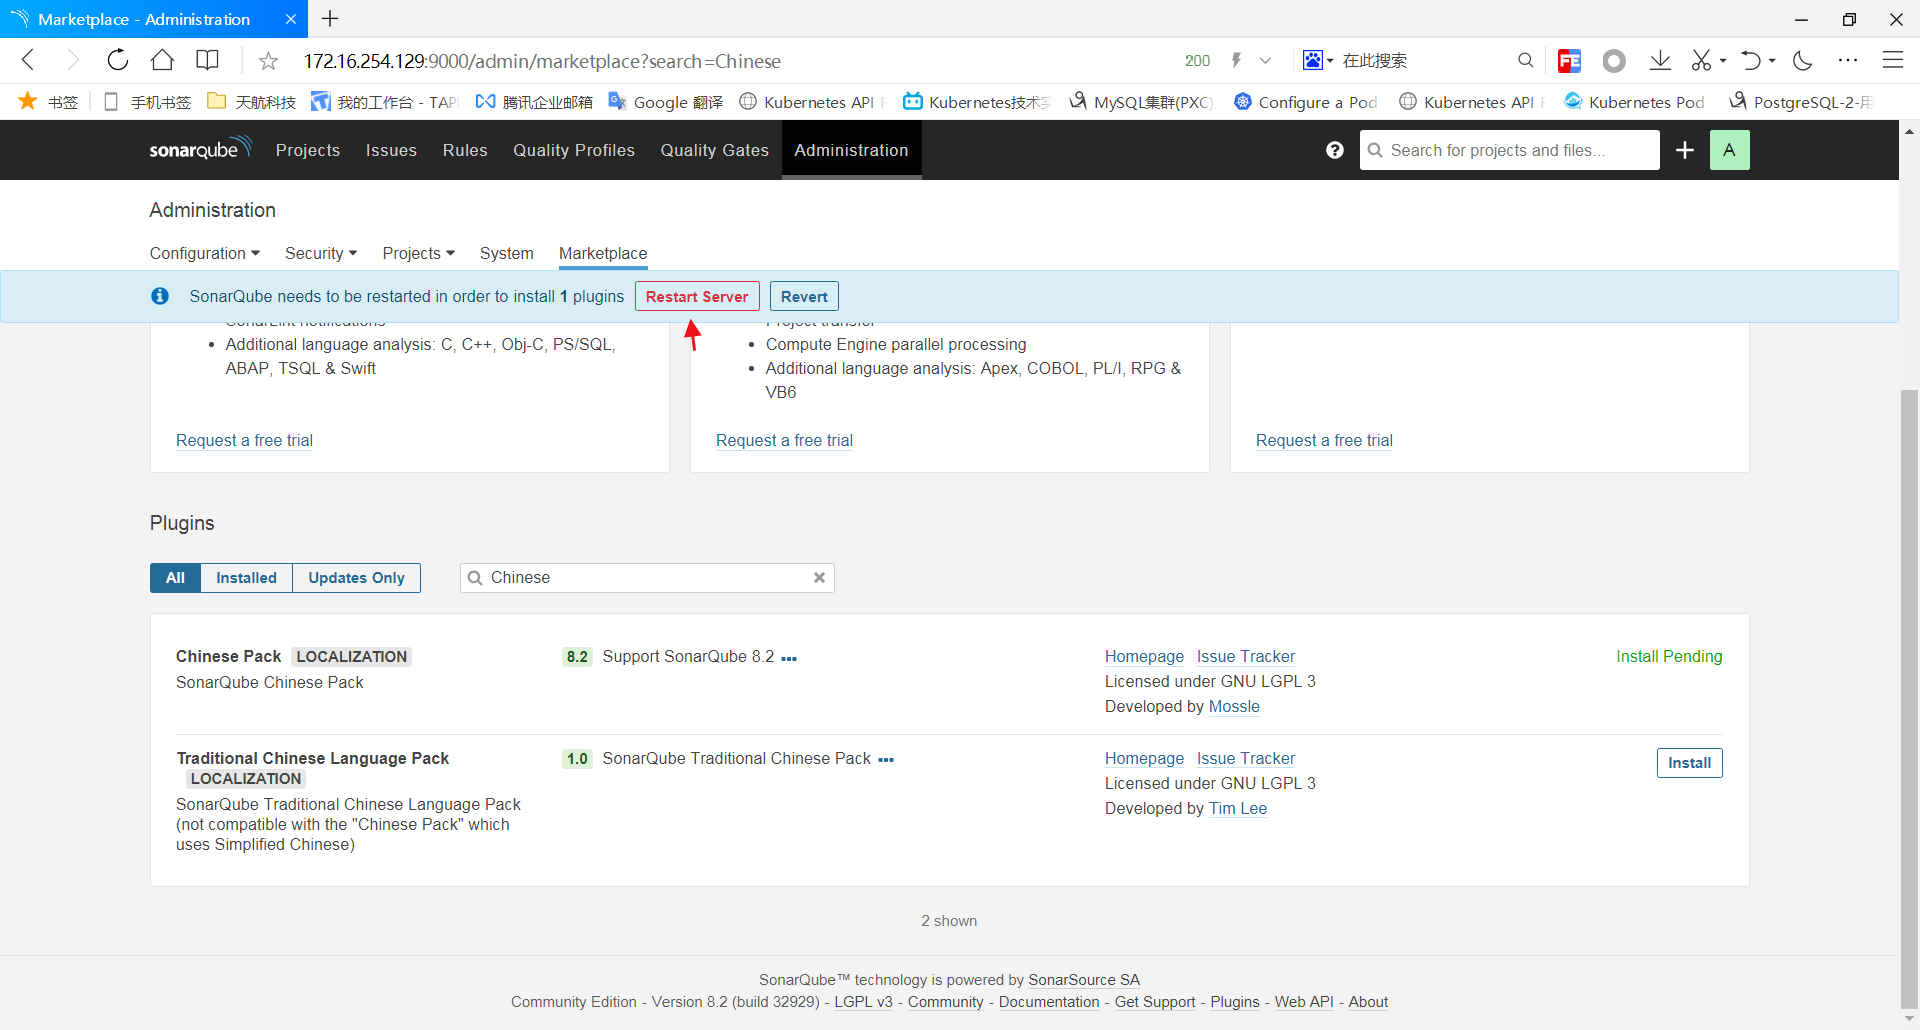
点击菜单栏”Administration“--->"Marketplace",然后再搜素框输入"Chinese",然后选择中文插件,安装它,重启Sonarqube服务即可。
安装Sonarqube到CentOS(YUM)的更多相关文章
- Ejabberd2:安装和操作指南(centos yum 安装ejabberd)
(1)首先安装EPEL Repository ## RHEL/CentOS 6 32-Bit ## # wget http://download.fedoraproject.org/pub/ ...
- centos yum 安装 mongodb 以及php扩展
centos yum 安装 mongodb 以及php扩展 投稿:hebedich 字体:[增加 减小] 类型:转载 MongoDB是一个基于分布式文件存储的数据库.由C++语言编写.旨在为WEB应用 ...
- yum-config-manager YUM安装遭遇: [Errno 256] No more mirrors to try CentOS yum之$releasever和$basearch
YUM安装遭遇: [Errno 256] No more mirrors to try createrepo 有问题. CentOS yum之$releasever和$basearch分类: 操作系统 ...
- redhat centos yum源的安装
redhat centos yum源的安装 1.除旧 #cd /etc/yum.repos.d #mv rhel-debuginfo.repo rhel-debuginfo.repo.bak 此处将其 ...
- 【转】CentOS yum安装和卸载软件的使用方法
在CentOS yum安装和卸载软件的使用方法安装方法安装一个软件时. CentOS yum -y install httpd安装多个相类似的软件时 CentOS yum -y install ...
- CentOS6.5系统挂载NTFS分区的移动硬盘 centos安装repoforge源(yum)
CentOS6.5系统挂载NTFS分区的移动硬盘 作为IT的工作者,避免不了使用Linux系统,我现在使用的系统是CentOS6.5 X86_64位版本,但是插入NTFS移动硬盘没有办法识别.通过下面 ...
- centos的软件安装方法rpm和yum
centos的软件安装大致可以分为两种类型: [centos]rpm文件安装,使用rpm指令 类似[ubuntu]deb文件安装,使用dpkg指令 [centos]yum安装 类似[ubuntu ...
- RHEL 6.3使用CentOS yum源 (redhat yum安装失败)
由于Redhat的yum在线更新是收费的,如果没有注册的话是不能使用的,即不能在线安装软件.所以yum install 命令每次都安装失败 下面介绍一种更改yum源的方式: 系统说明: 系统:Red ...
- CentOS yum 安装 PHP 5.6.24
配置yum源 追加CentOS 6.5的epel及remi源. # rpm -Uvh http://ftp.iij.ad.jp/pub/linux/fedora/epel/6/x86_64/epel- ...
随机推荐
- 《CSS世界》笔记二:盒模型四大家族
上一篇:<CSS世界>笔记一:流/元素/尺寸下一篇:<CSS世界>笔记三:内联元素与对齐 写在前面 在读<CSS世界>第四章之前,粗浅的认为盒模型无非是margin ...
- 对Flex布局的总结与思考
阅读本文之前最好对flex布局有基本了解,可以通过"参考资料"中列举的资源来学习. flex布局规范的设计目标 一维布局模型(one-dimensional layout mode ...
- html5网页录音和语音识别
背景 在输入方式上,人们总是在追寻一种更高效,门槛更低的方式,来降低用户使用产品的学习成本.语音输入也是一种尝试较多的方式,有些直接使用语音(如微信语音聊天),有些需要将语音转化为文字(语音识别).接 ...
- 关于20组---三重奏的meet的评价
meet这一软件是一款交友软件,新版本完善了以前版本的各种不足,而且能够通过手机号发验证码来创建新账户,功能多样,可以在星球.广场找到自己感兴趣的人,基本满足的交友需求. 但有一点不足之处,就是缺少创 ...
- 每天找回一点点之MD5加密算法
之前在做项目的时候用户密码都进行了MD5的加密,今天突然想起来了总结一下(●'◡'●) 一.MD5是什么? MD5信息摘要算法(英语:MD5 Message-Digest Algorithm),一种被 ...
- Makefile 简介
一.引例: #Makefile objects=test1.o test2.o main:$(objects) gcc -o main $(objects) clean: rm main $(obje ...
- 阿里云-部署-服务-Docker
目录 ♫ MusicPlayer Naiveboom - 比较安全 个人阿里云部署的小服务,欢迎使用,服务器资源有限,如果遇到卡顿还请谅解~ 索引: 在线音乐播放器 阅后即焚 ♫ MusicPlaye ...
- Intellij IDEA中查看字节码
首先安装插件,这俩都勾上 Intellij IDEA 直接集成了一个工具菜单,可以直接查看字节码,打开 ByteCode 插件窗口方法如下:
- FSB—QPI—DMI总线的发展
intel CPU有的是前端总线(FSB),有的是QPI总线,有的又是DMI总线 FSB总线(由于cpu的发展,fsb总线制约了cpu的发展,所以该总线已经渐渐淡出历史舞台) FSB即Front Si ...
- NodeJs学习日报day5——导入模块
const { match } = require("assert") function dateFormat(dataStr) { const dt = new Date(dat ...