elasticsearch数据基于snapshot的还原备份+版本升级
前言
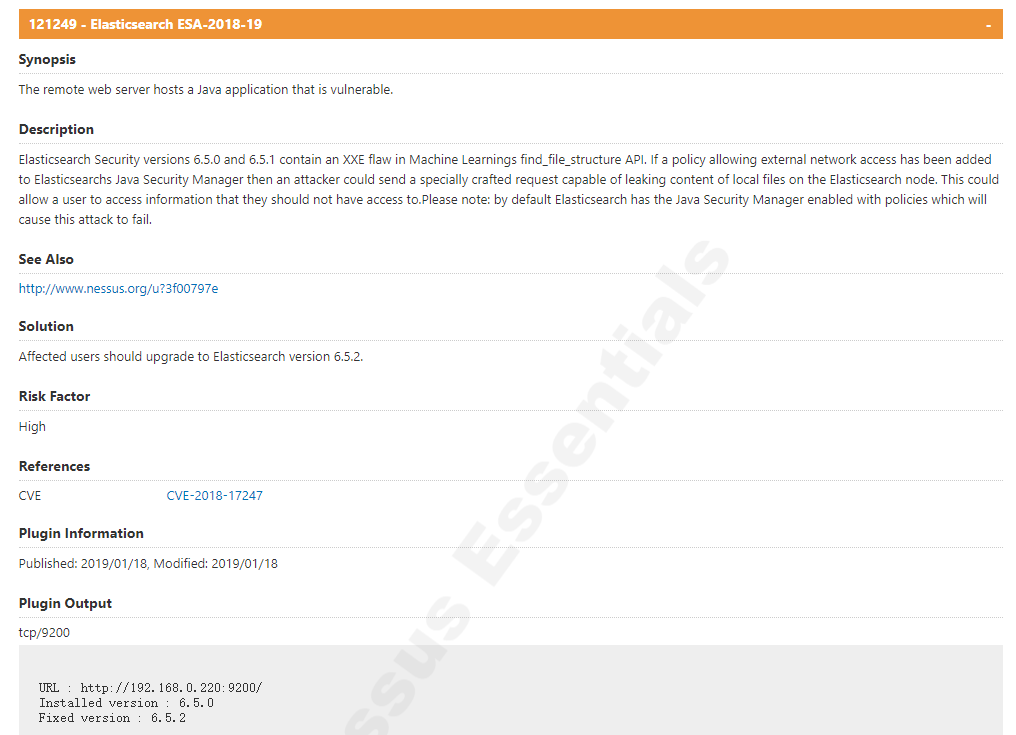
之前安装的是elasticsearch-6.5.0,漏洞扫描报The remote web server hosts a Java application that is vulnerable.,给出的解决方案是将版本升级到elasticsearch-6.5.2以上。
121249 - Elasticsearch ESA-2018-19-

Synopsis

The remote web server hosts a Java application that is vulnerable.

Description

Elasticsearch Security versions 6.5.0 and 6.5.1 contain an XXE flaw in Machine Learnings find_file_structure API. If a policy allowing external network access has been added to Elasticsearchs Java Security Manager then an attacker could send a specially crafted request capable of leaking content of local files on the Elasticsearch node. This could allow a user to access information that they should not have access to.Please note: by default Elasticsearch has the Java Security Manager enabled with policies which will cause this attack to fail.

See Also

http://www.nessus.org/u?3f00797e

Solution

Affected users should upgrade to Elasticsearch version 6.5.2.

Risk Factor

High

References

CVE    CVE-2018-17247

Plugin Information

Published: 2019/01/18, Modified: 2019/01/18

Plugin Output

tcp/9200

URL : http://192.168.0.220:9200/

Installed version : 6.5.0

Fixed version : 6.5.2
安装kibana
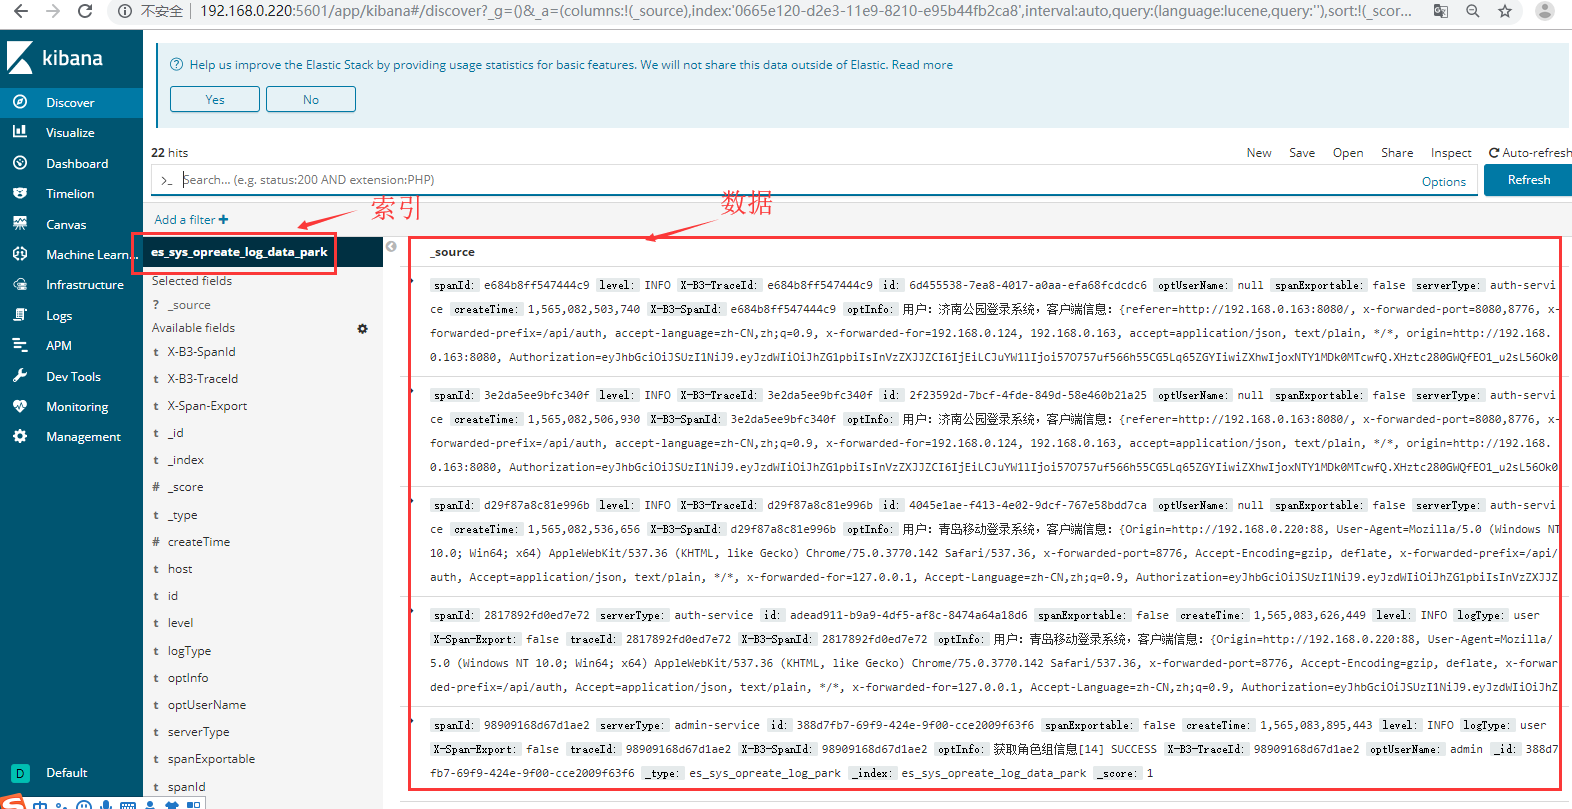
为了查看原来的数据,我先安装kibana
1、准备安装包
找安装包不做过多介绍

2、解压
tar -zxvf kibana-6.5.2-linux-x86_64.tar.gz

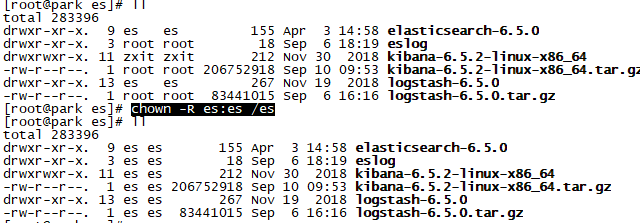
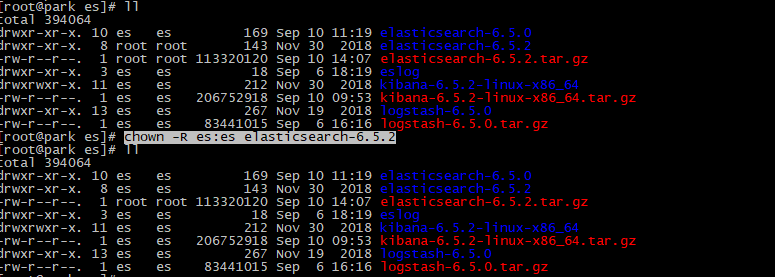
3、修改用户权限
chown -R es:es /es
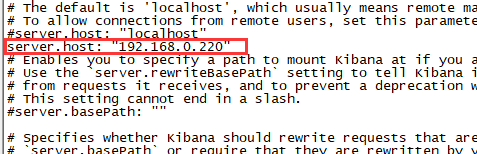
4、修改配置文件
server.host默认是localhost,但我想在其他windows 上访问,所以需要改配置文件
vim /es/kibana-6.5.2-linux-x86_64/config/kibana.yml
#添加一行 server.host: "192.168.0.220"
5、启动
su es

/es/kibana-6.5.2-linux-x86_64/bin/kibana &
6、解决报错Unable to revive connection: http://localhost:9200/
【1】报错日志
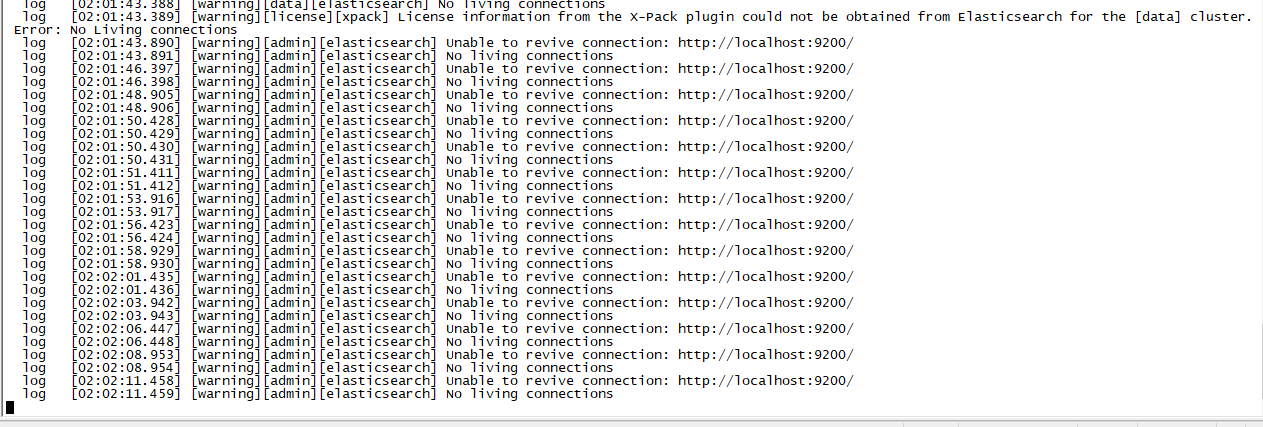
【2】原因分析
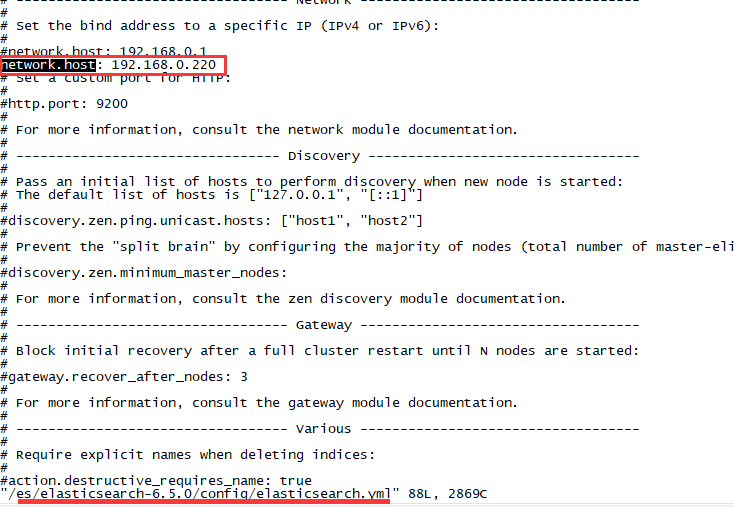
kibana配置文件kibana.yml指定的elasticsearch.url与network.host中指定的ip不匹配。
【3】解决方法
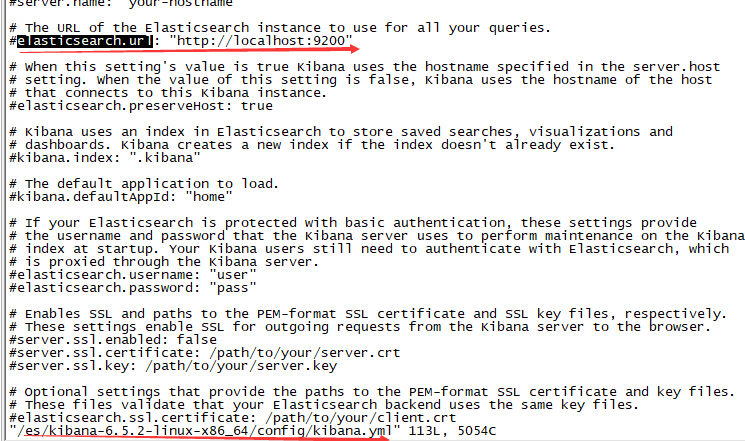
修改kibana.yml的elasticsearch.url
vim /es/kibana-6.5.2-linux-x86_64/config/kibana.yml

# 添加一行

elasticsearch.url: "http://192.168.0.220:9200"

# 重启
/es/kibana-6.5.2-linux-x86_64/bin/kibana &

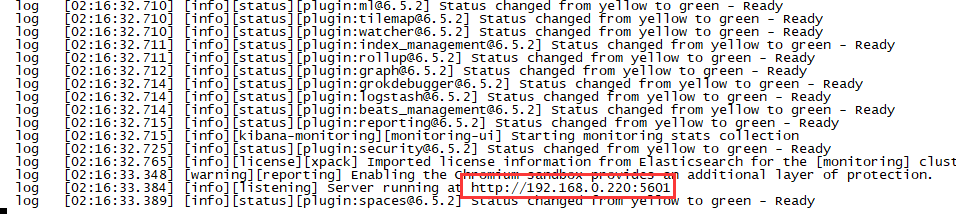
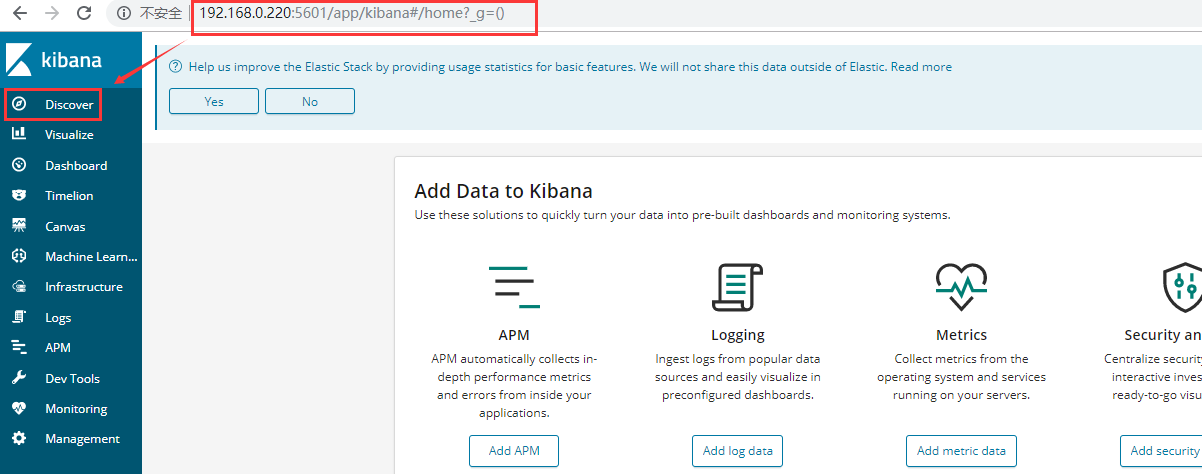
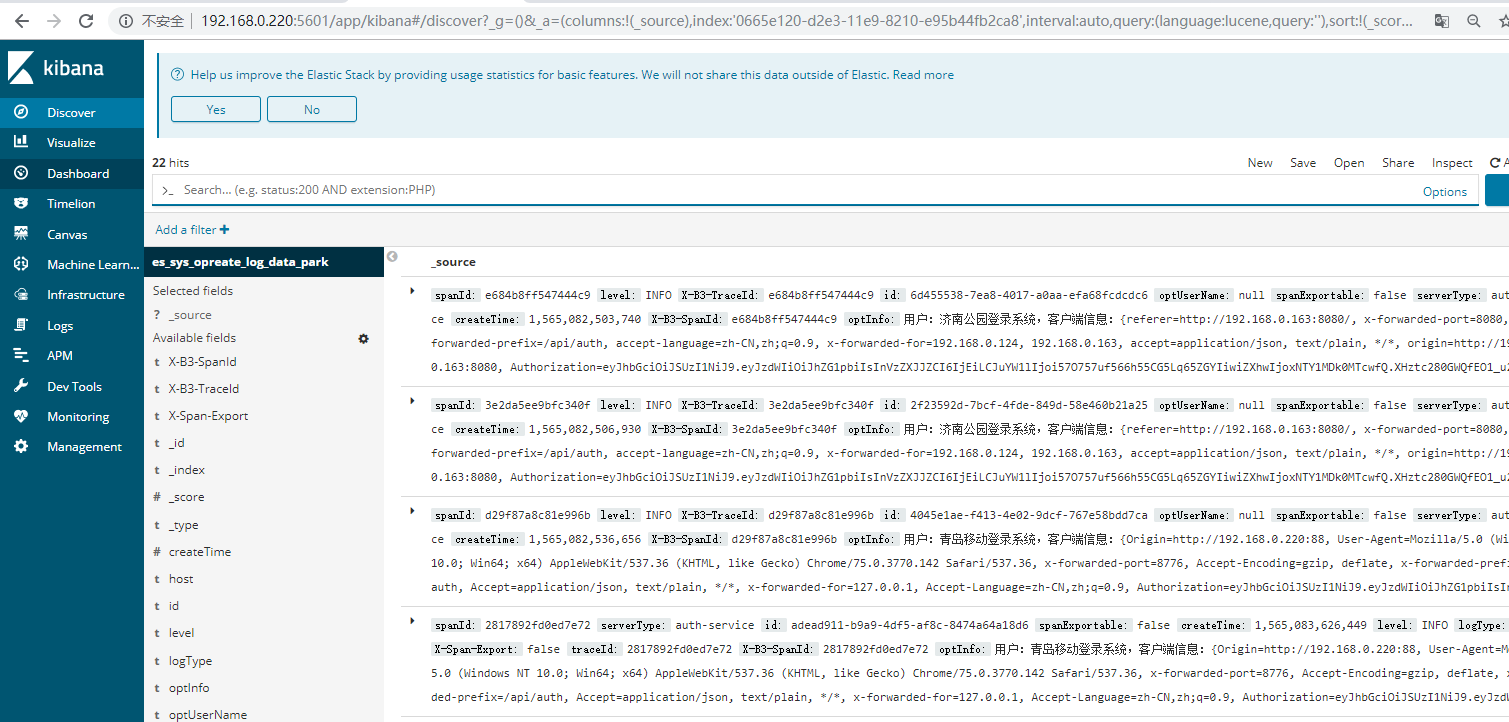
7、查看数据
启动提示访问网址:http://192.168.0.220:5601,则表示成功了,直接在浏览器输入该地址即可访问
备份
1、注册创建快照仓库
当前启动的版本是6.5.0,为当前版本建仓库
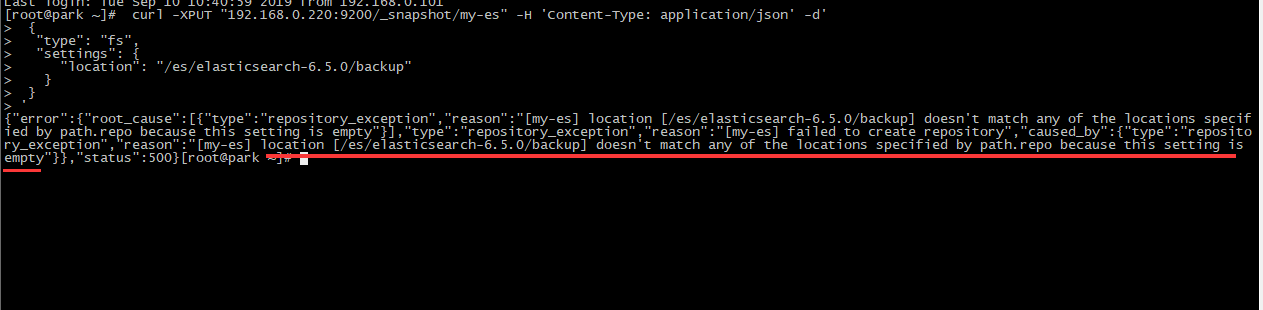
 curl -XPUT "192.168.0.220:9200/_snapshot/my-es" -H 'Content-Type: application/json' -d'

 {

  "type": "fs",

  "settings": {

     "location": "/es/elasticsearch-6.5.0/backup"

   }

 }
'
2、解决报错
【1】报错日志
{"error":{"root_cause":[{"type":"repository_exception",
"reason":"[my-es] location [/es/elasticsearch-6.5.0/backup] doesn't match any of the locations specified by path.repo because this setting is empty"}],、

"type":"repository_exception","reason":"[my-es] failed to create repository",

"caused_by":{"type":"repository_exception",

"reason":"[my-es] location [/es/elasticsearch-6.5.0/backup] doesn't match any of the locations specified by path.repo because this setting is empty"}},

"status":500}
【2】原因分析
报错信息里面已经说明了,仓库位置不匹配,需要在配置文件里面配置仓库位置/es/elasticsearch-6.5.0/backup
【3】解决
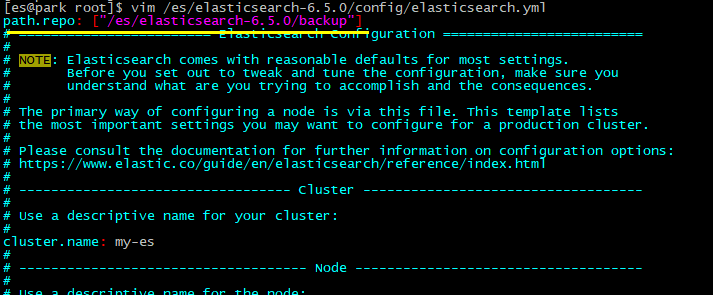
vim /es/elasticsearch-6.5.0/config/elasticsearch.yml

#添加以下内容

path.repo: ["/es/elasticsearch-6.5.0/backup"]
【4】再次创建
#重启

su es

/es/elasticsearch-6.5.0/bin/elasticsearch -d

#创建仓库

curl -XPUT "192.168.0.220:9200/_snapshot/my-es" -H 'Content-Type: application/json' -d'

{

  "type": "fs",

  "settings": {

    "location": "/es/elasticsearch-6.5.0/backup"

  }

}

'

3、查看已注册快照仓库
curl -XGET "192.168.0.220:9200/_snapshot/my-es/"

curl -XPOST "192.168.0.220:9200/_snapshot/my-es/_verify"

4、备份
这里es_sys_opreate_log_data_park是刚刚在kibana上看到的索引
#备份

curl -XPUT '192.168.0.220:9200/_snapshot/my-es/es_sys_opreate_log_data_park?wait_for_completion=true'

#查看备份数据
cd /es/elasticsearch-6.5.0/backup/

升级
1、准备安装包 elasticsearch-6.5.2.tar.gz

2、解压
tar -zxvf elasticsearch-6.5.2.tar.gz
3、修改配置文件
#进入配置文件目录
cd /es/elasticsearch-6.5.2/config/
#备份配置文件
mv elasticsearch.yml elasticsearch.yml.bak
#将6.5.0的配置文件复制过来
cp /es/elasticsearch-6.5.0/config/elasticsearch.yml ./
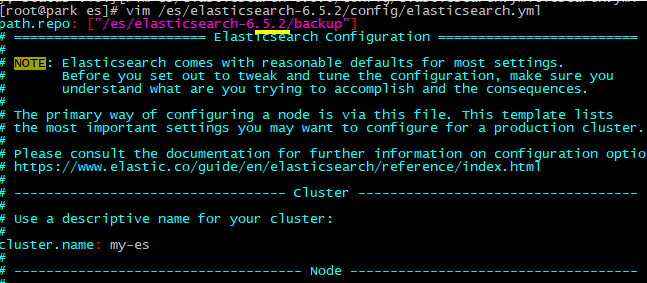
#修改仓库位置
vim /es/elasticsearch-6.5.2/config/elasticsearch.yml
4、修改权限
chown -R es:es elasticsearch-6.5.2
5、启动新版本
启动之前,kill掉旧版本。
#重启

su es

/es/elasticsearch-6.5.2/bin/elasticsearch -d

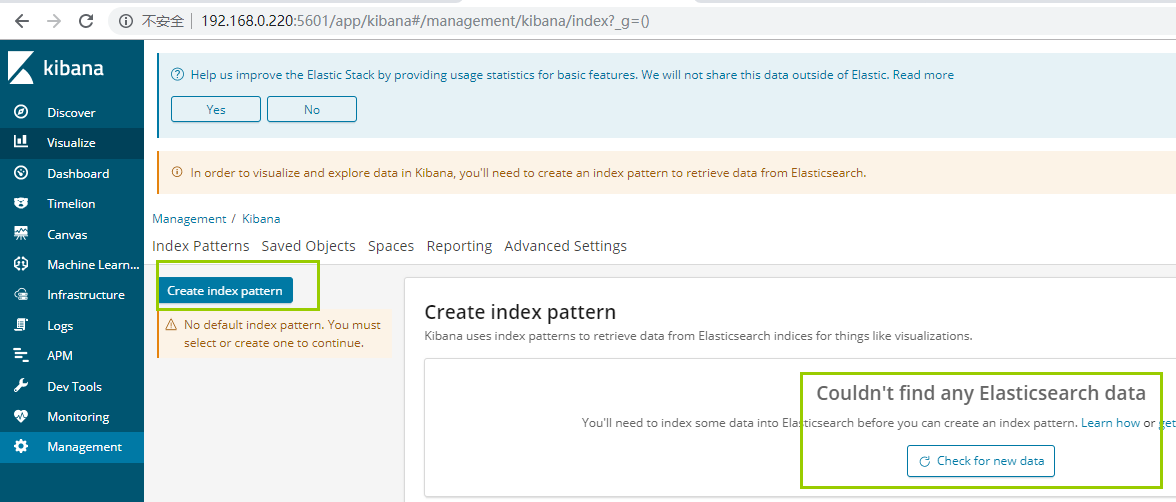
查看数据
用kibana查看数据,发现没有任何数据
还原数据
#新建6.5.2的仓库

curl -XPUT "192.168.0.220:9200/_snapshot/my-es" -H 'Content-Type: application/json' -d'

{

  "type": "fs",

  "settings": {

    "location": "/es/elasticsearch-6.5.2/backup"

  }

}

'

#将6.5.0的备份数据移动到6.5.2的仓库

cp -r /es/elasticsearch-6.5.0/backup/* /es/elasticsearch-6.5.2/backup/

#还原

curl -XPOST 192.168.0.220:9200/_snapshot/my-es/es_sys_opreate_log_data_park/_restore

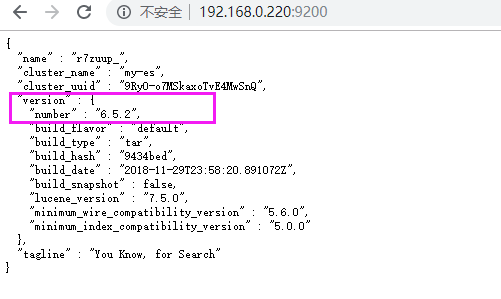
检查数据
查看版本
注:
后面经测试,将老版本中的data文件夹移动到新版本中,同样能完成版本升级及数据的迁移。
补充:
logstash的启动
#切换用户

su es

#进入安装目录

cd logstash-6.5.0/bin/

#启动

./logstash -f ../config/logstash-sample.conf &
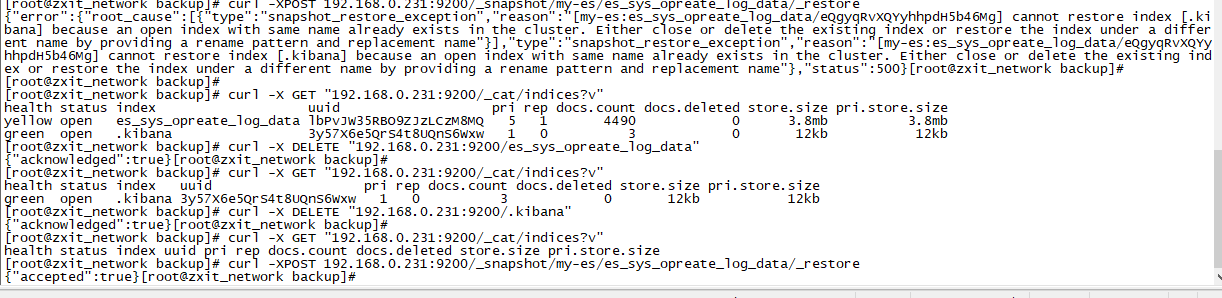
还原时,报index with same name already exists in the cluster
#还原

curl -XPOST 192.168.0.231:9200/_snapshot/my-es/es_sys_opreate_log_data/_restore

#报错信息

{"error":{"root_cause":[{"type":"snapshot_restore_exception","reason":"[my-es:es_sys_opreate_log_data/eQgyqRvXQYyhhpdH5b46Mg]
cannot restore index [.kibana] because an open index with same name already exists in the cluster.
 Either close or delete the existing index or restore the index under a different name by providing a rename pattern and replacement name"}],
"type":"snapshot_restore_exception","reason":"[my-es:es_sys_opreate_log_data/eQgyqRvXQYyhhpdH5b46Mg] cannot restore index [.kibana]
because an open index with same name already exists in the cluster. Either close or delete the existing index or restore the index under a different name
by providing a rename pattern and replacement name"},"status":500}

#查看当前所有索引

curl -X GET "192.168.0.231:9200/_cat/indices?v"

#删除索引

curl -X DELETE "192.168.0.231:9200/es_sys_opreate_log_data"
curl -X DELETE "192.168.0.231:9200/.kibana"
#再次还原
curl -XPOST 192.168.0.231:9200/_snapshot/my-es/es_sys_opreate_log_data/_restore
elasticsearch数据基于snapshot的还原备份+版本升级的更多相关文章
- elasticsearch数据备份还原
elasticsearch数据备份还原 1.在浏览器中运行http://XXX.XXX.XXX.XXX:9200/_flush,确保索引数据能保存到硬盘中. 2.原数据的备份.主要是elasticse ...
- MySQL数据库备份还原(基于binlog的增量备份)
MySQL数据库备份还原(基于binlog的增量备份) 一.简介 1.增量备份 增量备份 是指在一次全备份或上一次增量备份后,以后每次的备份只需备份与前一次相比增加或者被修改的文件.这就意味 ...
- 基于xtrabackup实现mysql备份还原
简介 Xtrabackup2.2版之前包括4个可执行文件: innobackupex: Perl 脚本 xtrabackup: C/C++ 编译的二进制 xbstream: 支持并发写的流文件格式 x ...
- SQL Server 大数据搬迁之文件组备份还原实战
一.本文所涉及的内容(Contents) 本文所涉及的内容(Contents) 背景(Contexts) 解决方案(Solution) 搬迁步骤(Procedure) 搬迁脚本(SQL Codes) ...
- dedecms还原数据时要选对备份目录 不然会提示function文件出错
小李子最近在学习dedecms,在网上下载了一个二次开发的系统,顺利安装后想要还原一下作者的备份数据,可一直没有成功,让ytkah查看一下什么情况.进到后台,点击还原,提示/e/class/funct ...
- 高效管理 Elasticsearch 中基于时间的索引——本质是在利用滚动模式做数据的冷热分离,热索引可以用ssd
高效管理 Elasticsearch 中基于时间的索引 转自:http://stormluke.me/es-managing-time-based-indices-efficiently/ 用 Ela ...
- 基于 MySQL Binlog 的 Elasticsearch 数据同步实践 原
一.背景 随着马蜂窝的逐渐发展,我们的业务数据越来越多,单纯使用 MySQL 已经不能满足我们的数据查询需求,例如对于商品.订单等数据的多维度检索. 使用 Elasticsearch 存储业务数据可以 ...
- SqlServer:SqlServer(xpath,字段约束,时间查询,数据文件查询及还原,压缩备份)
1.xpath --1.文档 select @data --2.任意级别是否存在price节点 select @data.exist('//price') --3.获取所有book节点 select ...
- 【原创】MapReduce备份Elasticsearch数据到HDFS(JAVA)
一.环境:JAVA8,Elasticsearch-5.6.2,Hadoop-2.8.1二.实现功能:mapreduce读elasticsearch数据.输出parquet文件.多输出路径三.主要依赖 ...
随机推荐
- CSS行内框(内联元素)
行内框在一行中水平布置.可以使用水平内边距.边框和外边距调整它们的间距.但是,垂直内边距.边框和外边距不影响行内框的高度.由一行形成的水平框称为行框(Line Box),行框的高度总是足以容纳它包含的 ...
- HTML文本格式化标签(Formatting)
<b>粗体文本</b> <code>计算机代码</code> <em>强调文本</em> <i>斜体文本</i ...
- 八、LaTex中的表格
- python中的@property
@property 可以将python定义的函数“当做”属性访问,从而提供更加友好访问方式,但是有时候setter/getter也是需要的 class People: def __init__(sel ...
- poj3494Largest Submatrix of All 1’s(最大全1子矩阵)
题目链接:http://poj.org/problem?id=3494 题目大意: 出1个M*N的矩阵M1,里面的元素只有0或1,找出M1的一个子矩阵M2,M2中的元素只有1,并且M2的面积是最大的. ...
- CF261E Maxim and Calculator (质数,完全背包)
CF261E Maxim and Calculator 题目大意: 有两个初始参数 $ a=1 $ , $ b=0 $ ,你可以对它们进行两个操作: $ b~+=1 $ 或 $ a~\times =b ...
- 对includes的研究
1.includes() 方法用来判断一个数组是否包含一个指定的值,如果是返回 true,否则false. 2.let site = ['runoob', 'google', 'taobao']; s ...
- 跳转控制语句continue
1 continue的使用场景: 1.1 在循环语句中 注意:离开使用场景的存在是没有意义的 2 continue的作用: 2.1 单层循环对比break,然后总结两者的区别 2.1.1 break ...
- 51Nod 1277 字符串中的最大值 ( KMP && DP )
题意 : 一个字符串的前缀是指包含该字符第一个字母的连续子串,例如:abcd的所有前缀为a, ab, abc, abcd.给出一个字符串S,求其所有前缀中,字符长度与出现次数的乘积的最大值.例如:S ...
- 10分钟学会React Context API
Create-react-app来学习这个功能: 注意下面代码红色的即可,非常简单. 在小项目里Context API完全可以替换掉react-redux. 修改app.js import React ...