1.Zabbix配置[仅环境搭建]
Zabbix配置分为两部分
1.Zabbix服务端的配置
安装Zabbix源:
[root@c71 ~]# rpm -ivh https://mirrors.aliyun.com/zabbix/zabbix/3.4/rhel/7/x86_64/zabbix-release-3.4-1.el7.centos.noarch.rpm
列出 zabbix-release 这个包里面文件的列表
[root@c71 ~]# rpm -ql zabbix-release

/etc/pki/rpm-gpg/RPM-GPG-KEY-ZABBIX

/etc/pki/rpm-gpg/RPM-GPG-KEY-ZABBIX-A14FE591

/etc/yum.repos.d/zabbix.repo

/usr/share/doc/zabbix-release-3.4

/usr/share/doc/zabbix-release-3.4/GPL
将服务器上的软件包信息 现在本地缓存,以提高 搜索 安装软件的速度
yum makecache
安装相关软件:
yum install zabbix-server-mysql zabbix-web-mysql zabbix-server zabbix-agent mariadb-server -y
安装mysql数据库并进行相关的配置:
[root@c71 ~]# systemctl start mariadb
[root@c71 ~]# systemctl enable mariadb //设置为开机自启动
[root@c71 ~]# mysql -uroot -p
Enter password: //回车
MariaDB [(none)]> create database zabbix character set utf8 collate utf8_bin;
MariaDB [(none)]> grant all privileges on zabbix.* to zabbix@localhost identified by 'zabbix';
MariaDB [(none)]> flush privileges;
MariaDB [(none)]> exit
[root@c71 doc]# cd /usr/share/doc/zabbix-server-mysql-3.4.15/
[root@c71 zabbix-server-mysql-3.4.15]# zcat create.sql.gz
[root@c71 zabbix-server-mysql-3.4.15]# zcat create.sql.gz |mysql -uroot zabbix -p
Enter password: //直接回车
查看数据是否已经写入数据库里面了:
[root@c71 zabbix-server-mysql-3.4.]# mysql -uroot -p

Enter password:  //回车

MariaDB [(none)]> use zabbix;

MariaDB [zabbix]> show tables; //如果返回的结果中有表,说明写入成功了。
MariaDB [zabbix]> exit //退出数据库
查看Zabbix库的信息是否写入了配置文件内:
[root@c71 zabbix-server-mysql-3.4.]# grep '^[a-Z]' /etc/zabbix/zabbix_server.conf

LogFile=/var/log/zabbix/zabbix_server.log

LogFileSize=

PidFile=/var/run/zabbix/zabbix_server.pid

SocketDir=/var/run/zabbix

DBName=zabbix

DBUser=zabbix

SNMPTrapperFile=/var/log/snmptrap/snmptrap.log

Timeout=

AlertScriptsPath=/usr/lib/zabbix/alertscripts

ExternalScripts=/usr/lib/zabbix/externalscripts

LogSlowQueries=3000
需要关闭SELinux和Firewalld
[root@c71 ~]# getenforce  //查看selinux状态

Enforcing //如果是此状态,需要执行下面的命令,将SeLinux关闭

[root@c71 ~]# setenforce
如果需要永久关闭SELinux需要执行下面的操作:
[root@c71 ~]# sed -i s#SELINUX=enforcing#SELINUX=disabled#g /etc/selinux/config
关闭防火墙:
[root@c71 ~]# systemctl stop firewalld
[root@c71 ~]# systemctl disable firewalld
启动Zabbix服务器并查看启动状态:
[root@c71 ~]# systemctl start zabbix-server

[root@c71 ~]# systemctl status zabbix-server
[root@c71 ~]# systemctl enable zabbix-server //设置为开机自启动
● zabbix-server.service - Zabbix Server

   Loaded: loaded (/usr/lib/systemd/system/zabbix-server.service; disabled; vendor preset: disabled)

   Active: active (running) since Wed -- :: EDT; 6s ago //启动成功
sed -i 's/# php_value date.timezone Europe/php_value date.timezone Asia/g' /etc/httpd/conf.d/zabbix.conf
sed -i 's/Riga/Shanghai/g' /etc/httpd/conf.d/zabbix.conf
启动httpd服务器,提供网页访问能力:
[root@c71 ~]# systemctl start httpd
[root@c71 ~]# systemctl enable httpd
查看到下面内容说明已经成功启动:
[root@c71 ~]# ps -ef | grep httpd

root              : ?        :: /usr/sbin/httpd -DFOREGROUND

apache         : ?        :: /usr/sbin/httpd -DFOREGROUND

apache         : ?        :: /usr/sbin/httpd -DFOREGROUND

apache         : ?        :: /usr/sbin/httpd -DFOREGROUND

apache         : ?        :: /usr/sbin/httpd -DFOREGROUND

apache         : ?        :: /usr/sbin/httpd -DFOREGROUND

root           : pts/    :: grep --color=auto httpd
访问服务器地址,测试:
http://192.168.219.129/zabbix/setup.php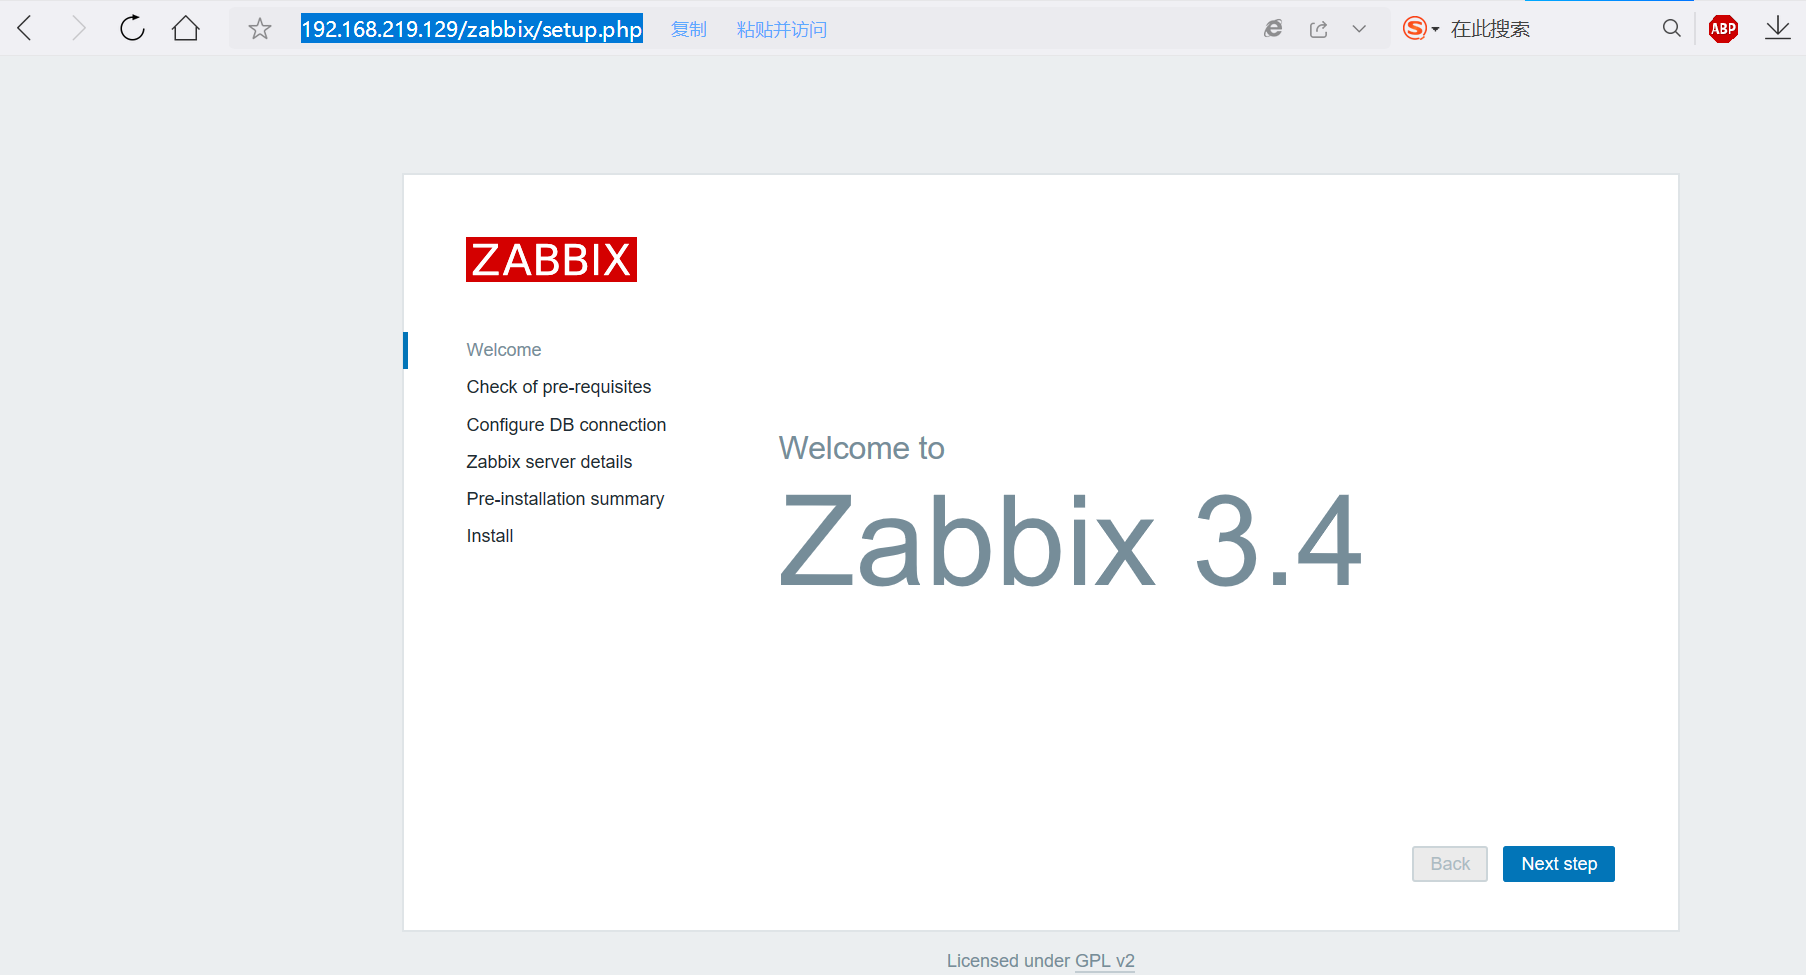
后面的按实际填写,最后一步的名字是Admin,密码是zabbix:
查看当前Zabbix服务端的配置信息
[root@c71 ~]# cat  /etc/zabbix/web/zabbix.conf.php

<?php

// Zabbix GUI configuration file.

global $DB;

$DB['TYPE']     = 'MYSQL';

$DB['SERVER']   = 'localhost';

$DB['PORT']     = '';

$DB['DATABASE'] = 'zabbix';

$DB['USER']     = 'zabbix';

$DB['PASSWORD'] = 'zabbix';

// Schema name. Used for IBM DB2 and PostgreSQL.

$DB['SCHEMA'] = '';

$ZBX_SERVER      = 'localhost';

$ZBX_SERVER_PORT = '';

$ZBX_SERVER_NAME = 'test';

$IMAGE_FORMAT_DEFAULT = IMAGE_FORMAT_PNG;
Zabbix服务端一键部署脚本:
rpm -ivh https://mirrors.aliyun.com/zabbix/zabbix/3.4/rhel/7/x86_64/zabbix-release-3.4-1.el7.centos.noarch.rpm

yum makecache

yum install zabbix-server-mysql zabbix-web-mysql zabbix-server zabbix-agent mariadb-server -y

systemctl start mariadb

mysqladmin -u root password zabbix

zcat /usr/share/doc/zabbix-server-mysql-3.4.14/create.sql.gz |mysql -uroot zabbix -pzabbix   [手动配置]

mysql -uroot -pzabbix <<EOF

create database zabbix charset = utf8;

grant all on zabbix. * to zabbix@localhost identified by 'zabbix';

flush privileges;

EOF

sed -i 's/# DBHost=localhost/DBHost=localhost/g' /etc/zabbix/zabbix_server.conf

sed -i 's/# DBPassword=/DBPassword=zabbix/g' /etc/zabbix/zabbix_server.conf

sed -i 's/# DBPort=3306/DBPort=3306/' /etc/zabbix/zabbix_server.conf

systemctl start zabbix-server

sed -i 's/# php_value/php_value/g' /etc/httpd/conf.d/zabbix.conf

sed -i 's#Europe/Riga#Asia/ShangHai#g' /etc/httpd/conf.d/zabbix.conf

systemctl start httpd

systemctl restart zabbix-server

systemctl restart httpd

systemctl restart mariadb

systemctl enable zabbix-server.service

systemctl enable httpd.service

systemctl enable mariadb.service

systemctl stop firewalld

systemctl disable firewalld

cd /usr/share/doc/zabbix-server-mysql-3.4.15/ && zcat create.sql.gz |mysql -uroot zabbix -pzabbix
2.Zabbix客户端的配置
CentOS6上安装:
rpm -ivh https://mirrors.tuna.tsinghua.edu.cn/zabbix/zabbix/3.4/rhel/6/x86_64/zabbix-agent-3.4.14-1.el6.x86_64.rpm
CentOS7上安装:
rpm -ivh https://mirrors.tuna.tsinghua.edu.cn/zabbix/zabbix/3.4/rhel/7/x86_64/zabbix-agent-3.4.14-1.el7.x86_64.rpm
接下来的步骤已在CentOS6上安装为例:
1.Zabbix配置[仅环境搭建]的更多相关文章
- Django + Apache + wsgi配置和环境搭建(ubuntu)
上一篇写了Django + nginx + uwsgi配置和环境搭建(ubuntu) 由于公司服务器环境问题,又配置了apache的环境.记录例如以下: 一. 安装环境: #apache sudo a ...
- tomcat配置及环境搭建
步骤一 下载tomcat 下载tomcat并安装,登陆tomcat官网,http://tomcat.apache.org/,Windows系统建议选择Windows Service Installer ...
- zabbix分布式监控环境搭建
本次测试主要是在 centos 系统环境实践,测试内容:集群多台服务器资源监控做后续铺垫.zabbix的简介和自身的特点.在这就不阐述了 查询防火墙状态service iptables status停 ...
- Redis主从配置和哨兵监控配置——服务器端环境搭建
一:介绍 公司用到的redis框架,主要分为cluster的缓存集群和sentinel中的哨兵主从.这种的选用方式一般需要更具业务场景来做区分,两种框架的配置图为:右图为哨兵主从框架和cliuster ...
- zabbix基础之环境搭建
zabbix入门 环境部署 安装mysql #安装MySQL,官方的MySQL的repo源地址:http://repo.mysql.com/ #选择指定的MySQL版本,我这里选mysql5.7的版本 ...
- Android Studio安装配置、环境搭建详细步骤及基本使用
前言 Android Studio的安装配置及使用篇终于来啦~ 废话不多说,以下针对JDK正确安装(及其环境变量配置完毕,即Java开发环境下).Android Studio的安装,配置,以及创建工程 ...
- windows下Qt5.1.0配置android环境搭建 good
1.首先下载好需要配置的软件: 1>Qt 5.1.0 for Android (Windows 32-bit, 716 MB)(Info)下载地址: http://qt-project.org/ ...
- vue环境配置脚手架环境搭建vue工程目录
首先在初始化一个vue项目之前,我们需要下载node.js,并且安装! 下载地址: nodejs.cn/download 安装完成之后,windows+r 运行命令 cmd 输入node -v 检 ...
- settings 配置 + 测试环境搭建
若想将模型转为mysql数据库中的表,需要在settings中配置: DATABASES = { 'default': { 'ENGINE': 'django.db.backends.mysql', ...
随机推荐
- windows10如何查看wifi密码
1.首先,在你的电脑的右下角的WiFi的图标,右击它,选择"网络和internet设置"或者选择打开设置 :如下图 点击"更改适配器选项" 选择 WLAN选项, ...
- Servlet --简单用户留言系统
1.创建用户表和留言表 2.编写数据库连接工具类 public class SqlserverDBConn { private Statement stmt; private Connection c ...
- sql语句中order by 多个字段同时排序的应用
order by 后面可以跟多个字段进行排序 用A1代表第一个字段,A2代表第二个字段 一.order by A1 , A2 desc 指的是用A1升序A2降序 二.order by A1 a ...
- VMware网络桥接模式与NAT模式共存
对虚拟机有时我们会有一种需求,即需要虚拟机可以作为单独的主机拥有自己的独立IP,也希望宿主机可以通过NAT模式映射端口到虚拟机. 那么此时怎么办那,其实很简单,虚拟机是支持多网卡设置的,只要在虚拟 ...
- centos7安装mysql 8
1.查看已有mysql(包括mariadb) rpm -pa | grep mariadb yum list installed | grep mariadb rpm -pa | grep mysql ...
- linux&php:ubuntu安装php-7.2
1.下载php源码,地址:http://www.php.net/downloads.php 这里下载的是tar.gz的包 2.解压安装 将安装包解压到/usr/local/php 安装C的编译工具 s ...
- spring boot整合quartz实现多个定时任务
版权声明:本文为博主原创文章,转载请注明出处. https://blog.csdn.net/liuchuanhong1/article/details/78543574 最近收到了很多封邮件, ...
- c# 中实用包,实用dll。
Aspose.cell:用与操作Excel,生成,导入导出等. ICSharpCode.SharpZipLib.dll:用户压缩及解压ZIP包,根据需要也可以加密.
- 三种常见的Web安全问题
XSS漏洞 1.XSS简介 跨站脚本(cross site script)简称为XSS,是一种经常出现在web应用中的计算机安全漏洞,也是web中最主流的攻击方式. XSS是指恶意攻击者利用网站没有对 ...
- 【Eclipse】eclipse中格式化代码配置方法
1.找到"Source",点击,在弹出的下拉框内,找到"Format",然后点击,或者快捷键ctrl+shift+F, 如果对单单一行的行首进行自动对齐,将鼠标 ...