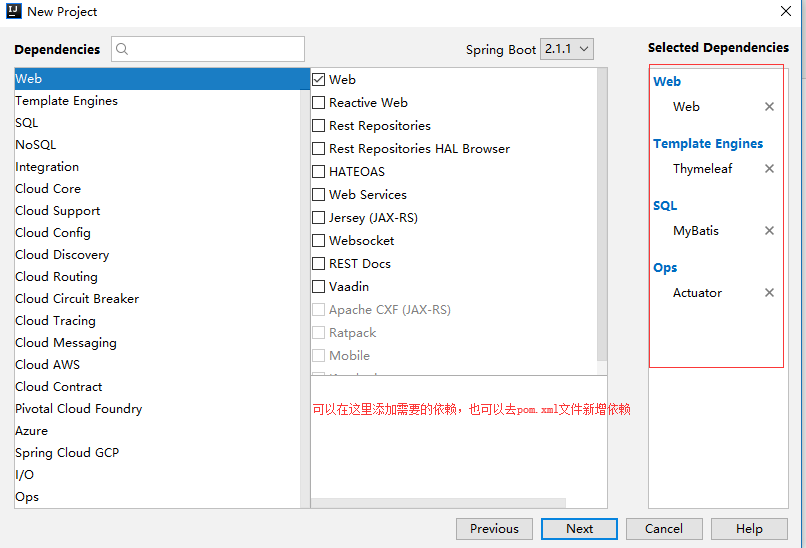
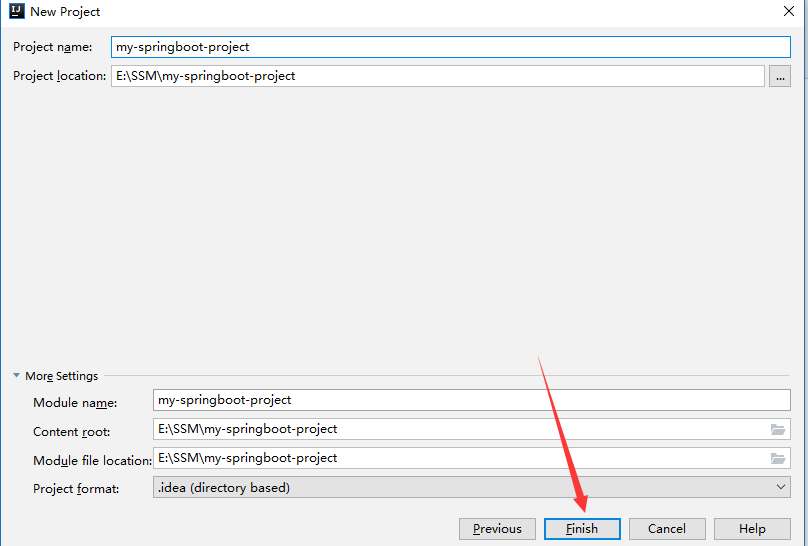
使用idea 搭建一个 SpringBoot + Mybatis + logback 的maven 项


(注意项目名不能有大写。。。。。。),把项目类型 改成 War 类型。(web项目)
使用 mybatis-generator 插件 生成 实体类 和 接口
在 resources 目录 中 新建一个 generatorConfig.xml 的文件
generatorConfig.xml 文件信息

 1 <?xml version="1.0" encoding="UTF-8"?>

 2 <!DOCTYPE generatorConfiguration

 3         PUBLIC "-//mybatis.org//DTD MyBatis Generator Configuration 1.0//EN"

 4         "http://mybatis.org/dtd/mybatis-generator-config_1_0.dtd">

 5

 6 <generatorConfiguration>

 7     <context id="default" targetRuntime="MyBatis3Simple">

 8         <!--创建class时,对注释进行控制-->

 9         <commentGenerator>

10             <property name="suppressDate" value="true" />

11             <!--去除注释-->

12             <property name="suppressAllComments" value="true"/>

13         </commentGenerator>

14

15         <!--jdbc的数据库连接-->

16         <jdbcConnection driverClass="org.mariadb.jdbc.Driver"

17                         connectionURL="jdbc:mariadb://localhost:3306/test"

18                         userId="oukele" password="oukele">

19         </jdbcConnection>

20         <!-- Model模型生成器

21             targetPackage -> 指定生成的model生成所在的包名

22             targetProject -> 指定在该项目下所在的路径

23         -->

24         <javaModelGenerator targetPackage="com.oukele.myspringbootproject.entity" targetProject="src/main/java">

25             <!-- 是否对类CHAR类型的列的数据进行trim操作 -->

26             <property name="trimStrings" value="true" />

27         </javaModelGenerator>

28         <!--Mapper映射文件生成所在的目录 为每一个数据库的表生成对应的SqlMap文件-->

29         <sqlMapGenerator targetPackage="mapper"  targetProject="src/main/resources"/>

30         <!-- 客户端代码,生成易于使用的针对Model对象和XML配置文件 的代码

31             type="ANNOTATEDMAPPER",生成Java Model 和基于注解的Mapper对象

32             type="MIXEDMAPPER",生成基于注解的Java Model 和相应的Mapper对象

33             type="XMLMAPPER",生成SQLMap XML文件和独立的Mapper接口

34         -->

35         <javaClientGenerator type="XMLMAPPER" targetPackage="com.oukele.myspringbootproject.dao"  targetProject="src/main/java"/>

36

37         <!-- tableName 表名  % -> 全部表   -->

38         <table tableName="user">

39             <generatedKey column="id" sqlStatement="Mysql"/>

40         </table>

41

42     </context>

43 </generatorConfiguration>
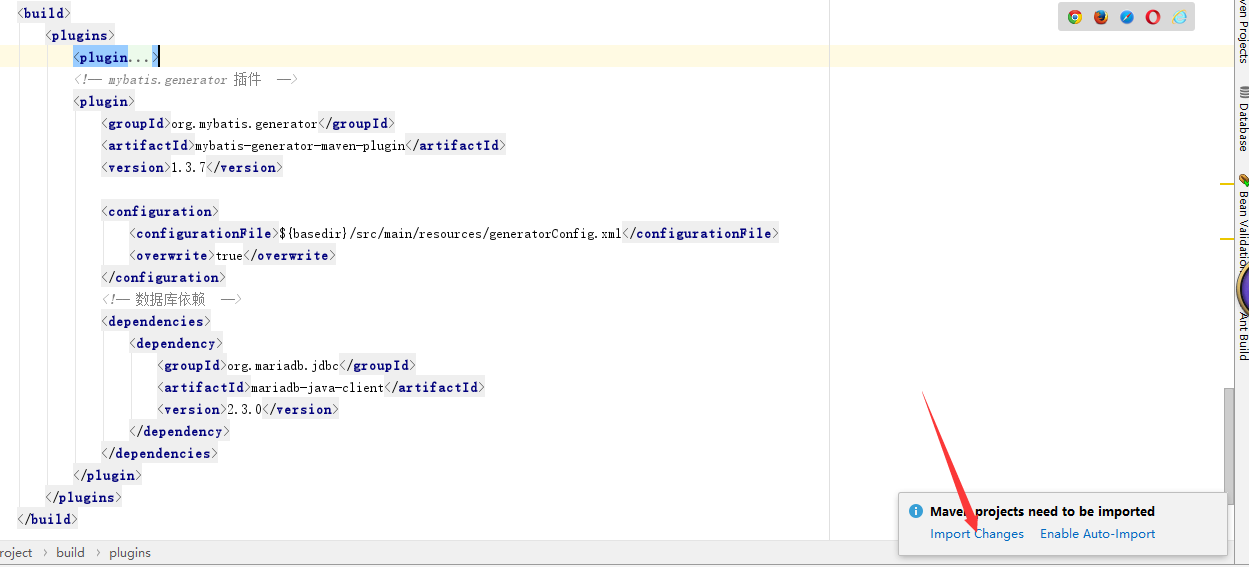
在 pom.xml 文件添加依赖
 1             <!-- mybatis.generator 插件  -->

 2             <plugin>

 3                 <groupId>org.mybatis.generator</groupId>

 4                 <artifactId>mybatis-generator-maven-plugin</artifactId>

 5                 <version>1.3.7</version>

 6

 7                 <configuration>

 8                     <configurationFile>${basedir}/src/main/resources/generatorConfig.xml</configurationFile>

 9                     <overwrite>true</overwrite>

10                 </configuration>

11                 <!-- 数据库依赖  -->

12                 <dependencies>

13                     <dependency>

14                         <groupId>org.mariadb.jdbc</groupId>

15                         <artifactId>mariadb-java-client</artifactId>

16                         <version>2.3.0</version>

17                     </dependency>

18                 </dependencies>

19             </plugin>
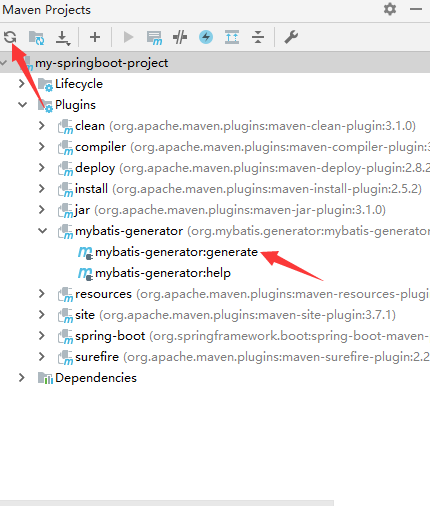
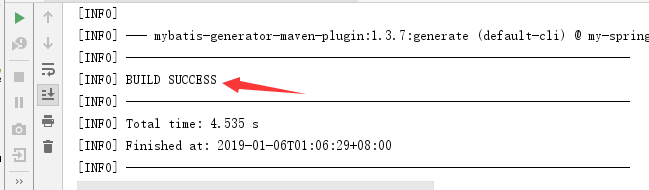
生成成功。
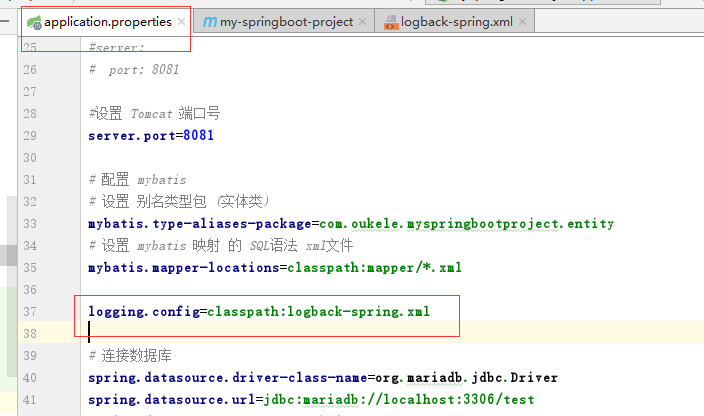
现在 来 配置 application.properties 文件。
 1 #设置 Tomcat 端口号

 2 server.port=8081

 3

 4 # 配置 mybatis

 5 # 设置 别名类型包 (实体类)

 6 mybatis.type-aliases-package=com.oukele.myspringbootproject.entity

 7 # 设置 mybatis 映射 的 SQL语法 xml文件

 8 mybatis.mapper-locations=classpath:mapper/*.xml

 9

10 # 连接数据库

11 spring.datasource.driver-class-name=org.mariadb.jdbc.Driver

12 spring.datasource.url=jdbc:mariadb://localhost:3306/test

13 spring.datasource.username=oukele

14 spring.datasource.password=oukele

15 # 设置数据源 (c3p0连接池)

16 spring.datasource.type=com.mchange.v2.c3p0.ComboPooledDataSource

17

18 #启动 热部署

19 spring.devtools.livereload.enabled=true
如果嫌 上面的写法 太啰嗦 可将 application.properties 文件 后缀名改成 yml
内容改成如下:
# mybatis 配置

mybatis:

  typeAliasesPackage: com.oukele.myspringbootproject.entity

  mapperLocations: classpath:mapper/*.xml

spring:

  datasource:

    driver-class-name: org.mariadb.jdbc.Driver

    url: jdbc:mariadb://localhost:3306/test

    username: oukele

    password: oukele

    # 数据源

    type: com.mchange.v2.c3p0.ComboPooledDataSource

# 这里是默认配置

spring.devtools.restart.enabled: true

# 设置重启的目录

spring.devtools.restart.additional-paths: src/main/java

# classpath目录下的WEB-INF文件夹内容修改不重启
server:
  port: 8081
pom.xml 文件
这里,我们启动项目,看下能不能启动。
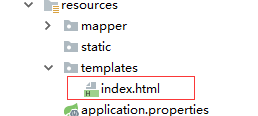
首先在 templates 文件中 新建一个 index.html 网页
然后
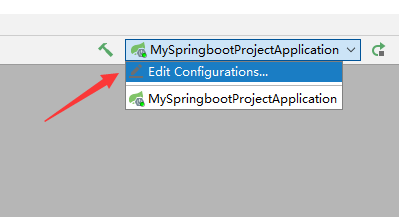

最后,
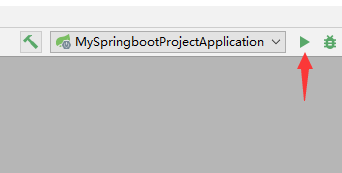
启动成功
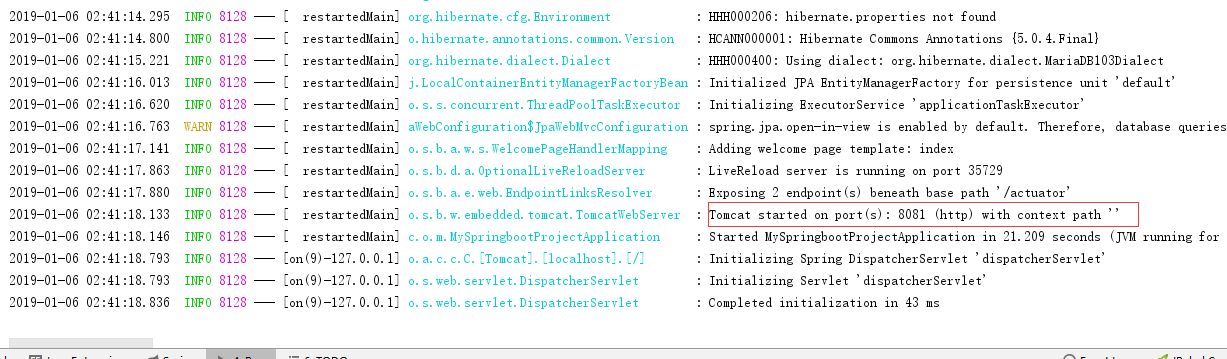
效果如下:

开始我们的主菜。
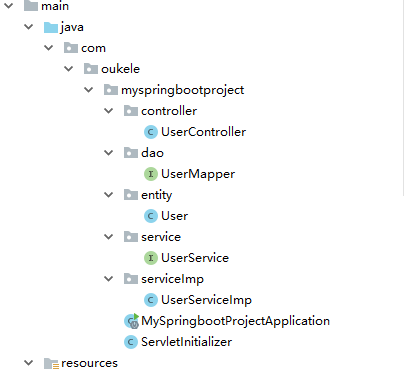
项目结构
service包中UserService接口
1 package com.oukele.myspringbootproject.service;

2

3 import com.oukele.myspringbootproject.entity.User;

4 import java.util.List;

5

6

7 public interface UserService {

8     List<User> listAll();

9 }
serviceImp包中UserServiceImp类
 1 package com.oukele.myspringbootproject.serviceImp;

 2

 3 import com.oukele.myspringbootproject.dao.UserMapper;

 4 import com.oukele.myspringbootproject.entity.User;

 5 import com.oukele.myspringbootproject.service.UserService;

 6 import org.springframework.beans.factory.annotation.Autowired;

 7 import org.springframework.stereotype.Service;

 8

 9 import java.util.List;

10

11 @Service

12 public class UserServiceImp implements UserService {

13

14     @Autowired

15     private UserMapper userMapper;//这里出现红色波浪线,并不影响使用

16

17     @Override

18     public List<User> listAll() {

19         return userMapper.selectAll();

20     }

21 }
controller包中Usercontroller类
package com.oukele.myspringbootproject.controller;

import com.oukele.myspringbootproject.entity.User;

import com.oukele.myspringbootproject.serviceImp.UserServiceImp;

import org.springframework.beans.factory.annotation.Autowired;

import org.springframework.web.bind.annotation.GetMapping;

import org.springframework.web.bind.annotation.RestController;

import java.util.List;

@RestController

public class UserController {

    @Autowired

    private UserServiceImp userServiceImp;

    @GetMapping(path = "/list")

    public List<User> getAll(){

        return userServiceImp.listAll();

    }

}
 类的修改。。。
package com.oukele.myspringbootproject;

import org.mybatis.spring.annotation.MapperScan;

import org.springframework.boot.SpringApplication;

import org.springframework.boot.autoconfigure.SpringBootApplication;

@SpringBootApplication

@MapperScan("com.oukele.myspringbootproject.dao")//扫描接口

public class MySpringbootProjectApplication {

    public static void main(String[] args) {

        SpringApplication.run(MySpringbootProjectApplication.class, args);

    }

}
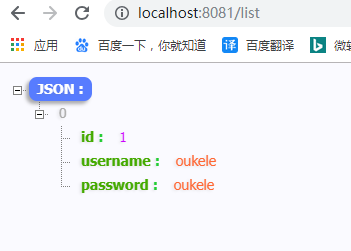
重启项目,访问/list 的结果:
使用logback日志:
在resources文件中 新建logback-spring.xml 文件 (springboot默认集成了 logback 直接在resources创建 logback-spring.xml即可)
 1 <?xml version="1.0" encoding="UTF-8"?>

 2 <configuration>

 3     <appender name="STDOUT" class="ch.qos.logback.core.ConsoleAppender">

 4         <layout class="ch.qos.logback.classic.PatternLayout">

 5             <Pattern>

 6                 %msg%n

 7             </Pattern>

 8         </layout>

 9     </appender>

10

11     <logger name="com.oukele.myspringbootproject.dao" level="TRACE" />

12

13     <root level="error">

14         <appender-ref ref="STDOUT" />

15     </root>

16 </configuration>
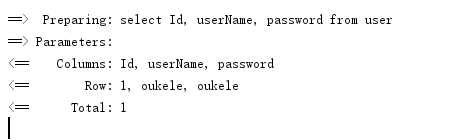
重新启动(结果):
使用idea 搭建一个 SpringBoot + Mybatis + logback 的maven 项的更多相关文章
- 使用idea 搭建一个 SpringBoot + Mybatis + logback 的maven 项目
(注意项目名不能有大写......),把项目类型 改成 War 类型.(web项目) 使用 mybatis-generator 插件 生成 实体类 和 接口 在 resources 目录 中 新建一个 ...
- Spring+SpringMVC+MyBatis+LogBack+C3P0+Maven+Git小结(转)
摘要 出于兴趣,想要搭建一个自己的小站点,目前正在积极的准备环境,利用Spring+SpringMVC+MyBatis+LogBack+C3P0+Maven+Git,这里总结下最近遇到的一些问题及解决 ...
- 5分钟快速搭建一个springboot的项目
现在开发中90%的人都在使用springboot进行开发,你有没有这样的苦恼,如果让你新建一个springboot开发环境的项目,总是很苦恼,需要花费很长时间去调试.今天来分享下如何快速搭建. 一 ...
- 使用IDEA 搭建一个 SpringBoot + Hibernate + Gradle 项目
现在创建个项目: 勾上 自已 需要东西.(这里作为演示) maven{ url 'http://maven.aliyun.com/nexus/content/groups/public/'} 关闭项目 ...
- springboot入门(一)--快速搭建一个springboot框架
原文出处 前言在开始之前先简单介绍一下springboot,springboot作为一个微框架,它本身并不提供Spring框架的核心特性以及扩展功能,只是用于快速.敏捷地开发新一代基于Spring框架 ...
- 简单搭建一个SpringBoot
1.SpringBoot下载 https://start.spring.io/ 选择工程类型,编译语言,版本,工程名称,需要支持组件等:选择好了以后点击生成项目. 之后会下载一个压缩文件,解压之后导入 ...
- 【Linux】【自学笔记】docker搭建一个spring-boot程序
写在开始 最近捣腾Linux,安装虚拟机VMware并安装了CentOS 7系统,开始研究Linux,但是无从下手,就结合工作中用到的东西一步一步研究,事实并不是那么顺利.特此开博客,记录在过程 ...
- SpringBoot(一):使用IDEA快速搭建一个SpringBoot项目(详细)
环境: JDK1.8 Maven:3.5.4 1.打开IDEA,右上角选择File→New→Project 选择Spring Initializr(使用IDEA自带的插件创建需要电脑联网) 2.点 ...
- IDEA搭建一个SpringBoot项目——十分详细(web+mysql)
前排提示: IDEA版本:IntelliJ IDEA 2021.1.1 专业版(是否为专业版影响不大) 搭建目的:前端web页面能够获取到MySQL数据库中的数据 详细步骤: 1. 创建一个新项目 ...
随机推荐
- leetcode刷题记录--js
leetcode刷题记录 两数之和 给定一个整数数组 nums 和一个目标值 target,请你在该数组中找出和为目标值的那 两个 整数,并返回他们的数组下标. 你可以假设每种输入只会对应一个答案.但 ...
- 【LeetCode】2、Add Two Numbers
题目等级:Medium 题目描述: You are given two non-empty linked lists representing two non-negative integers. ...
- 1、DataGridView
DataGridView赋值后 通过RowPostPaint事件绘制行号 private void AddXh() { DataGridViewTextBoxColumn col = new Data ...
- asp网站中使用百度ueditor教程.txt
1.根据网站类型及编码选择相应的ueditor版本,如我的网站编码为gb2312,则选择ueditor 1.43 asp gbk版.2.本机IE浏览器应为8.0或以上,8.0以下的ueditor 1. ...
- uva 1583 Digit Generator(Uva-1583)
题目不再写入了,vj:https://vjudge.net/problem/UVA-1583#author=0 主要讲的是找一个数的小于它的一个数,小于它的那个数每一位加起来再加上那个数就会等于原来的 ...
- exist not exist 分析
结果集1 结果集2: 最后连接条件 执行过程: 一行一行遍历结果集1的数据,然后结果集1中的连接条件执行子查询,如果有值返回那么在看是exist 还是not exist 在决定最后的结果集是否要要不 ...
- 非常简单的Python HTTP服务
如果你急需一个简单的Web Server,但你又不想去下载并安装那些复杂的HTTP服务程序,比如:Apache,ISS等.那么, Python 可能帮助你.使用Python可以完成一个简单的内建 HT ...
- Vue ui 大法哪家强?
Element iView Vuex Mint UI Vant cube-ui,对比六大 vue ui 组件库,选中最适合的那个. Element(pc) 介绍 & 版本 饿了么前端团队开发的 ...
- PAT 1047. Student List for Course
Zhejiang University has 40000 students and provides 2500 courses. Now given the registered course li ...
- 清北学堂模拟赛d7t6 拯救世界
分析:如果题目中没有环的话就是一道裸的最长路的题目,一旦有环每个城市就会被救多次火了.把有向有环图变成有向无环图只需要tarjan一边就可以了. #include <bits/stdc++.h& ...