照着官网来安装openstack pike之创建并启动instance
有了之前组件(keystone、glance、nova、neutron)的安装后,那么就可以在命令行创建并启动instance了
照着官网来安装openstack pike之environment设置
照着官网来安装openstack pike之keystone安装
照着官网来安装openstack pike之glance安装
照着官网来安装openstack pike之neutron安装
创建并启动实例需要进行如下操作:
# source admin-openrc
# openstack network create --share --external --provider-physical-network provider --provider-network-type flat provider
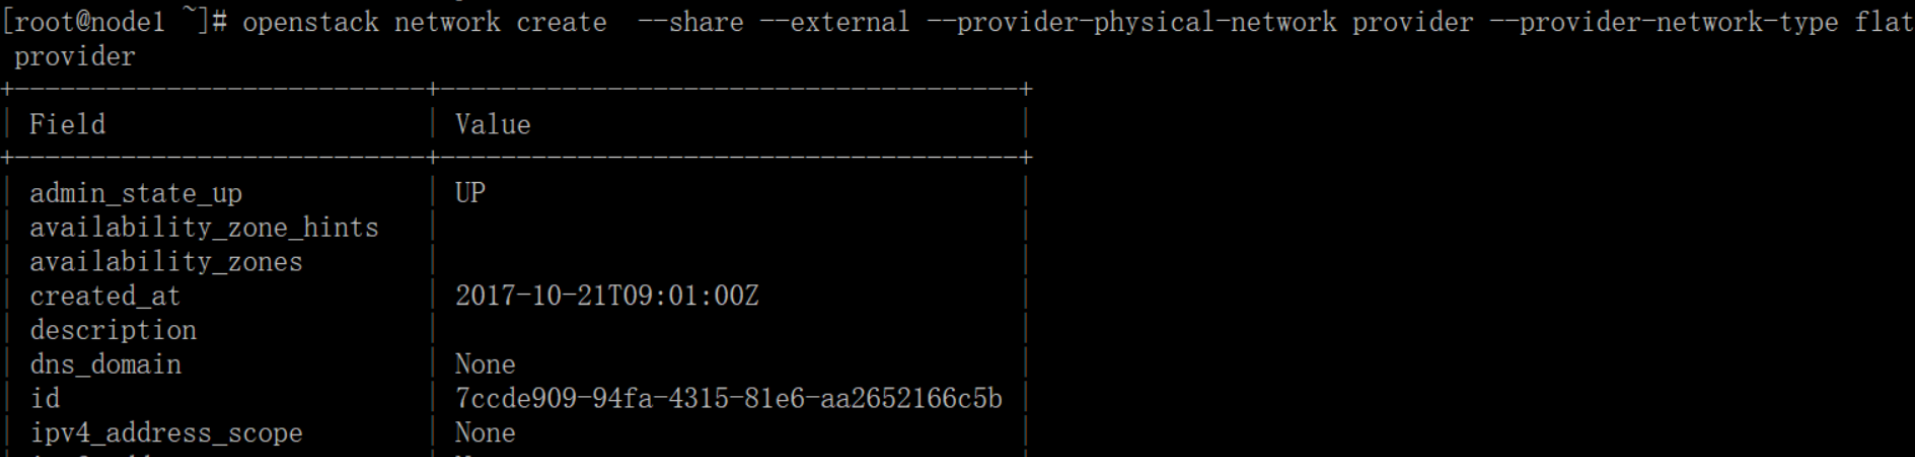
The --share option allows all projects to use the virtual network.
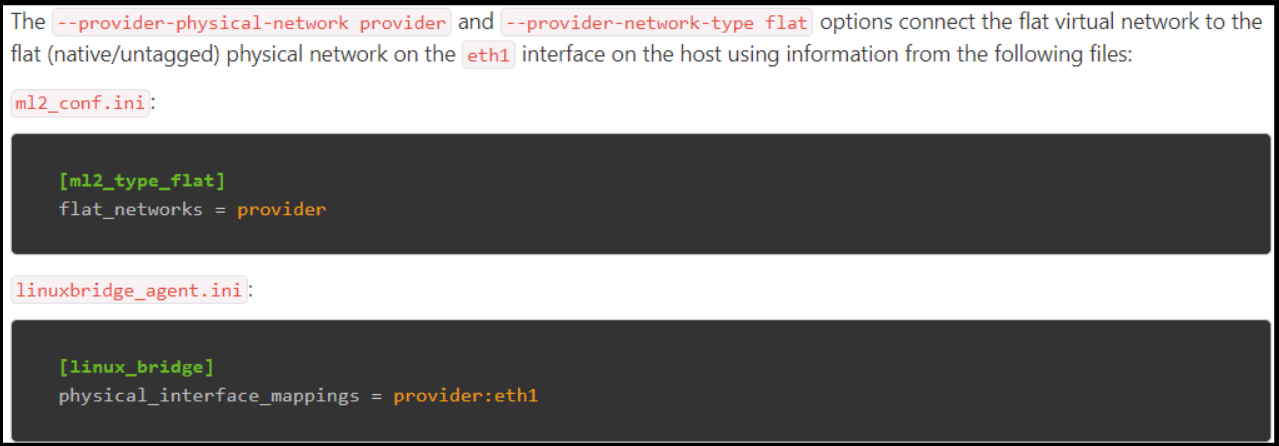
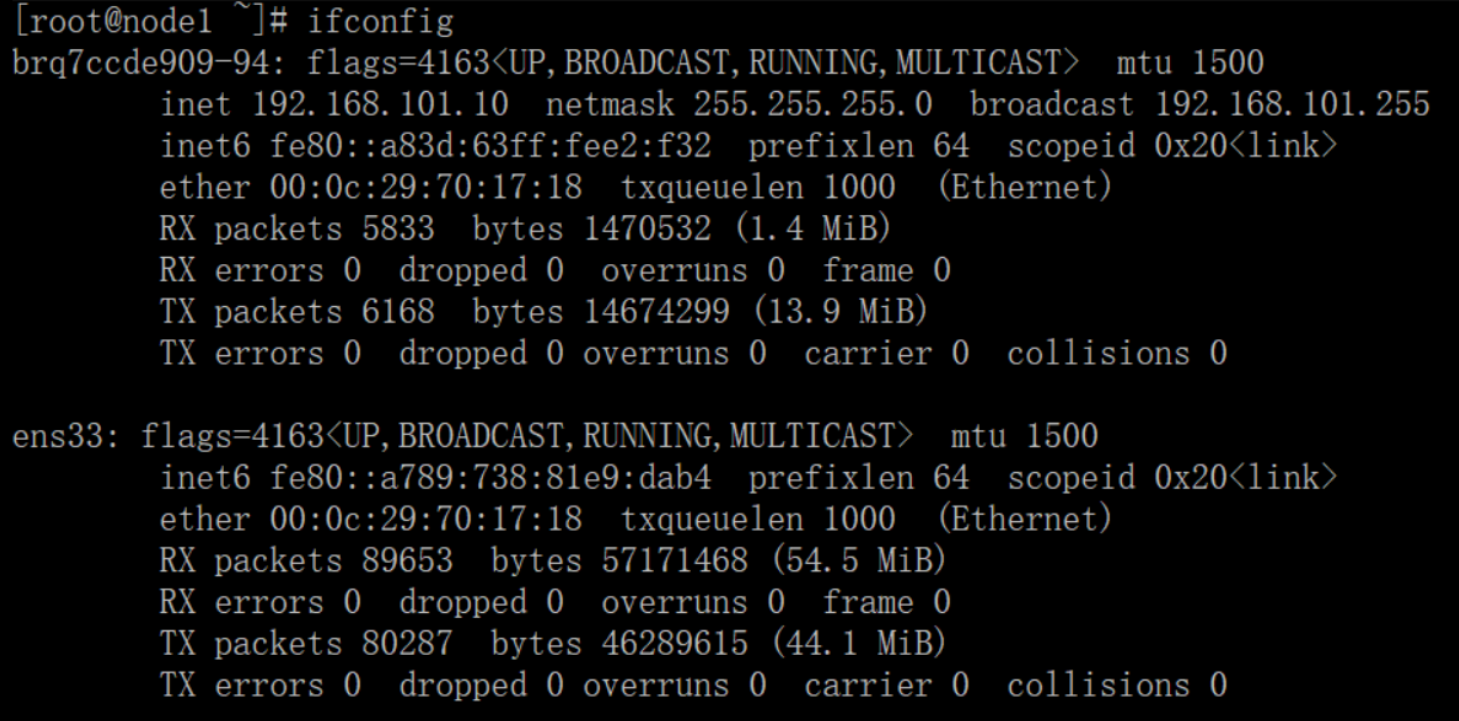
由于此次搭建的环境的本地网卡设备名
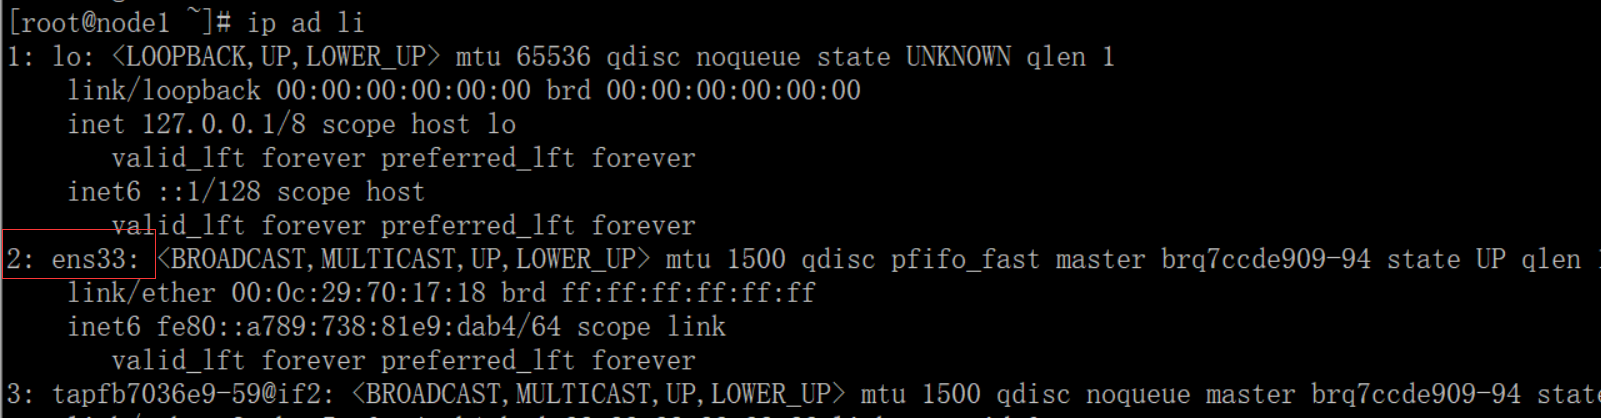
所以这里配置将eth1改为ens33
# openstack subnet create --network provider --allocation-pool start=192.168.101.100,end=192.168.101.200 --dns-nameserver 192.168.101.2 --gateway 192.168.101.2 --subnet-range 192.168.101.0/ provider

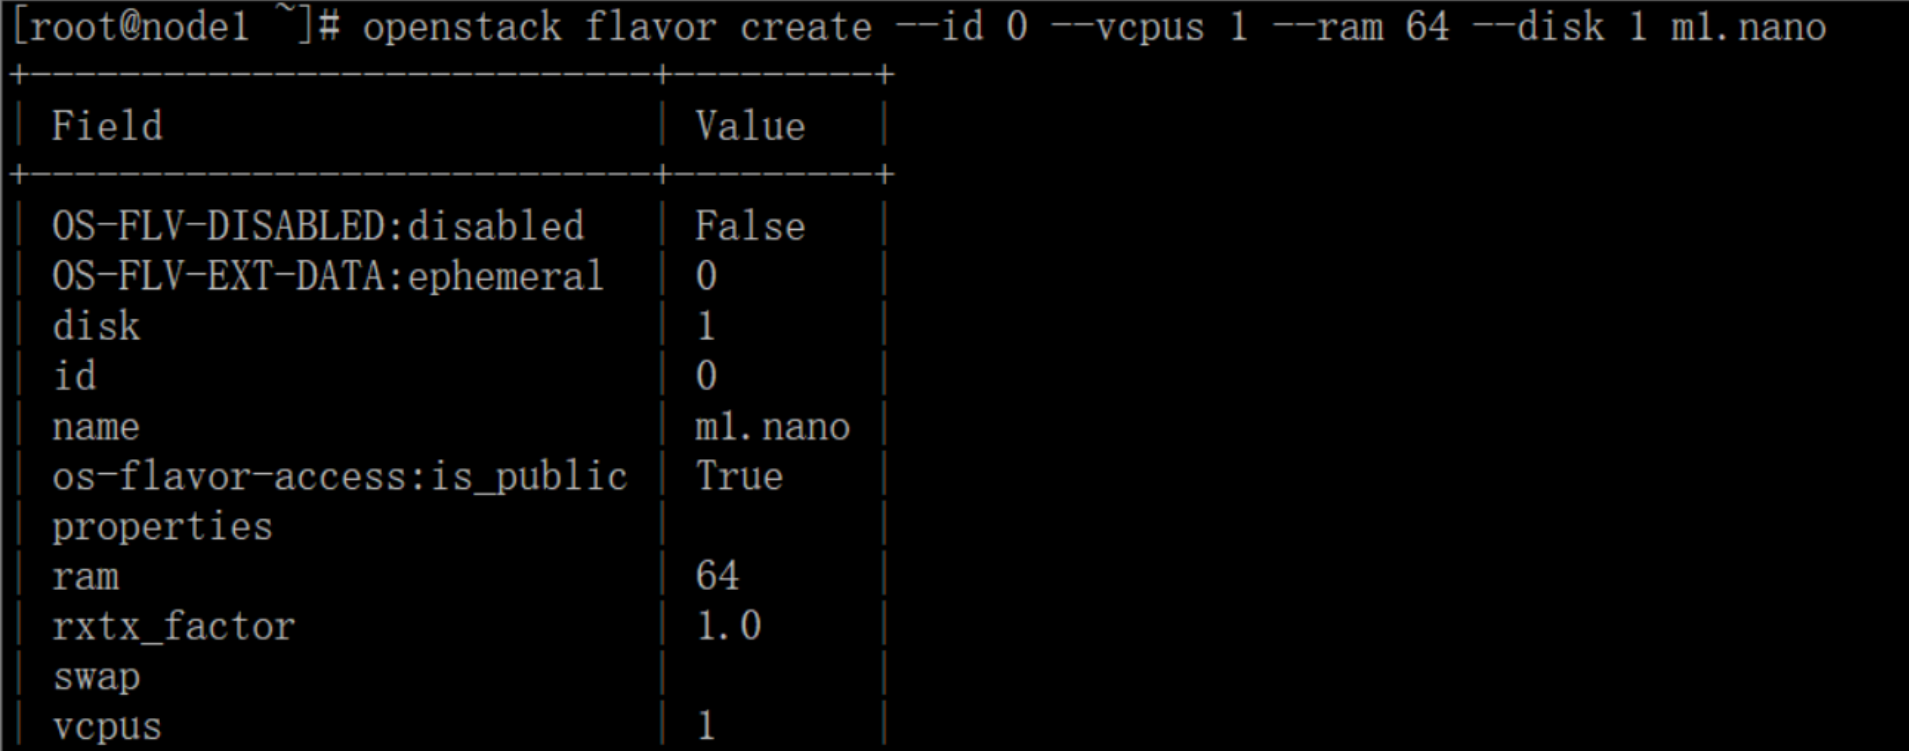
Create m1.nano flavor:
# openstack flavor create --id --vcpus --ram --disk m1.nano
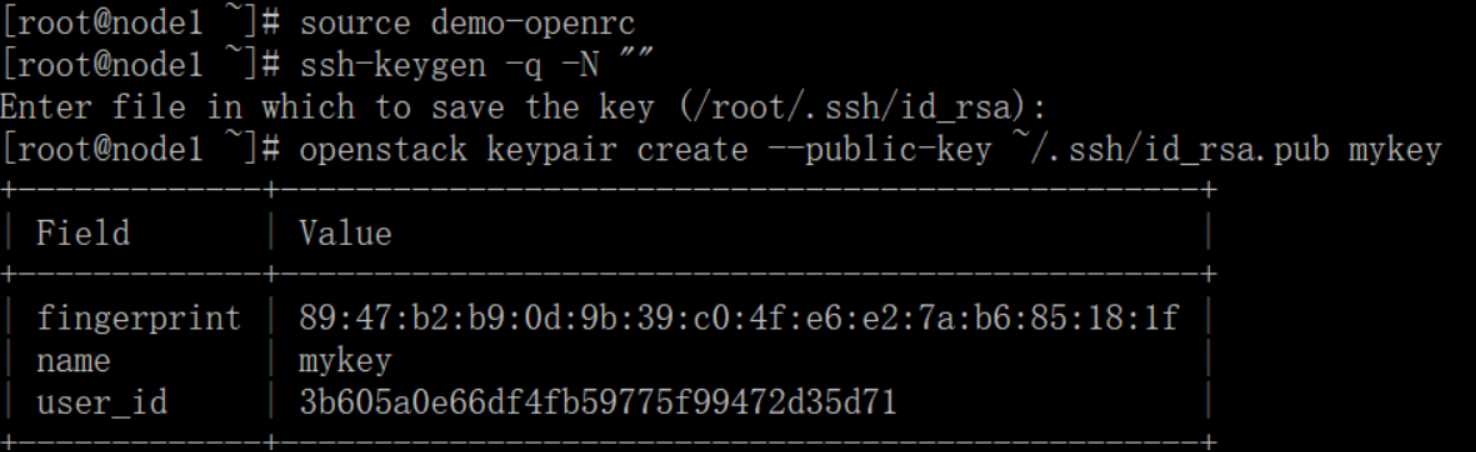
# source demo-openrc
# ssh-keygen -q -N ""

# openstack keypair create --public-key ~/.ssh/id_rsa.pub mykey
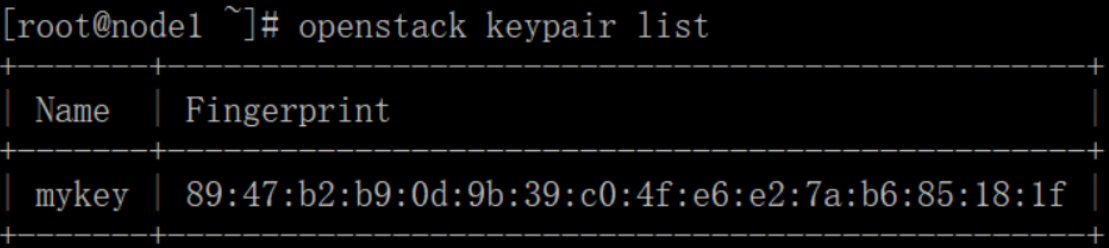
# openstack keypair list
# openstack security group rule create --proto icmp default

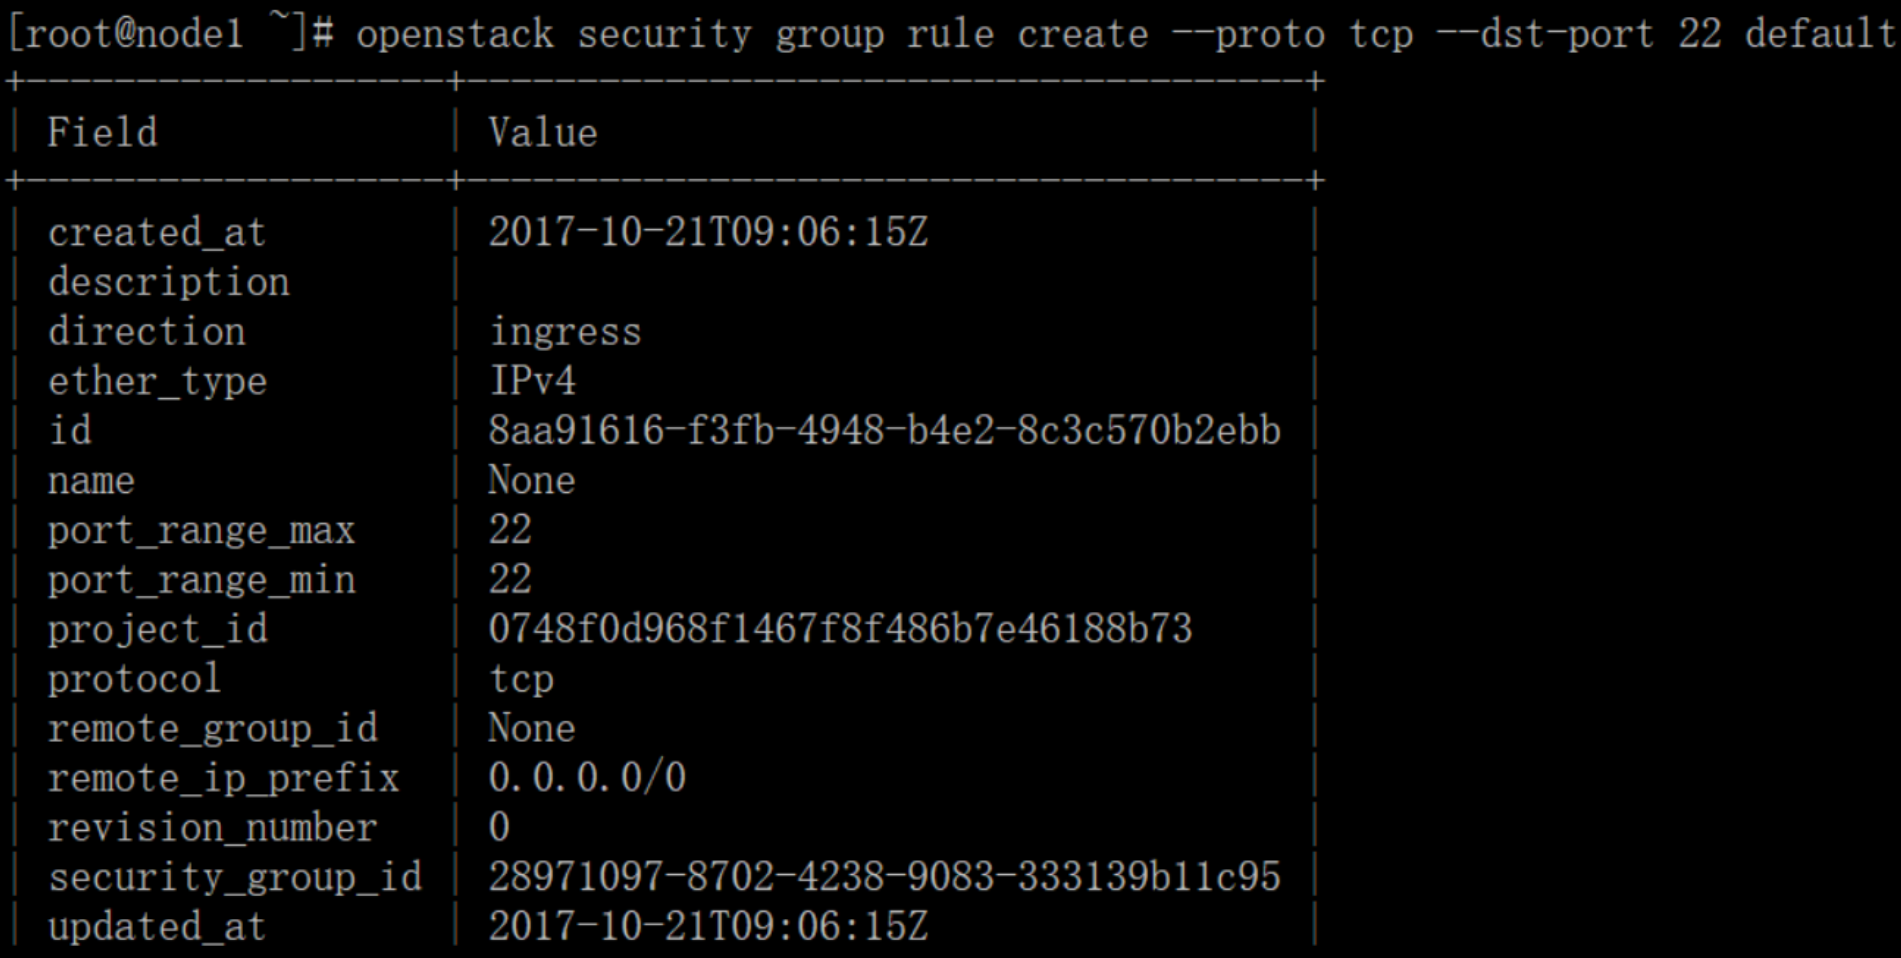
# openstack security group rule create --proto tcp --dst-port default
# source demo-openrc
# openstack flavor list

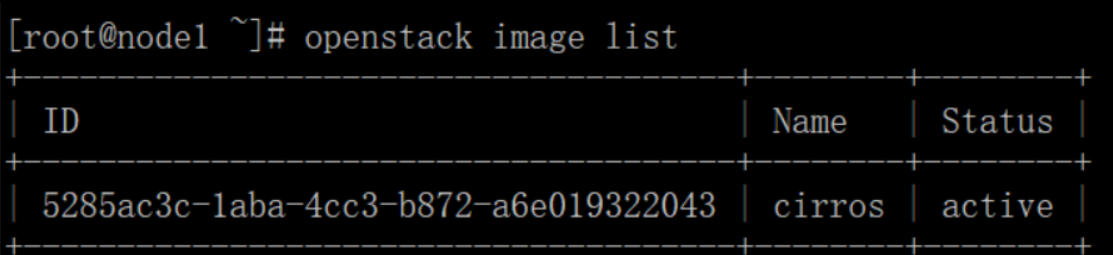
# openstack image list
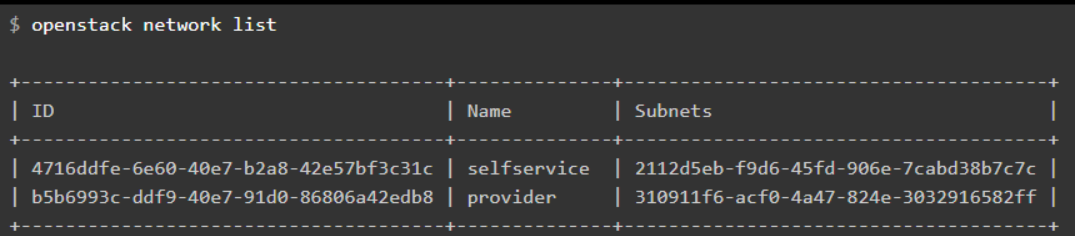
# openstack network list

由于选择的网络为provider networks所以这里显示为上面,如果选择的option 2则为:
# openstack security group list

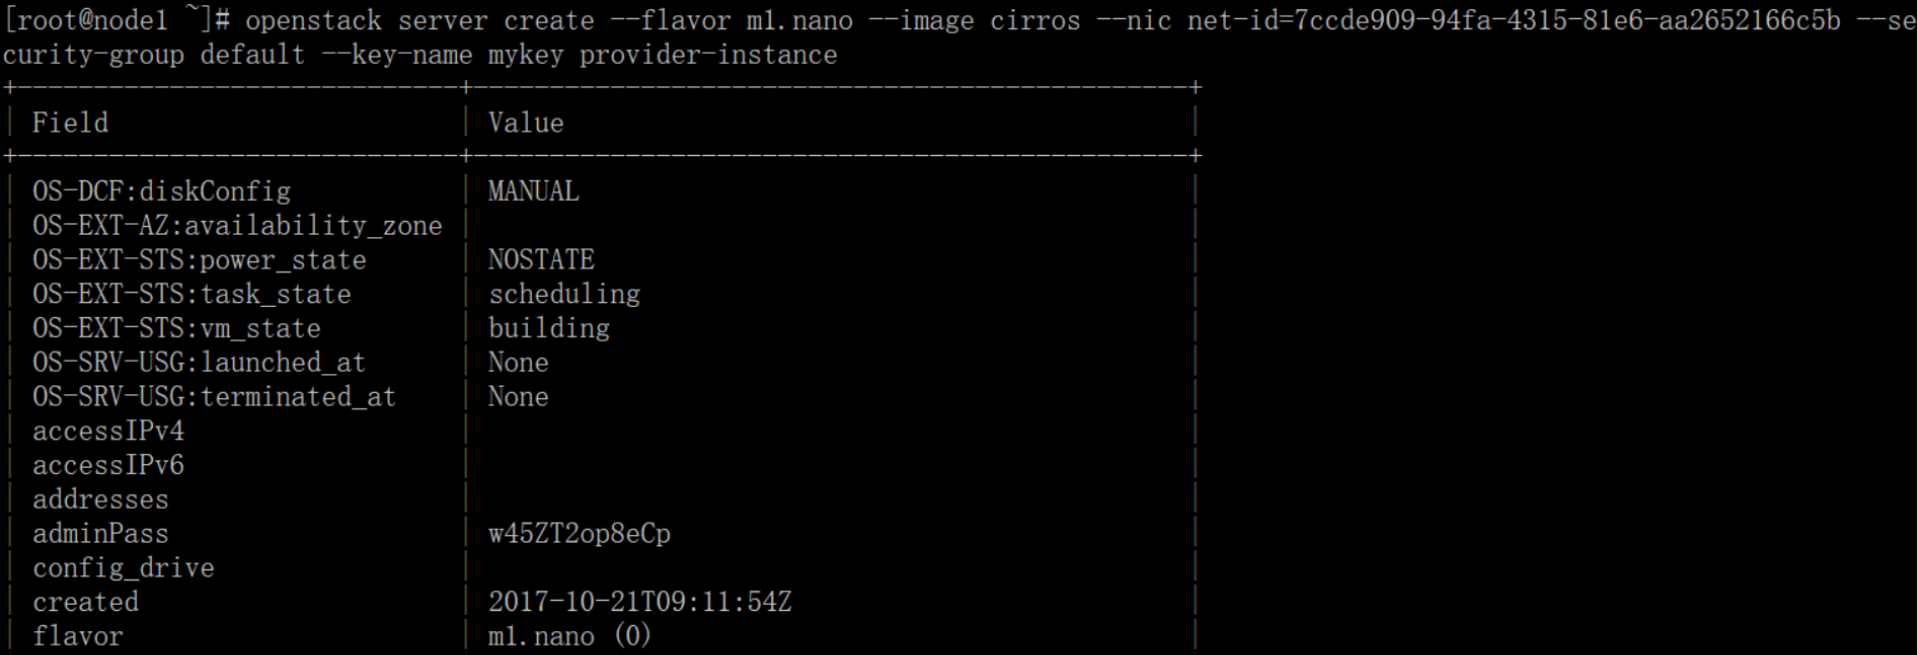
# openstack server create --flavor m1.nano --image cirros --nic net-id=PROVIDER_NET_ID --security-group default --key-name mykey provider-instance
# openstack server create --flavor m1.nano --image cirros --nic net-id=7ccde909-94fa--81e6-aa2652166c5b --security-group default --key-name mykey provider-instance
Check the status of your instance:
# openstack server list

# openstack console url show provider-instance(后面是实例名称)

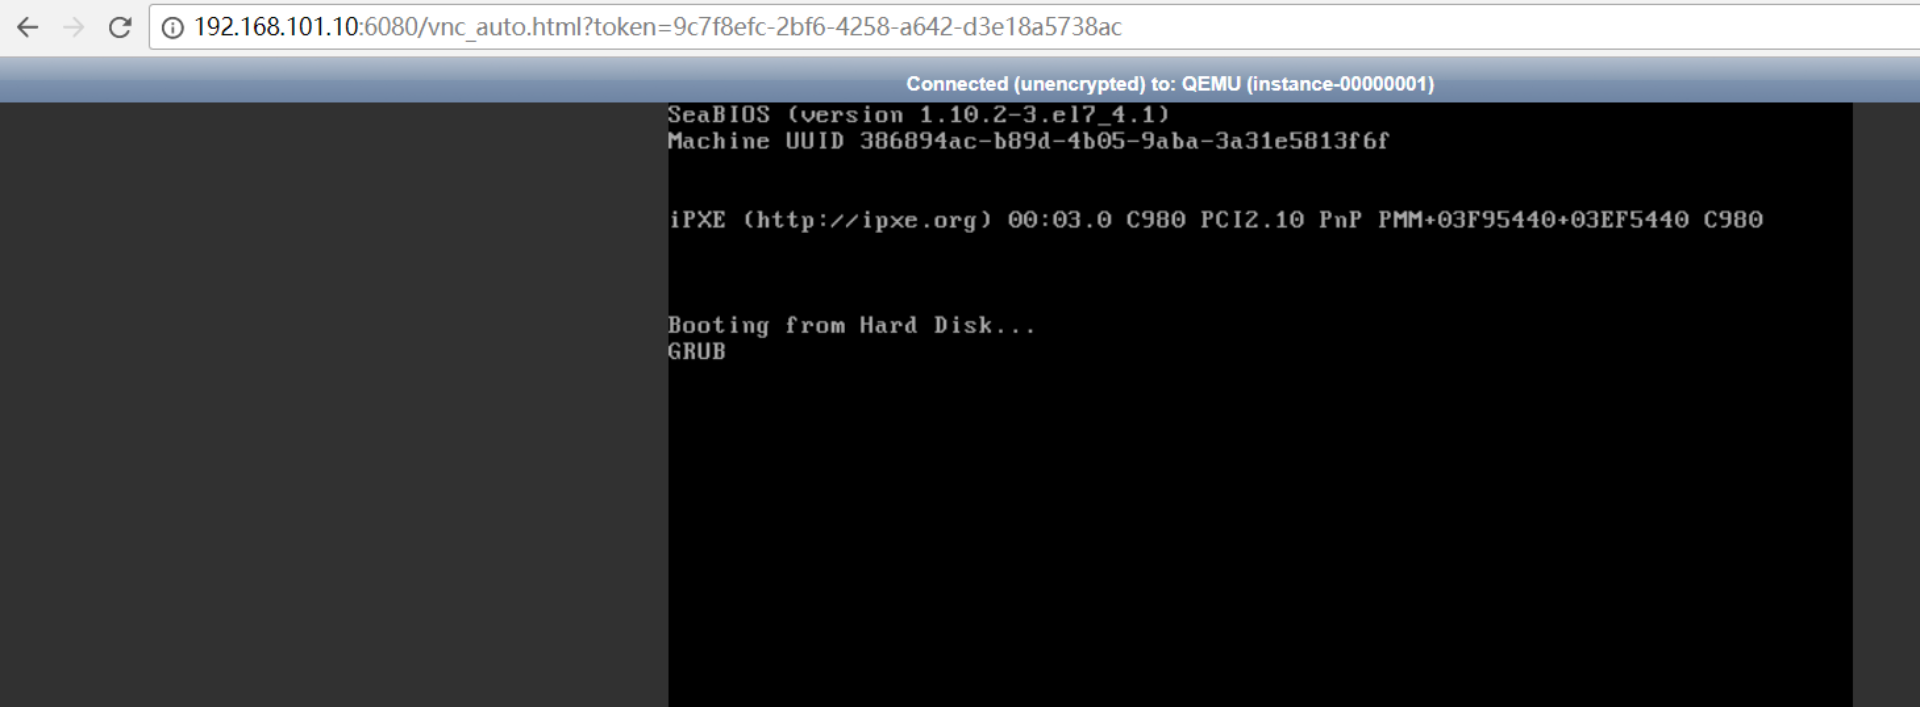
一直在grub这里卡住了,解决办法:
[libvirt]

virt_type = qemu

cpu_mode = none
# systemctl restart libvirtd.service openstack-nova-compute.service
# systemctl status openstack-nova-api.service openstack-nova-consoleauth.service openstack-nova-scheduler.service openstack-nova-conductor.service openstack-nova-novncproxy.service
# source demo-openrc

# openstack server create --flavor m1.nano --image cirros001 --nic net-id=7ccde909-94fa--81e6-aa2652166c5b --security-group default --key-name mykey instance002
# openstack server list

# openstack console url show instance002
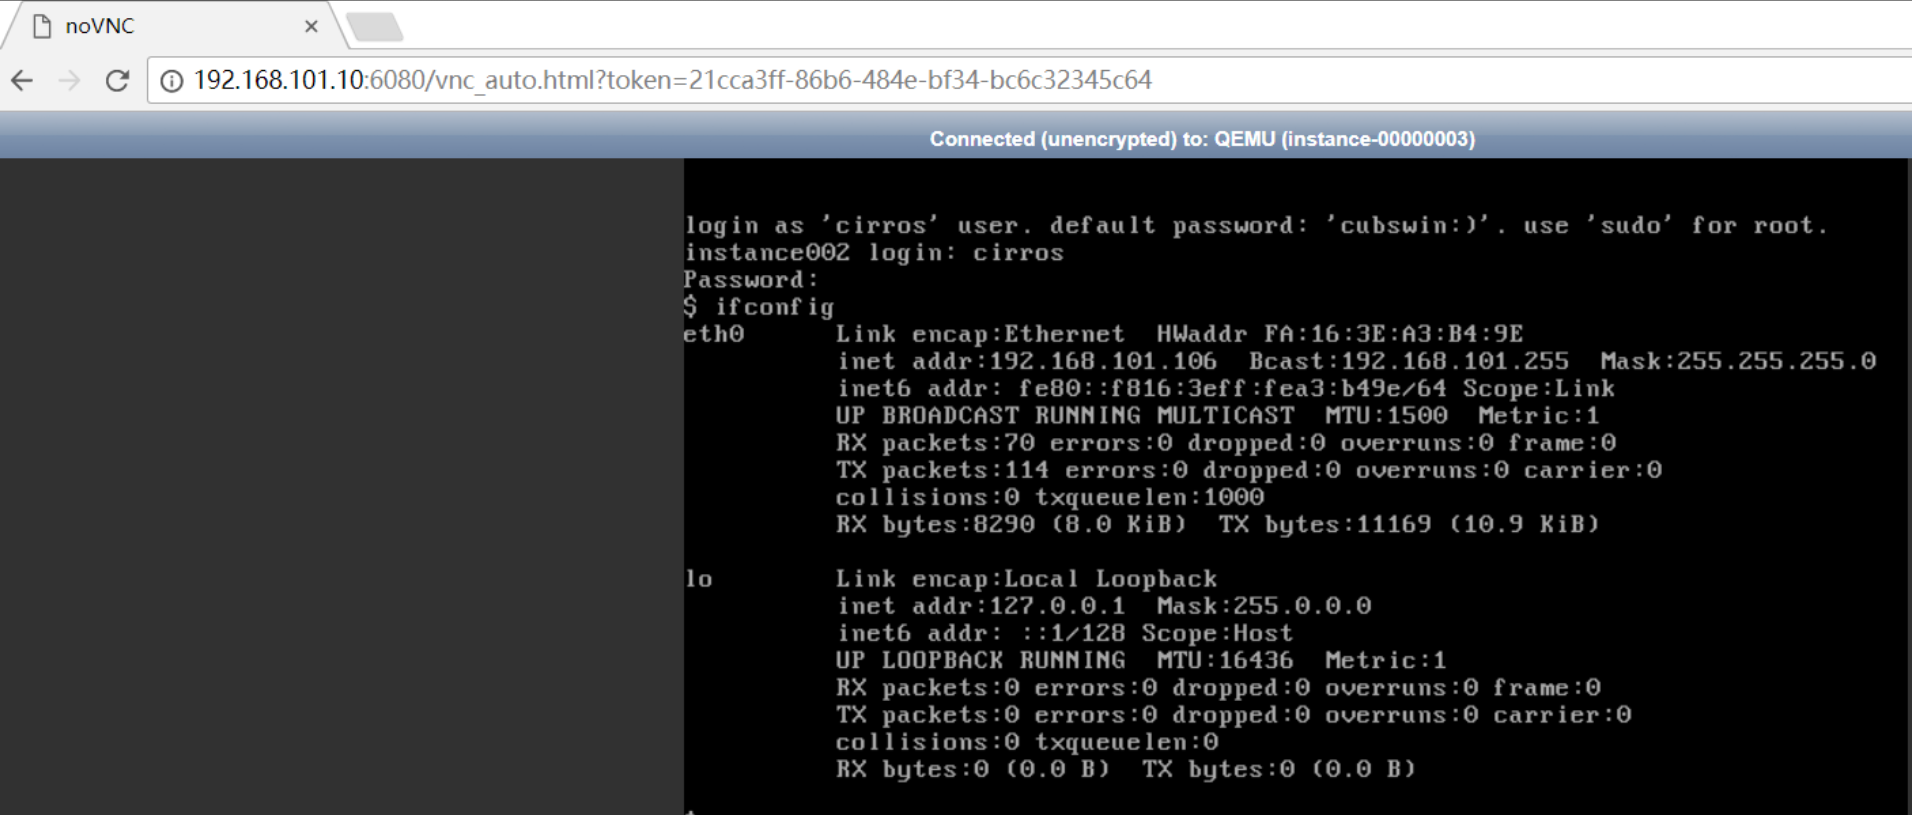
这里的虚拟机id和控制节点上面的openstack server list显示的虚拟机id一致
grep 'ERROR' /var/log/nova/*

grep 'ERROR' /var/log/neutron/*

grep 'ERROR' /var/log/glance/*

grep 'ERROR' /var/log/keystone/*
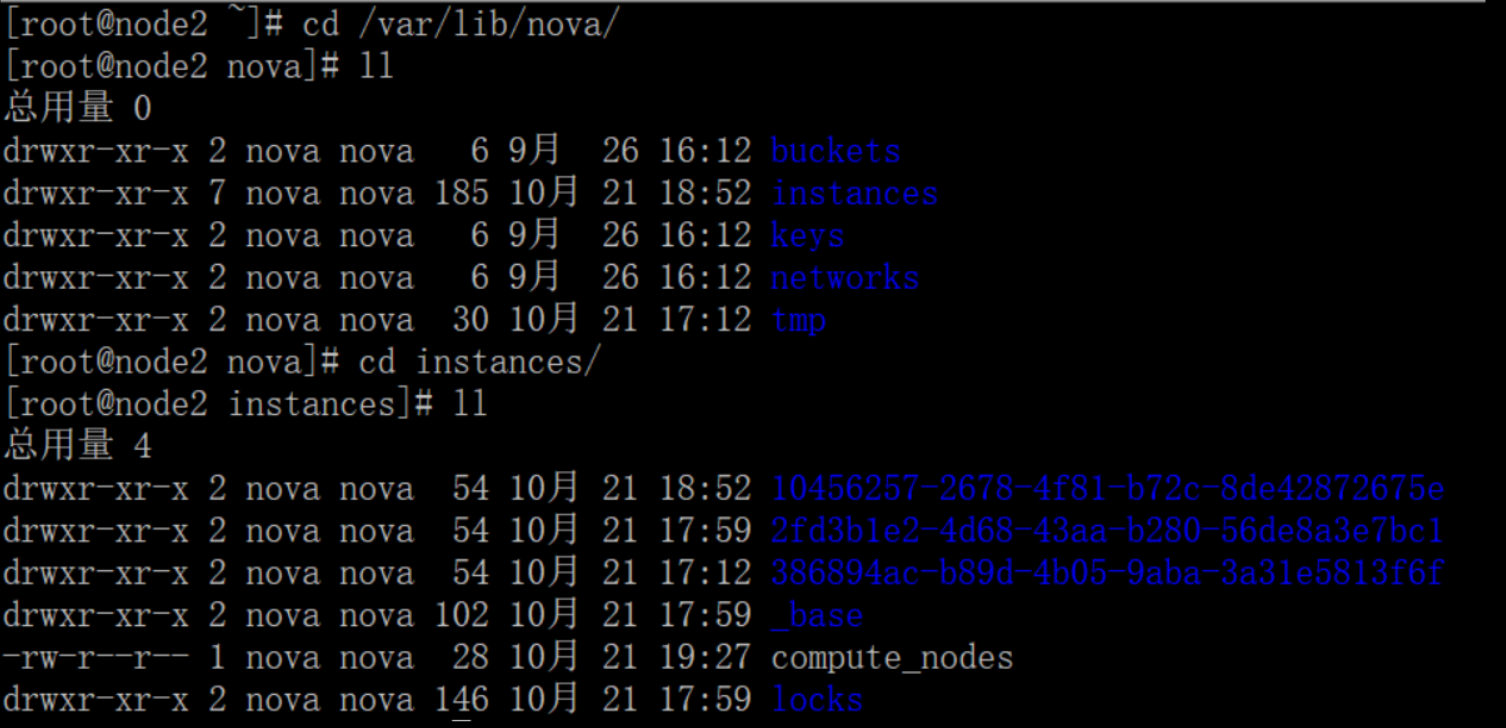
查看节点instance:后面又创建了虚拟机
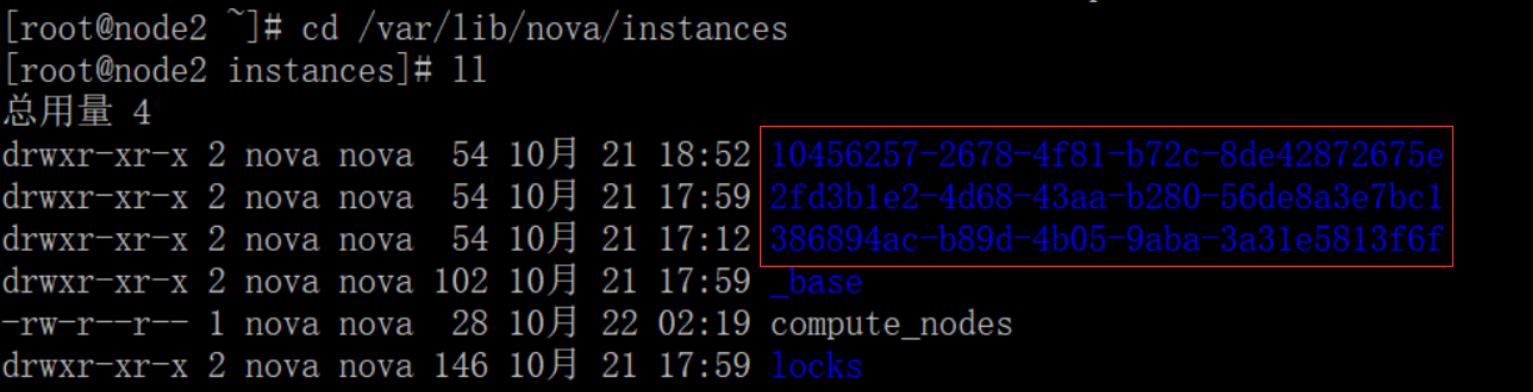
[root@node2 instances]# cd --4f81-b72c-8de42872675e/

[root@node2 --4f81-b72c-8de42872675e]# ll

总用量

-rw-------  root root    10月  : console.log

-rw-r--r--  qemu qemu  10月  : disk

-rw-r--r--  nova nova       10月  : disk.info
- console.log 控制台日志
- disk 虚拟磁盘
- disk.info 虚拟磁盘信息

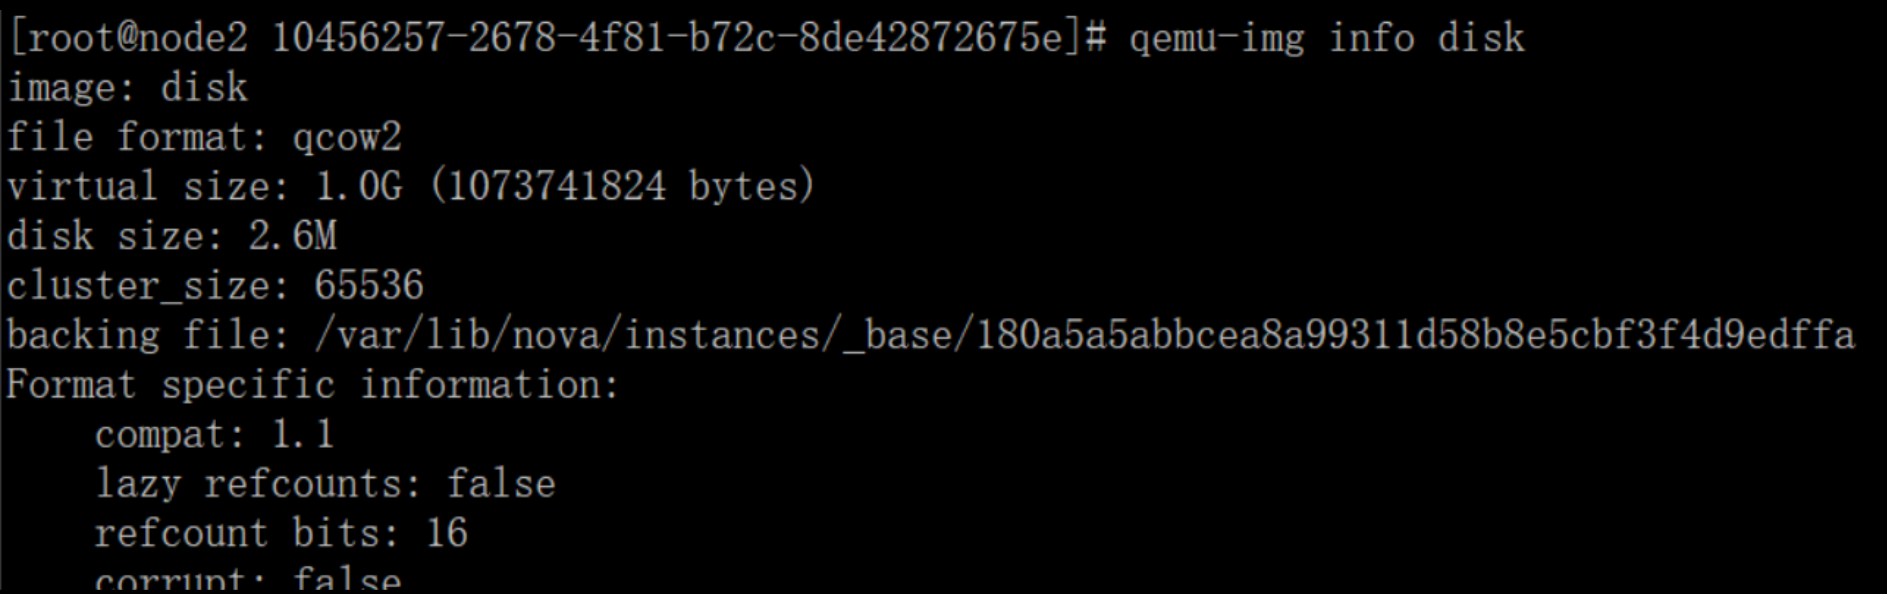
[root@node2 --4f81-b72c-8de42872675e]# ls -lh

总用量 2.7M

-rw-------  root root  38K 10月  : console.log

-rw-r--r--  qemu qemu 2.7M 10月  : disk

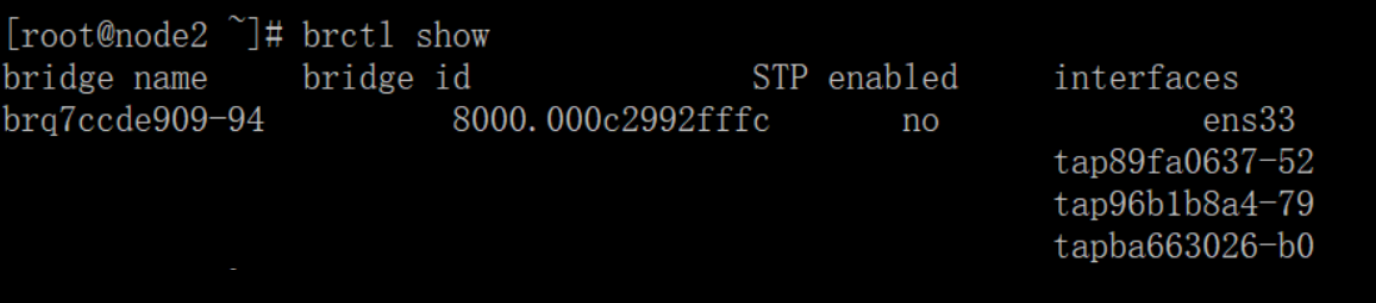
ip netns exec qdhcp-7ccde909-94fa--81e6-aa2652166c5b ip ad li
可以在域名空间执行一些命令

可以看出来多了几个ip
- 云主机如何从dhcp获取这些信息?

照着官网来安装openstack pike之创建并启动instance的更多相关文章
- 照着官网来安装openstack pike之environment设置
安装openstack前的准备环境: 两个centos7系统的环境:192.168.101.10 node1,192.168.101.11 node2 控制节点node1,计算节点node2 1.统一 ...
- 照着官网来安装openstack pike之neutron安装
neutron组件安装分为控制节点和计算节点,还是先从控制节点安装 1.前提条件,数据库为nova创建库和账户密码来连接数据库 # mysql -u root -p MariaDB [(none)]& ...
- 照着官网来安装openstack pike之keystone安装
openstack基础环境安装完成后,现在开启安装keystone服务(在控制节点上执行下面所有操作) 1.为keystone创建数据库 mysql -u root -p MariaDB [(none ...
- 照着官网来安装openstack pike之安装dashboard
上文提到了利用命令行下使用openstack的命令来创建虚拟机,这里选择安装dashboard来安装基于web界面的openstack平台 利用dashboard界面来创建虚拟机 dashboard这 ...
- 照着官网来安装openstack pike之nova安装
nova组件安装分为控制节点和计算节点,还是先从控制节点安装 1.前提条件,数据库为nova创建库和账户密码来连接数据库 # mysql -u root -p MariaDB [(none)]> ...
- 照着官网来安装openstack pike之glance安装
镜像服务image service(glance)的安装还是在控制节点上进行: 1.前提条件,数据库为glance创建库和账户密码来连接数据库 # mysql -u root -p MariaDB [ ...
- go语言,golang学习笔记1 官网下载安装,中文社区,开发工具LiteIDE
go语言,golang学习笔记1 官网下载安装,中文社区,开发工具LiteIDE Go语言是谷歌2009发布的专门针对多处理器系统应用程序的编程进行了优化,使用Go编译的程序可以媲美C或C++代码的速 ...
- PyCharm 2017 官网 下载 安装 设置 配置 (主题 字体 字号) 使用 入门 教程
一.安装 Python 3.6 首先,要安装好 Python 3.6.如果你还没有安装,可以参考咪博士之前的教程 Python 3.6.3 官网 下载 安装 测试 入门教程 (windows) 二.官 ...
- Centos 7 官网下载安装mysql server 5.6
Centos 7 官网下载安装 mysql server # wget http://dev.mysql.com/get/mysql-community-release-el7-5.noarch.rp ...
随机推荐
- 【BZOJ4598】[Sdoi2016]模式字符串 树分治+hash
[BZOJ4598][Sdoi2016]模式字符串 Description 给出n个结点的树结构T,其中每一个结点上有一个字符,这里我们所说的字符只考虑大写字母A到Z,再给出长度为m的模式串s,其中每 ...
- 实现返回top功能
<!DOCTYPE html PUBLIC "-//W3C//DTD XHTML 1.0 Transitional//EN" "http://www.w3.org/ ...
- debian卸载旧内核
debian卸载旧内核要先看看有哪些旧的内核,用命令: uname -a dpkg --get-selections |grep linux 如果你的内核是以kernel开头的就把上面的linux改成 ...
- kubernetes基础知识:限制POD和容器运行的CPU、内存
限制运行内存 https://kubernetes.io/docs/tasks/configure-pod-container/assign-memory-resource/ 先看一个pod的yaml ...
- Cgroups子系统介绍
blkio -- 这个子系统为块设备设定输入/输出限制,比如物理设备(磁盘,固态硬盘,USB 等等). cpu -- 这个子系统使用调度程序提供对 CPU 的 cgroup 任务访问. cpuacct ...
- 2017 Multi-University Training Contest - Team 2——HDU6050 Funny Function
题目链接:http://acm.hdu.edu.cn/showproblem.php?pid=6050 题意:题目很短自己看吧, 就是这个递推式子,说的很清楚了,让你求F(m,1).题解里面分什么奇偶 ...
- Entity Framework 项目使用心得
在博客园很久了,一直只看不说,这是发布本人的第一个博客. 总结一下在项目中,EntityFramework使用的一下经验拿来和大家分享,希望对大家有用~ 1. 在Entity Fram ...
- 01. Java序列化与反序列化简介
Java对象的序列化与反序列化 ; 给大家讲解一下什么是序列化 & 反序列化 当两个进程进行远程通讯的时候,彼此相互可以发送各种类型的数据,如文本,图片,语音和视频等无论是任何类型,最终都会 ...
- android开发笔记(一)Android studio 输入法
以前都是用的时候查资料做些增添即可,现在下决心系统学习下. 首先发现developer.Android.com在开发工具上开始推出了 Android Studio了,不过他自己没有sdk manage ...
- redis实现cache系统实践(六)
1. 介绍 rails中就自带有cache功能,不过它默认是用文件来存储数据的.我们要改为使用redis来存储.而且我们也需要把sessions也存放到redis中.关于rails实现cache功能的 ...