h5-360_introduce页面案例
整个网页的html
首先,忽略我的网页比较丑,主要是ps功底不太好,
其次这个网页是利用了全屏插件:jquery.fullPage.js。需要事先导入相应的js文件
js文件下载地址:http://www.dowebok.com/77.html
js文件网页中有使用教程和一些小案例
整个案例运用了交集选择器
 <!DOCTYPE html>

 <html lang="en">

 <head>

     <meta charset="UTF-8">

     <title>Title</title>

     <link href="../css/360.css" rel="stylesheet">

     <link rel="stylesheet" href="../css/jquery.fullPage.css">

     <script src="../js/jquery-1.8.3.min.js"></script>

     <script src="../js/jquery.fullPage.js"></script>

     <script src="../js/jquery.fullPage.min.js"></script>

     <style>

     </style>

 </head>

 <body>

 <div id="360Page">

     <div class="section first">

         <div class="logo">

             <img src="static/images/logo.jpg" alt="">

         </div>

         <ul class="text1">

             <li>4</li>

             <li>亿</li>

             <li>网</li>

             <li>友</li>

             <li>共</li>

             <li>同</li>

             <li>信</li>

             <li>赖</li>

         </ul>

         <div class="text2">

             更安全,更爽快,更智能,更时尚

         </div>

     </div>

     <div class="section second">

         <div class="shield">

             <img src="../img/dp1.png" alt="">

             <img src="../img/dp2.png" alt="">

             <img src="../img/dp3.png" alt="">

             <img src="../img/dp4.png" alt="">

             <img src="../img/dp5.png" alt="">

             <img src="../img/dp6.png" alt="">

             <img src="../img/dp7.png" alt="">

             <img src="../img/dp8.png" alt="">

         </div>

         <div class="info"></div>

     </div>

     <div class="section third">

         <div class="info"></div>

         <div class="circle">

             <div class="rocket"></div>

         </div>

     </div>

     <div class="section fourth">

         <div class="search">

             <div class="searchBar"></div>

             <div class="searchText"></div>

             <div class="searchResult"></div>

         </div>

         <div class="info"></div>

     </div>

     <div class="section fifth">

         <div class="info"></div>

         <div class="subject">

             <div class="topBorder"></div>

             <div class="bottomBorder"></div>

             <div class="leftBorder"></div>

             <div class="rightBorder"></div>

             <div class="nav">

                 <div class="icon"></div>

                 <div class="navHead">

                     <div class="info"></div>

                     <div class="minimum"></div>

                     <div class="maximum"></div>

                     <div class="close"></div>

                 </div>

                 <div class="Address-bar">

                     <div class="return"></div>

                     <div class="refresh"></div>

                     <div class="homepage"></div>

                     <div class="url">

                         <div class="quickness"></div>

                     </div>

                     <div class="list"></div>

                     <div class="search-box">

                         <div class="search"></div>

                     </div>

                 </div>

             </div>

         </div>

     </div>

 </div>

 <script>

     $(function(){

         $('#360Page').fullpage({

             sectionsColor:['#65FFDD',"#77ff2b","#ff7319","#ccbea9","#65ffdd"],

             afterLoad:function (anchorLink,index) {

                 $(".section").removeClass("current");

                 setTimeout(function () {

                     $(".section").eq(index-1).addClass("current");

                 },10);

             }

         });

     });

     $(function () {

         setTimeout(function () {

             $(".first").addClass("current");

         },500);

     });

 </script>

 </body>

 </html>
页面基本样式:
 body,div,img,ul,li{

     margin:;

     padding:;

 }

 .section{

     overflow: hidden;

 }
第一屏最简单:难点就是进入网页的一瞬间中间的(4亿网友共同信赖)是间距从大到小变化,到指定的·点停止。同时透明度慢慢缩小
前:
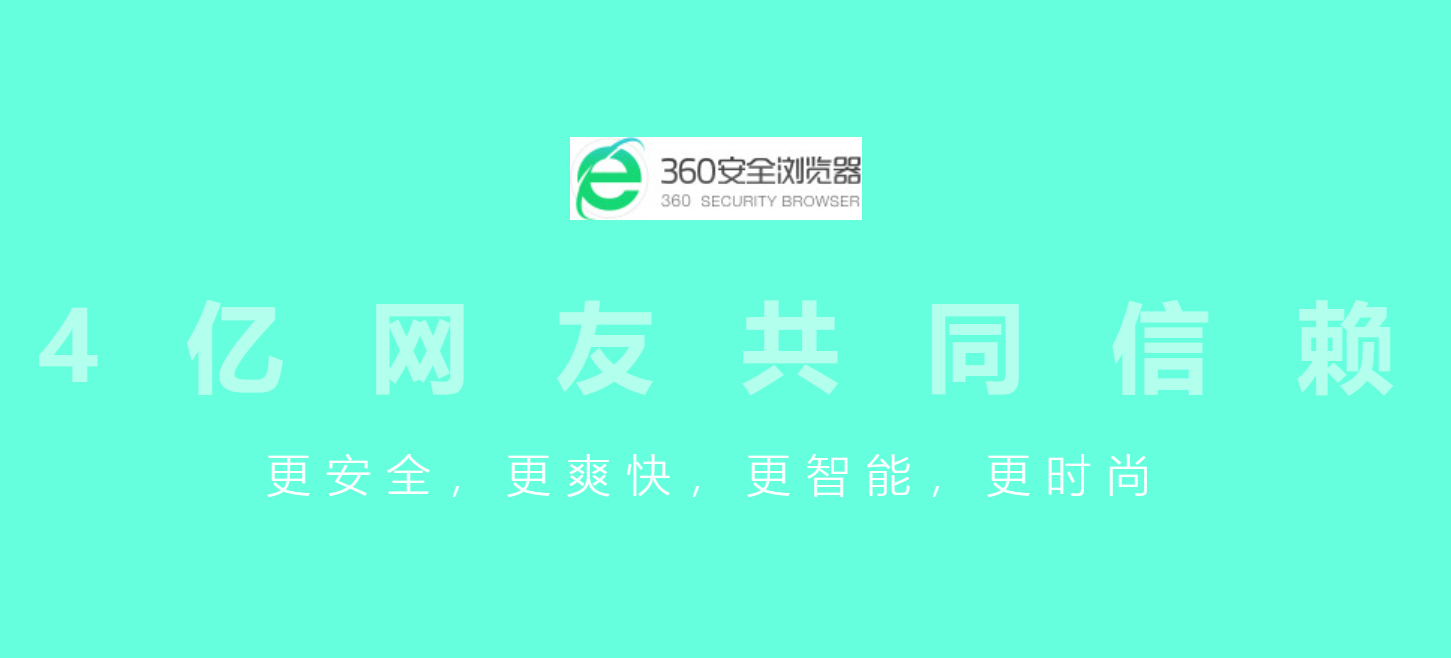
后:

第一页的css代码:
 .first  .logo{

     width: 390px;

     height: 110px;

     margin: 100px auto;

 }

 .first  .logo > img{

     width: 100%;

     height: 100%;

 }

 .first   .text1{

     width: 100%;

     height: 150px;

     line-height: 130px;

     text-align: center;

     font-size: 130px;

     font-weight:bold;

     color: #fff;

 }

 .first   .text1 > li{

     display:inline;

     list-style: none;

     margin: 0 40px;

     opacity: 0.5;

     transition: margin 1s,opacity 1s;

 }

 .first   .text2{

     width: 100%;

     height: 60px;

     line-height: 60px;

     text-align: center;

     font-size: 60px;

     font-weight:;

     letter-spacing:20px;

     color: #fff;

     margin-top: 60px;

 }

 .first.current   .text1 > li{

     margin: 0 5px;

     opacity:;

 }
第二屏:主要的难点在transform的运用,进入第二屏的时候开始把一个碎了的盾牌拼凑成一个完整的盾牌
前:

后:

 .second > div{

     display: flex;

     justify-content: space-around;

     align-items: center;

 }

 .second .shield{

     width: 404px;

     height: 512px;

     font-size: 1px;

     position: relative;

 }

 .second .shield>img{

     width: 100%;

     height: 100%;

     position: absolute;

     top:;

     left:;

     transition: transform 1s;

 }

 .second .info{

     width: 800px;

     height: 350px;

     background: url("../img/info.png");

 }

 .second .shield > img:nth-of-type(1){

     transform: translate(30px,-30px) rotate(30deg);

 }

 .second .shield > img:nth-of-type(2){

     transform: translate(-30px,30px) rotate(-30deg);

 }

 .second .shield > img:nth-of-type(3){

     transform: translate(90px,-90px) rotate(90deg);

 }

 .second .shield > img:nth-of-type(4){

     transform: translate(-90px,90px) rotate(-90deg);

 }

 .second .shield > img:nth-of-type(5){

     transform: translate(-200px,230px) rotate(230deg);

 }

 .second .shield > img:nth-of-type(6){

     transform: translate(-130px,130px) rotate(-130deg);

 }

 .second .shield > img:nth-of-type(7){

     transform: translate(220px,-220px) rotate(220deg);

 }

 .second .shield > img:nth-of-type(8){

     transform: translate(220px,-220px) rotate(30deg);

 }

 .second.current .shield > img{

     transform: none;

 }
第三屏:跟第二屏效果差不大多,只是动画从左边变到右边,一个小火箭从左下角飞入,刚进入第三屏的时候是看不见小火箭
前:

后:

第三屏css代码
 .third{

     position: relative;

 }

 .third .info{

     height: 500px;

     width: 800px;

     background: url("../img/info2.png");

     position: absolute;

     left: 50%;

     top: 50%;

     transform: translate(-100%,-50%);

 }

 .third .circle{

     height: 651px;

     width: 650px;

     background: url("../img/circle.png");

     position: absolute;

     right: 50%;

     top: 50%;

     transform: translate(130%,-50%);

 }

 .third .circle > .rocket{

     height: 500px;

     width: 500px;

     background: url("../img/rocket.png");

     position: absolute;

     left: -1000px;

     top: 1000px;

     transition: top 1s,left 1s;

 }

 .third.current .circle > .rocket{

     top: 40px;

     left: 130px;

 }
第四屏:难点在左侧的动画分三步完成
第一步:搜座框从左侧进入
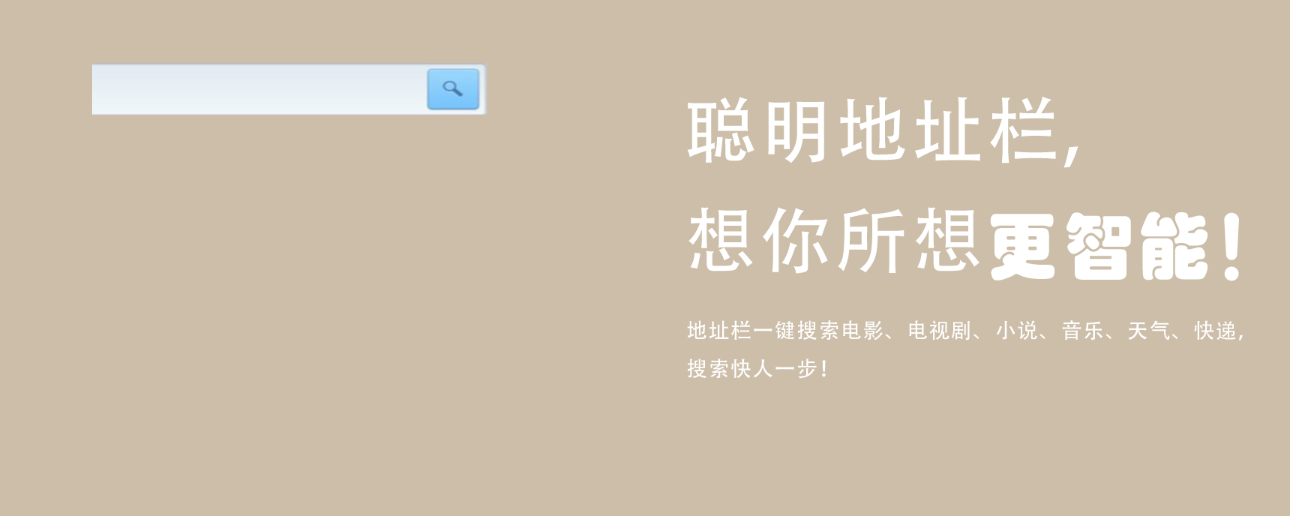
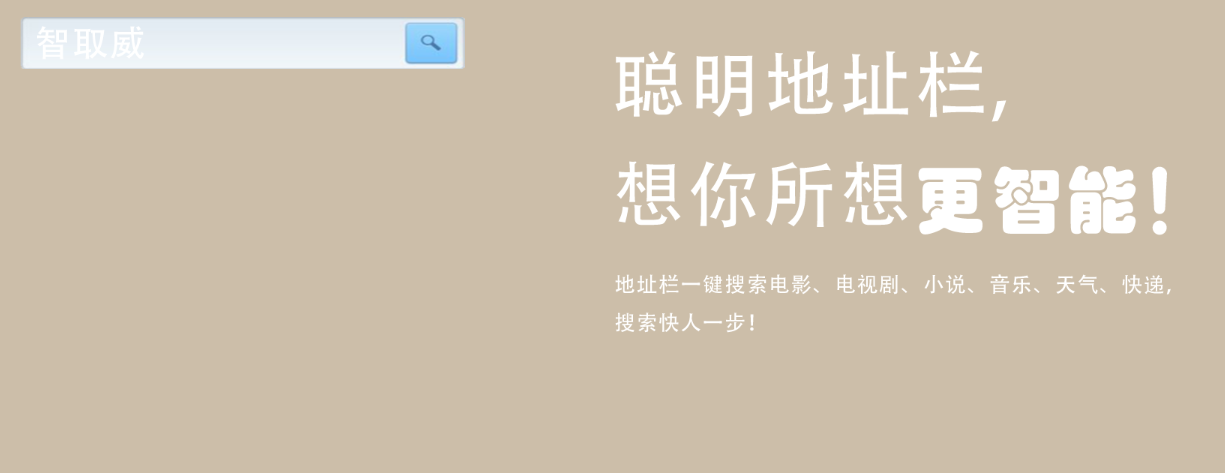
第二步:输入框出现字体,出现效果像打字一样一个字一个字的出现
第三步:搜索结果从上到下慢慢显示出来
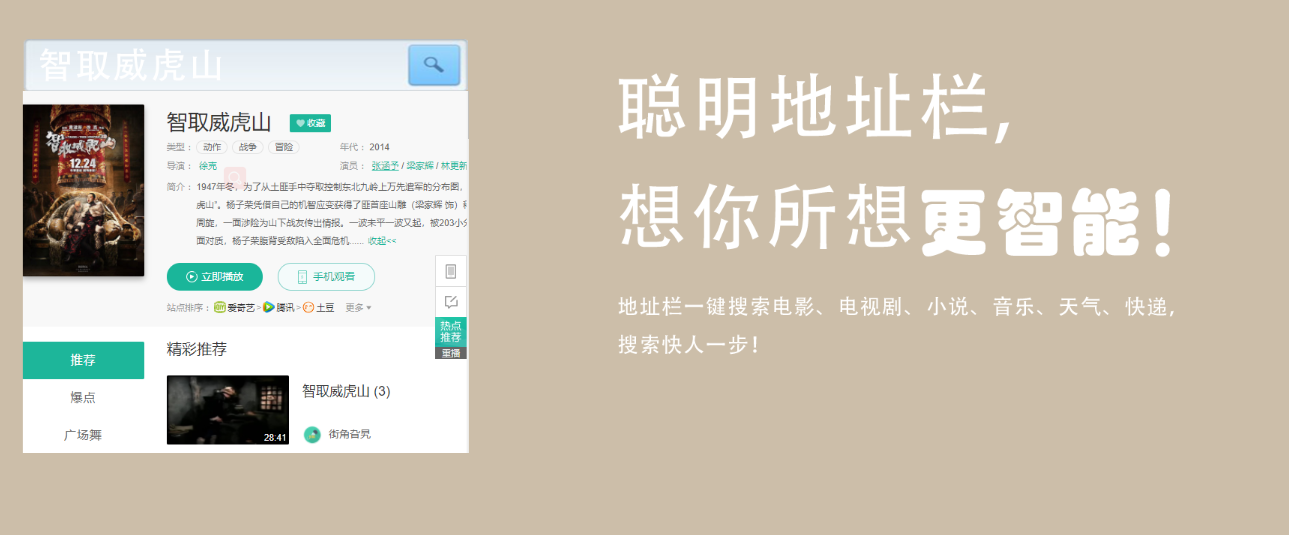
第四屏css:
 /*第四屏样式*/

 .fourth{

     position: relative;

 }

 .fourth .search{

     width: 595px;

     height: 552px;

     position: absolute;

     top: 50%;

     left: 50%;

     transform: translate(-130%,-50%);

     overflow: hidden;

 }

 .fourth .search > .searchBar{

     width: 595px;

     height: 70px;

     background: url("../img/searchBar.png");

     transform: translateX(-100%);

 }

 .fourth .search > .searchResult{

     width: 595px;

     height: 0px;

     background: url("../img/searchResult.png");

 }

 .fourth .search > .searchText{

     width: 0px;

     height: 70px;

     background: url("../img/searchText.png");

     position: absolute;

     top:;

     left:;

 }

 .fourth  .info{

     width: 800px;

     height: 800px;

     background: url("../img/info3.png");

     position: absolute;

     top: 50%;

     right: 50%;

     transform: translate(100%,-50%);

 }

 .fourth.current .search > .searchBar{

     transform: translateX(0);

     transition: transform 1s;

 }

 .fourth.current .search > .searchText{

     width: 280px;

     transition: width 1s 1s steps(5);

 }

 .fourth.current .search > .searchResult{

     height: 485px;

     transition: height 1s 2s;

 }
第五屏:是最难的一屏,也不能说难,只要是元素表较多,整个页面就是拼凑出来的
其实页面上的图标应该用字体图标的,当时脑子一热就都用图片代替了
主要难点就在整个页面的布局和四个边框的动画
前:四条边框是从四个不同方向进入到边框的位置,主体页面透明

后:不透明,边框复位
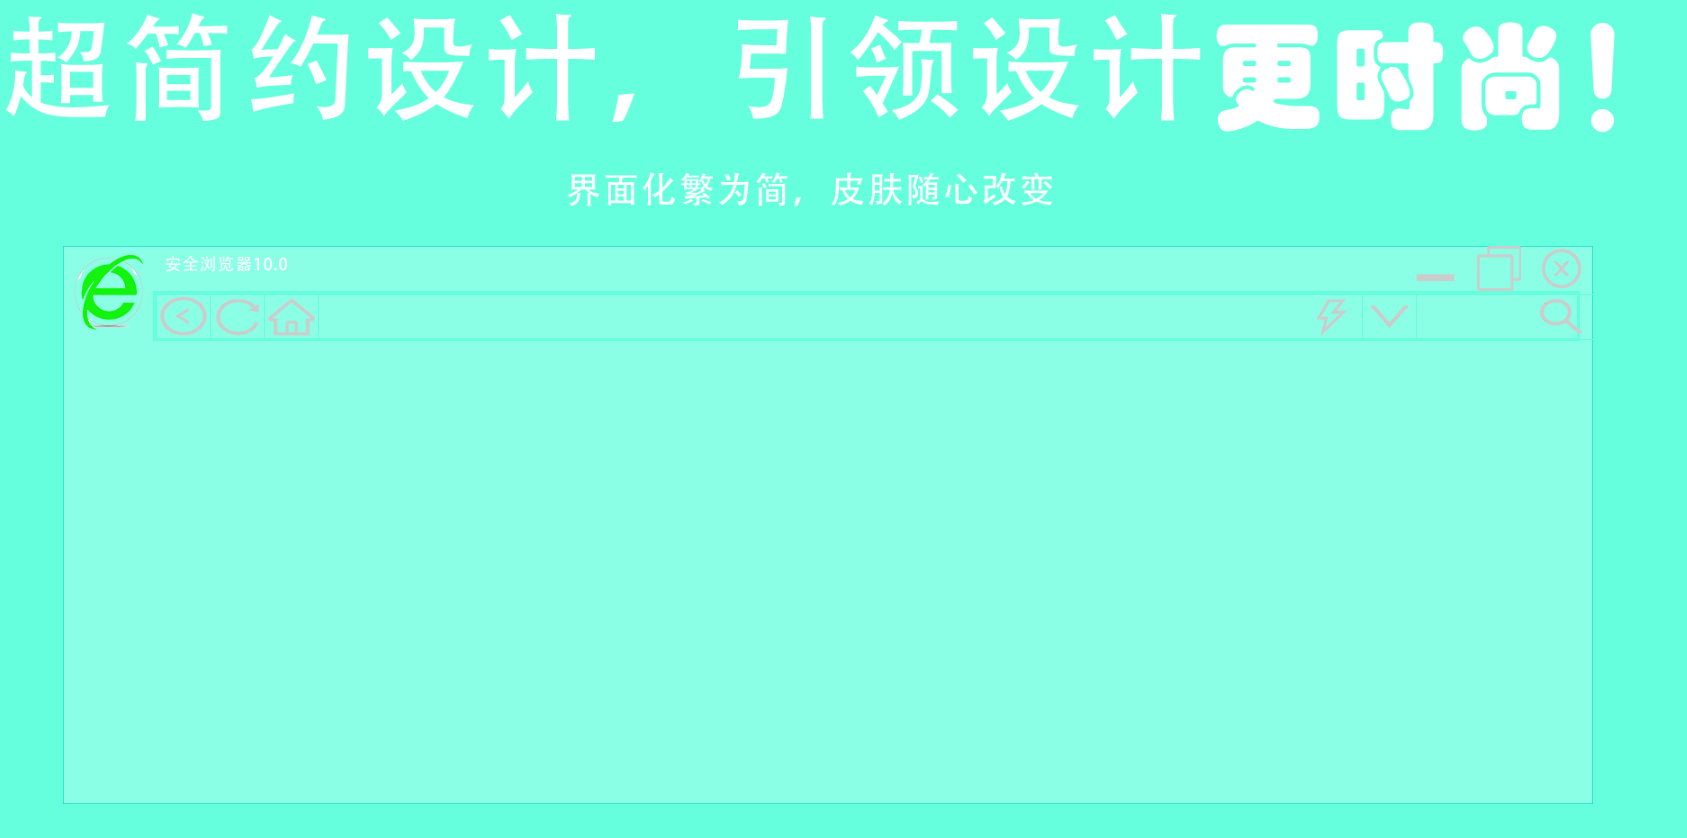
第五屏css
 .fifth{

     position: relative;

 }

 .fifth .info{

     width: 1924px;

     height: 300px;

     background: url("../img/info4.png");

     margin: 0 auto;

     top:;

 }

 .fifth .subject{

     width: 1700px;

     height: 620px;

     background: url("../img/subject.png");

     margin: 0 auto;

     position: relative;

 }

 .fifth .subject > .topBorder{

     width: 1700px;

     height: 1px;

     background: url("../img/Top and bottom border.png");

     position: absolute;

     top:;

     left: 100%;

 }

 .fifth.current .subject > .topBorder{

     left:  0%;

     transition: left 2s;

 }

 .fifth .subject > .bottomBorder{

     width: 1700px;

     height: 1px;

     background: url("../img/Top and bottom border.png");

     position: absolute;

     bottom:;

     right: 100%;

 }

 .fifth.current .subject > .bottomBorder{

     right:  0%;

     transition: right 2s;

 }

 .fifth .subject > .leftBorder{

      width: 1px;

      height: 620px;

      background: url("../img/Left and right borders.png");

      position: absolute;

      left:;

      bottom: 100%;

  }

 .fifth.current .subject > .leftBorder{

     bottom: 0%;

     transition: bottom 2s;

 }

 .fifth .subject > .rightBorder{

     width: 1px;

     height: 620px;

     background: url("../img/Left and right borders.png");

     position: absolute;

     right:;

     top: 100%;

 }

 .fifth.current .subject > .rightBorder{

     top: 0%;

     transition: top 2s;

 }

 .fifth .subject > .nav{

     width: 100%;

     height: 100px;

 }

 .fifth .subject > .nav > .icon{

     width: 100px;

     height: 100px;

     background: url("../img/icon.png");

     float: left;

 }

 .fifth .subject > .nav > .navHead{

     width: 1600px;

     height: 50%;

     float: left;

     position: relative;

 }

 .fifth .subject > .nav > .navHead > .info{

     width: 200px;

     height: 40px;

     background: url("../img/aqllq.png");

     float: left;

 }

 .fifth .subject > .nav > .navHead > .close{

     width: 50px;

     height: 50px;

     background: url("../img/x.png");

     position: absolute;

     right: 10px;

 }

 .fifth .subject > .nav > .navHead > .maximum{

     width: 50px;

     height: 50px;

     background: url("../img/zuidahua.png");

     position: absolute;

     right: 80px;

 }

 .fifth .subject > .nav > .navHead > .minimum{

     width: 50px;

     height: 50px;

     background: url("../img/zuixiaohua.png");

     position: absolute;

     right: 150px;

 }

 .fifth .subject >.nav > .Address-bar{

     width: 1580px;

     height: 50%;

     border: 3px solid #65ffdd;

     float: left;

     position: relative;

 }

 .return,.refresh,.homepage,.list{

     width: 60px;

     height: 100%;

     border: 1px solid #65ffdd;

     position: absolute;

 }

 .fifth .subject >.nav > .Address-bar > .return{

     left:;

     background: url("../img/zuojiantou.png") round;

 }

 .fifth .subject >.nav > .Address-bar > .refresh{

     left: 60px;

     background: url("../img/shuaxin.png") round;

 }

 .fifth .subject >.nav > .Address-bar > .homepage{

     left: 120px;

     background: url("../img/fangzi.png") round;

 }

 .fifth .subject >.nav > .Address-bar > .url{

     width: 1160px;

     height: 100%;

     border: 1px solid #65ffdd;

     position: absolute;

     left: 180px;

 }

 .fifth .subject >.nav > .Address-bar > .url > .quickness{

     width: 60px;

     height: 100%;

     position: absolute;

     right:;

     background: url("../img/shandian.png");

 }

 .fifth .subject >.nav > .Address-bar > .list{

     left: 1340px;

     background: url("../img/xiajiantou.png") round;

 }

 .fifth .subject >.nav > .Address-bar > .search-box{

     width: 200px;

     height: 100%;

     border: 1px solid #65ffdd;

     position: absolute;

     left: 1400px;

 }

 .fifth .subject >.nav > .Address-bar > .search-box > .search{

     width: 60px;

     height: 100%;

     position: absolute;

     right: 10px;

     background: url("../img/fangdajing.png") round;

 }

 .fifth .subject > .nav{

     opacity:0.1;

 }

 .fifth.current .subject > .nav{

     opacity:;

     transition: opacity 3s;

 }
h5-360_introduce页面案例的更多相关文章
- 2017年十大奇葩画风的H5页面案例,原来脑洞可以这样大
每个人都是视觉动物,画面精美.体验奇特的H5,用户在内心一般都会满分打出,毫不吝啬,同时也毫不犹豫分享,因为此时的分享不掉价儿~ 今天给大家准备了十支H5,画风超级奇特,非常值得一看所有案例均可在19 ...
- H5单页面手势滑屏切换原理
H5单页面手势滑屏切换是采用HTML5 触摸事件(Touch) 和 CSS3动画(Transform,Transition)来实现的,效果图如下所示,本文简单说一下其实现原理和主要思路. 1.实现原理 ...
- 快速构建H5单页面切换骨架
在Web App和Hybrid App横行的时代,为了拥有更好的用户体验,单页面应用顺势而生,单页面应用简称`SPA`,即Single Page Application,就是只有一个HTML页面的应用 ...
- 利用简洁的图片预加载组件提升h5移动页面的用户体验
在做h5移动页面,相信大家一定碰到过页面已经打开,但是里面的图片还未加载出来的情况,这种问题虽然不影响页面的功能,但是不利于用户体验.抛开网速的原因,解决这个问题有多方面的思路:最基本的,要从http ...
- 运用预加载提升H5移动页面的用户体验
原文地址:http://www.grycheng.com/?p=2188 在做h5移动页面,相信大家一定碰到过页面已经打开,但是里面的图片还未加载出来的情况,这种问题虽然不影响页面的功能,但是不利于用 ...
- H5 App页面 绝对定位 软键盘弹出时顶起底部按钮
做H5 App页面时,有时候,按钮可能会放到页面的最底下,这个时候可能会用到绝对定位(position: absolute),但是,当input 输入框被点击时,弹出的软键盘会顶起底部的按钮,就像这样 ...
- 快速构建H5单页面切换应用
在Web App和Hybrid App横行的时代,为了拥有更好的用户体验,单页面应用顺势而生,单页面应用简称`SPA`,即Single Page Application,就是只有一个HTML页面的应用 ...
- h5微信页面在手机微信端和微信web开发者工具中都能正常显示,但是在pc端微信浏览器上打不开(显示空白)
h5微信页面在手机微信和微信开发者工具中都能正常显示,但是在pc端微信浏览器上打不开或者数据加载不出来. 原因:pc端微信浏览器不支持ES6语法,我的代码中使用了一些ES6的特性 解决:将ES6转换为 ...
- H5微信页面开发 IOS系统 input输入框失去焦点,软键盘关闭后,被撑起的页面无法回退到原来正常的位置,导致弹框里的按钮响应区域错位
H5微信页面开发,软键盘弹起后,若原输入框被遮挡,页面整体将会上移,然而当输入框失焦,软键盘收起后,页面未恢复,导致弹框里的按钮响应区域错位. 解决方案:给输入框(或select选择框)添加失去焦点的 ...
- H5公共样式,用于所有H5开发页面
@charset "UTF-8"; /* H5公共样式,用于所有H5开发页面*/ html { font-family: "Microsoft Yahei", ...
随机推荐
- 深入理解python(三)python字符编码和字符串处理
说是有选择和循环分支,,也实在没有什么比较大的坑要注意的,所以就直接进入比较令人困扰的地方 unicode和字符串 这个地方是一直以来我比较头痛的地方,因为坑比较多而且python3和python2在 ...
- 三 SVN权限设置&用户&组
创建组,添加用户之后进行权限的设置:
- f_lseek
我在STM32中移植了fatfs文件系统,实现在SD卡对文件的读写.在普通读写中都没有问题,但是一旦我关闭文件系统,再次打开读写,之前写的数据就被覆盖.比如举个例子: u8 tx_buff ...
- BlackArch-Tools
BlackArch-Tools 简介 安装在ArchLinux之上添加存储库从blackarch存储库安装工具替代安装方法BlackArch Linux Complete Tools List 简介 ...
- Day8 - D - Multiplication Table CodeForces - 448D
Bizon the Champion isn't just charming, he also is very smart. While some of us were learning the mu ...
- 003、Java的单行注释
代码如下: package TIANPAN; public class TestDemo { public static void main(String args[]) { // JAVA的单行注释 ...
- 关于可持久化Trie
我认为 可持久化Trie 主要指 可持久化01Trie 如洛谷P4735 将每个数的异或前缀和转化为二进制,添加前缀0至相同位数,然后从最高位开始插入,类似主席树,每一层都对需要更新的点加入一个新的点 ...
- DevOps - 不适用
章节 DevOps – 为什么 DevOps – 与传统方式区别 DevOps – 优势 DevOps – 不适用 DevOps – 生命周期 DevOps – 与敏捷方法区别 DevOps – 实施 ...
- (分治)输出前m大的数。。。
描述给定一个数组包含n个元素,统计前m大的数并且把这m个数从大到小输出.输入第一行包含一个整数n,表示数组的大小.n < 100000.第二行包含n个整数,表示数组的元素,整数之间以一个空格分开 ...
- 这台计算机上缺少此项目引用的 NuGet 程序包。使用“NuGet 程序包还原”可下载这些程序包
将项目复制到其地方的时候编译会报错,按照官网方法也不行,从网上查了一个有用的方法如下 打开CSPROJ文件.删除如下代码, <Import Project="..\packages\ ...
