2018-2019-2 20175126谢文航 实验四《Android开发基础》实验报告
一、实验封面
课程:Java程序设计 班级:1751 班 姓名:谢文航 学号:20175126
指导教师:娄嘉鹏 实验日期:2019年5月15日
实验时间:--- 实验序号:实验四
实验名称:Android开发基础
实验内容:
- 参考Android开发简易教程
- 完成云班课中的检查点,也可以先完成实验报告,直接提交。注意不能只有截图,要有知识点,原理,遇到的问题和解决过程等说明。实验报告中一个检查点要有多张截图。
- 发表实验报告博客,标题“学期(如2018-2019-2) 学号(如20175300) 实验四《Android开发基础》实验报告”
二、实验步骤
(一)Android Studio 的安装测试
- 要求:
- Android Stuidio的安装测试: 参考《Java和Android开发学习指南(第二版)(EPUBIT,Java for Android 2nd)》第二十四章:
- 参考http://www.cnblogs.com/rocedu/p/6371315.html#SECANDROID,安装 Android Stuidio
- 完成Hello World, 要求修改res目录中的内容,Hello World后要显示自己的学号,自己学号前后一名同学的学号,提交代码运行截图和码云Git链接,截图没有学号要扣分
- 学习Android Stuidio调试应用程序
具体步骤:
1.从网站上下载客户端,并进行安装
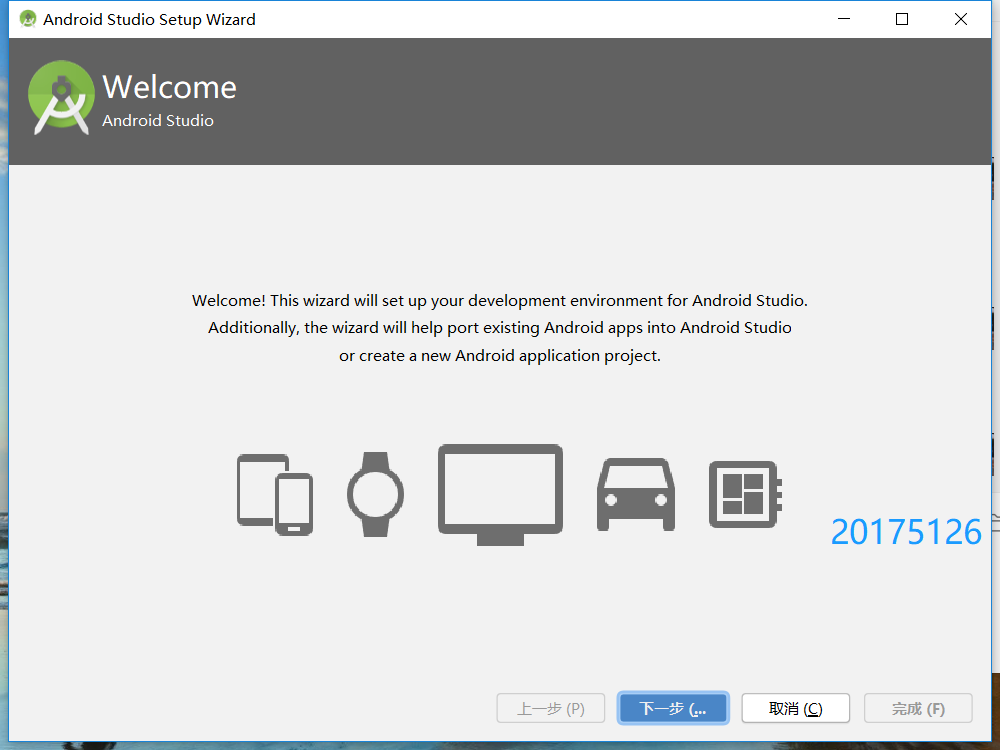
2.根据博客,默认安装
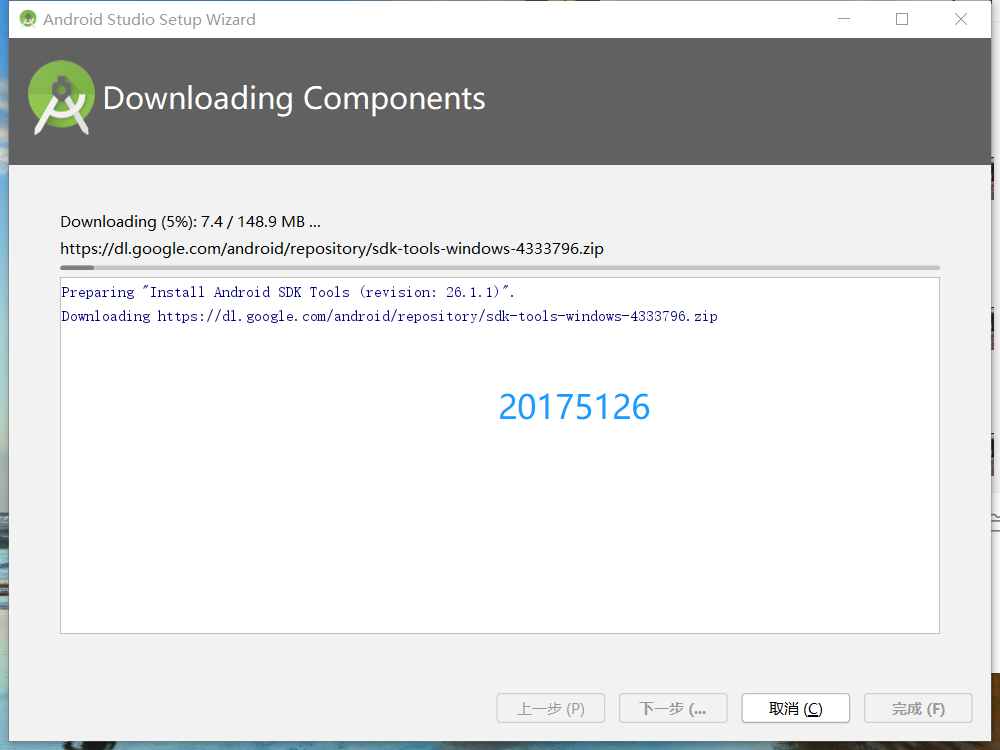
3.安装ing
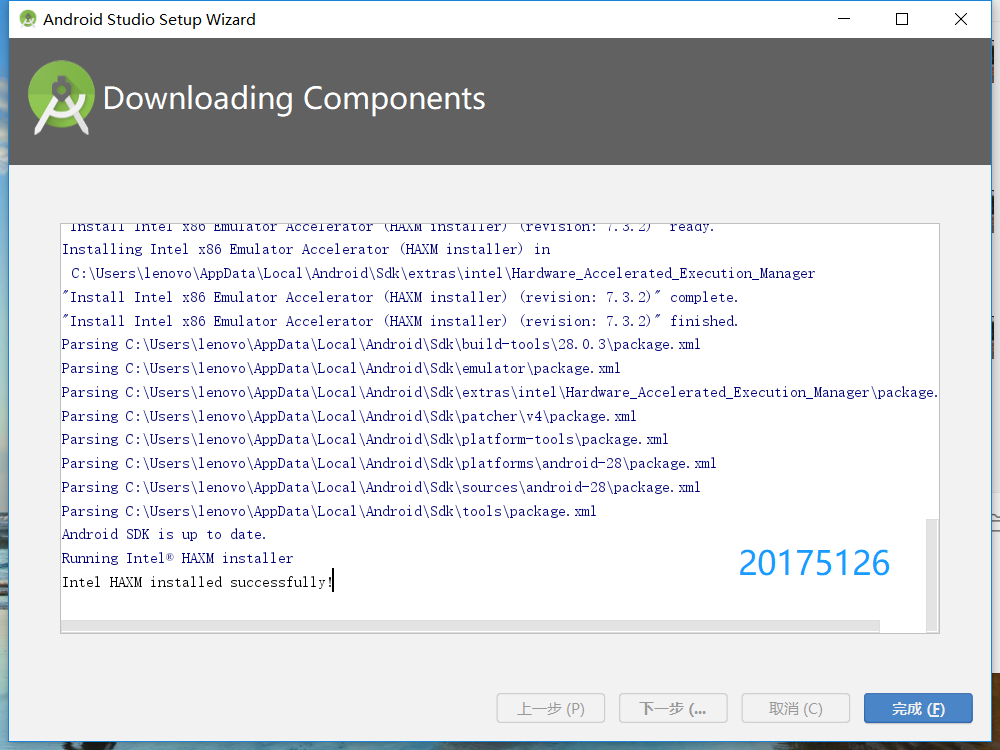
4.安装好后,点击这个创建一个项目
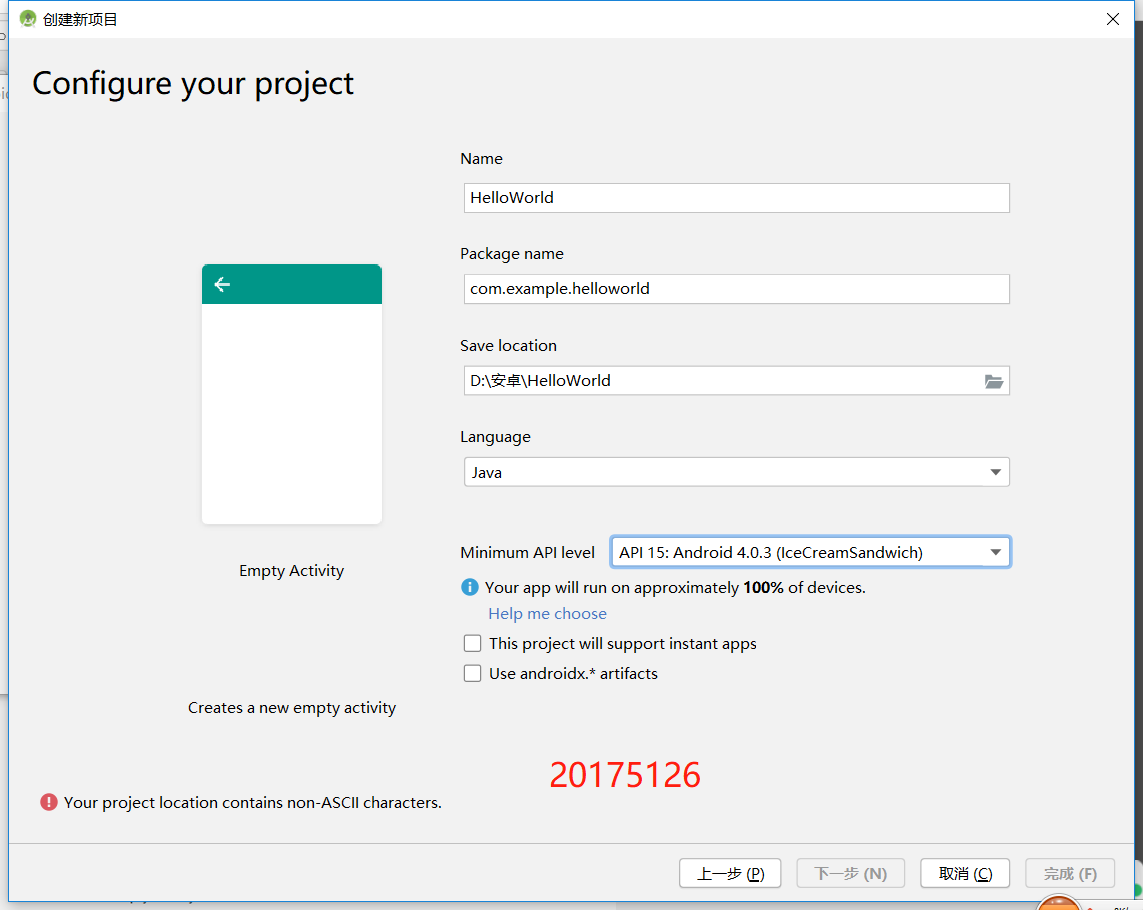
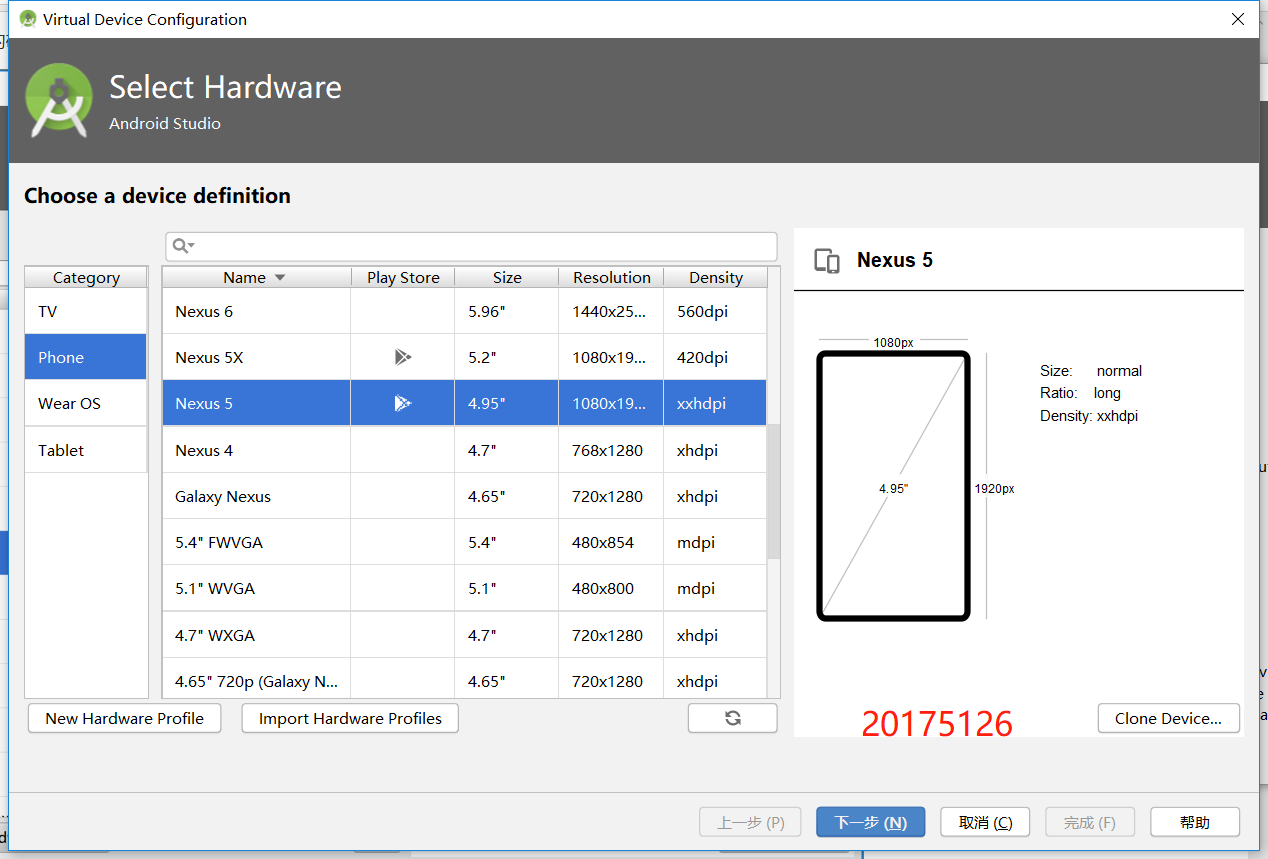
5.创建一个虚拟机端,首次使用需要下载

6.根据要求修改输出自己的学号相关信息
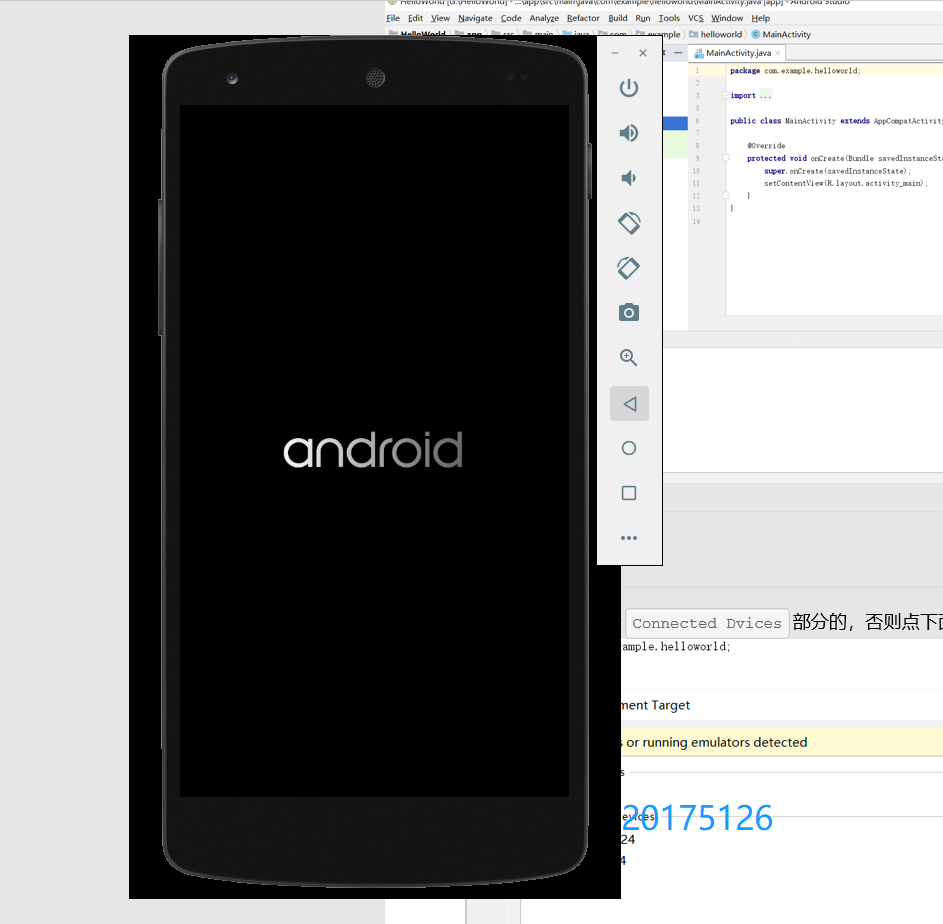
7.运行成功

具体代码:
<?xml version="1.0" encoding="utf-8"?>

<android.support.constraint.ConstraintLayout

    xmlns:android="http://schemas.android.com/apk/res/android"

    xmlns:app="http://schemas.android.com/apk/res-auto"

    xmlns:tools="http://schemas.android.com/tools"

    android:layout_width="match_parent"

    android:layout_height="match_parent"

    tools:context=".MainActivity">

 <TextView

        android:layout_width="wrap_content"

        android:layout_height="wrap_content"

        android:layout_marginEnd="80dp"

        android:layout_marginRight="80dp"

        android:text="Hello World!20175125 20175126 20175127"

        app:layout_constraintBottom_toBottomOf="parent"

        app:layout_constraintEnd_toEndOf="parent"

        app:layout_constraintLeft_toLeftOf="parent"

        app:layout_constraintRight_toRightOf="parent"

        app:layout_constraintTop_toTopOf="parent"

        tools:text="Hello World!20175125 20175126 20175127" />

</android.support.constraint.ConstraintLayout>
(二)Activity测试
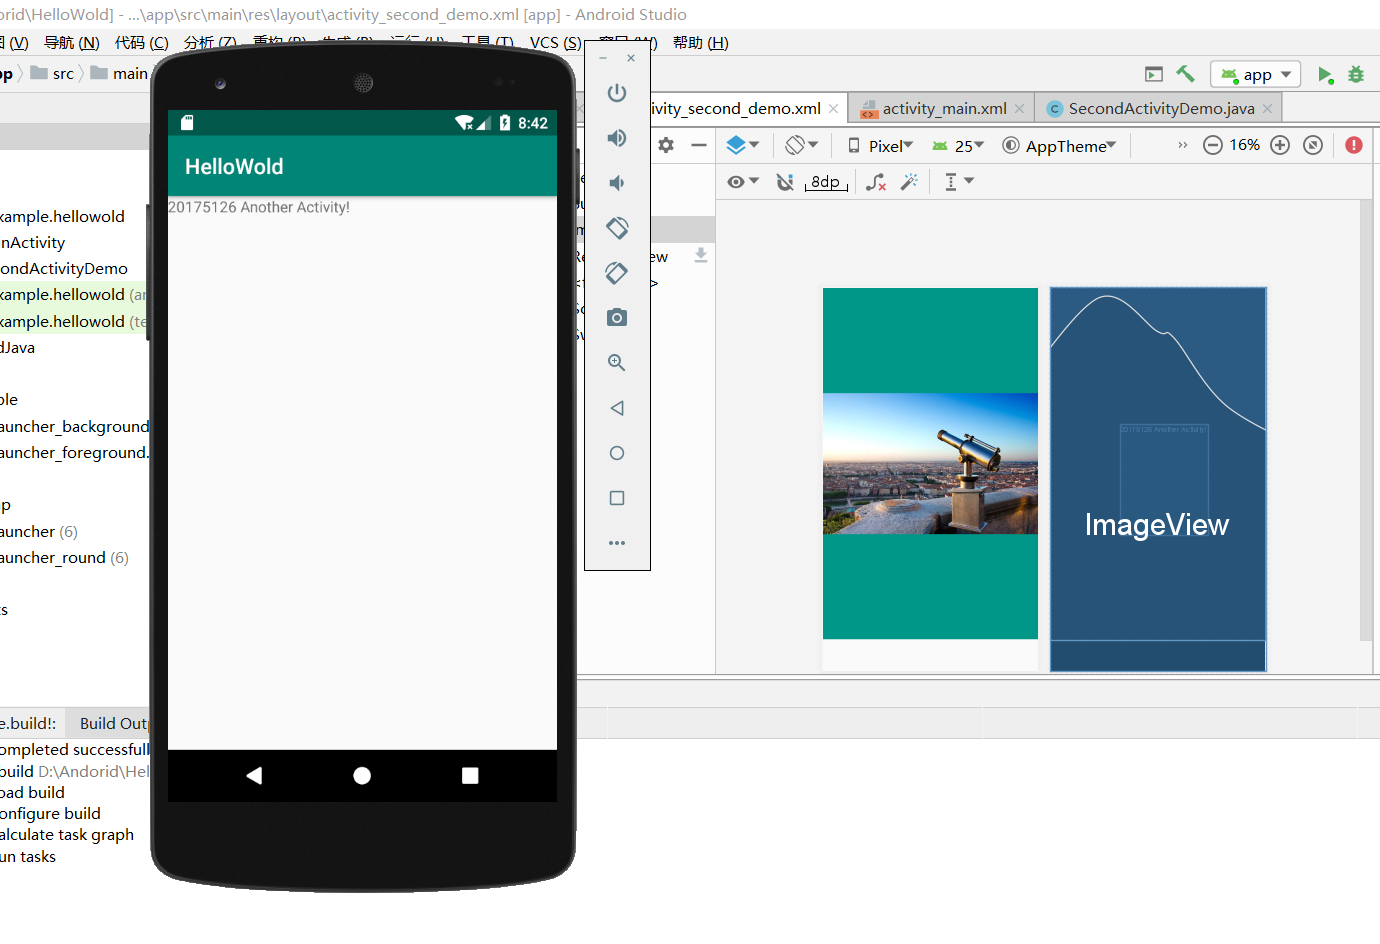
要求:创建 ThirdActivity, 在ThirdActivity中显示自己的学号,修改代码让MainActivity启动ThirdActivity
具体步骤:
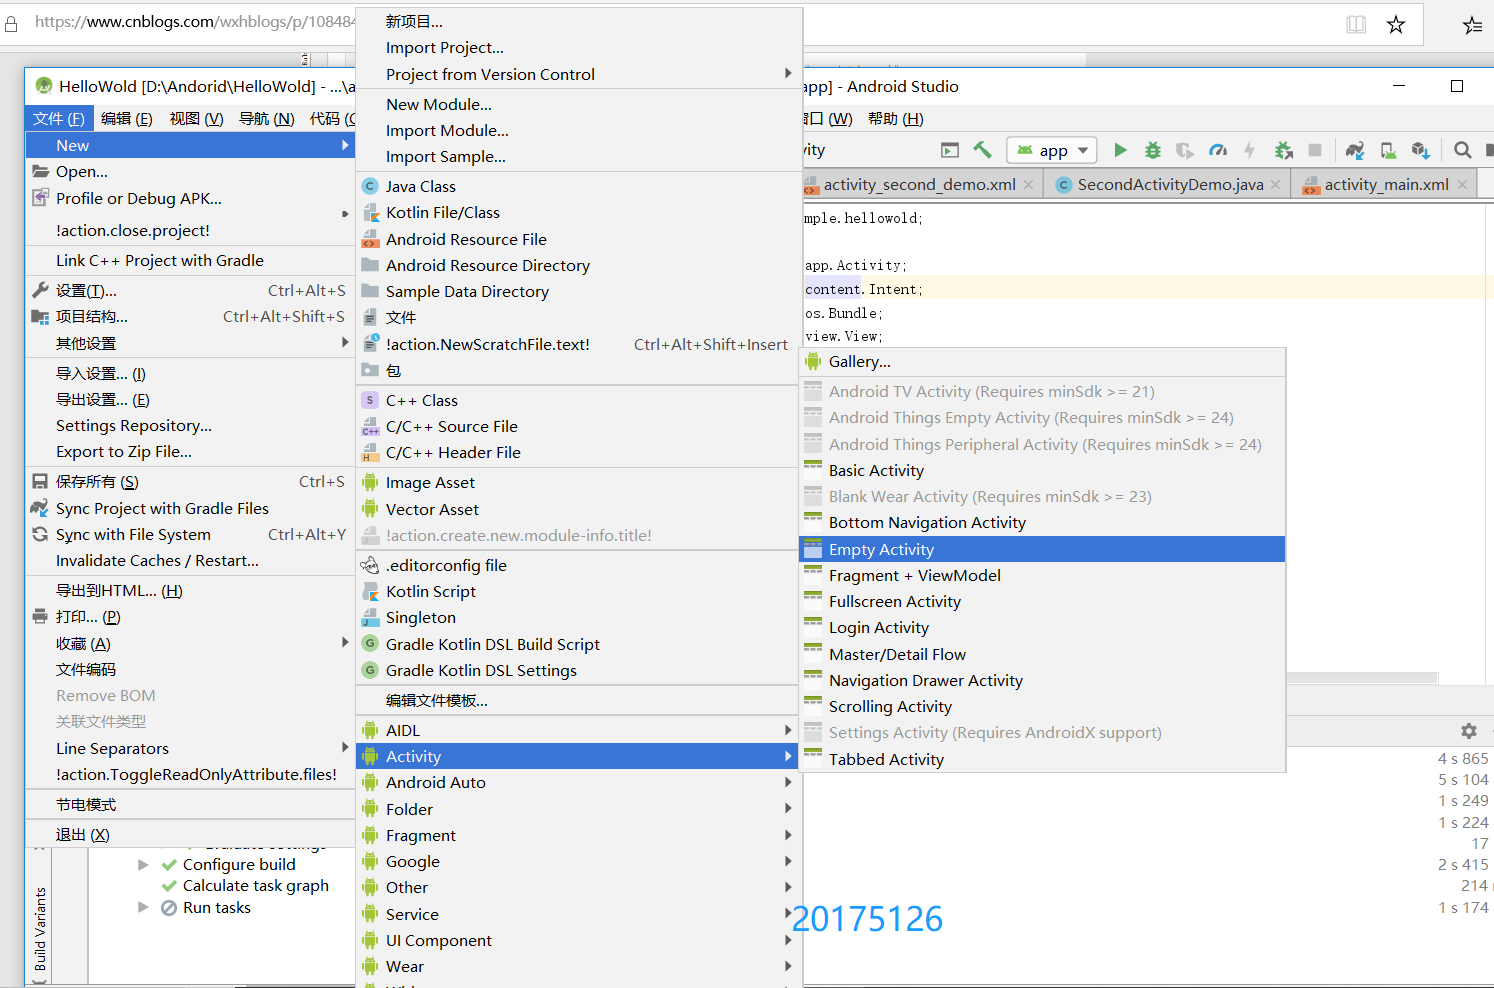
1.选择并创建一个empty activity
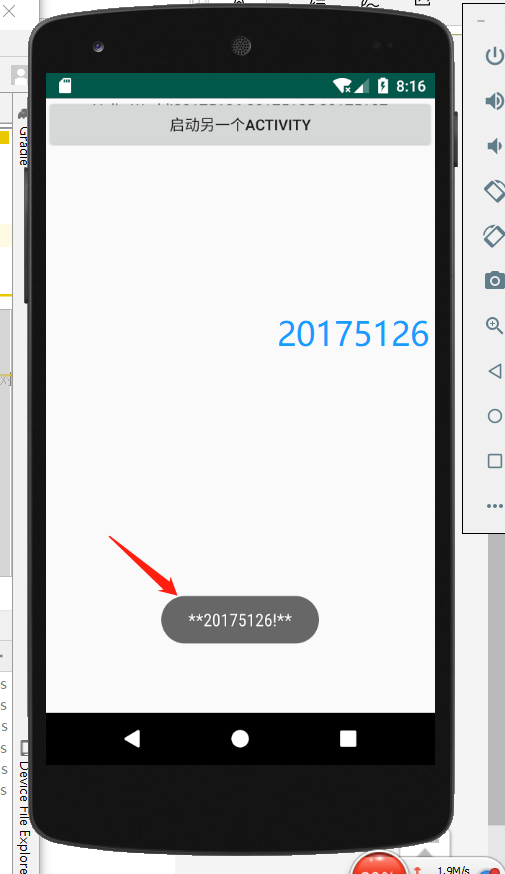
2.输入代码,并运行,点击按钮后,进入另一个界面

具体代码:
package com.example.helloworld;

import android.support.v7.app.AppCompatActivity;

import android.os.Bundle;

public class SecondActivityDemo extends AppCompatActivity {

    @Override

    protected void onCreate(Bundle savedInstanceState) {

        super.onCreate(savedInstanceState);

        setContentView(R.layout.activity_second_demo);

    }

}
<?xml version="1.0" encoding="utf-8"?>

<android.support.constraint.ConstraintLayout xmlns:android="http://schemas.android.com/apk/res/android"

    xmlns:tools="http://schemas.android.com/tools"

    android:layout_width="match_parent"

    android:layout_height="match_parent"

    android:orientation="vertical">

    <TextView

        android:id="@+id/textView"

        android:layout_width="172dp"

        android:layout_height="139dp"

        android:text="20175126 Another Activity!"

        tools:layout_editor_absoluteX="153dp"

        tools:layout_editor_absoluteY="311dp"

        tools:ignore="MissingConstraints" />

</android.support.constraint.ConstraintLayout>
(三)UI(弹窗)测试
具体步骤:
1.import android.widget.Toast;引入方法
2.Toast.makeText(MainActivity.this, "20175105!", Toast.LENGTH_SHORT).show();快速调用
package com.example.helloworld;

import android.app.Activity;

import android.content.Intent;

import android.os.Bundle;

import android.view.View;

import android.view.View.OnClickListener;

import android.widget.Button;

import android.widget.Toast;

public class MainActivity extends Activity {

    private Button button1;

    @Override

    protected void onCreate(Bundle savedInstanceState) {

        super.onCreate(savedInstanceState);

        setContentView(R.layout.activity_main);

        Toast.makeText(MainActivity.this, "20175126 Another Activity!", Toast.LENGTH_SHORT).show();

        button1 = (Button) findViewById(R.id.button1);

        button1.setOnClickListener(new OnClickListener() {

            @Override

            public void onClick(View v) {

                Intent intent = new Intent(

                        MainActivity.this, SecondActivityDemo.class); // 创建一个Intent对象

                       startActivity(intent);

            }

        })

    ;}

}
3.运行效果图
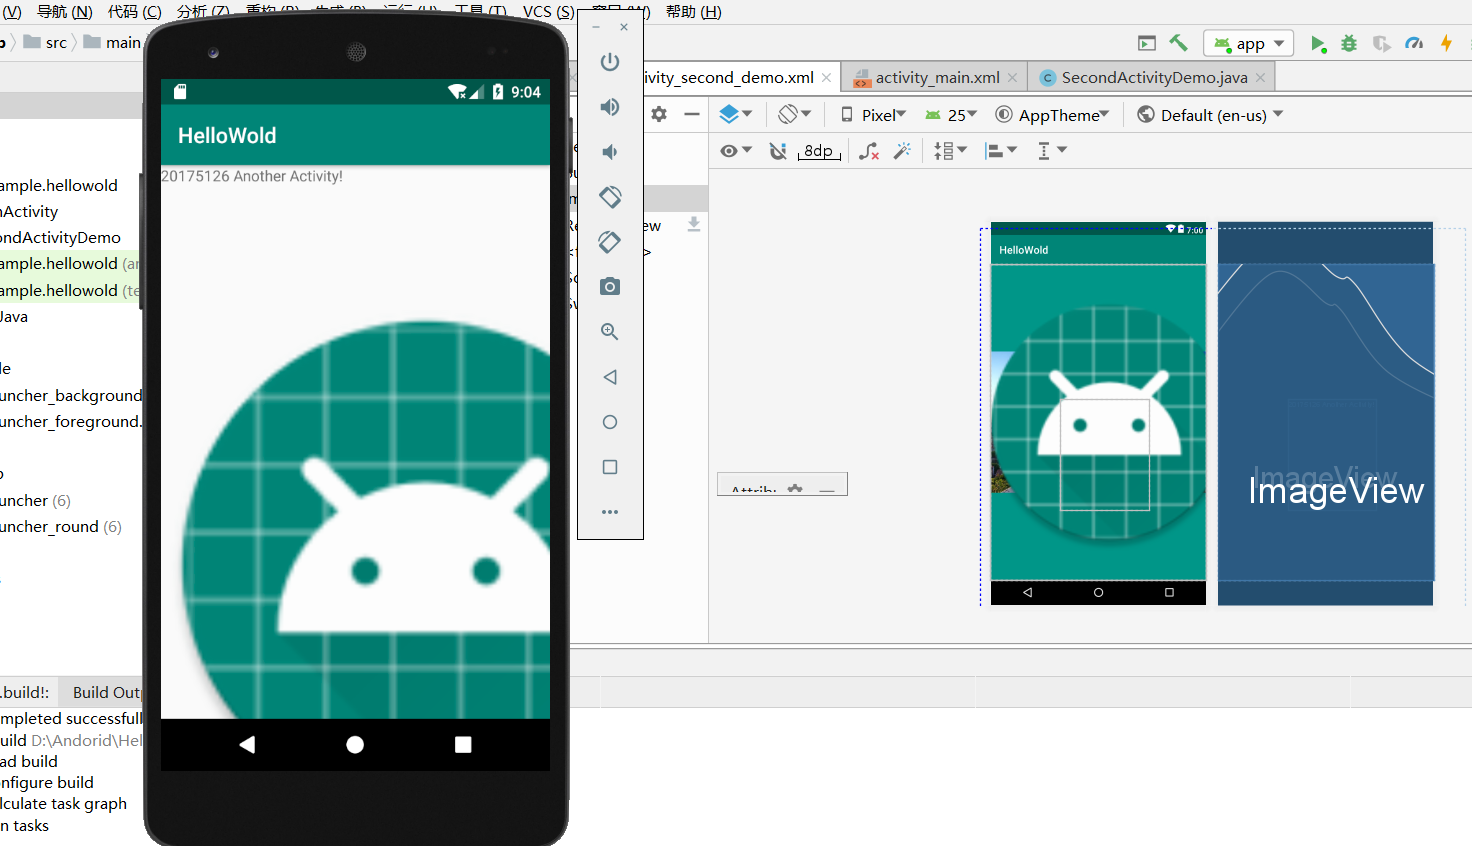
(四)布局测试
- 具体要求
- 参考《Java和Android开发学习指南(第二版)(EPUBIT,Java for Android 2nd)》第二十七章:
- 构建项目,运行教材相关代码
- 修改布局让P290页的界面与教材不同
- 提交代码运行截图和码云Git链接,截图要有学号水印,否则会扣分
- 布局的类型
- 线性布局LinearLayout:线性布局是一个视图组(ViewGroup),能在水平或者垂直的单一方向上将所有子元素排成一行
- 相对布局RelativeLayout:相对布局是一个将子视图显示在相对的位置上的布局
- 表格布局TableLayout:表格布局是在行、列中组合子元素的视图
- 绝对布局AbsoluteLayout:绝对布局能让你指定子元素的精确位置
- 帧布局FrameLayout:帧布局是一个屏幕上的占位符,你可以用它来显示单一视图
- 列表视图ListView:列表布局是可以滚动的,是用于显示子元素列表的视图组
- 网格视图GridView:网格视图是在二维可滚动的网格中显示子元素的视图组
- 1.可以直接在设计界面进行背景的修改

- 2.在代码中对界面进行布局
<RelativeLayout xmlns:android="http://schemas.android.com/apk/res/android"
xmlns:app="http://schemas.android.com/apk/res-auto"
xmlns:tools="http://schemas.android.com/tools"
android:layout_width="match_parent"
android:layout_height="match_parent"
android:background="#03A9F4"
android:paddingLeft="2dp"
android:paddingRight="2dp"> <Button
android:id="@+id/saveButton"
android:layout_width="wrap_content"
android:layout_height="wrap_content"
android:layout_below="@+id/cancelButton"
android:layout_alignStart="@+id/cancelButton"
android:layout_alignLeft="@+id/cancelButton"
android:layout_marginStart="-26dp"
android:layout_marginLeft="-26dp"
android:layout_marginTop="29dp"
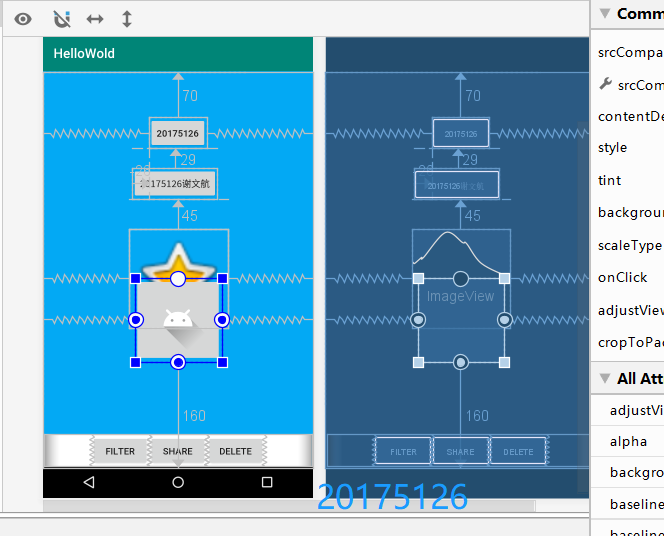
android:text="20175126谢文航" /> <ImageView
android:id="@+id/imageView"
android:layout_width="150dp"
android:layout_height="150dp"
android:layout_below="@+id/saveButton"
android:layout_centerHorizontal="true"
android:layout_marginTop="45dp"
android:padding="4dp"
android:src="@android:drawable/ic_dialog_email"
app:srcCompat="@android:drawable/btn_star_big_on" /> <LinearLayout
android:id="@+id/filter_button_container"
android:layout_width="match_parent"
android:layout_height="wrap_content"
android:layout_alignParentBottom="true"
android:background="@android:color/white"
android:gravity="center|bottom"
android:orientation="horizontal"> <Button
android:id="@+id/filterButton"
android:layout_width="wrap_content"
android:layout_height="fill_parent"
android:text="Filter" /> <Button
android:id="@+id/shareButton"
android:layout_width="wrap_content"
android:layout_height="fill_parent"
android:text="Share" /> <Button
android:id="@+id/deleteButton"
android:layout_width="wrap_content"
android:layout_height="fill_parent"
android:text="Delete" />
</LinearLayout> <ImageButton
android:id="@+id/imageButton"
android:layout_width="wrap_content"
android:layout_height="wrap_content"
android:layout_alignParentBottom="true"
android:layout_centerHorizontal="true"
android:layout_marginBottom="160dp"
app:srcCompat="@drawable/ic_launcher_foreground" />
</RelativeLayout>
效果图:
(五)事件处理机制
要求:
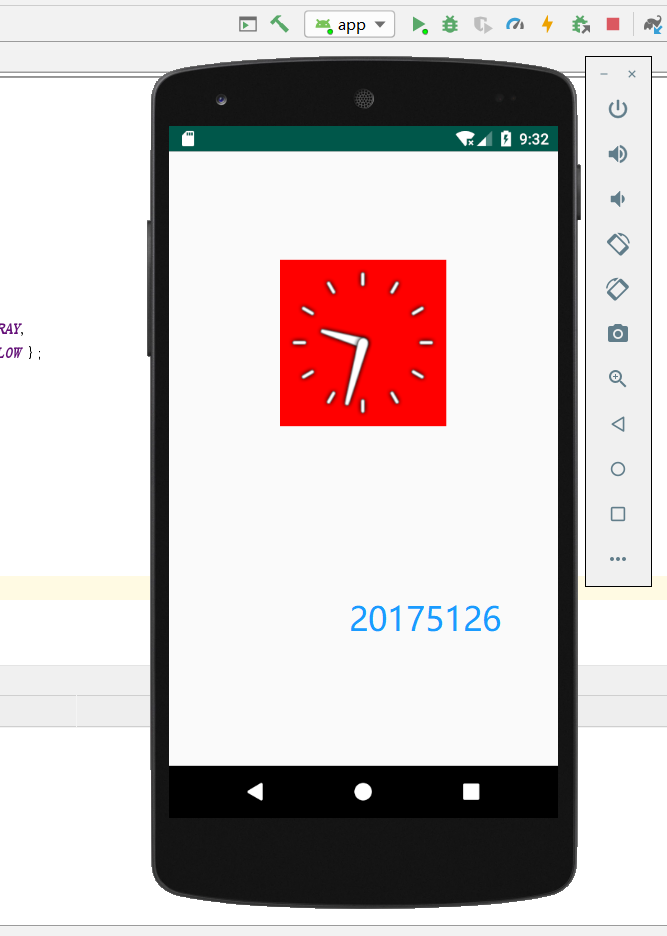
功能描述:在点击屏幕后,时钟背景颜色发生改变
具体步骤:
1.在MainActivity和activity_main里对代码进行修改
import android.support.v7.app.AppCompatActivity;

import android.os.Bundle;

import android.app.Activity;

import android.graphics.Color;

import android.os.Bundle;

import android.view.Menu;

import android.view.View;

import android.widget.AnalogClock;

import android.app.Activity;

import android.graphics.Color;

import android.os.Bundle;

import android.view.Menu;

import android.view.View;

import android.widget.AnalogClock;

public class MainActivity extends Activity {

    int counter = 0;

    int[] colors = { Color.BLACK, Color.BLUE, Color.CYAN,

            Color.DKGRAY, Color.GRAY, Color.GREEN, Color.LTGRAY,

            Color.MAGENTA, Color.RED, Color.WHITE, Color.YELLOW };

    @Override

    protected void onCreate(Bundle savedInstanceState) {

        super.onCreate(savedInstanceState);

        setContentView(R.layout.activity_main);

    }

    @Override

    public boolean onCreateOptionsMenu(Menu menu) {

// Inflate the menu; this adds items to the action bar if it

// is present.

        getMenuInflater().inflate(R.menu.menu_main, menu);

        return true;

    }

    public void changeColor(View view) {

        if (counter == colors.length) {

            counter = 0;

        }

        view.setBackgroundColor(colors[counter++]);

    }

}
<RelativeLayout

    xmlns:android="http://schemas.android.com/apk/res/android"

    xmlns:tools="http://schemas.android.com/tools"

    android:layout_width="match_parent"

    android:layout_height="match_parent"

    android:paddingBottom="10dp"

    android:paddingLeft="10dp"

    android:paddingRight="10dp"

    android:paddingTop="10dp"

    tools:context=".MainActivity">

    <AnalogClock

        android:id="@+id/analogClock1"

        android:layout_width="wrap_content"

        android:layout_height="wrap_content"

        android:layout_alignParentTop="true"

        android:layout_centerHorizontal="true"

        android:layout_marginTop="90dp"

        android:onClick="changeColor"

        />

</RelativeLayout>
2.运行效果图

三、遇到的问题及解决办法
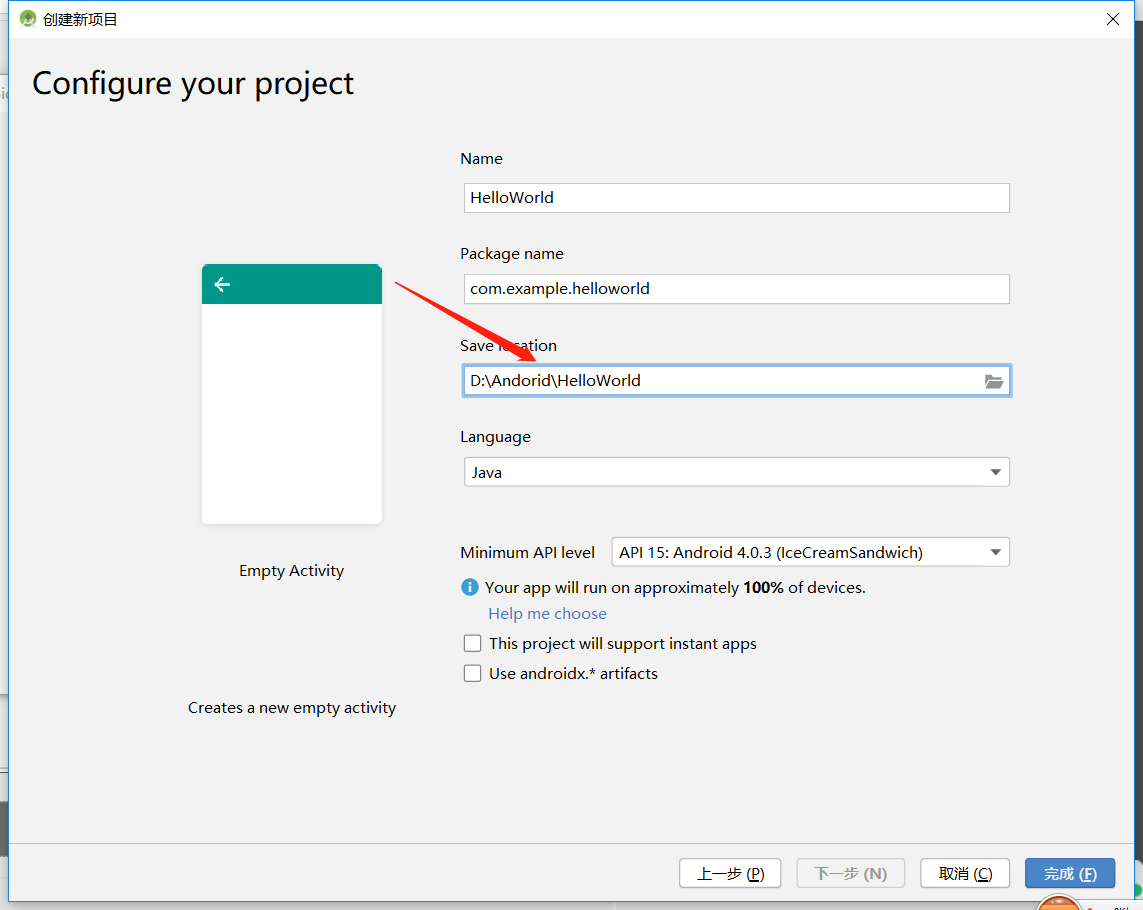
问题1:创建项目时无法点完成
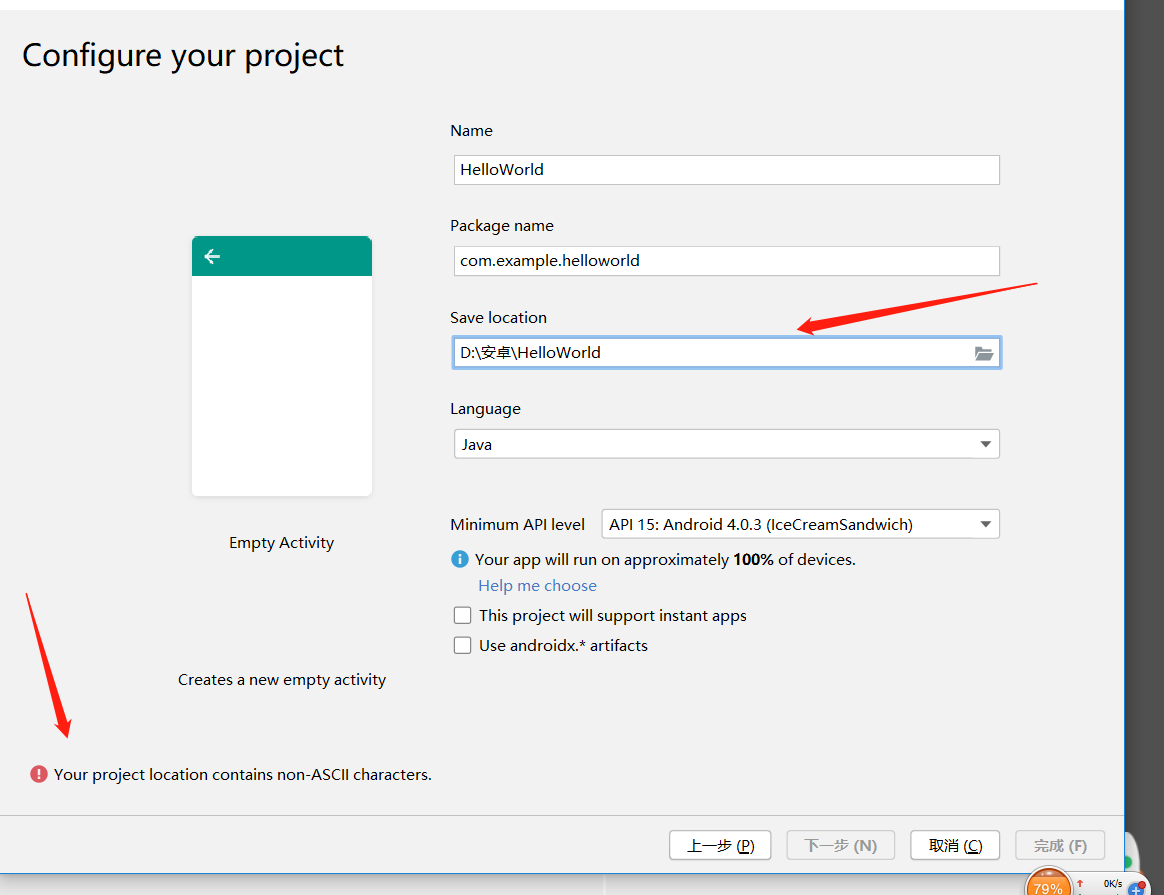
问题1解决办法:是因为目录名中用中文导致,换一个无中文的目录名字
问题2:布局设计时改变了背景,但是运行在虚拟机上无法显示
问题2解决办法:这是由于修改了后背景,而只会显示前背景,修改前背景即可
四、感悟与收获
本次实验主要是第一次接触安卓开发,虽然说可能有点难度,但是能够吸引我,因为这是比较实用的一个工具,在以后可能也会用到。本次主要学会了基本的输出、布局、弹窗、界面等,相信在接下来的学习中,会了解更多关于安卓的开发。
2018-2019-2 20175126谢文航 实验四《Android开发基础》实验报告的更多相关文章
- 20145239 杜文超 实验四 Android开发基础
20145239实验四 Android开发基础 实验内容 基于Android Studio开发简单的Android应用并部署测试 了解Android组件.布局管理器的使用 掌握Android中事件处理 ...
- 实验四 Android开发基础
实验四 Android开发基础 实验内容 1.安装Android Studio 2.运行安卓AVD模拟器 3.使用安卓运行出虚拟手机并显示HelloWorld以及自己的学号 (一)SDK的安装 (二) ...
- 20145337实验四Android开发基础
20145337实验四Android开发基础 实验内容 基于Android Studio开发简单的Android应用并部署测试; 了解Android组件.布局管理器的使用: 掌握Android中事件处 ...
- 20145225《Java程序设计》 实验四 Android开发基础
20145225<Java程序设计> 实验四 Android开发基础 实验报告 实验内容 安装Android Studio 运行安卓AVD模拟器 使用安卓运行出虚拟手机并显示HelloWo ...
- 20145215实验四 Android开发基础
20145215实验四 Android开发基础 实验内容 基于Android Studio开发简单的Android应用并部署测试; 了解Android组件.布局管理器的使用: 掌握Android中事件 ...
- 20155324 《Java程序设计》实验四 Android开发基础
20155324 <Java程序设计>实验四 Android开发基础 实验内容 1.基于Android Studio开发简单的Android应用并部署测试; 2.了解Android.组件. ...
- 20155228 实验四 Android开发基础
20155228 实验四 Android开发基础 实验内容 1.基于Android Studio开发简单的Android应用并部署测试; 2.了解Android.组件.布局管理器的使用: 3.掌握An ...
- 20155208 实验四 Android开发基础
20155208 实验四 Android开发基础 实验内容 1.基于Android Studio开发简单的Android应用并部署测试; 2.了解Android.组件.布局管理器的使用: 3.掌握An ...
- 2065212Java实验四android开发基础
20165212 Java实验四Android开发基础 实验内容: 1.基于Android Studio开发简单的Android应用并部署测试; 2.了解Android.组件.布局管理器的使用: 3. ...
- 20155202 实验四 Android开发基础
20155202 实验四 Android开发基础 实验内容 1.基于Android Studio开发简单的Android应用并部署测试; 2.了解Android.组件.布局管理器的使用: 3.掌握An ...
随机推荐
- vue-slot的使用
父组件在子组件内套的内容,是不显示的:vue有一套内容分发的的API,<slot>作为内容分发的出口,假如父组件需要在子组件内放一些DOM,那么这些DOM是显示.不显示.在哪个地方显示.如 ...
- python while 循环打印九九乘法表
方向一 i = 1 while i <= 9: j = 1 while j <= i print('%d*%d = %2d'%( j,i ,i*j),end='') j += 1 prin ...
- php有几种开发语言
php有几种开发语言? php的启发语言有五种,分别是C.Perl.Java.C++.Python. PHP(全称:PHP:Hypertext Preprocessor,即“PHP:超文本预处理器”) ...
- 同步GitHub上fork的项目
最近在做“Python练习册,每天一个小程序”,fork了项目并贡献自己写的代码,项目还有其他人在贡献代码,每天都会更新,这就涉及到了自己fork的项目与原项目的同步更新问题,下面就是我最常用的方法. ...
- P3191 [HNOI2007]紧急疏散EVACUATE(费用流)
P3191 [HNOI2007]紧急疏散EVACUATE 费用流+卡常优化 我们只关心一个人通过门时的时间,在空地的行走时间可以分层维护 于是根据时间分层,到门的时候再计算代价,即代价$=$层数 每经 ...
- vue iview分页
距离上次博客更新已经快一个月了,期间也有想法在空闲的时候更新几篇博文. 燃鹅,最近懒癌作祟,丢掉的东西越来越多,再不遏止的话就真成癌了. 趁着刚看完一篇心灵鸡汤,让打满鸡血的我总结下前段时间用到的iv ...
- C#学习大纲
一.C#: 1.进制转换 2.vs界面内容 熟悉软件 3.数据类型 :引用类型 值类型 4.变量 (存储数据)一个变量存储一个数据 5.类型转换 6.运算符:算数运 ...
- Ajax异步请求返回文件流(eg:导出文件时,直接将导出数据用文件流的形式返回客户端供客户下载)
在异步请求中要返回文件流,不能使用JQuery,因为$.ajax,$.post 不支持返回二进制文件流的类型,可以看到下图,dataType只支持xml,json,script,html这几种格式,没 ...
- 20180209-sys模块
sys模块常用操作如下: 1.命令行参数 sys.argv 第一个元素是程序本身路径 # 1.命令行参数 第一个元素是程序本身路径 ret = sys.argv print('命令行参数:',ret ...
- 20-基于 DSP TMS320C6455的6U CPCI高速信号处理板卡
基于 DSP TMS320C6455的6U CPCI高速信号处理板卡 1. 板卡概述 基于 DSP TMS320C6455的CPCI高速信号处理板卡是新一代高速DSP处理平台,广泛用于DSP性能验证, ...