定制属于自己的自动化安装的linux系统镜像
使用软件和平台
1、基于平台: Vmware workstation 8.0
2、基于系统镜像: rhel-server-5.8-i386-dvd.iso
3、ISO编辑软件: UltraISO
4、自定义配置文件: ks.cfg
5、需要重新编辑的配置文件: isolinux.cfg
6、其他: 针对不需要的文件包进行删减
第一步生成ks.cfg文件
我这里使用的远程连接工具是Xmanager Enterprise 4,可以支持在当前系统上打开远程主机的图形软件界面。
1、首先确认kickstart是否安装,没有安装的话使用yum进行安装
|
1
2
3
4
5
6
7
8
9
10
11
12
|
#检查 kickstart是否安装[root@lovelace ~]# rpm -qa | grep kickstartsystem-config-kickstart-2.6.19.9-2.el5pykickstart-0.43.9-1.el5#使用yum安装 kickstart[root@lovelace ~]# yum install system-config-kickstart -yLoaded plugins: katello, securityRepository rhel-debuginfo is listed more than once in the configurationUnable to read consumer identitySetting up Install ProcessPackage system-config-kickstart-2.6.19.9-2.el5.noarch already installed and latest versionNothing to do |
2、启动Xmanager - Passive服务,然后在终端上输入命令system-config-kickstart &
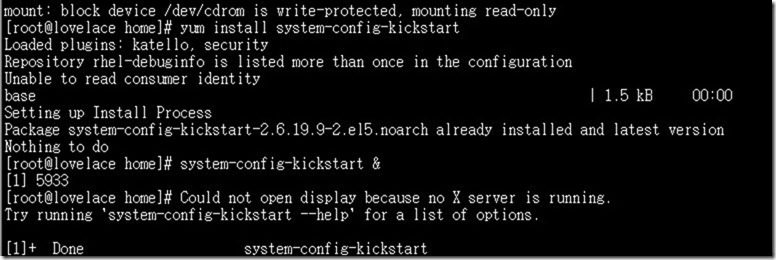
如果执行上面的命令弹出错误,请在终端输入以下两条命令

3、再次进行测试,如果还不成功,请查看服务是否开启,上面两条命令执行是否成功
注:这里为了方便大家进行配置,直接在现有系统的基础上进行编辑。
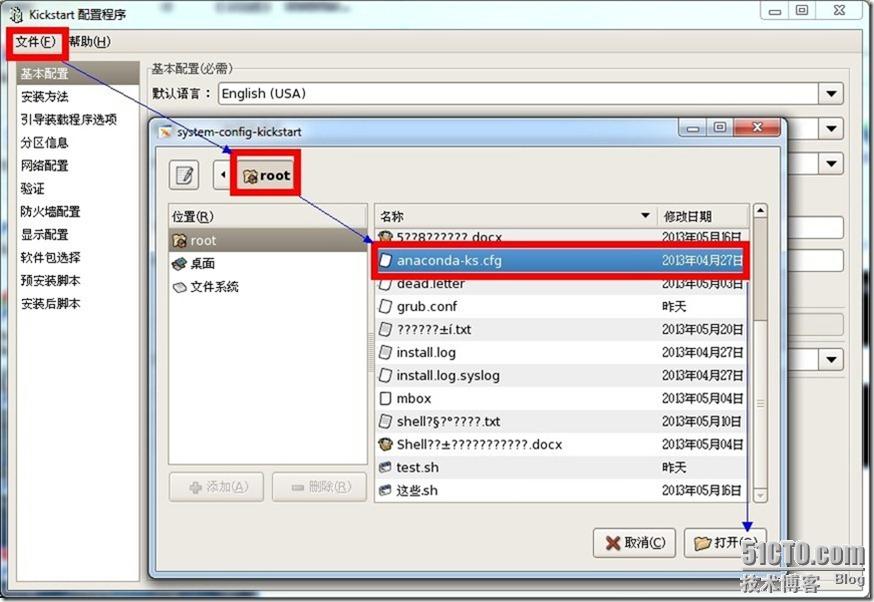
4、在弹出的图形界面点击文件---->打开文件---->root目录下---->anaconda-ks.cfg文件---->确定。
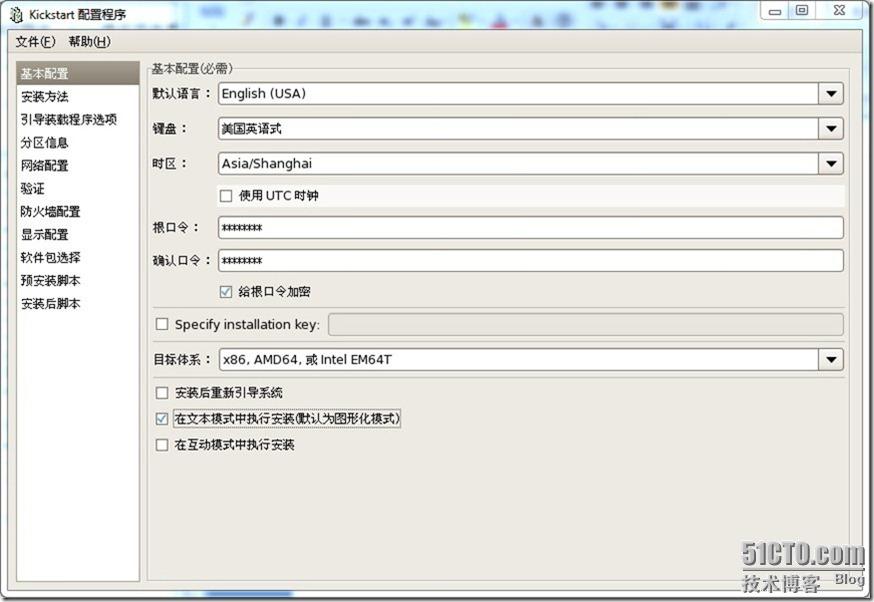
5、开始我们的ks.cfg文件编辑过程(选择语言,键盘类型,时区,设置根口令,安装后是否重启引导系统,在文本模式下进行安装)
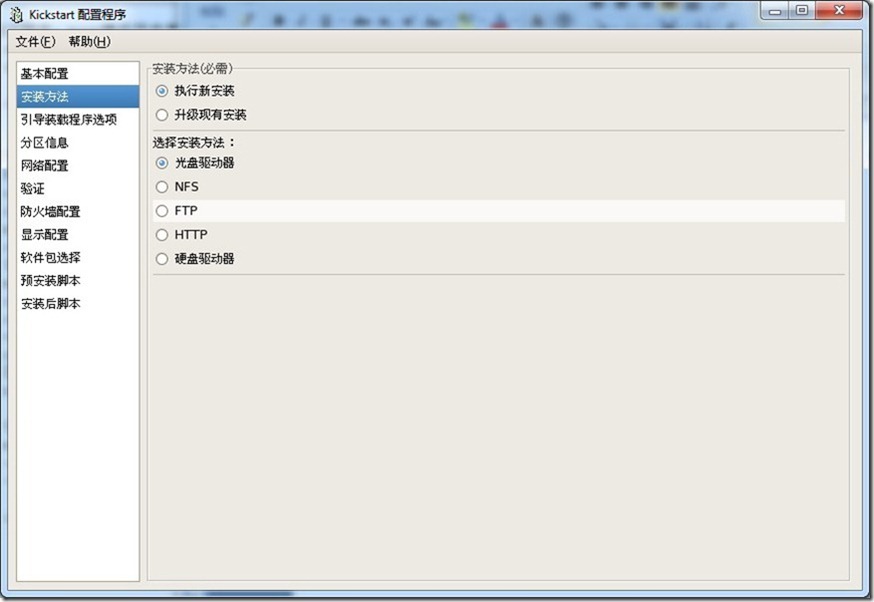
6、安装方法的选择(这里我们是对磁盘进行全新封装的,选择执行新安装,安装方法为光盘驱动器)
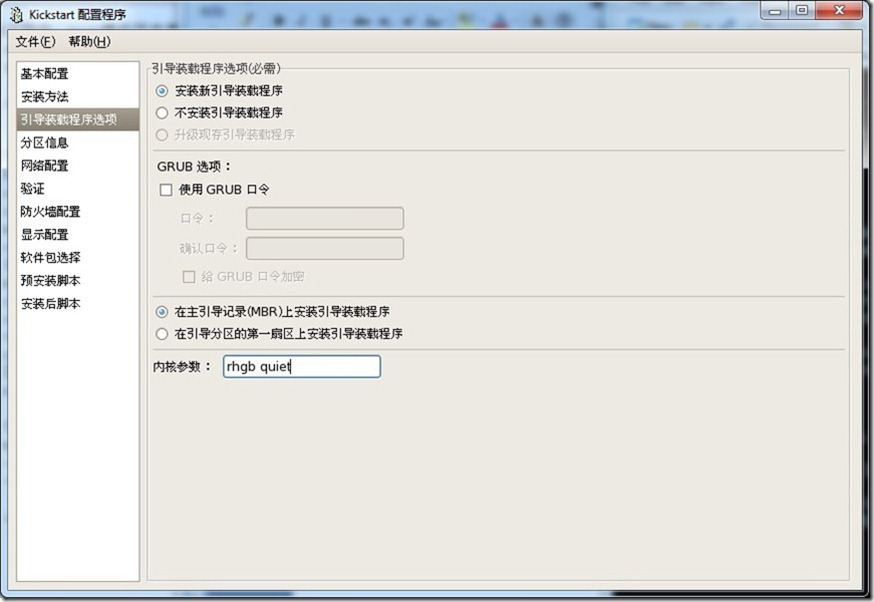
7、引导装载程序选项,(给内核传递参数rhgb quiet ,其他默认即可)
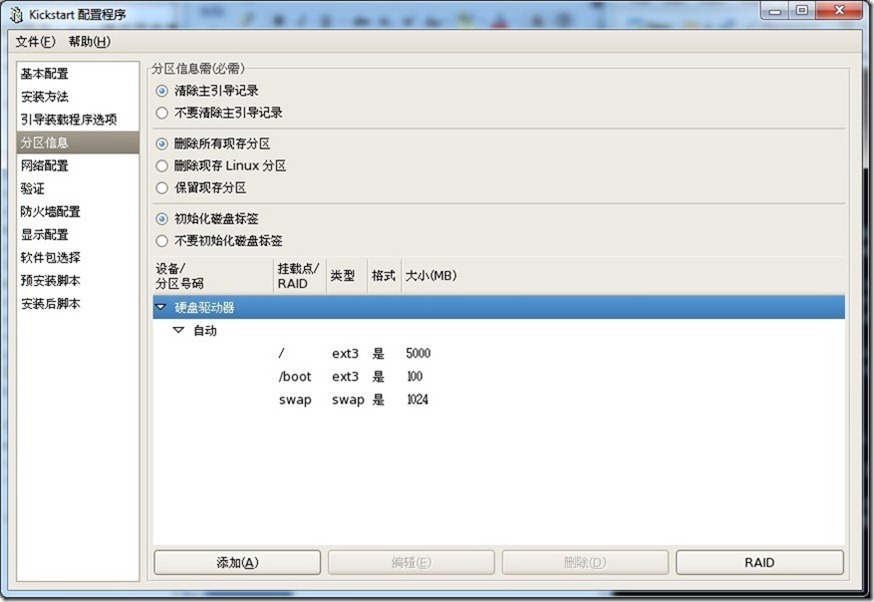
8、分区信息设置,这里我们新建三个分区(/分区:5G, /boot:200M, swap分区:1G)
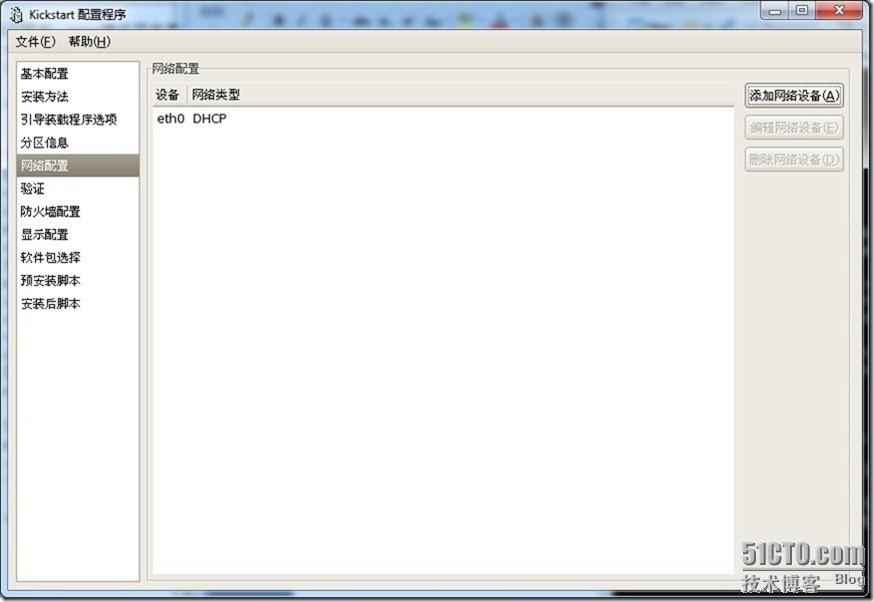
9、网络配置(这里选择添加eth0网卡,IP为dhcp自动分配)
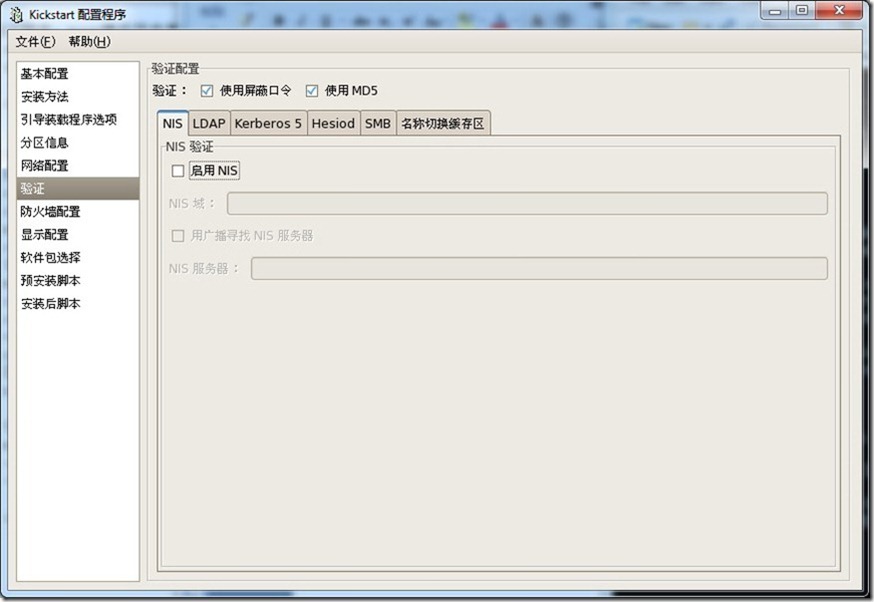
10、验证方式默认即可
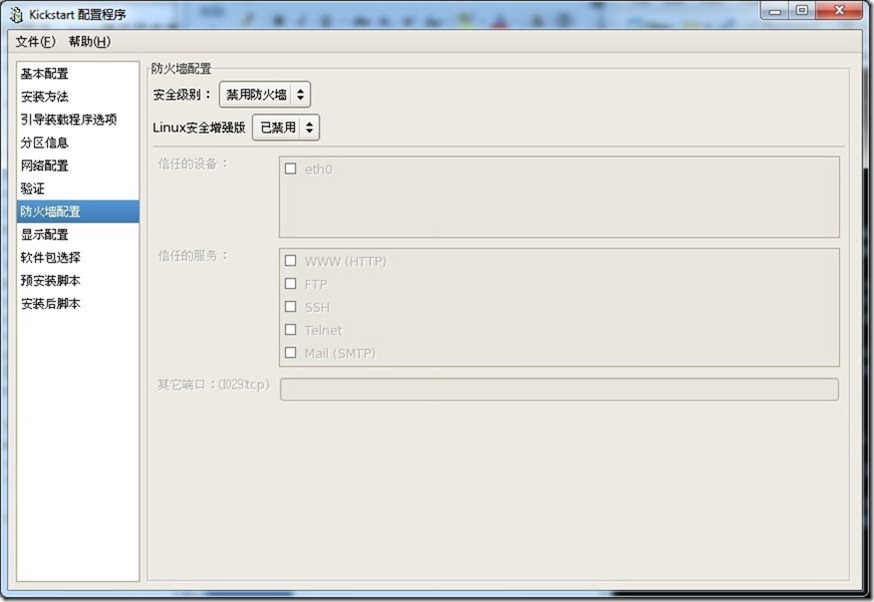
11、防火墙配置(这里选择禁用)
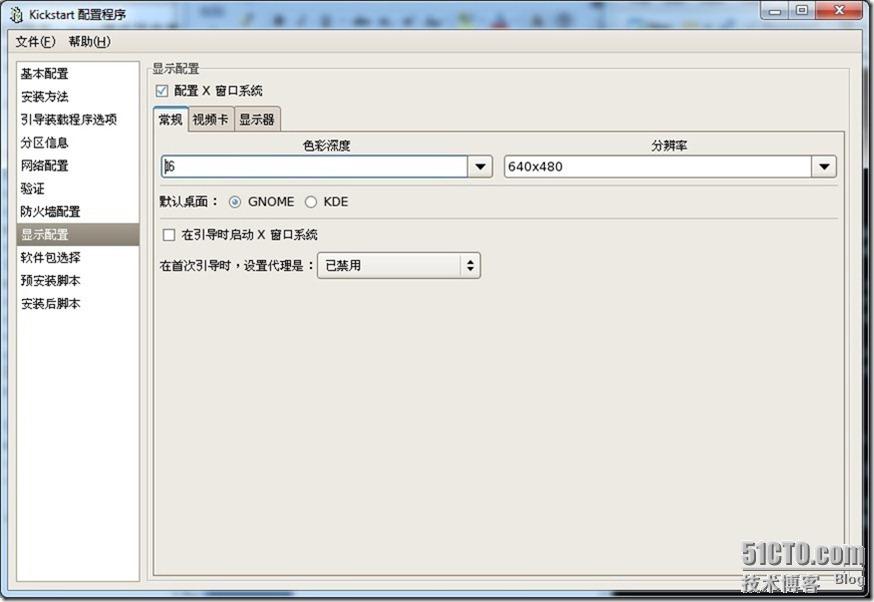
12、显示配置(这里我们选择安装X界面,色彩深度调整为16,RHEL上默认安装的是gnome)
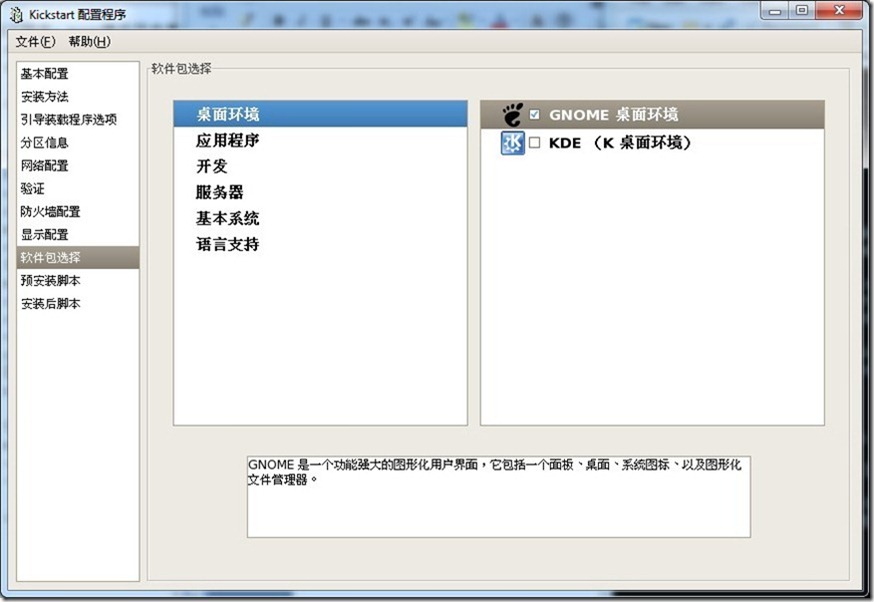
13、软件包安装选择(按需自定义选择)
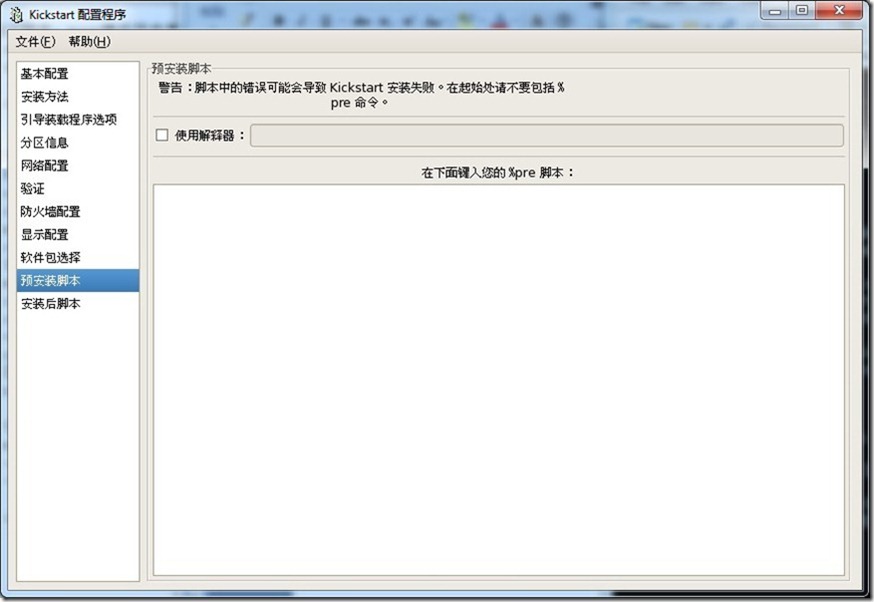
14、预安装脚本(按需进行设置)
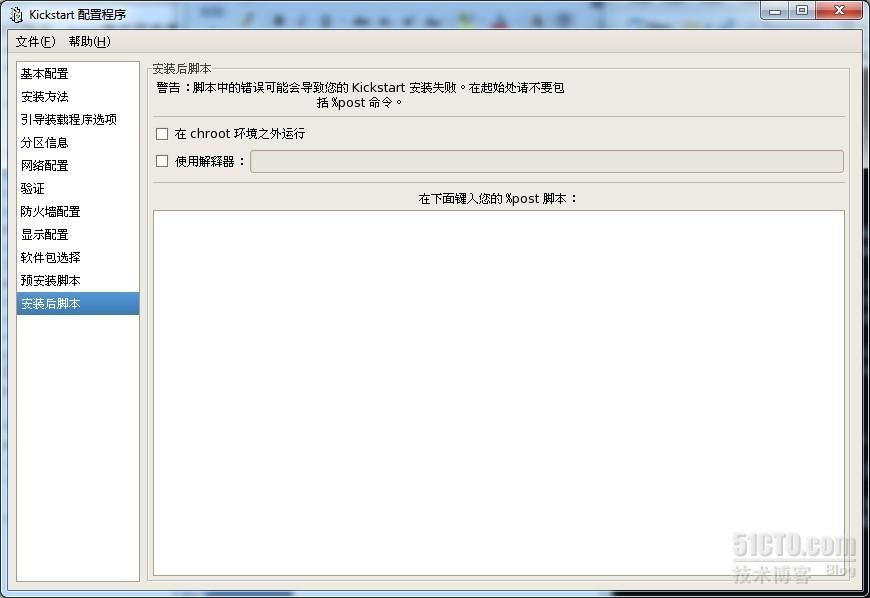
15、安装后脚本(按需进行设置)
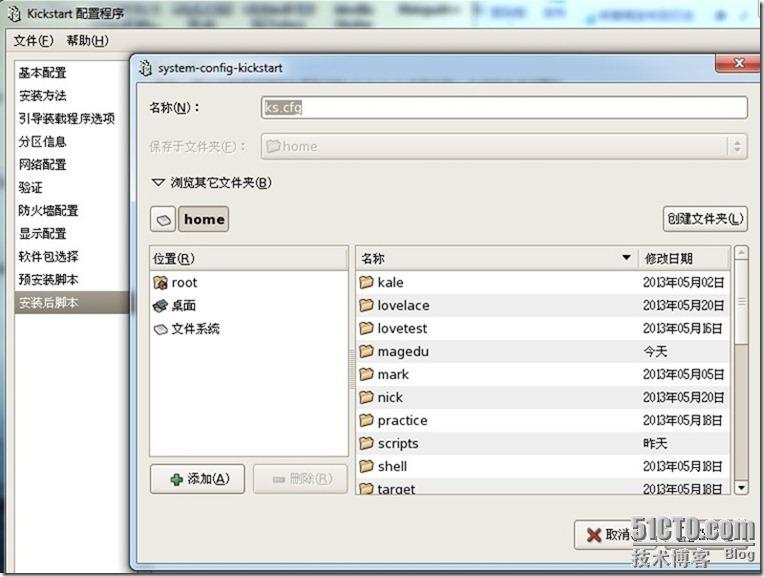
14、保存配置好的文件(可自定义存放路径,这里我们存放到/home目录下)
查看生成的ks.cfg配置文件
|
1
2
3
4
|
#验证ks.cfg文件是否存在[root@lovelace home]# pwd;ll ks.cfg/home-rw-r--r-- 1 root root 1649 05-27 04:20 ks.cfg |
查看ks.cfg文件 具体参数请查看kickstart文档
|
1
2
3
4
5
6
7
8
9
10
11
12
13
14
15
16
17
18
19
20
21
22
23
24
25
26
27
28
29
30
31
32
33
34
35
36
37
38
39
40
41
42
43
44
45
46
47
48
49
50
51
52
53
54
55
56
57
58
59
60
61
62
63
64
65
66
67
68
69
70
71
72
73
74
75
|
[root@lovelace home]# cat ks.cfg#platform=x86, AMD64, 或 Intel EM64T# System authorization informationauth --useshadow --enablemd5# System bootloader configurationbootloader --append="rhgb quiet" --location=mbr --driveorder=sda# Partition clearing informationclearpart --none# Use text mode installtext# Firewall configurationfirewall --disabled# Run the Setup Agent on first bootfirstboot --disablekey --skip# System keyboardkeyboard us# System languagelang en_US# Installation logging levellogging --level=info# Use CDROM installation mediacdrom# Network informationnetwork --bootproto=dhcp --device=eth0 --onboot=on# Reboot after installationreboot#Root passwordrootpw --iscrypted $1$/3RmiuX/$ZqpoSJEqBLYu93wL6a60R1# SELinux configurationselinux --enforcing# System timezonetimezone --isUtc Asia/Shanghai# Install OS instead of upgradeinstall# X Window System configuration informationxconfig --defaultdesktop=GNOME --depth=8 --resolution=640x480# Disk partitioning informationpart / --bytes-per-inode=4096 --fstype="ext3" --size=6000part /boot --bytes-per-inode=4096 --fstype="ext3" --size=200part swap --bytes-per-inode=4096 --fstype="swap" --size=1024%packages@base@development-libs@core@development-tools@sound-and-video@x-software-development@gnome-desktop@base-x@printing@gnome-software-development@admin-tools@legacy-software-support@editors@text-internet@dialup@graphics@office@java@graphical-internet@gameskexec-toolsiscsi-initiator-utilsfipscheckdevice-mapper-multipathsgpiopython-dmidecodeimakeemacslibsane-hpaiomesa-libGLU-develxorg-x11-utilsxorg-x11-server-Xnestxorg-x11-server-Xvfb |
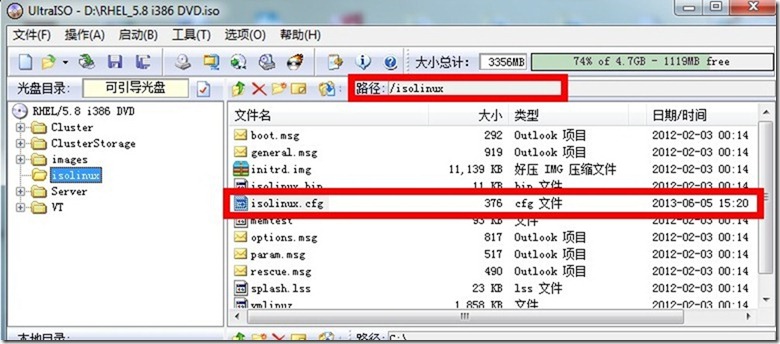
第二步:修改isolinux.cfg配置文件(有多种方向进行选择,这里不再演示)
修改后内容为(Note:网上好多关于这个配置文件各不相同,只要能够实验成功就行)
|
1
2
3
4
5
6
7
8
9
10
11
12
13
14
15
16
17
18
19
20
21
22
23
24
|
[root@lovelace home]# cat isolinux.cfgdefault ksprompt 1timeout 60display boot.msgF1 boot.msgF2 options.msgF3 general.msgF4 param.msgF5 rescue.msglabel linuxkernel vmlinuzappend initrd=initrd.imglabel textkernel vmlinuzappend initrd=initrd.img textlabel kskernel vmlinuzappend ks=cdrom:/ks.cfg initrd=initrd.imglabel locallocalboot 1label memtest86kernel memtestappend - |
第三步:重新封装iso镜像文件(win下操作)
1、打开原版iso镜像文件(删除自动的isolinux.cfg文件,然后把我们重新编辑过的文件添加进去)
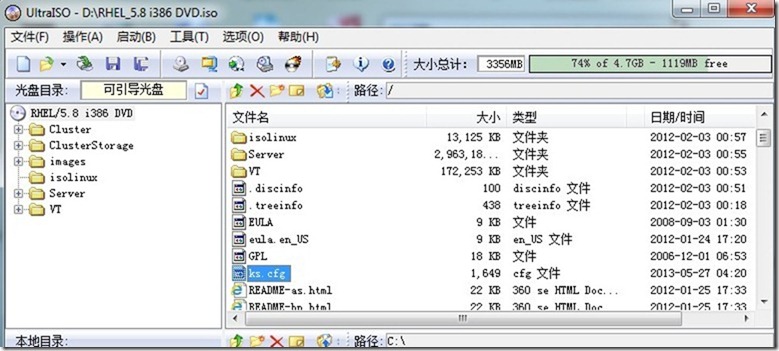
2、添加我们制作的ks.cfg文件到光盘根目录下,然后进行iso文件生成即可
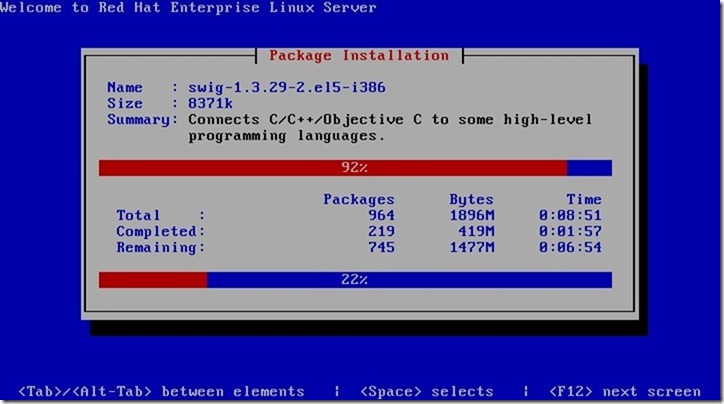
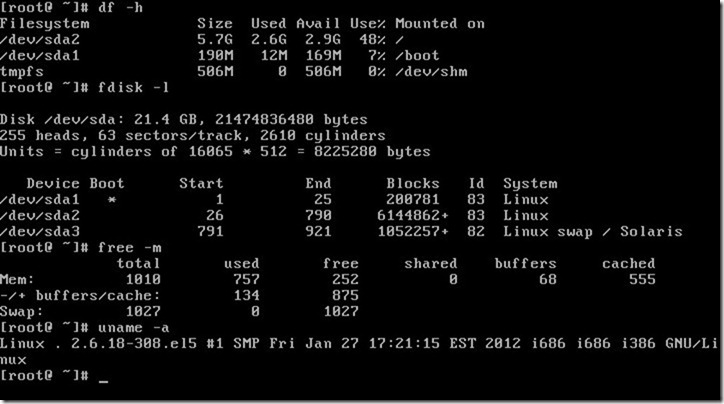
第四步:测试安装(这里截两张图验证下)
后记:其实做这个也没有多大意义,因为生产环境中都是批量部署的,这里希望大家能够了解下关于ks.cfg文件的编辑方法,如果你很熟悉的话,也可以脱离图形编辑,直接命令行进行设置…..
存在的bug:
1、安装后swap分区没有被自动挂载
2、没有对系统包和组件进行裁剪,只是添加了ks.cfg文件和对isolinux.cfg文件进行了添加和修改
3、进入系统后没有主机名为.不知道是啥情况
4、只在虚拟机上进行验证
定制属于自己的自动化安装的linux系统镜像的更多相关文章
- 安装Ubuntu Linux系统时硬盘分区最合理的方法
无论是安装Windows还是Linux操作系统,硬盘分区都是整个系统安装过程中最为棘手的环节,网上的一些Ubuntu Linux安装教程一般都是自动分区,给初学者带来很大的不便,下面我就根据多年来在合 ...
- 在本机使用虚拟机安装一个linux系统,并搭建ftp服务器
一.Linux基础使用:linux服务器环境搭建(FTP服务器), 在本机使用虚拟机安装一个linux系统,并搭建ftp服务器,要求能使用ftp服务将本机文件到保存linux虚拟机上 资料: VMwa ...
- Cobbler全自动批量安装部署Linux系统
说明: Cobbler服务器系统:CentOS 5.10 64位 IP地址:192.168.21.128 需要安装部署的Linux系统: eth0(第一块网卡,用于外网)IP地址段:192.168.2 ...
- 在新安装的Linux系统中,防火墙默认是被禁掉的,一般也没有配置过任何防火墙的策略,所有不存在/etc/sysconfig/iptables文件。
原因:在新安装的Linux系统中,防火墙默认是被禁掉的,一般也没有配置过任何防火墙的策略,所有不存在/etc/sysconfig/iptables文件. 解决办法: .随便写一条iptables命令配 ...
- Redis进阶实践之一VMWare Pro虚拟机安装和Linux系统的安装(转载)(1)
Redis进阶实践之一VMWare Pro虚拟机安装和Linux系统的安装 一.引言 设计模式写完了,相当于重新学了一遍,每次学习都会有不同的感受,对设计模式的理解又加深了,理解的更加透彻了.还差一篇 ...
- 制作U盘启动安装CentOS Linux系统
制作U盘启动安装CentOS Linux系统 (特为老男孩教育&&51CTO学院在线三期同学而发) 方法一:使用UltraISO,将u盘做成启动盘 文件-->打开-->选择 ...
- 在 VirtualBox 虚拟机中安装 Arch Linux 系统指南
How to install Arch Linux on VirtualBox 在 VirtualBox 虚拟机中安装 Arch Linux 系统指南 本文导航 1.Arch Linux 软件仓库2. ...
- Linux-导入已安装的Linux系统
之前在安装过一个Linux系统,由于重装电脑需要将之前安装的系统重新移动到VMWare中,让Linux系统能够重新运行起来,这样也省去了每次重新安装系统的麻烦. 废话不多说,咱们直接看是如何做? 1) ...
- 【docker linux】linux系统镜像转化为docker镜像
概述 使用docker安装linux的同学都知道,你在docker提供的仓库安装linux系统,你就会体验到最精简的.最纯净的linux系统,当然,他会精简到你连ifconfig命令都需要自己配置,恰 ...
随机推荐
- HIT 1867 经理的烦恼
题目链接:http://acm.hit.edu.cn/hoj/problem/view?id=1867 每次更新时判断是否素数,如果从非素数变成素数就Update(x, 1),如果从素数变成非素数就U ...
- [java学习笔记]java语言基础概述之标识符&关键字&注释&常量和变量
一.标识符 在程序中自定义的一些名称 由26个英文字母的大小写,数字,_$组成 定义合法标识符的规则: 不能以数字开头 不能使用关键字 java严格区分大小写 注意:在起名字时,为了提高阅读性,必须得 ...
- 【nodemailer】 初试
nodemailer 是什么? 简单的讲nodemailer就是用来发送邮件的.最近的一个项目需要向客户的注册邮箱发送验证连接,研究了一下. 刚开始我以为nodemailer还可以用来接收邮件,看了好 ...
- Easyui 创建dialog的两种方式,以及他们带来的问题
$('#yy').dialog('open');//打开dialog 这地方要注意,加入你关闭窗口的地方使用$('#yy').dialog('destroy');那么你这个dialog就只能使用一次, ...
- 常见CSS注意问题
1. 初始化css 有哪些 因 为浏览器的品种很多,每个浏览器的默认样式也是不同的,比如<button>标签,在IE浏览器.Firefox浏览器以及Safari浏览 器中的样式都是不同的, ...
- centos 端口开放及关闭
之前有讲过公司新买的服务器使用的是CentOS 5.5,部署好Tomcat之后却发现输入114.80.*.*:8080(即ip:8080)却无法显示Tomcat默认的首页.因为以前部署在Win Ser ...
- (转载)ADOQuery参数传递
ADOQuery参数传递 dbgrid1.DataSource := datasource1; datasource1.DataSet := adoquery1; Value := 1221; SQL ...
- Spring核心框架 - AOP的起源及介绍
一.AOP技术起源 AOP技术的诞生并不算晚,早在1990年开始,来自Xerox Palo Alto Research Lab(即PARC)的研究人员就对面向对象思想的局限性进行了分析.他们研究出了一 ...
- Quartz Scheduler 开发指南(1)
Quartz Scheduler 开发指南(1) 原文地址:http://www.quartz-scheduler.org/generated/2.2.2/html/qtz-all/ 实例化调度程序( ...
- cocos2dx输出信息重定向到控制台
重定向输出到控制台,方便调试,代码: // uncomment below line, open debug console #define USE_WIN32_CONSOLE int APIENTR ...