在Spring Boot中使用Spring-data-jpa实现分页查询
转自:https://www.cnblogs.com/sandea/p/8275890.html
在我们平时的工作中,查询列表在我们的系统中基本随处可见,那么我们如何使用jpa进行多条件查询以及查询列表分页呢?下面我将介绍两种多条件查询方式。
1、引入起步依赖
<dependency>

    <groupId>org.springframework.boot</groupId>

    <artifactId>spring-boot-starter-web</artifactId>

</dependency>

<dependency>

    <groupId>org.springframework.boot</groupId>

    <artifactId>spring-boot-starter-thymeleaf</artifactId>

</dependency>

<dependency>

    <groupId>org.springframework.boot</groupId>

    <artifactId>spring-boot-starter-data-jpa</artifactId>

</dependency>
2、对thymeleaf和jpa进行配置
打开application.yml,添加以下参数,以下配置在之前的文章中介绍过,此处不做过多说明
spring:

  thymeleaf:

    cache: true

    check-template-location: true

    content-type: text/html

    enabled: true

    encoding: utf-8

    mode: HTML5

    prefix: classpath:/templates/

    suffix: .html

    excluded-view-names:

    template-resolver-order:

  datasource:

      driver-class-name: com.mysql.jdbc.Driver

      url: jdbc:mysql://localhost:3306/restful?useUnicode=true&characterEncoding=UTF-8&useSSL=false

      username: root

      password: root

      initialize: true

  init-db: true

  jpa:

      database: mysql

      show-sql: true

      hibernate:

        ddl-auto: update

        naming:

          strategy: org.hibernate.cfg.ImprovedNamingStrategy
3、编写实体Bean
@Entity

@Table(name="book")

public class Book {

    @Id

    @GeneratedValue(strategy = GenerationType.IDENTITY)

    @Column(name = "id", updatable = false)

    private Long id;

    @Column(nullable = false,name = "name")

    private String name;

    @Column(nullable = false,name = "isbn")

    private String isbn;

    @Column(nullable = false,name = "author")

    private String author;

    public Book (String name,String isbn,String author){

        this.name = name;

        this.isbn = isbn;

        this.author = author;

    }

    public Book(){

    }

    //此处省去get、set方法

}
public class BookQuery {

    private String name;

    private String isbn;

    private String author;

    //此处省去get、set方法

}
4、编写Repository接口
@Repository("bookRepository")

public interface BookRepository extends JpaRepository<Book,Long>

        ,JpaSpecificationExecutor<Book> {

}
此处继承了两个接口,后续会介绍为何会继承这两个接口
5、抽象service层
首先抽象出接口
public interface BookQueryService {

    Page<Book> findBookNoCriteria(Integer page,Integer size);

    Page<Book> findBookCriteria(Integer page,Integer size,BookQuery bookQuery);

}
实现接口
@Service(value="bookQueryService")

public class BookQueryServiceImpl implements BookQueryService {

    @Resource

    BookRepository bookRepository;

    @Override

    public Page<Book> findBookNoCriteria(Integer page,Integer size) {

        Pageable pageable = new PageRequest(page, size, Sort.Direction.ASC, "id");

        return bookRepository.findAll(pageable);

    }

    @Override

    public Page<Book> findBookCriteria(Integer page, Integer size, final BookQuery bookQuery) {

        Pageable pageable = new PageRequest(page, size, Sort.Direction.ASC, "id");

        Page<Book> bookPage = bookRepository.findAll(new Specification<Book>(){

            @Override

            public Predicate toPredicate(Root<Book> root, CriteriaQuery<?> query, CriteriaBuilder criteriaBuilder) {

                List<Predicate> list = new ArrayList<Predicate>();

                if(null!=bookQuery.getName()&&!"".equals(bookQuery.getName())){

                    list.add(criteriaBuilder.equal(root.get("name").as(String.class), bookQuery.getName()));

                }

                if(null!=bookQuery.getIsbn()&&!"".equals(bookQuery.getIsbn())){

                    list.add(criteriaBuilder.equal(root.get("isbn").as(String.class), bookQuery.getIsbn()));

                }

                if(null!=bookQuery.getAuthor()&&!"".equals(bookQuery.getAuthor())){

                    list.add(criteriaBuilder.equal(root.get("author").as(String.class), bookQuery.getAuthor()));

                }

                Predicate[] p = new Predicate[list.size()];

                return criteriaBuilder.and(list.toArray(p));

            }

        },pageable);

        return bookPage;

    }

}
此处我定义了两个接口,findBookNoCriteria是不带查询条件的,findBookCriteria是带查询条件的。在此处介绍一下上面提到的自定义Repository继承的两个接口,如果你的查询列表是没有查询条件,只是列表展示和分页,只需继承JpaRepository接口即可,但是如果你的查询列表是带有多个查询条件的话则需要继承JpaSpecificationExecutor接口,这个接口里面定义的多条件查询的方法。当然不管继承哪个接口,当你做分页查询时,都是需要调用findAll方法的,这个方法是jap定义好的分页查询方法。
findBookCriteria方法也可以使用以下方法实现,大家可以自行选择
 @Override

    public Page<Book> findBookCriteria(Integer page, Integer size, final BookQuery bookQuery) {

        Pageable pageable = new PageRequest(page, size, Sort.Direction.ASC, "id");

        Page<Book> bookPage = bookRepository.findAll(new Specification<Book>(){

            @Override

            public Predicate toPredicate(Root<Book> root, CriteriaQuery<?> query, CriteriaBuilder criteriaBuilder) {

                Predicate p1 = criteriaBuilder.equal(root.get("name").as(String.class), bookQuery.getName());

                Predicate p2 = criteriaBuilder.equal(root.get("isbn").as(String.class), bookQuery.getIsbn());

                Predicate p3 = criteriaBuilder.equal(root.get("author").as(String.class), bookQuery.getAuthor());

                query.where(criteriaBuilder.and(p1,p2,p3));

                return query.getRestriction();

            }

        },pageable);

        return bookPage;

    }
6、编写Controller
针对有查询条件和无查询条件,我们分别编写一个Controller,默认每页显示5条,如下
@Controller

@RequestMapping(value = "/queryBook")

public class BookController {

    @Autowired

    BookQueryService bookQueryService;

    @RequestMapping("/findBookNoQuery")

    public String findBookNoQuery(ModelMap modelMap,@RequestParam(value = "page", defaultValue = "0") Integer page,

                        @RequestParam(value = "size", defaultValue = "5") Integer size){

        Page<Book> datas = bookQueryService.findBookNoCriteria(page, size);

        modelMap.addAttribute("datas", datas);

        return "index1";

    }

    @RequestMapping(value = "/findBookQuery",method = {RequestMethod.GET,RequestMethod.POST})

    public String findBookQuery(ModelMap modelMap, @RequestParam(value = "page", defaultValue = "0") Integer page,

                                @RequestParam(value = "size", defaultValue = "5") Integer size, BookQuery bookQuery){

        Page<Book> datas = bookQueryService.findBookCriteria(page, size,bookQuery);

        modelMap.addAttribute("datas", datas);

        return "index2";

    }

}
7、编写页面
首先我们编写一个通用的分页页面,新建一个叫page.html的页面
<!DOCTYPE html>
<html xmlns="http://www.w3.org/1999/xhtml"
xmlns:th="http://www.thymeleaf.org"
xmlns:layout="http://www.ultraq.net.nz/thymeleaf/layout"
layout:decorator="page">
<body>
<div th:fragment="pager">
<div class="text-right" th:with="baseUrl=${#httpServletRequest.getRequestURL().toString()},pars=${#httpServletRequest.getQueryString() eq null ? '' : new String(#httpServletRequest.getQueryString().getBytes('iso8859-1'), 'UTF-8')}">
<ul style="margin:0px;" class="pagination" th:with="newPar=${new java.lang.String(pars eq null ? '' : pars).replace('page='+(datas.number), '')},
curTmpUrl=${baseUrl+'?'+newPar},
curUrl=${curTmpUrl.endsWith('&') ? curTmpUrl.substring(0, curTmpUrl.length()-1):curTmpUrl}" >
<!--<li th:text="${pars}"></li>-->
<li><a href="#" th:href="@{${curUrl}(page=0)}">首页</a></li>
<li th:if="${datas.hasPrevious()}"><a href="#" th:href="@{${curUrl}(page=${datas.number-1})}">上一页</a></li>
<!--总页数小于等于10-->
<div th:if="${(datas.totalPages le 10) and (datas.totalPages gt 0)}" th:remove="tag">
<div th:each="pg : ${#numbers.sequence(0, datas.totalPages - 1)}" th:remove="tag">
<span th:if="${pg eq datas.getNumber()}" th:remove="tag">
<li class="active"><span class="current_page line_height" th:text="${pg+1}">${pageNumber}</span></li>
</span>
<span th:unless="${pg eq datas.getNumber()}" th:remove="tag">
<li><a href="#" th:href="@{${curUrl}(page=${pg})}" th:text="${pg+1}"></a></li>
</span>
</div>
</div>
<!-- 总数数大于10时 -->
<div th:if="${datas.totalPages gt 10}" th:remove="tag">
<li th:if="${datas.number-2 ge 0}"><a href="#" th:href="@{${curUrl}(page=${datas.number}-2)}" th:text="${datas.number-1}"></a></li>
<li th:if="${datas.number-1 ge 0}"><ahref="#"th:href="@{${curUrl}(page=${datas.number}-1)}"th:text="${datas.number}"></a></li>
<liclass="active"><spanclass="current_page line_height"th:text="${datas.number+1}"></span></li>
<lith:if="${datas.number+1 lt datas.totalPages}"><ahref="#"th:href="@{${curUrl}(page=${datas.number}+1)}"th:text="${datas.number+2}"></a></li>
<lith:if="${datas.number+2 lt datas.totalPages}"><ahref="#"th:href="@{${curUrl}(page=${datas.number}+2)}"th:text="${datas.number+3}"></a></li>
</div>
<lith:if="${datas.hasNext()}"><ahref="#"th:href="@{${curUrl}(page=${datas.number+1})}">下一页</a></li>
<!--<li><a href="#" th:href="@{${curUrl}(page=${datas.totalPages-1})}">尾页</a></li>-->
<li><ahref="#"th:href="${datas.totalPages le 0 ? curUrl+'page=0':curUrl+'&page='+(datas.totalPages-1)}">尾页</a></li>
<li><spanth:utext="'共'+${datas.totalPages}+'页 / '+${datas.totalElements}+' 条'"></span></li>
</ul>
</div>
</div>
</body>
</html>针对无查询条件的接口,创建一个名为index1.html的页面并引入之前写好的分页页面,如下
<!DOCTYPE html>

<html lang="en" xmlns:th="http://www.w3.org/1999/xhtml">

<head>

    <meta charset="UTF-8"/>

    <title>Title</title>

    <script type="text/javascript" th:src="@{/jquery-1.12.3.min.js}"></script>

    <script type="text/javascript" th:src="@{/bootstrap/js/bootstrap.min.js}"></script>

    <link type="text/css" rel="stylesheet" th:href="@{/bootstrap/css/bootstrap-theme.min.css}"/>

    <link type="text/css" rel="stylesheet" th:href="@{/bootstrap/css/bootstrap.css}"/>

</head>

<body>

    <table class="table table-hover">

        <thead>

        <tr>

            <th>ID</th>

            <th>name</th>

            <th>isbn</th>

            <th>author</th>

        </tr>

        </thead>

        <tbody>

        <tr th:each="obj : ${datas}">

            <td th:text="${obj.id}">${obj.id}</td><tdth:text="${obj.name}">${obj.name}</td><tdth:text="${obj.isbn}">${obj.isbn}</td><tdth:text="${obj.name}">${obj.author}</td></tr></tbody></table><divth:include="page :: pager"th:remove="tag"></div></body></html>
针对有查询条件的接口,创建一个名为index2.html的页面并引入之前写好的分页页面,如下
<!DOCTYPE html>
<html lang="en" xmlns:th="http://www.w3.org/1999/xhtml">
<head>
<meta charset="UTF-8"/>
<title>Title</title>
<script type="text/javascript" th:src="@{/jquery-1.12.3.min.js}"></script>
<script type="text/javascript" th:src="@{/bootstrap/js/bootstrap.min.js}"></script>
<link type="text/css" rel="stylesheet" th:href="@{/bootstrap/css/bootstrap-theme.min.css}"/>
<link type="text/css" rel="stylesheet" th:href="@{/bootstrap/css/bootstrap.css}"/>
</head>
<body>
<form th:action="@{/queryBook/findBookQuery}" th:object="${bookQuery}" th:method="get">
<div class="form-group">
<label class="col-sm-2 control-label" >name</label>
<div class="col-sm-4">
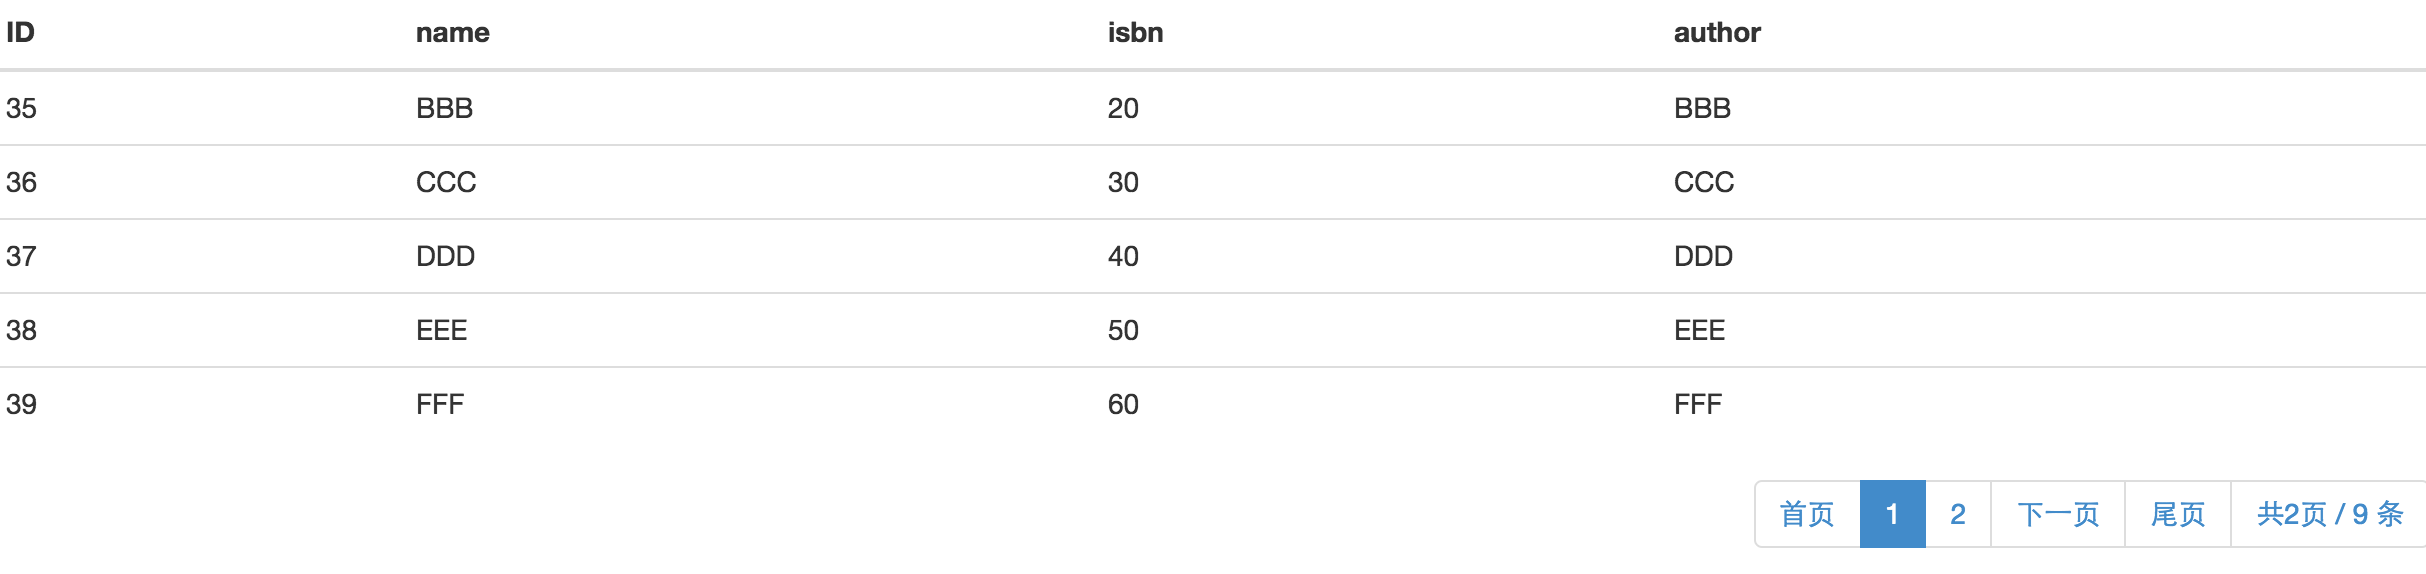
<input type="text" class="form-control" id="name" placeholder="请输入名称" th:field="*{name}"/></div><labelclass="col-sm-2 control-label">isbn</label><divclass="col-sm-4"><inputtype="text"class="form-control"id="isbn"placeholder="请输ISBN"th:field="*{isbn}"/></div></div><divclass="form-group"><labelclass="col-sm-2 control-label" >author</label><divclass="col-sm-4"><inputtype="text"class="form-control"id="author"placeholder="请输author"th:field="*{author}"/></div><divclass="col-sm-4"><buttonclass="btn btn-default"type="submit"placeholder="查询">查询</button></div></div></form><tableclass="table table-hover"><thead><tr><th>ID</th><th>name</th><th>isbn</th><th>author</th></tr></thead><tbody><trth:each="obj : ${datas}"><tdth:text="${obj.id}">${obj.id}</td><tdth:text="${obj.name}">${obj.name}</td><tdth:text="${obj.isbn}">${obj.isbn}</td><tdth:text="${obj.name}">${obj.author}</td></tr></tbody></table><divth:include="page :: pager"th:remove="tag"></div></body></html>ok!代码都已经完成,我们将项目启动起来,看一下效果。大家可以往数据库中批量插入一些数据,访问http://localhost:8080/queryBook/findBookNoQuery,显示如下页面
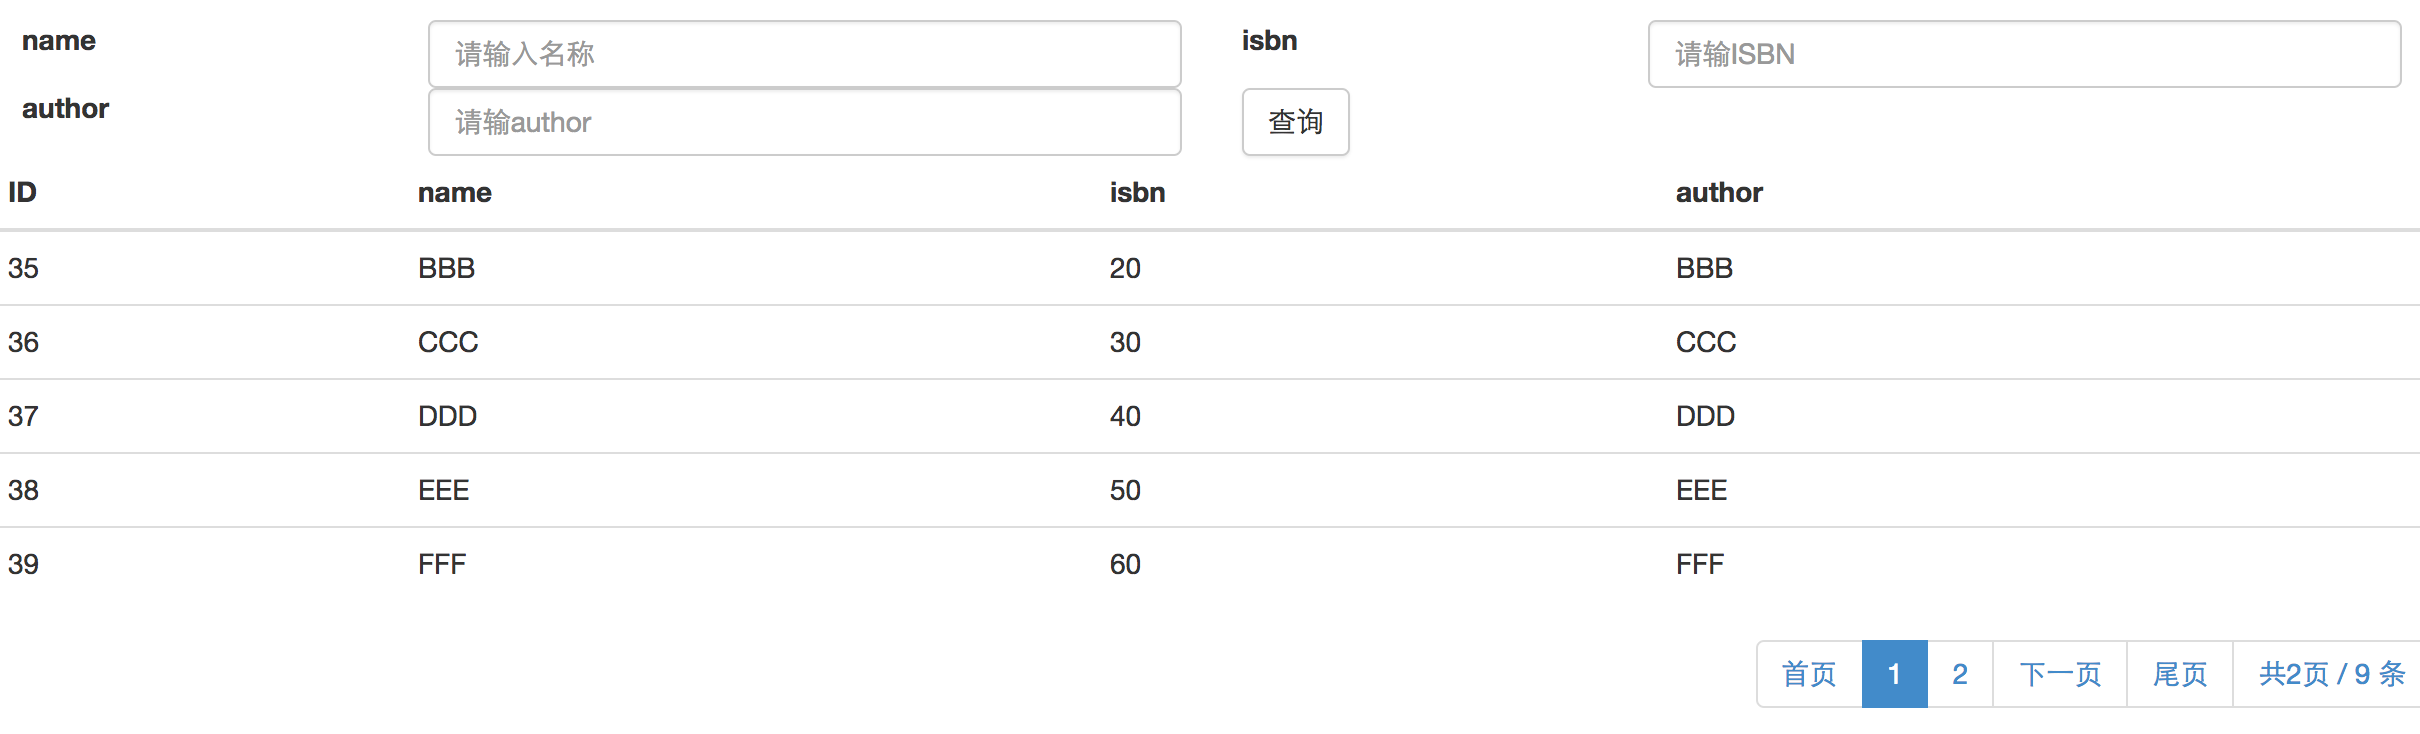
访问http://localhost:8080/queryBook/findBookQuery,显示页面如下,可以输入查询条件进行带条件的分页查询:
ok!以上便是一个简单的jap分页查询功能的实现。
转自:https://my.oschina.net/wangxincj/blog/820670
在Spring Boot中使用Spring-data-jpa实现分页查询的更多相关文章
- Spring Boot中使用 Spring Security 构建权限系统
Spring Security是一个能够为基于Spring的企业应用系统提供声明式的安全访问控制解决方案的安全框架.它提供了一组可以在Spring应用上下文中配置的Bean,为应用系统提供声明式的安全 ...
- Spring Boot中使用Spring Security进行安全控制
我们在编写Web应用时,经常需要对页面做一些安全控制,比如:对于没有访问权限的用户需要转到登录表单页面.要实现访问控制的方法多种多样,可以通过Aop.拦截器实现,也可以通过框架实现(如:Apache ...
- 【swagger】1.swagger提供开发者文档--简单集成到spring boot中【spring mvc】【spring boot】
swagger提供开发者文档 ======================================================== 作用:想使用swagger的同学,一定是想用它来做前后台 ...
- Spring Boot:在Spring Boot中使用Mysql和JPA
本文向你展示如何在Spring Boot的Web应用中使用Mysq数据库,也充分展示Spring Boot的优势(尽可能少的代码和配置).数据访问层我们将使用Spring Data JPA和Hiber ...
- Spring Boot 中应用Spring data mongdb
摘要 本文主要简单介绍下如何在Spring Boot 项目中使用Spring data mongdb.没有深入探究,仅供入门参考. 文末有代码链接 准备 安装mongodb 需要连接mongodb,所 ...
- Spring Boot中集成Spring Security 专题
check to see if spring security is applied that the appropriate resources are permitted: @Configurat ...
- 在Spring Boot中使用Spring Security实现权限控制
丢代码地址 https://gitee.com/a247292980/spring-security 再丢pom.xml <properties> <project.build.so ...
- spring boot中扩展spring mvc 源码分析
首先,确认你是对spring boot的自动配置相关机制是有了解的,如果不了解请看我spring boot相关的源码分析. 通常的使用方法是继承自org.springframework.boot.au ...
- Spring Boot 中使用 Spring Security, OAuth2 跨域问题 (自己挖的坑)
使用 Spring Boot 开发 API 使用 Spring Security + OAuth2 + JWT 鉴权,已经在 Controller 配置允许跨域: @RestController @C ...
- spring-boot-starter-security Spring Boot中集成Spring Security
spring security是springboot支持的权限控制系统. security.basic.authorize-mode 要使用权限控制模式. security.basic.enabled ...
随机推荐
- P1401 城市(30分,正解网络流)
题目描述 N(2<=n<=200)个城市,M(1<=m<=40000)条无向边,你要找T(1<=T<=200)条从城市1到城市N的路,使得最长的边的长度最小,边不能 ...
- Java常见错误整理(一)
1.配置完Java环境变量之后,仍然不能使用java命令. 解决方法: 如果是Windows10系统出现此问题,是因为个别Windows10系统不识别“JAVA_HOME”环境变量,将path中所有的 ...
- 深入浅出java多态
所谓多态就是指程序中定义的引用变量所指向的具体类型和通过该引用变量发出的方法调用在编程时并不确定,而是在程序运行期间才确定,即一个引用变量倒底会指向哪个类的实例对象,该引用变量发出的方法调用到底是哪个 ...
- Android 打开设置界面或者WiFi连接界面
1.使用APP打开系统的设置界面或者WiFi连接界面 startActivity(new Intent(Settings.ACTION_WIFI_SETTINGS)); //直接进入手机中的wifi网 ...
- java如何设置文件的权限
import java.io.File; 2.import java.io.IOException; 3./× 4.×只能给当前用户赋予对该文件的权限,调用createNewFile()方法默认的权限 ...
- [Advanced Algorithm] - Exact Change
题目 设计一个收银程序 checkCashRegister(),其把购买价格(price)作为第一个参数 , 付款金额 (cash)作为第二个参数, 和收银机中零钱 (cid) 作为第三个参数. ci ...
- java 基础回顾1
整理----加自己理解------网上参考----- java封装理念 一 概念: 隐藏对象的属性和实现细节,仅供对外提供公共访问方式. 二 好处 1) 将变量隔离 2) 便于使用 3) 提高重 ...
- 实验吧writeup
后台登录 1.看源码有这样一段php代码<!-- $password=$_POST['password']; $sql = "SELECT * FROM admin WHERE use ...
- BZOJ 3744 Gty的妹子序列 (分块+树状数组+主席树)
题面传送门 题目大意:给你一个序列,多次询问,每次取出一段连续的子序列$[l,r]$,询问这段子序列的逆序对个数,强制在线 很熟悉的分块套路啊,和很多可持久化01Trie的题目类似,用分块预处理出贡献 ...
- Linux 下的基本命令
Linux 下的基本命令 1. ls 命令 格式 : ls [OPTION]... [FILE]... 用途 : 显示目录下的内容 [OPTION] : -l : 列出详细信息 -d : 显示目录本身 ...