ava Maven项目之Nexus私服搭建和版本管理应用
目录:
- Nexus介绍
- 环境、软件准备
- Nexus服务搭建
- Java Maven项目版本管理应用
- FAQ
1、Nexus介绍
Nexus是一个强大的Maven仓库管理器,它极大地简化了自己内部仓库的维护和外部仓库的访问。利用Nexus你可以只在一个地方就能够完全控制访问 和部署在你所维护仓库中的每个Artifact。我们可以在局域网搭建一个maven私服,用来部署第三方公共构件或者作为远程仓库在该局域网的一个代理。
2、环境、软件准备
本次演示环境,我是在本机mac上操作,以下是我本地软件及版本:
- Nexus:nexus-2.14.4-03
- Jdk:1.8.0_91
- Maven:3.3.9
- Git: 2.10.1
- GitLab:8.17.4
注意:Java Maven项目版本管理,这里我们scm使用git来做版本管理,gitlab作为代码存储,这里我们忽略Jdk、Maven、Git、GitLab的安装过程,着重介绍下Nexus的搭建,以及Java Maven项目配置以及版本管理配置。
3、Nexus服务搭建
这里我们使用Nexus OSS开源版本,官网下载地址:Nexus Repository Manager OSS,这里我选择2.x的tag.gz包下载安装,安装到我本地/Users/wanyang3目录下。
1)解压缩下载包
cd /Users/wanyang3

tar -zxvf nexus-2.14.4-03-bundle.tar.gz

解压缩后,会在当前目录nexus-2.14.4-03-bundle下出现两个目录:

nexus-2.14.4-03:nexus服务目录,包括日志,配置、启动、应用。

sonatype-work:nexux存储目录,下载上传的各个包存贮在这里。
2) 修改配置并启动服务
修改配置:

cd /Users/wanyang3/nexus-2.14.4-03-bundle/nexus-2.14.4-03/conf

vim nexus.properties

说明:该文件是nexus的配置属性文件,application-port默认服务端口8081,因为本地8081端口已经占用,所以我们这里修改为9998,即:application-port=9998,其他配置,如nexus-work、runtime、application-host、nexus-webapp等默认即可。

启动:

cd /Users/wanyang3/nexus-2.14.4-03-bundle/nexus-2.14.4-03/bin

./Nexus start

Usage: ./nexus { console | start | stop | restart | status | dump }

注意:若启动报错,说没有权限启动,或者让指定USER时,有两种方法解决:

1. 使用RUN_AS_USER=root ./Nexus start命令启动

2. 修改Nexus文件,设置打开注释,并设置RUN_AS_USER=root,以后只需要执行./Nexus start即可。
3)设置Nexus
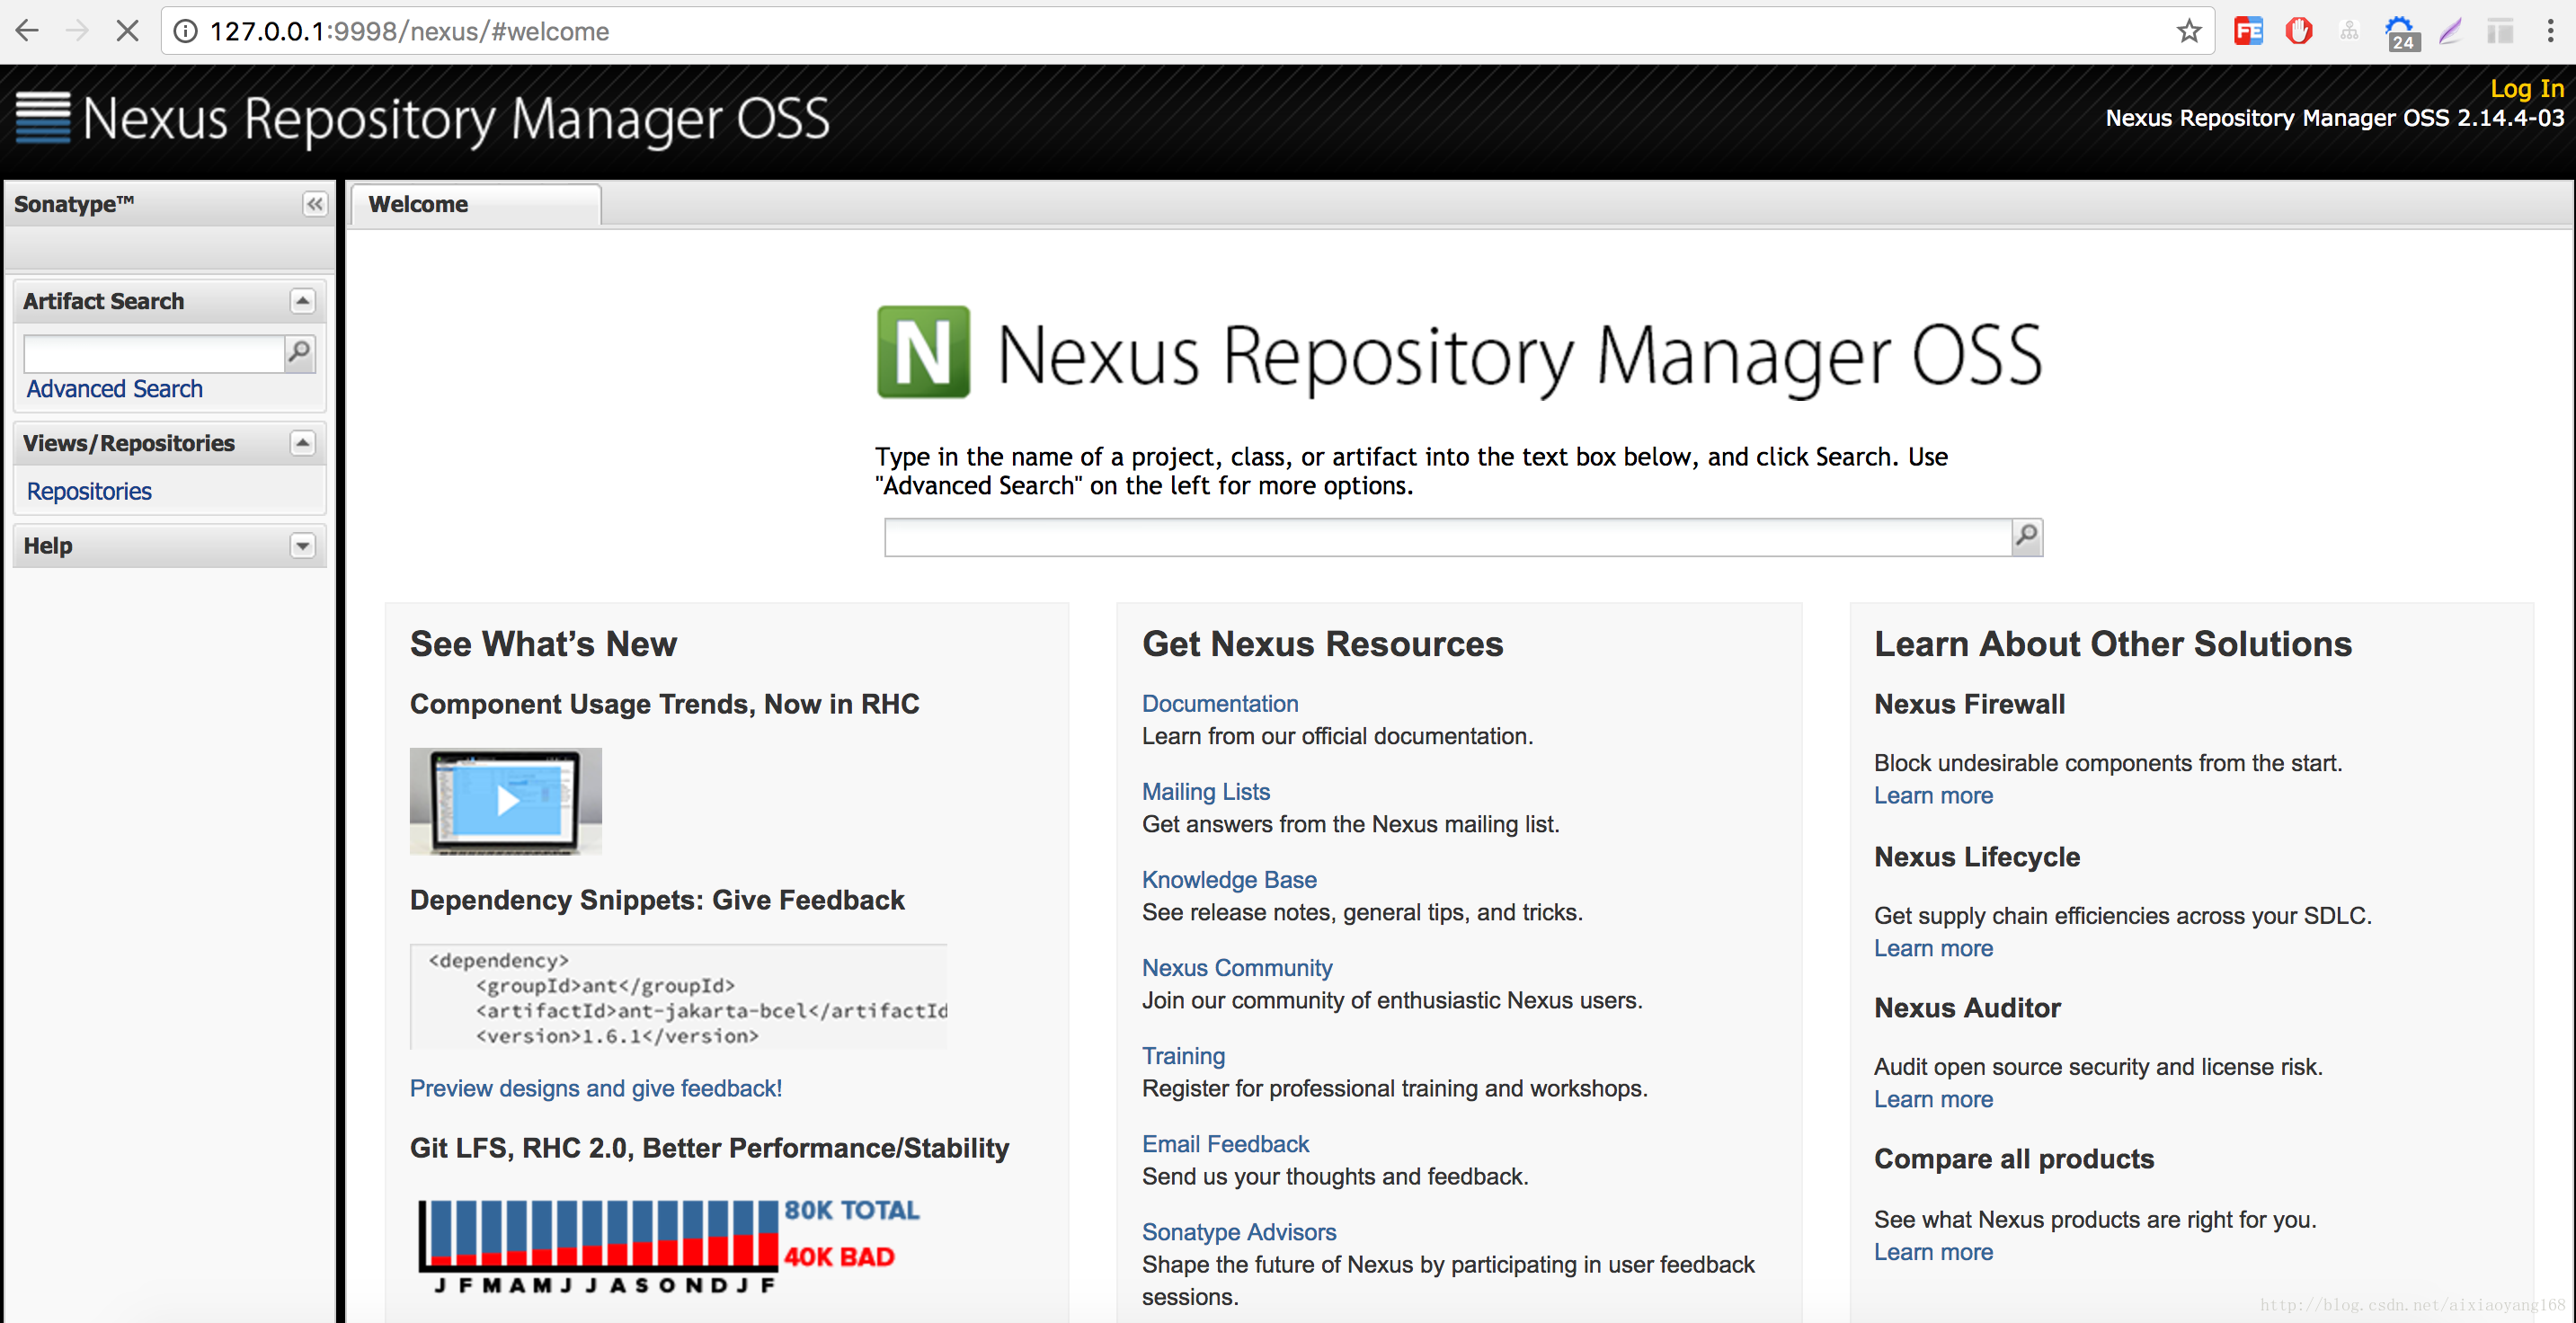
成功启动Nexus后,我们可以浏览器访问http://127.0.0.1:9998/nexus/,就可以看到Nexus服务Web管理页面欢迎页面了。
3.1 创建仓库
点击右上角Log In,输入用户名和密码登录,Nexus默认账户用户名为admin,密码为admin123,登录以后,我们现在可以创建一个个人仓库了。点击左侧Repositories,我们可以看到默认的所有的仓库列表。
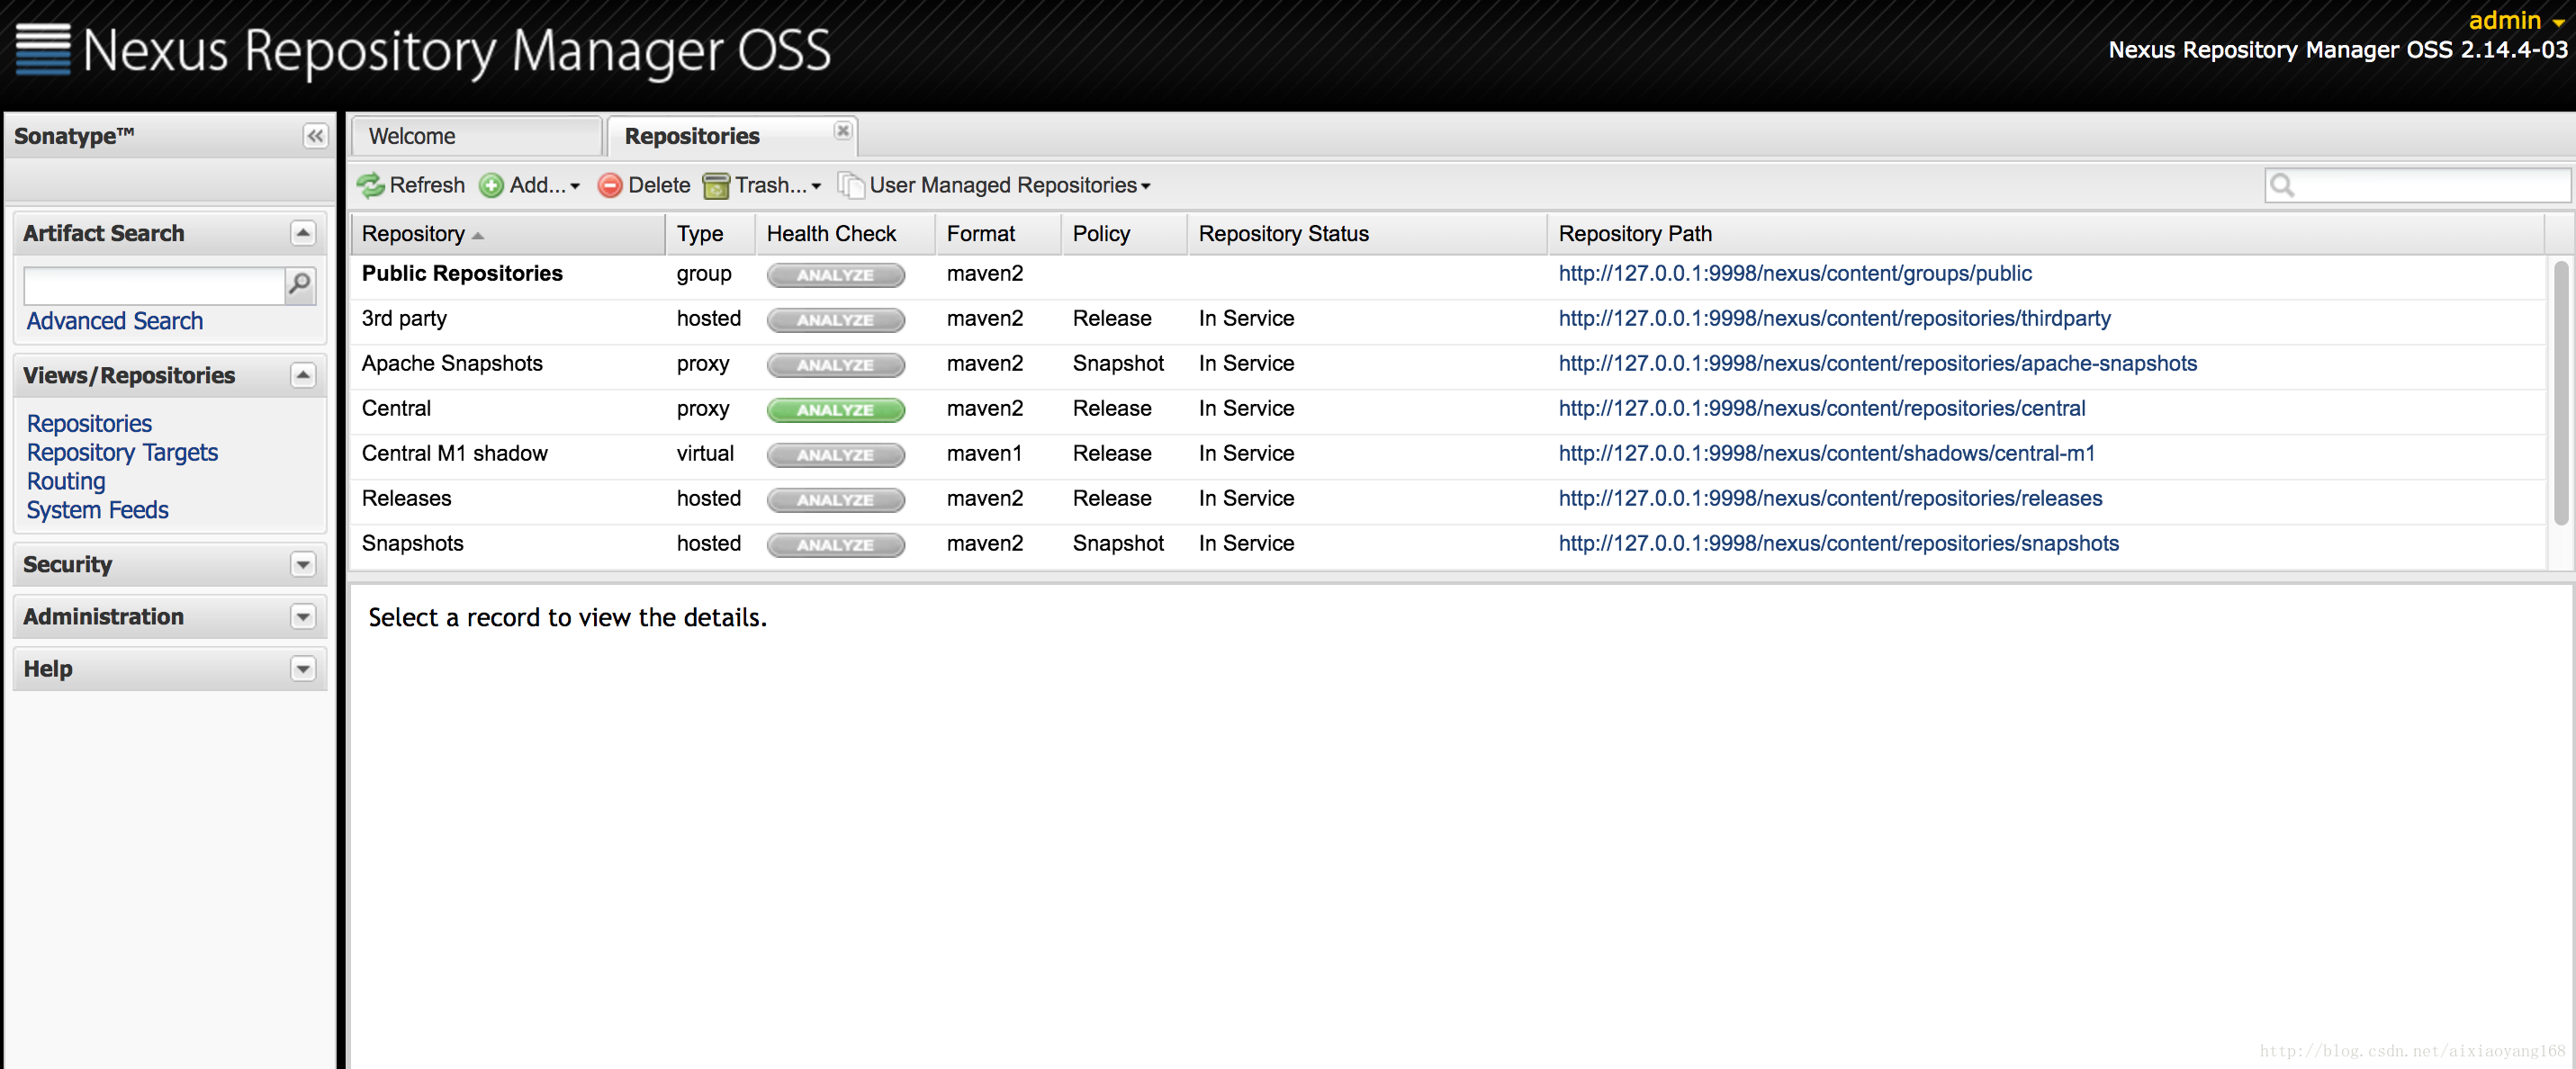
我们可以看到仓库类型有四种:
- hosted(宿主仓库):用来部署自己,第三方或者公共仓库的构件
- proxy(代理仓库):代理远程仓库
- virtual(虚拟仓库):默认提供了一个Central M1虚拟仓库,用来将maven 2适配为maven 1
- group(仓库组):统一管理多个仓库
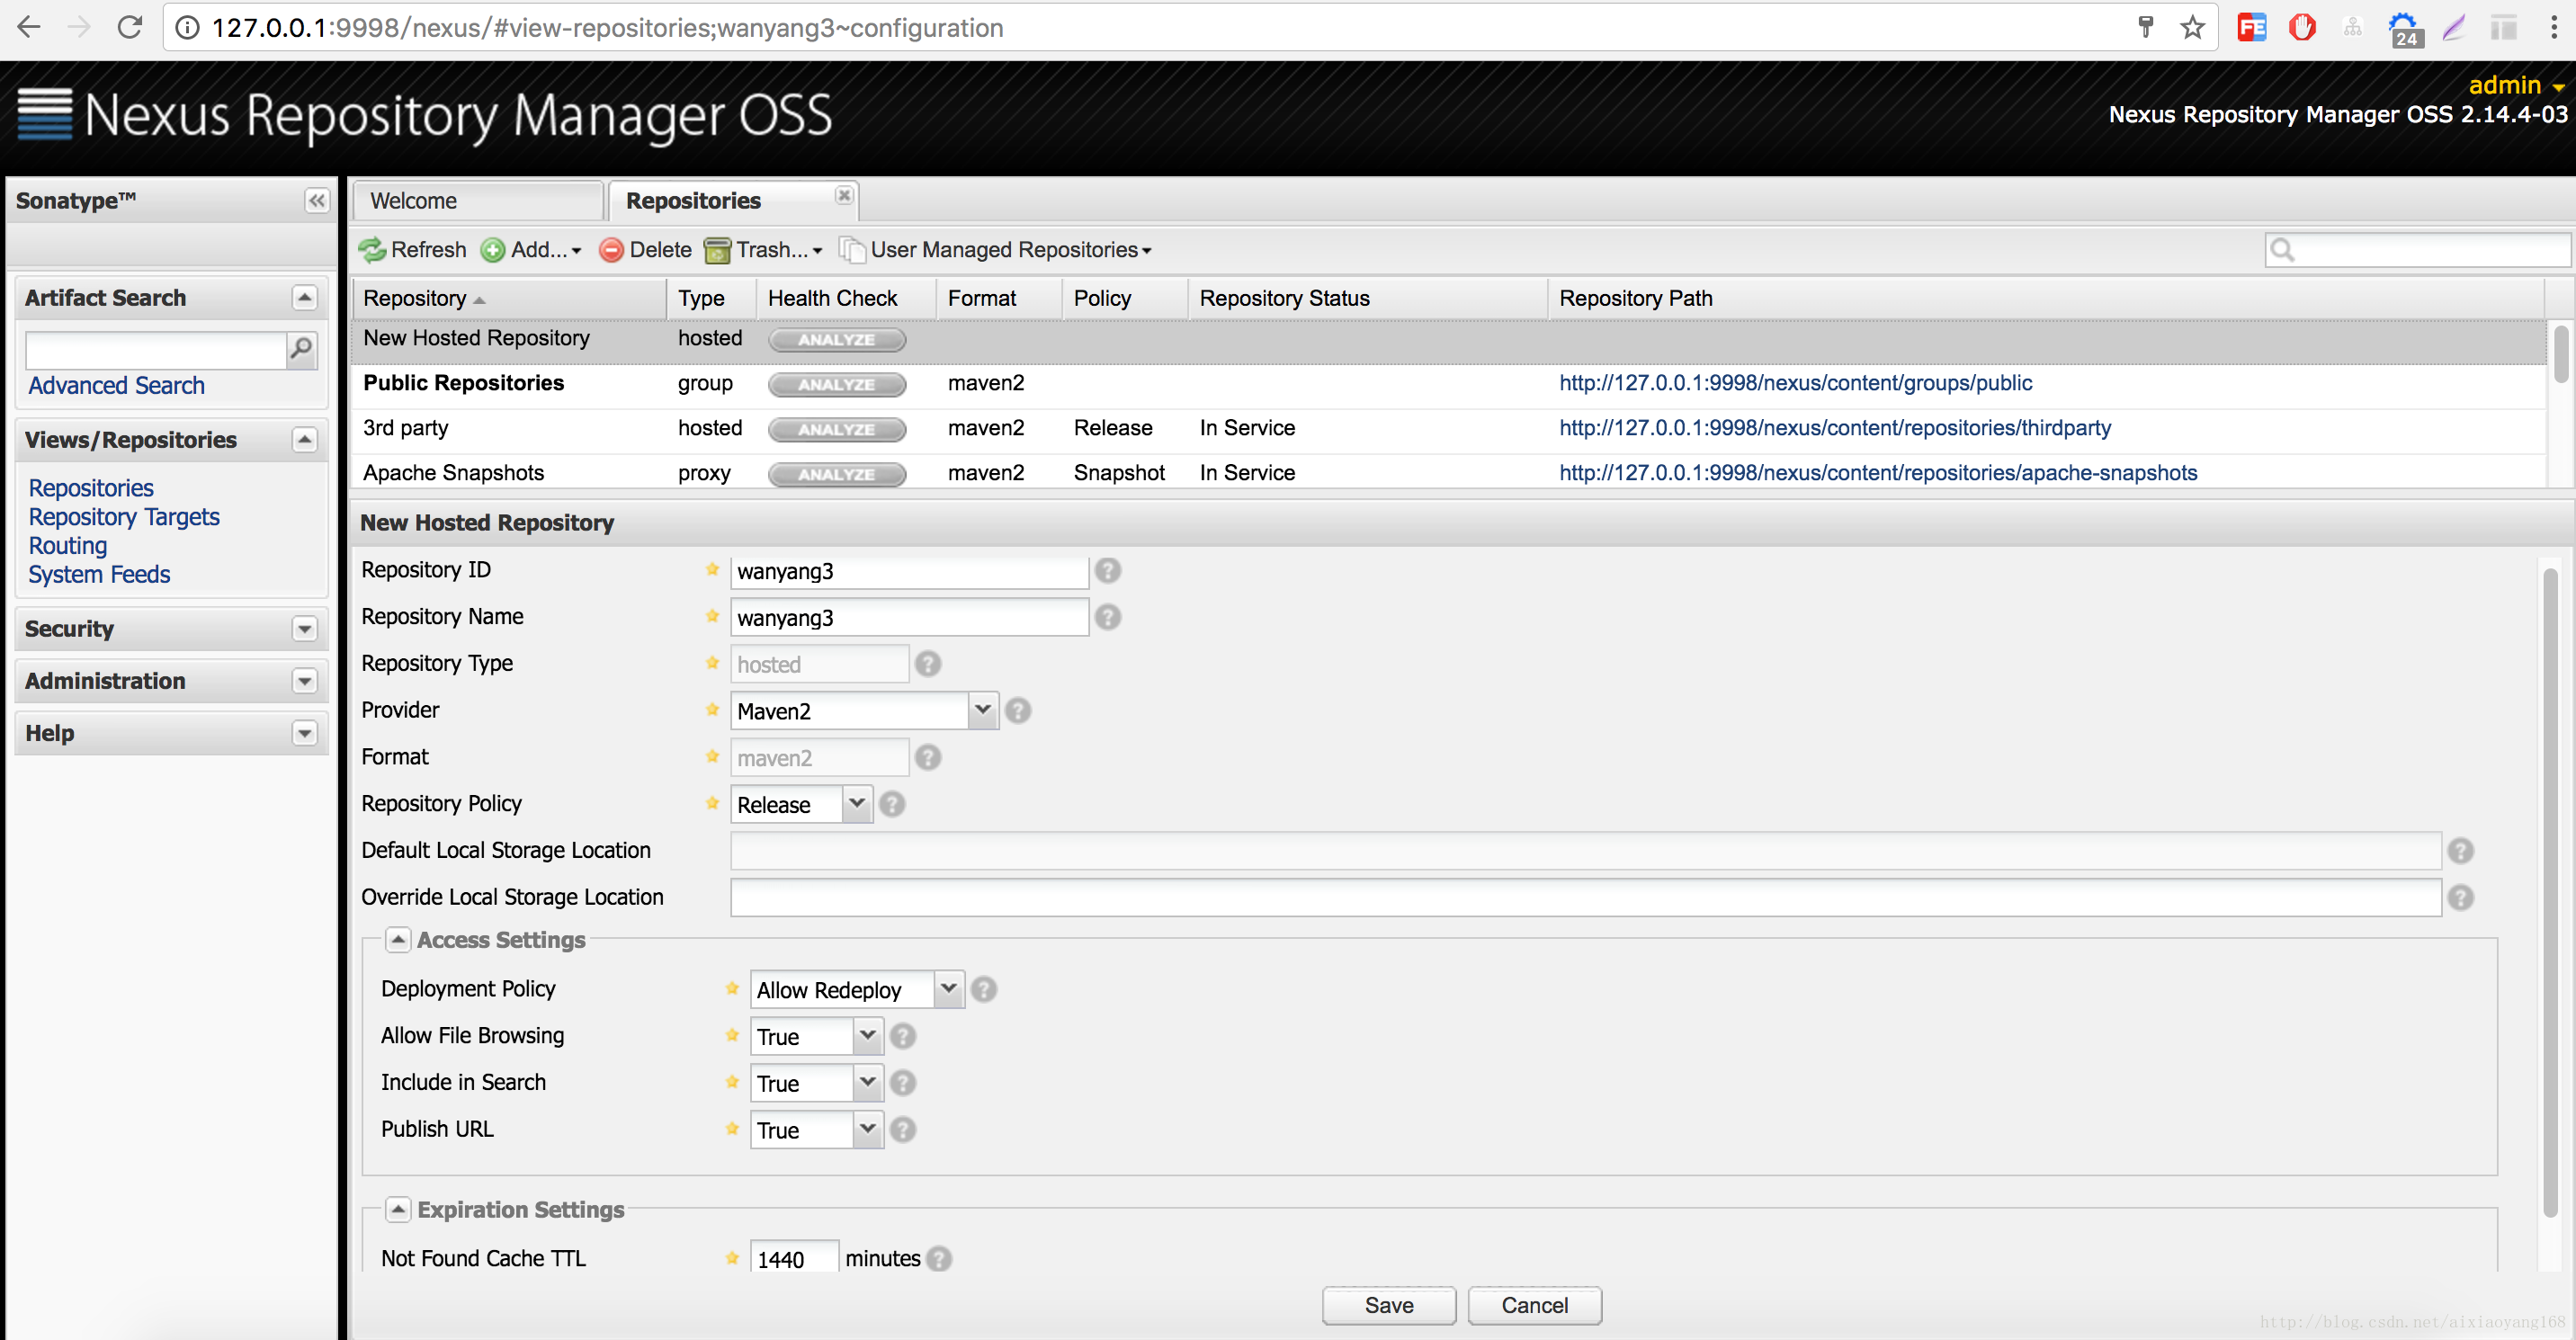
这里我们选择类型为hosted的创建一个wanyang3的Repositories,注意选择Deployment Policy时,如果该仓库多次部署的话,请选择Allow Redeploy,否则后续部署会报错。
3.2 设置用户及权限
点击左侧Security—》Users,设置用户及权限。
我们可以看到有三个默认的账号:
- Admin(管理员账号):Nexus管理员权限,最高权限,什么操作都可以做。
- Deployment(部署账号):Nexus部署权限,以及所有仓库的CRUDV操作权限。
- Anonymous(匿名账号):Nexus匿名权限,以及所有仓库只读权限。
我们正常访问仓库的时候,是不需要这三个账户的,一般我们会把Deployment账户暴漏出来,方便开发或运维部署项目使用,我们可以直接使用该部署账号,亦可以新创建一个自己的账号信息,通过Add Role Management来控制该账号的权限。

注意:这里要记住设置的用户名和密码,下边配置Maven Setting.xml的时候配置用户名和密码信息。
Java Maven项目版本管理应用
一、Java Maven项目基本配置
我们先来看一个最基础的pom.xml文件,我们要达到的目的是,让我们依赖的jar包,从我们刚配置的Nexus私服上拉取和存储。
<project xmlns="http://maven.apache.org/POM/4.0.0" xmlns:xsi="http://www.w3.org/2001/XMLSchema-instance" xsi:schemaLocation="http://maven.apache.org/POM/4.0.0 http://maven.apache.org/xsd/maven-4.0.0.xsd">

  <modelVersion>4.0.0</modelVersion>

  <groupId>com.wanynag3.efp</groupId>

  <artifactId>efp_demo</artifactId>

  <version>1.0.0-SNAPSHOT</version>

  <packaging>war</packaging>

  <name>efp_demo</name>

  <url>http://maven.apache.org</url>

  <properties>

    <project.build.sourceEncoding>UTF-8</project.build.sourceEncoding>

    <spring.version>4.3.2.RELEASE</spring.version>

  </properties>

  <dependencies>

    <dependency>

        <groupId>junit</groupId>

        <artifactId>junit</artifactId>

        <version>3.8.1</version>

        <scope>test</scope>

    </dependency>

    <dependency>

        <groupId>org.springframework</groupId>

        <artifactId>spring-webmvc</artifactId>

        <version>${spring.version}</version>

    </dependency>

    <dependency>

        <groupId>org.springframework</groupId>

        <artifactId>spring-jdbc</artifactId>

        <version>${spring.version}</version>

    </dependency>

    <dependency>

        <groupId>org.springframework</groupId>

        <artifactId>spring-web</artifactId>

        <version>${spring.version}</version>

    </dependency>

    <dependency>

        <groupId>org.springframework</groupId>

        <artifactId>spring-oxm</artifactId>

        <version>${spring.version}</version>

    </dependency>

    <dependency>

        <groupId>org.springframework</groupId>

        <artifactId>spring-context-support</artifactId>

        <version>${spring.version}</version>

    </dependency>

    <dependency>

        <groupId>javax.mail</groupId>

        <artifactId>mail</artifactId>

        <version>1.4.7</version>

    </dependency>

    <dependency>

        <groupId>org.slf4j</groupId>

        <artifactId>slf4j-api</artifactId>

        <version>1.7.10</version>

    </dependency>

    <dependency>

        <groupId>org.slf4j</groupId>

        <artifactId>slf4j-log4j12</artifactId>

        <version>1.7.10</version>

    </dependency>

    <dependency>

        <groupId>log4j</groupId>

        <artifactId>log4j</artifactId>

        <version>1.2.17</version>

    </dependency>

  </dependencies>

  <build>

        <plugins>

            <plugin>

                <groupId>org.apache.maven.plugins</groupId>

                <artifactId>maven-compiler-plugin</artifactId>

                <version>3.3</version>

                <configuration>

                    <source>1.7</source>

                    <target>1.7</target>

                    <encoding>UTF-8</encoding>

                </configuration>

            </plugin>

        </plugins>

        <finalName>efp_demo</finalName>

        <resources>

            <resource>

                <directory>src/main/resources</directory>

                <filtering>true</filtering>

            </resource>

        </resources>

    </build>

</project>
从pom文件可以看出来,这个Maven项目是一个很常见的SpringMVC项目,我们想让他依赖刚搭建的Nexus私服,那么需要修改Maven的setting.xml的mirrors节点。
<mirrors>

    <mirror>

        <id>default</id>

        <mirrorOf>*</mirrorOf>

        <name>default maven nexus mirror</name>

        <url>http://127.0.0.1:9998/nexus/content/groups/public</url>

    </mirror>

</mirrors>

说明:这里mirror表示镜像库,指定库的镜像,也就是覆盖中央仓库的默认地址,这里<mirrorOf>*</mirrorOf>表示为所有的仓库做镜像,也可以指定某个或某几个仓库做镜像,如central库。
修改完成之后,以后我们修改或新增dependency时,都会先从本地私服拉取,如果没有则去中央仓库拉取并缓存到私服,下次使用就可以直接从本地私服拉取,速度就快的多啦!
二、Java Maven项目版本管理
我们先来了解一下Maven项目从1.0.0-SNAPSHOT到1.0.0(Release)在到1.0.1-SNAPSHOT的过程:
- 更新pom版本从1.0.0-SNAPSHOT到1.0.0
- 对该版本打一个1.0.0 tag推送到Git/SVN
- 针对该tag,执行mvn deploy,发布1.0.0正式版本,推送Maven仓库
- 更新pom版本从1.0.0到1.0.1-SNAPSHOT
整个过程,是通过Maven插件maven-release-plugin来实现,该插件可以帮我们升级pom版本号,打tag并提交到scm,以及提交到Nexus仓库,我们需要配置下pom.xml。
1、增加scm配置

<scm>

    <connection>scm:git:http://git.xx.xx.com/e_flows/efp_demo.git</connection>

    <developerConnection>scm:git:http://git.xx.xx.com/e_flows/efp_demo.git</developerConnection>

    <url>scm:git:http://git.xx.xx.com/e_flows/efp_demo.git</url>

</scm>

2、在plugins下增加plugin

<plugin>

    <groupId>org.apache.maven.plugins</groupId>

    <artifactId>maven-release-plugin</artifactId>

    <version>2.5.3</version>

    <configuration>

        <tagNameFormat>v@{project.version}</tagNameFormat>

    </configuration>

</plugin>

说明:

    1. scm配置,配置该项目的git或svn地址,maven-release-plugin插件会帮我们完成一系列git或svn操作,如提交、打tag等,这里我使用gitlab作为代码管理,所以需要提前安装好git和gitlab,否则maven执行会报错。

    2. maven-release-plugin插件,tagNameFormat默认取artifactId-version作为tag的名称,我们也可以指定tag的格式,例如这里我指定以v开头+pom中的version字段(v1.0.0),可以用v@{project.version}。
好了,我们现在开始使用插件执行版本管理了。
首先,我们来执行命令mvn release:prepare,执行过程中,我们会看到这样的输出提示:
1. What is the release version for "efp_demo"? (com.wanynag3.efp:efp_demo) 1.0.0: :
--意思是你想要将efp_demo发布为什么版本,默认是1.0.0(按照pom中version走的),如果想发布为其他版本号,可以在:后边输入其他版本号。
2. What is SCM release tag or label for "efp_demo"? (com.wanynag3.efp:efp_demo) v1.0.0: :
--意思是你想要将efp_demo发布为什么tag标签,默认是v1.0.0(这里我们在pom中设置tagNameFormat起作用啦!),如果想发布其他tag标签,可以在:后边输入其他tag。
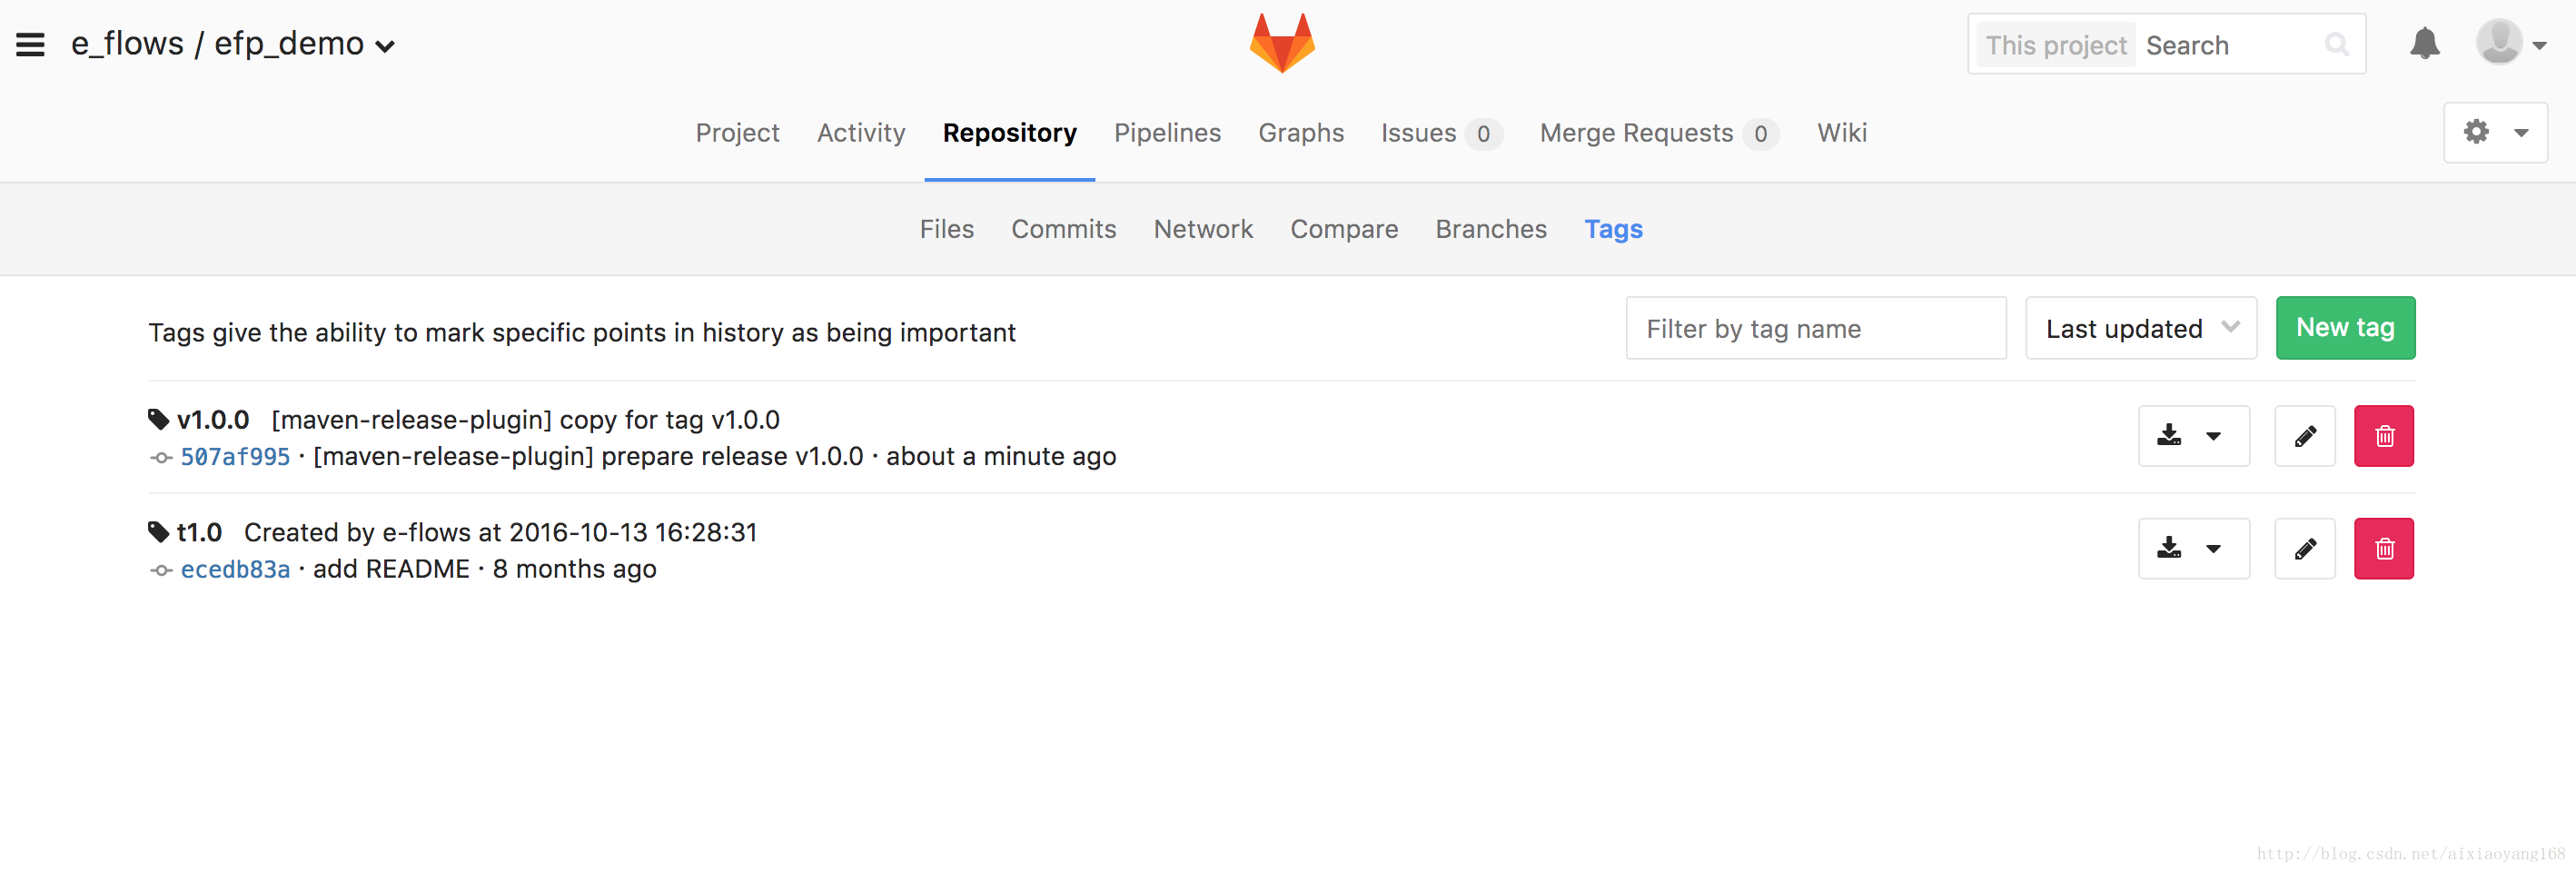
3. What is the new development version for "efp_demo"? (com.wanynag3.efp:efp_demo) 1.0.1-SNAPSHOT: :
--意思是你想要为efp_demo设置为什么新的开发版本,默认是1.0.1-SNAPSHOT(默认在原版本+1),如果想设置为其他版本,比如升版本1.1.0,可以在:后边输入版本号。执行完毕之后,在Gitlab中该项目对应仓库中tag中,就可以看到maven-release-plugin刚刚打的v1.0.0的tag,同时可以看到pom.xml中版本自动升级为1.0.1-SNAPSHOT。
然后,我们需要将efp_demo:1.0.0正式版本发布到我们私服中,我们还需要修改一下pom.xml以及setting.xml,配置repository和snapshotRepository仓库地址,Server认证信息等。
1、Maven setting.xml中设置server

<servers>

    <server>

      <id>wanyang3.release</id>

      <username>wanyang3</username>

      <password>******</password>

    </server>

    <server>

      <id>wanyang3.snapshot</id>

      <username>wanyang3</username>

      <password>******</password>

    </server>

</servers>

2、pom.xml中新增distributionManagement

<distributionManagement>

    <repository>

        <id>wanyang3.release</id>

        <name>Internal Release Repository</name>

        <url>http://127.0.0.1:9998/nexus/content/repositories/releases</url>

        <uniqueVersion>true</uniqueVersion>

    </repository>

    <snapshotRepository>

        <id>wanyang3.snapshot</id>

        <name>Internal Snapshot Repository</name>

        <url>http://127.0.0.1:9998/nexus/content/repositories/snapshots</url>

    </snapshotRepository>

</distributionManagement>

注意:

    1. repository下的id,必须跟Maven setting.xml中server下的id保持一致,我们上边新增的的Nexus账号wanyang3,是具有Deployment权限的,这个地方有权限验证,用户名密码不对,deploy时会认证不通过。

2. repository和snapshotRepository的url一个是正式releases地址,一个是快照snapshots地址,这里我们用Nexus默认地址,也可以改为自己新建的releases和snapshots地址。接着,我们执行命令mvn release:perform,执行过程中,我们看到如下输出,则说明deploy成功:
[INFO] Uploading: http://127.0.0.1:9998/nexus/content/repositories/releases/com/wanynag3/efp/efp_demo/1.0.0/efp_demo-1.0.0.war
......
[INFO] Uploaded: http://127.0.0.1:9998/nexus/content/repositories/releases/com/wanynag3/efp/efp_demo/1.0.0/efp_demo-1.0.0.war (6562 KB at 34717.1 KB/sec)
[INFO] Uploading: http://127.0.0.1:9998/nexus/content/repositories/releases/com/wanynag3/efp/efp_demo/1.0.0/efp_demo-1.0.0.pom
......
Uploaded: http://127.0.0.1:9998/nexus/content/repositories/releases/com/wanynag3/efp/efp_demo/1.0.0/efp_demo-1.0.0.pom (4 KB at 244.6 KB/sec)
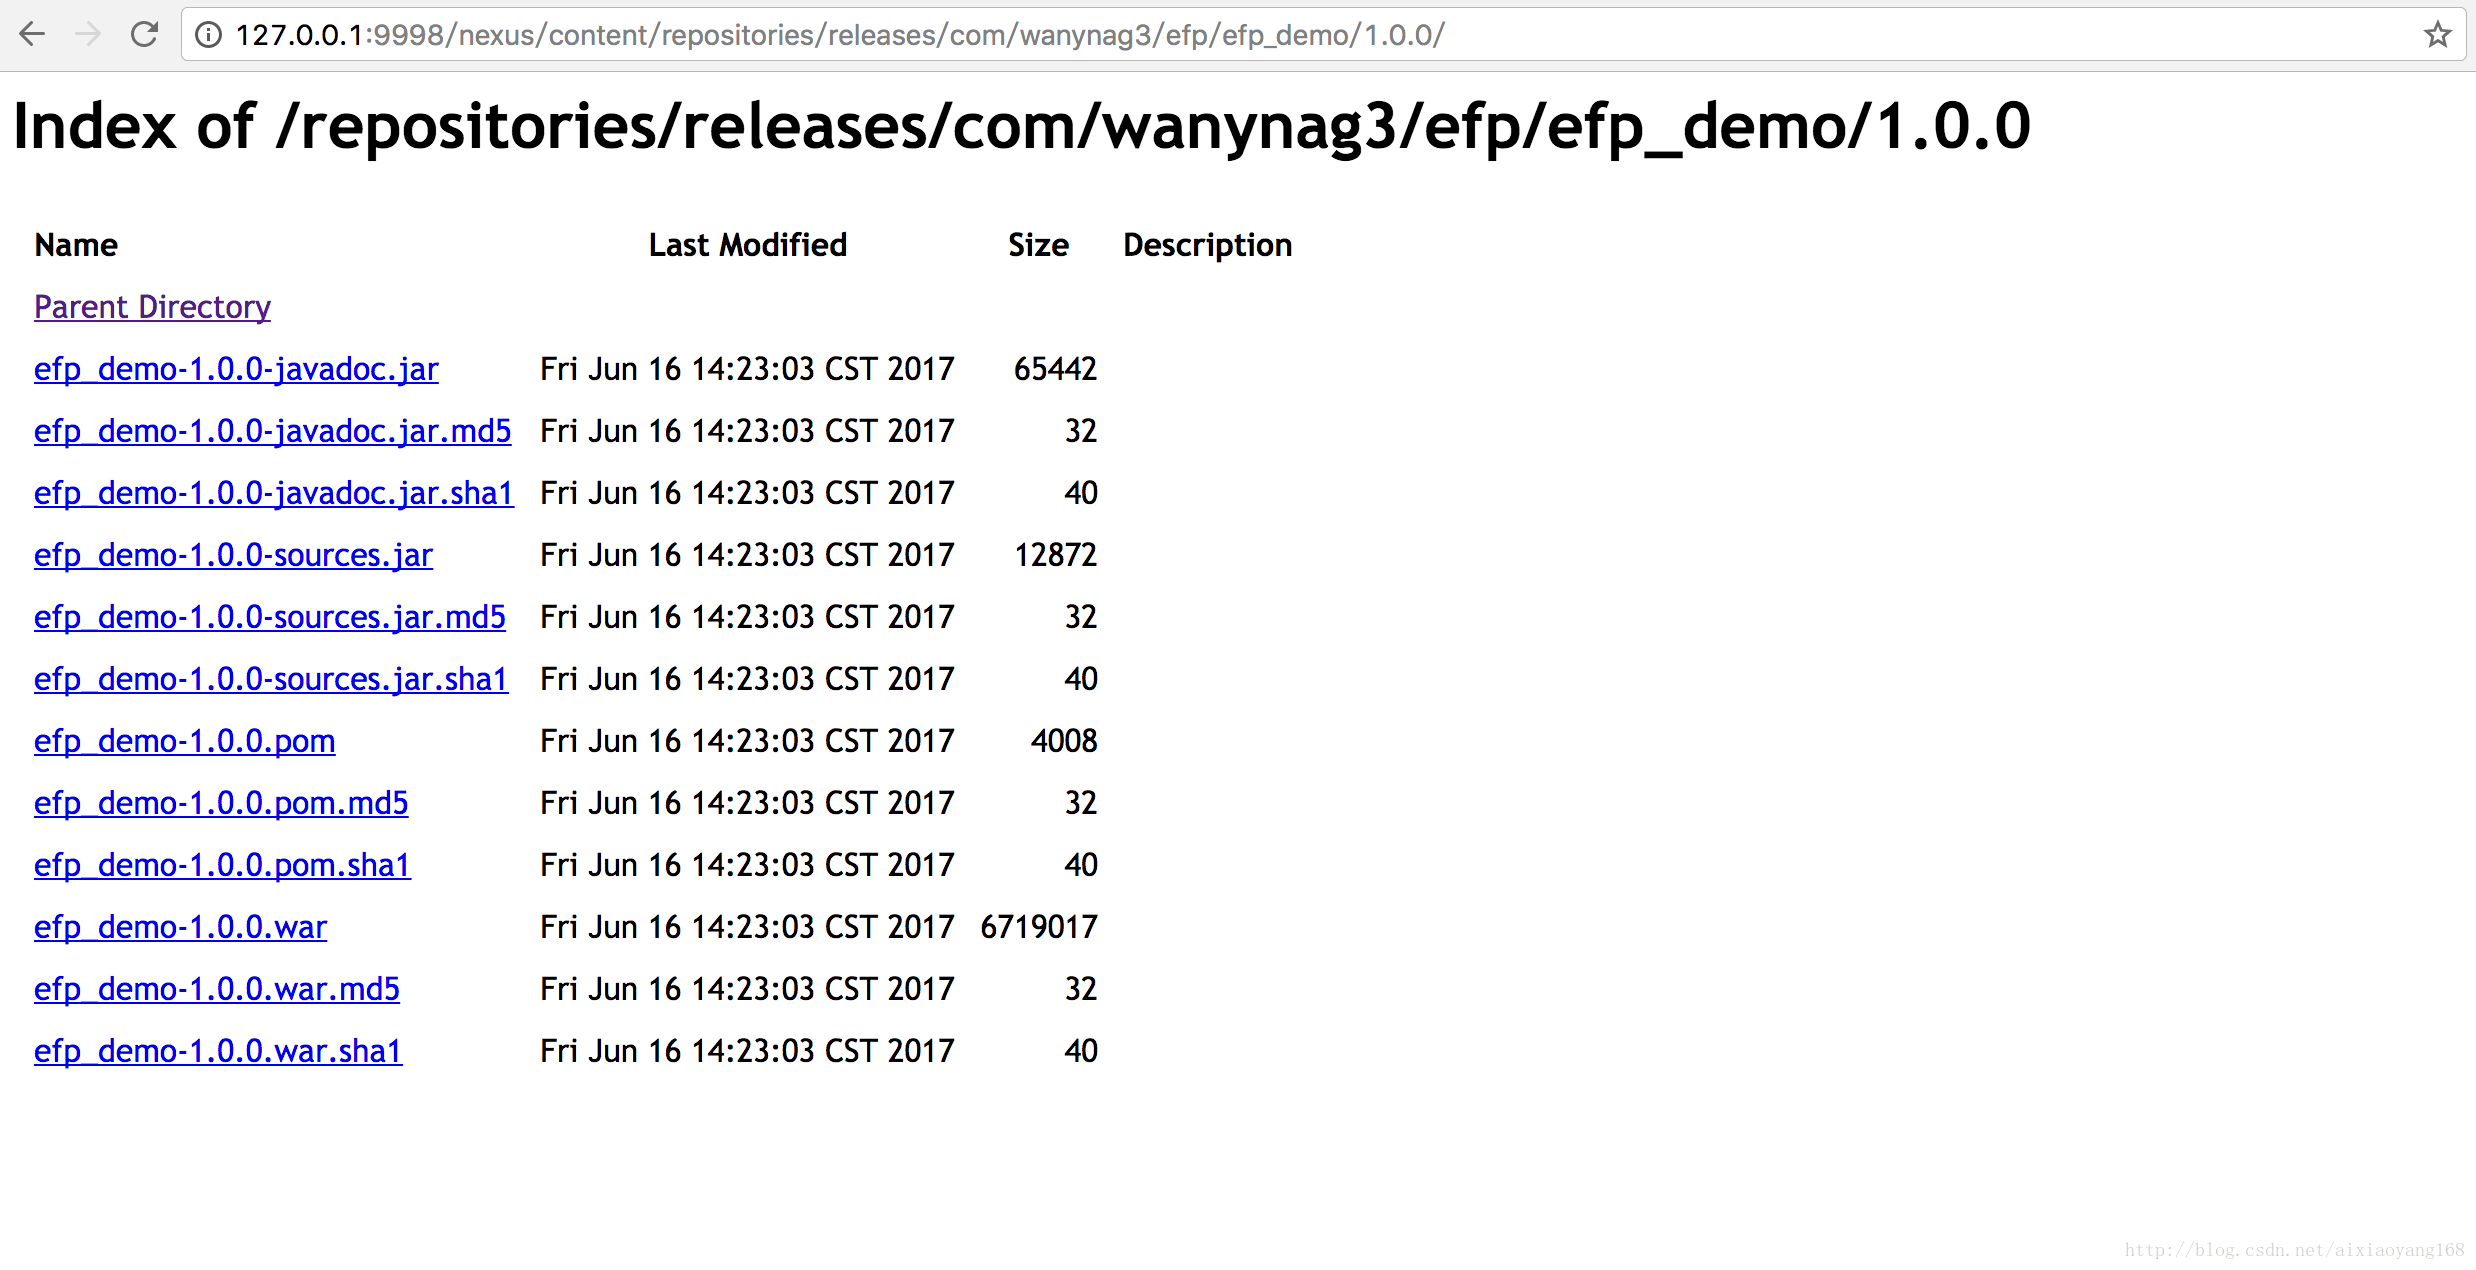
......该过程,maven-release-plugin会自动帮我们签出刚才打的v1.0.0 tag,然后打包,最后上传到私服Maven仓库中指定位置。好了到这里,整个版本的升级,打标签,发布等工作全部完成。我们可以在私服Maven仓库中看到正式发布的1.0.0版本啦!
至此,Maven项目版本自动化管理就完成了。
FQA
执行
mvn release:prepare报错 [Cannot prepare the release because …]:[ERROR] Failed to execute goal org.apache.maven.plugins:maven-release-plugin:2.5.3:prepare (default-cli) on project qd_api: Cannot prepare the release because you have local modifications :
[ERROR] [pom.xml:modified]这个报错,是因为本地有代码修改未提交,必须先提交修改之后,在执行该命令。
执行
mvn release:prepare报错 [Unable to commit files…]:[ERROR] Failed to execute goal org.apache.maven.plugins:maven-release-plugin:2.5.3:prepare (default-cli) on project efp_demo: Unable to commit files
[ERROR] Provider message:
[ERROR] The git-push command failed.
[ERROR] Command output:
[ERROR] remote: HTTP Basic: Access denied
[ERROR] fatal: Authentication failed for 'http://git.xx.xx.com/e_flows/efp_demo.git/'这个报错,是因为在执行git相关操作时,Gitlab认证失败,请检查一下git用户名和密码。
执行
mvn release:perform报错 [Deployment failed: repository element was …]:[ERROR] Failed to execute goal org.apache.maven.plugins:maven-deploy-plugin:2.7:deploy (default-deploy) on project efp_demo: Deployment failed: repository element was not specified in the POM inside distributionManagement element or in -DaltDeploymentRepository=id::layout::url parameter -> [Help 1]这个报错,是因为pom.xm中没有配置distributionManagement相关信息,我们可以在pom中增加distributionManagement信息,或者在命令后追加
-DaltDeploymentRepository=id::layout::url执行
mvn release:perform报错 [Failed to deploy artifacts: Could not transfer …]:[ERROR] Failed to execute goal org.apache.maven.plugins:maven-deploy-plugin:2.7:deploy (default-deploy) on project efp_demo: Failed to deploy artifacts: Could not transfer artifact com.wanyang3.efp:efp_demo:war:1.0.0 from/to wanyang3.default (http://127.0.0.1:9998/nexus/content/repositories/releases): Failed to transfer file: http://127.0.0.1:9998/nexus/content/repositories/releases/com/wanyang3/efp/efp_demo/1.0.0/efp_demo-1.0.5.war. Return code is: 401, ReasonPhrase: Unauthorized.这个报错,是因为deploy时认证失败,首先在确保Maven setting.xml中server配置的用户名密码正确的情况下,检查server id跟pom.xml中repository id是否一致。
执行
mvn release:perform报错 [Request Entity Too Large …]:[ERROR] Failed to execute goal org.apache.maven.plugins:maven-deploy-plugin:2.7:deploy (default-deploy) on project multimedia-web: Failed to deploy artifacts: Could not transfer artifact Return code is: 413, ReasonPhrase: Request Entity Too Large.这个报错,是因为我们nginx代理默认客户端最大允许body的size太小导致(默认2M),需要修改nginx.conf中proxy部分:
client_max_body_size 500M执行
mvn release:perform报错 [MavenReportException: Error while generating …]:[INFO] [ERROR] Failed to execute goal org.apache.maven.plugins:maven-javadoc-plugin:2.10.4:jar (attach-javadocs) on project efp_demo: MavenReportException: Error while generating Javadoc:
[INFO] [ERROR] Exit code: 1 - /Users/wanyang3/git/e_flows/efp_demo/target/checkout/src/main/java/com/wanyang3/efp/efp_demo/controller/CommonController.java:25: 警告: mailTo没有 @param这个报错,是因为我使用的jdk8,执行
mvn clean install编译是能通过,但是执行该命令时一直报Javadoc的错误,后来google查询了下,需要增加一个maven-javadoc-plugin插件可解决。<plugin>
<groupId>org.apache.maven.plugins</groupId>
<artifactId>maven-javadoc-plugin</artifactId>
<configuration>
<additionalparam>-Xdoclint:none</additionalparam>
</configuration>
</plugin>
参考资料:
ava Maven项目之Nexus私服搭建和版本管理应用的更多相关文章
- Java Maven项目之Nexus私服搭建和版本管理应用
转载自:https://cloud.tencent.com/developer/article/1010603 1.Nexus介绍 Nexus是一个强大的Maven仓库管理器,它极大地简化了自己内部仓 ...
- maven项目如何从私服nexus中下载依赖包
maven项目如何从私服nexus中下载依赖包 解决方法: 1.打开maven的config目录中settings.xml文件 2.在<profile></profiles> ...
- nexus私服搭建及信息配置
nexus私服搭建及信息配置 下载 登录nexus官网下载nexus安装包https://help.sonatype.com/repomanager2/download/download-archiv ...
- 3.发布Maven项目到nexus中
1.在pom.xml文件中配置需要发布的工厂 如果想把项目发布到nexus中,需要在pom.xml中配置releases和snapshots版本发布的具体repository <distribu ...
- 让maven项目使用nexus作为远程仓库
让maven项目使用nexus作为远程仓库有两种方式,第一种是在项目的pom.xml中进行更改,让单个项目使用nexus仓库:另一种是通过修改maven的配置文件settings.xml进行更改,让所 ...
- Maven项目使用Nexus作为远程仓库的settings.xml配置
Maven项目使用Nexus作为远程仓库的settings.xml配置(转) 在自己电脑C:\Users\hanmm\.m2\下的setting.xml. 1.服务器配置 <server> ...
- nexus私服搭建及maven生命周期
一.maven找库流程 从流程上看创建nexus私服,能够优化流程,而且更加快速 二.nexus下载.安装 1.nexus下载地址 https://sonatype-download.global.s ...
- Maven发布项目到Nexus私服中 (发布jar包)
目录 1 需求说明 2 实现步骤 2.1 Maven服务的setting.xml文件 2.2 项目的pom.xml文件 2.3 发布项目 1 需求说明 开发完项目后, 将项目版本发布到Nexus私服中 ...
- Maven使用教程二:nexus私服搭建及使用
nexus安装 从nexus官网 下载最新的安装包 1.打开命令行,切换到nexus-3.2.1-01/bin目录下,回车.例:C:\Nexus\nexus-3.2.1-01\bin 2.输入:nex ...
随机推荐
- 新手C#异常的学习2018.08.07
异常是在程序执行期间出现的问题.C# 中的异常是对程序运行时出现的特殊情况的一种响应,比如尝试除以零. class Program { static void Main(string[] args) ...
- MyEclipse10.0 采用插件方式安装 SVN(转)
原文:http://blog.sina.com.cn/s/blog_a5f093b401015uzl.html 一.到官方上下载svn1.8.3,下载后的文件名叫site-1.8.3.zip 地址:h ...
- 第七章 二叉搜索树 (a)概述
- 06-SSH综合案例:前台首页访问
1.5 编码实现: 1.5.1 首页显示: 复制所有文件到工程下: * css * js * image 复制页面到工程WEB-INF/jsp/ * 将后缀.htm改为jsp 访问一个Actio ...
- python教学视频
3 X王的 链接: http://pan.baidu.com/s/1bW2UrO 密码: quit4 django 链接: http://pan.baidu.com/s/1o8UsNDS 密码: 8x ...
- for(var i=0;i<5;i++){ setTimeout(function() { console.log(i) }, 100);}
涉及异步.作用域.闭包 1.settimeout是异步执行,100ms后往任务队列里面添加一个任务 2.let不仅将i绑定到for循环块中,事实上它将其重新绑定到循环体的每一次迭代中 3.闭包 set ...
- Java程序设计11——GUI设计与事件处理B
4 Java事件模型的流程 为了使图形界面能够接收用户的操作,必须给各个组件加上事件处理机制. 在事件处理的过程中,主要涉及3类对象: 1.Event Source(事件源):事件发生的场所,通常就是 ...
- ASP.NET Web API之消息[拦截]处理(转)
出处:http://www.cnblogs.com/Leo_wl/p/3238719.html 标题相当难取,内容也许和您想的不一样,而且网上已经有很多这方面的资料了,我不过是在实践过程中作下记录.废 ...
- Word直接发布新浪博客(以Word 2010为例)
目前大部分的博客作者在用Word写博客这件事情上都会遇到以下3个痛点: 1.所有博客平台关闭了文档发布接口,用户无法使用Word,Windows Live Writer等工具来发布博客.使用Word写 ...
- 服务器如何打开ping命令
服务器禁止ping后忘记是用什么方法禁止的了.只知道不是使用ip策略现在需要再开启ping...请问该怎么弄? 是不是windows防火墙开启了啊,到控制面板里的windows防火墙中看看,把防火墙关 ...