微服务示例-Spring Cloud
1~开发准备
JDK:1.8
Spring Boot:1.5.9.RELEASE
Spring Coud:Edgware.RELEASE
IDE:IntelliJ IDEA 2017
Maven:3.3.9
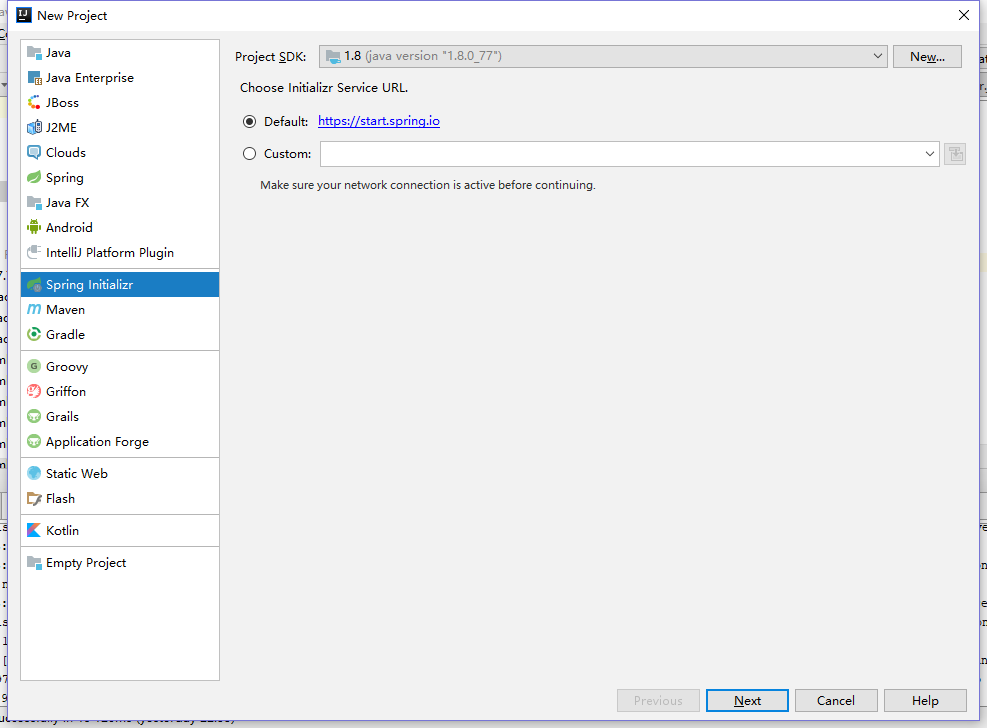
2~创建服务注册中心
File->New->Projects->Spring Initializr
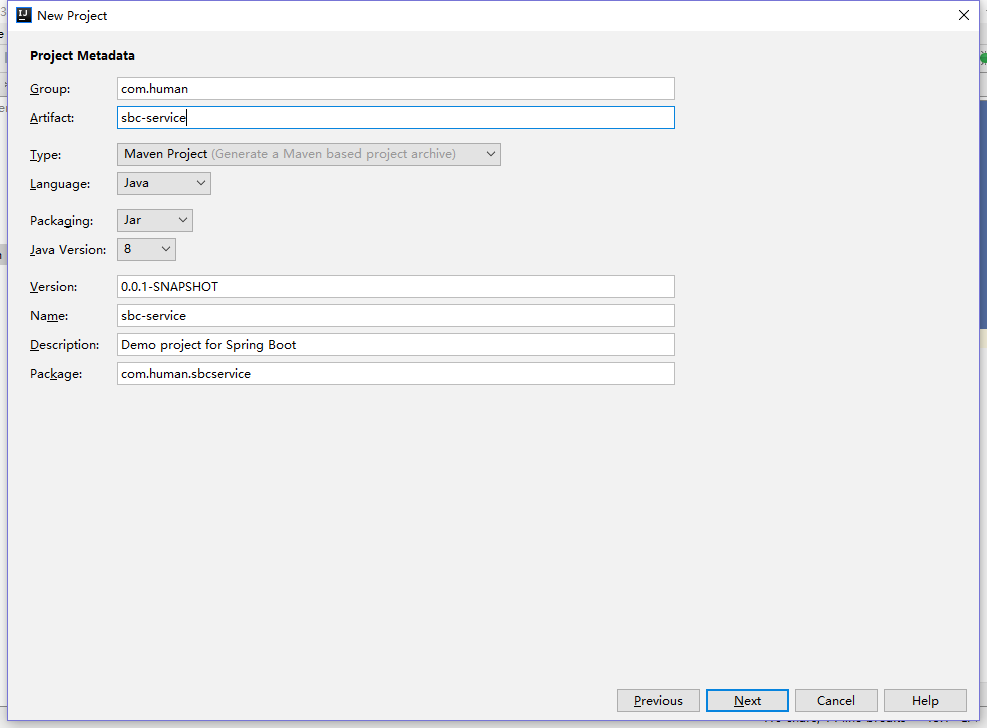
点击Next,填写信息如下:
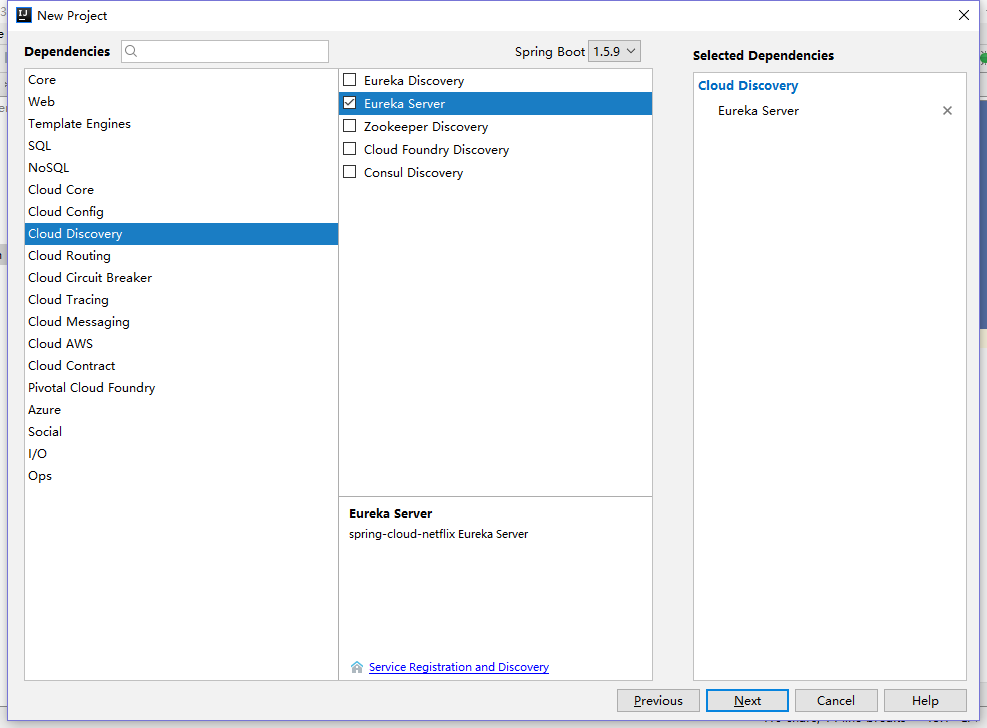
然后点击Next,选择如下:
点击Next,然后点击Finish.项目结构如下: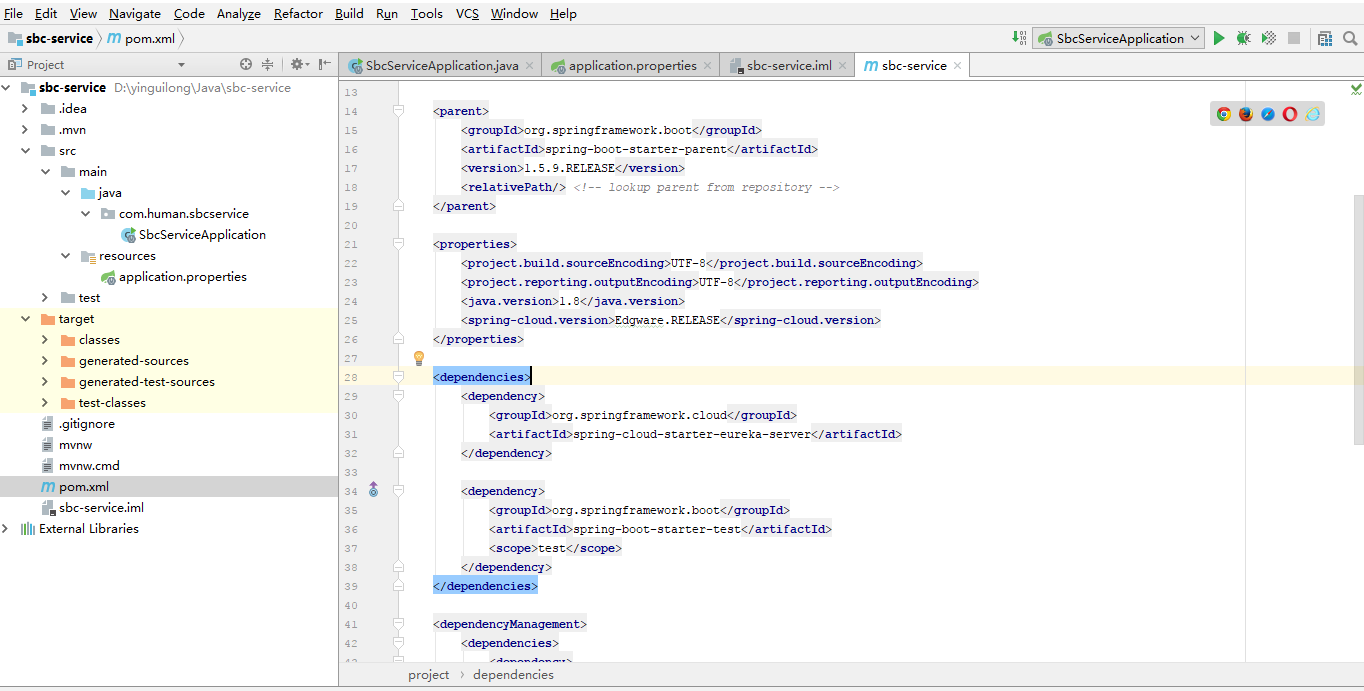
其中pom.xml文件内容如下:
- <?xml version="1.0" encoding="UTF-8"?>
- <project xmlns="http://maven.apache.org/POM/4.0.0" xmlns:xsi="http://www.w3.org/2001/XMLSchema-instance"
- xsi:schemaLocation="http://maven.apache.org/POM/4.0.0 http://maven.apache.org/xsd/maven-4.0.0.xsd">
- <modelVersion>4.0.0</modelVersion>
- <groupId>com.human</groupId>
- <artifactId>sbc-service</artifactId>
- <version>0.0.1-SNAPSHOT</version>
- <packaging>jar</packaging>
- <name>sbc-service</name>
- <description>Demo project for Spring Boot</description>
- <parent>
- <groupId>org.springframework.boot</groupId>
- <artifactId>spring-boot-starter-parent</artifactId>
- <version>1.5.9.RELEASE</version>
- <relativePath/> <!-- lookup parent from repository -->
- </parent>
- <properties>
- <project.build.sourceEncoding>UTF-8</project.build.sourceEncoding>
- <project.reporting.outputEncoding>UTF-8</project.reporting.outputEncoding>
- <java.version>1.8</java.version>
- <spring-cloud.version>Edgware.RELEASE</spring-cloud.version>
- </properties>
- <dependencies>
- <dependency>
- <groupId>org.springframework.cloud</groupId>
- <artifactId>spring-cloud-starter-eureka-server</artifactId>
- </dependency>
- <dependency>
- <groupId>org.springframework.boot</groupId>
- <artifactId>spring-boot-starter-test</artifactId>
- <scope>test</scope>
- </dependency>
- </dependencies>
- <dependencyManagement>
- <dependencies>
- <dependency>
- <groupId>org.springframework.cloud</groupId>
- <artifactId>spring-cloud-dependencies</artifactId>
- <version>${spring-cloud.version}</version>
- <type>pom</type>
- <scope>import</scope>
- </dependency>
- </dependencies>
- </dependencyManagement>
- <build>
- <plugins>
- <plugin>
- <groupId>org.springframework.boot</groupId>
- <artifactId>spring-boot-maven-plugin</artifactId>
- </plugin>
- </plugins>
- </build>
- </project>
项目初始化完成,修改resources文件夹下application.properties文件,内容如下:
- server.port=8081
- spring.application.name=human-service
- eureka.instance.hostname=localhost
- eureka.client.registerWithEureka=false
- eureka.client.fetchRegistry=false
- eureka.client.serviceUrl.defaultZone=http://${eureka.instance.hostname}:${server.port}/eureka/
然后修改主程序代码如下:
- package com.human.sbcservice;
- import org.springframework.boot.SpringApplication;
- import org.springframework.boot.autoconfigure.SpringBootApplication;
- import org.springframework.cloud.netflix.eureka.server.EnableEurekaServer;
- @SpringBootApplication
- @EnableEurekaServer
- public class SbcServiceApplication {
- public static void main(String[] args) {
- SpringApplication.run(SbcServiceApplication.class, args);
- }
- }
至此,一个微服务注册中心完成
3~创建微服务提供者
大体上与创建注册中心相同,在选择依赖的时候如下图

选择完毕,点击Next,然后点击Finish,完成后项目结构如图:

pom.xml代码如下:
- <?xml version="1.0" encoding="UTF-8"?>
- <project xmlns="http://maven.apache.org/POM/4.0.0" xmlns:xsi="http://www.w3.org/2001/XMLSchema-instance"
- xsi:schemaLocation="http://maven.apache.org/POM/4.0.0 http://maven.apache.org/xsd/maven-4.0.0.xsd">
- <modelVersion>4.0.0</modelVersion>
- <groupId>com.human</groupId>
- <artifactId>sbc-user</artifactId>
- <version>0.0.1-SNAPSHOT</version>
- <packaging>jar</packaging>
- <name>sbc-user3</name>
- <description>Demo project for Spring Boot</description>
- <parent>
- <groupId>org.springframework.boot</groupId>
- <artifactId>spring-boot-starter-parent</artifactId>
- <version>1.5.9.RELEASE</version>
- <relativePath/> <!-- lookup parent from repository -->
- </parent>
- <properties>
- <project.build.sourceEncoding>UTF-8</project.build.sourceEncoding>
- <project.reporting.outputEncoding>UTF-8</project.reporting.outputEncoding>
- <java.version>1.8</java.version>
- <spring-cloud.version>Edgware.RELEASE</spring-cloud.version>
- </properties>
- <dependencies>
- <dependency>
- <groupId>org.springframework.cloud</groupId>
- <artifactId>spring-cloud-starter-eureka</artifactId>
- </dependency>
- <dependency>
- <groupId>org.springframework.boot</groupId>
- <artifactId>spring-boot-starter-web</artifactId>
- </dependency>
- <dependency>
- <groupId>org.springframework.boot</groupId>
- <artifactId>spring-boot-starter-test</artifactId>
- <scope>test</scope>
- </dependency>
- </dependencies>
- <dependencyManagement>
- <dependencies>
- <dependency>
- <groupId>org.springframework.cloud</groupId>
- <artifactId>spring-cloud-dependencies</artifactId>
- <version>${spring-cloud.version}</version>
- <type>pom</type>
- <scope>import</scope>
- </dependency>
- </dependencies>
- </dependencyManagement>
- <build>
- <plugins>
- <plugin>
- <groupId>org.springframework.boot</groupId>
- <artifactId>spring-boot-maven-plugin</artifactId>
- </plugin>
- </plugins>
- </build>
- </project>
然后打开主程序文件,修改代码如下:
- package com.human.sbcuser;
- import org.springframework.boot.SpringApplication;
- import org.springframework.boot.autoconfigure.SpringBootApplication;
- import org.springframework.cloud.client.discovery.EnableDiscoveryClient;
- @EnableDiscoveryClient//Eureka微服务注解
- @SpringBootApplication
- public class SbcUserApplication {
- public static void main(String[] args) {
- SpringApplication.run(SbcUserApplication.class, args);
- }
- }
修改application.properties文件,内容如下:
- server.port=8082
- eureka.client.service-url.defaultZone=http\://localhost\:8081/eureka/
- spring.application.name=cloud-simple-service
新建一个名为HelloController文件,具体代码:
- package com.human.sbcuser;
- import org.springframework.stereotype.Controller;
- import org.springframework.web.bind.annotation.RequestMapping;
- import org.springframework.web.bind.annotation.ResponseBody;
- @Controller
- public class HelloController {
- @RequestMapping("/")
- @ResponseBod
- public String hello()
- {
- return "hello KinY ~KoKo";
- }
- }
至此,一个简单的服务提供者创建完毕
4~创建微服务消费者
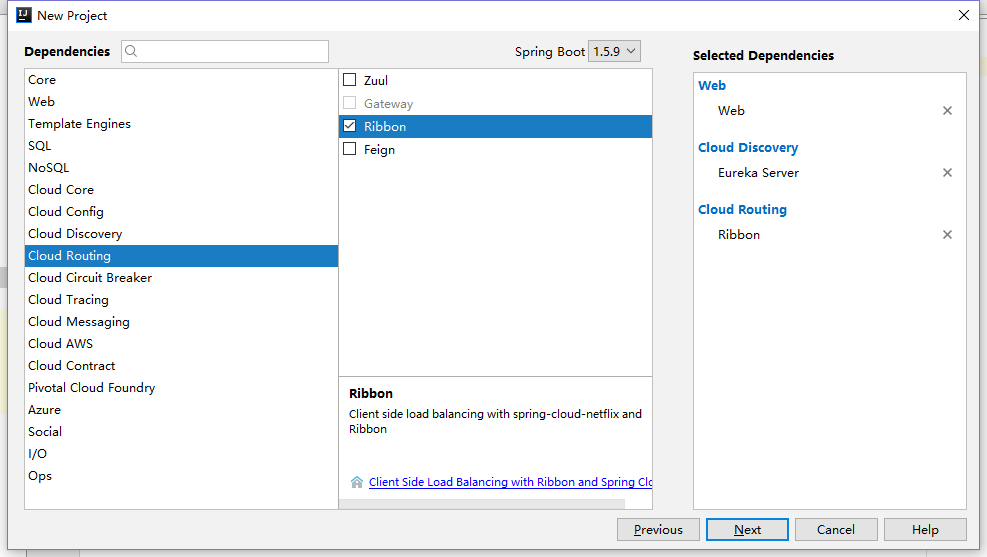
利用Rbbon创建客户端,其中group:com.human,Artifact:sbc-consumer,剩下基本上与创建注册中心相同,其中选择依赖时如下图:
完成后,pom.xml文件内容如下:
- <?xml version="1.0" encoding="UTF-8"?>
- <project xmlns="http://maven.apache.org/POM/4.0.0" xmlns:xsi="http://www.w3.org/2001/XMLSchema-instance"
- xsi:schemaLocation="http://maven.apache.org/POM/4.0.0 http://maven.apache.org/xsd/maven-4.0.0.xsd">
- <modelVersion>4.0.0</modelVersion>
- <groupId>com.human</groupId>
- <artifactId>sbc-consumer</artifactId>
- <version>0.0.1-SNAPSHOT</version>
- <packaging>jar</packaging>
- <name>sbc-service</name>
- <description>Demo project for Spring Boot</description>
- <parent>
- <groupId>org.springframework.boot</groupId>
- <artifactId>spring-boot-starter-parent</artifactId>
- <version>1.5.9.RELEASE</version>
- <relativePath/> <!-- lookup parent from repository -->
- </parent>
- <properties>
- <project.build.sourceEncoding>UTF-8</project.build.sourceEncoding>
- <project.reporting.outputEncoding>UTF-8</project.reporting.outputEncoding>
- <java.version>1.8</java.version>
- <spring-cloud.version>Edgware.RELEASE</spring-cloud.version>
- </properties>
- <dependencies>
- <dependency>
- <groupId>org.springframework.boot</groupId>
- <artifactId>spring-boot-starter-web</artifactId>
- </dependency>
- <dependency>
- <groupId>org.springframework.cloud</groupId>
- <artifactId>spring-cloud-starter-eureka-server</artifactId>
- </dependency>
- <dependency>
- <groupId>org.springframework.cloud</groupId>
- <artifactId>spring-cloud-starter-ribbon</artifactId>
- </dependency>
- <dependency>
- <groupId>org.springframework.boot</groupId>
- <artifactId>spring-boot-starter-test</artifactId>
- <scope>test</scope>
- </dependency>
- </dependencies>
- <dependencyManagement>
- <dependencies>
- <dependency>
- <groupId>org.springframework.cloud</groupId>
- <artifactId>spring-cloud-dependencies</artifactId>
- <version>${spring-cloud.version}</version>
- <type>pom</type>
- <scope>import</scope>
- </dependency>
- </dependencies>
- </dependencyManagement>
- <build>
- <plugins>
- <plugin>
- <groupId>org.springframework.boot</groupId>
- <artifactId>spring-boot-maven-plugin</artifactId>
- </plugin>
- </plugins>
- </build>
- </project>
修改程序主类,内容如下:
- package com.human.sbconsumer;
- import org.springframework.boot.SpringApplication;
- import org.springframework.boot.autoconfigure.SpringBootApplication;
- import org.springframework.cloud.client.discovery.EnableDiscoveryClient;
- import org.springframework.cloud.client.loadbalancer.LoadBalanced;
- import org.springframework.context.annotation.Bean;
- import org.springframework.web.client.RestTemplate;
- @EnableDiscoveryClient
- @SpringBootApplication
- public class SbcConsumerApplication {
- @Bean
- @LoadBalanced
- RestTemplate restTemplate(){
- return new RestTemplate();
- }
- public static void main(String[] args) {
- SpringApplication.run(SbcConsumerApplication.class, args);
- }
- }
修改配置文件application.properties,内容如下:
- server.port=8083
- eureka.client.service-url.defaultZone=http\://localhost\:8081/eureka/
- spring.application.name=cloud-simple-consumer
新增HelloController文件,内容如下:
- package com.human.sbconsumer;
- import org.springframework.beans.factory.annotation.Autowired;
- import org.springframework.stereotype.Controller;
- import org.springframework.web.bind.annotation.RequestMapping;
- import org.springframework.web.bind.annotation.ResponseBody;
- import org.springframework.web.bind.annotation.RestController;
- import org.springframework.web.client.RestTemplate;
- @RestController
- public class HelloController {
- @Autowired
- RestTemplate restTemplate;
- @RequestMapping("/")
- public String hello()
- {
- return restTemplate.getForEntity("http://cloud-simple-service/",String.class).getBody();
- }
- }
至此编码完成.
5~运行
先运行注册中心项目(sbc-service),然后运行服务提供者项目(sbc-user),打开浏览器输入地址:http://localhost:8081/,显示内容如下:
其中红色框内,说明服务提供者注册成功,此时访问地址:http://localhost:8082/ 输出文本:hello KinY ~KoKo,说明服务提供者正常运行,下面运行服务消费者(sbc-consumer),再访问http://localhost:8081/ 发现变成如下内容:
说明服务客户端也成功注册,下面直接访问 http://localhost:8083/ 浏览器输出文本:hello KinY ~KoKo 大功告成!!
至此一个简配的微服务架构搭建完毕.
6~补充
①:在选择端口时注意不要与其他程序冲突
②:其中消费者基于Ribbon创建,Ribbon是基于http和tcp的客户端负载均衡器
微服务示例-Spring Cloud的更多相关文章
- 微服务与Spring Cloud概述
微服务与Spring Cloud随着互联网的快速发展, 云计算近十年也得到蓬勃发展, 企业的IT环境和IT架构也逐渐在发生变革,从过去的单体应用架构发展为至今广泛流行的微服务架构. 微服务是一种架构风 ...
- [转帖]微服务框架Spring Cloud介绍 Part1: 使用事件和消息队列实现分布式事务
微服务框架Spring Cloud介绍 Part1: 使用事件和消息队列实现分布式事务 http://skaka.me/blog/2016/04/21/springcloud1/ APR 21ST, ...
- 2.微服务开发框架——Spring Cloud
微服务开发框架—Spring Cloud 2.1. Spring Cloud简介及其特点 简介: Spring Cloud为开发人员提供了快速构建分布式系统中一些常见 ...
- 消息驱动微服务:Spring Cloud Stream
最近在学习Spring Cloud的知识,现将消息驱动微服务:Spring Cloud Stream 的相关知识笔记整理如下.[采用 oneNote格式排版]
- 什么是微服务架构 Spring Cloud?
1 为什么微服务架构需要Spring Cloud 简单来说,服务化的核心就是将传统的一站式应用根据业务拆分成一个一个的服务,而微服务在这个基础上要更彻底地去耦合(不再共享DB.KV,去掉重量级ESB) ...
- 微服务网关 Spring Cloud Gateway
1. 为什么是Spring Cloud Gateway 一句话,Spring Cloud已经放弃Netflix Zuul了.现在Spring Cloud中引用的还是Zuul 1.x版本,而这个版本是 ...
- 微服务框架-Spring Cloud
Spring Cloud入门 微服务与微服务架构 微服务架构是一种新型的系统架构.其设计思路是,将单体架构系统拆分为多个可以相互调用.配合的独立运行的小程序.这每个小程序对整体系统所提供的功能就称为微 ...
- 微服务与Spring Cloud资料
Microservices Using Spring Boot and Spring Cloud 微服务注册中心 Eureka 架构深入解读 50+ 顶级开源 Kubernetes 工具列表 Apol ...
- 微服务之Spring cloud
微服务 Spring cloud Spring Cloud provides tools for developers to quickly build some of the common patt ...
随机推荐
- 【BZOJ 1020】 [SHOI2008]安全的航线flight
[题目链接]:http://www.lydsy.com/JudgeOnline/problem.php?id=1020 [题意] [题解] 二分+判断点是否在多边形区域内+计算点到直线的最短距离 对于 ...
- Springboot系列:@SpringBootApplication注解
在使用 Springboot 框架进行开发的时候,通常我们会在 main 函数上添加 @SpringBootApplication 注解,今天为大家解析一下 @SpringBootApplicatio ...
- 【31.58%】【codeforces 682D】Alyona and Strings
time limit per test2 seconds memory limit per test256 megabytes inputstandard input outputstandard o ...
- 经Gradle采取Jenkins的build
如今,企业都太多Jenkins去管理apk,后该代码被提交jenkins在生成build 因此,我们可以得到jenkins提交版本 Jenkins在编制job什么时候,有一个内置的可变BUILD_NU ...
- less - 循环 loop
.avatar-loop(@n, @i:1, @level) when (@i <= @n) { &:nth-child(@{level}) .item.item-@{i} { .ava ...
- sql获取数据库的所有表以及名称字段
获取数据库中所有的表 SELECT SysObjects.name AS Tablename FROM sysobjects WHERE xtype = 'U' 获取数据库中所有表的列名 SELECT ...
- 在内部架设NuGet服务器(转)
在公司内部有很多基础框架或者基础组件,甚至对于使用SOA架构的公司来说,会有大量的业务组件的契约程序集,对于这些框架或组件的引用管理有的人使用源代码管理工具,但是NuGet相比源代码管理工具更方便: ...
- tinkerpop(1) 地图数据库console科研
原创文章连接: http://blog.csdn.net/freewebsys/article/details/46348975 转载请注明出处. 1,关于图数据库 tinkerpop是apache孵 ...
- 使用WPF创建画图箭头
原文:使用WPF创建画图箭头 今天要给leader line画个箭头,所以就google一下,找到下面的文章,写的不错,可以实现我的需求,所以就摘录下来. 我把源代码中的arraw.cs加入到我的工程 ...
- ‘3 sigma’rule(68–95–99.7 rule)
不限标准正太分布,任一正太分布(normal distribution)均可. 围绕均值附近求得的区间概率: (μ−k⋅σ,μ+k⋅σ) Pr(μ−σ≤x≤μ+σ)≈0.6827Pr(μ−2σ≤x≤μ ...