【CentOS 7】nginx配置web服务器
1,安装过程
- [root@VM_1_14_centos ~]# cd /data/
- [root@VM_1_14_centos data]# wget http://nginx.org/download/nginx-1.15.7.tar.gz
- [root@VM_1_14_centos data]# tar -xvf nginx-1.15..tar.gz
- [root@VM_1_14_centos data]# mkdir //usr/local/nginx -p
- [root@VM_1_14_centos data]# ll
- total
- drwxr-xr-x Dec : nginx-1.15.
- -rw-r--r-- root root Nov : nginx-1.15..tar.gz
- [root@VM_1_14_centos data]# cd nginx-1.15./
- [root@VM_1_14_centos nginx-1.15.]# ./configure --prefix=/usr/local/nginx
- [root@VM_1_14_centos nginx-1.15.]#make&&make install
2,假设服务器外网IP为129.129.129.129,需要通过web访问的index文件是 /usr/index.html,index.html文件内容是:
- <!DOCTYPE html>
- <html>
- <head>
- <meta charset="UTF-8">
- <title></title>
- </head>
- <body>
- <h1>标题1</h1>
- <h2>标题2</h2>
- <h3>标题3</h3>
- <h4>标题4</h4>
- <h5>标题5</h5>
- <h6>标题6</h6>
- <h7>标题7</h7>
- </body>
- </html>
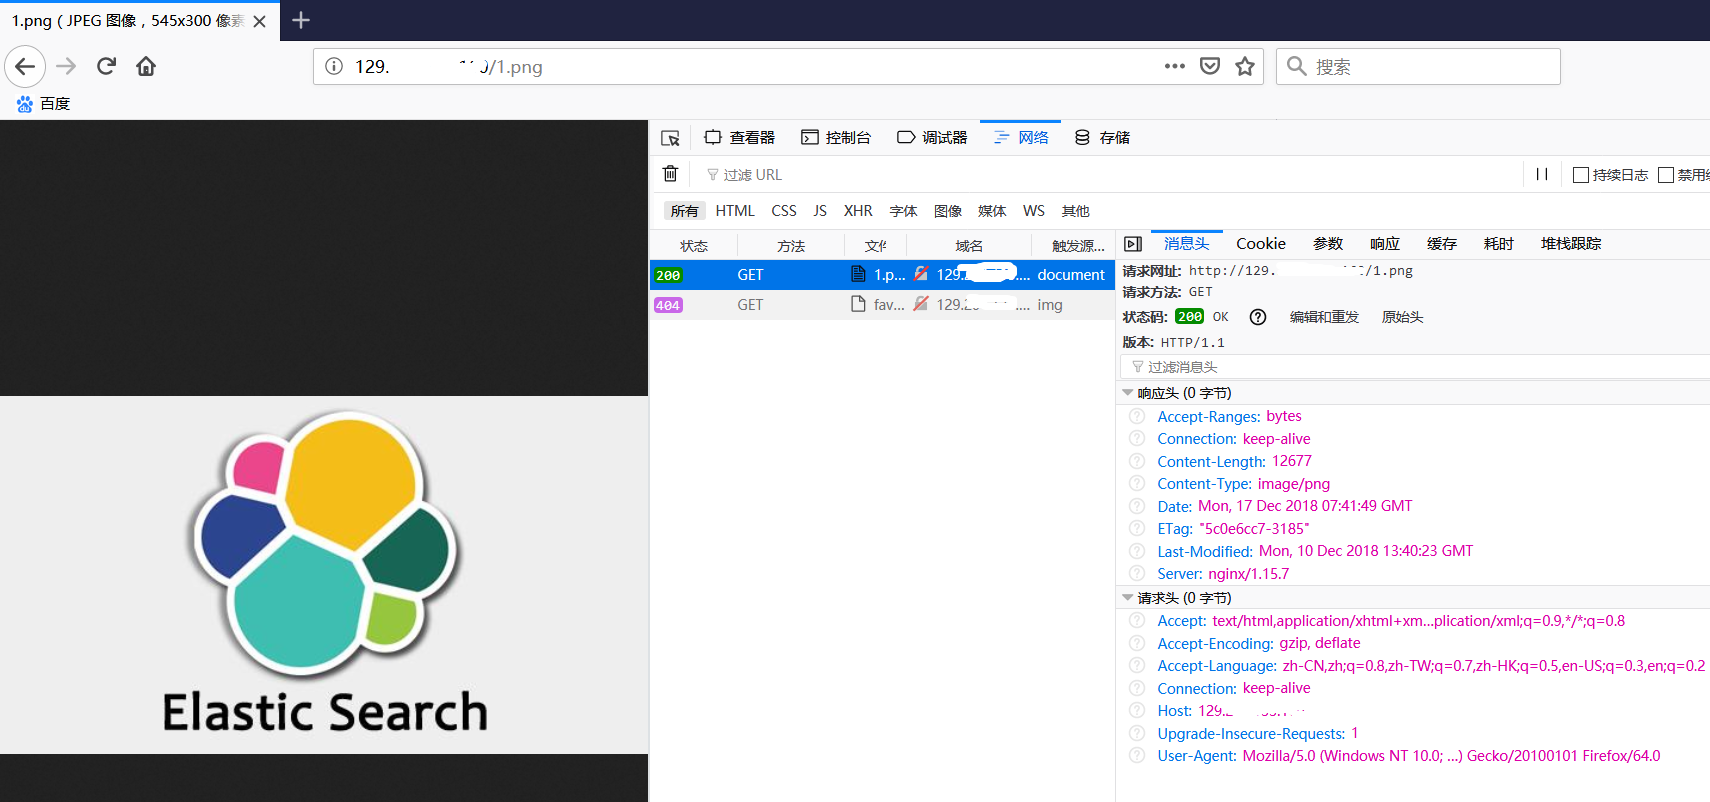
同时,需要访问某个图片文件/usr/1.png
3,此时我们需要配置nginx
- [root@VM_1_14_centos /]# cd /usr/local/nginx/conf/
- [root@VM_1_14_centos conf]#
- [root@VM_1_14_centos conf]#
- [root@VM_1_14_centos conf]#
- [root@VM_1_14_centos conf]# vim nginx.conf
- #user nobody;
- worker_processes ;
- #error_log logs/error.log;
- #error_log logs/error.log notice;
- #error_log logs/error.log info;
- #pid logs/nginx.pid;
- events {
- worker_connections ;
- }
- http {
- include mime.types;
- default_type application/octet-stream;
- #log_format main '$remote_addr - $remote_user [$time_local] "$request" '
- # '$status $body_bytes_sent "$http_referer" '
- # '"$http_user_agent" "$http_x_forwarded_for"';
- #access_log logs/access.log main;
- sendfile on;
- #tcp_nopush on;
- #keepalive_timeout ;
- keepalive_timeout ;
- #gzip on;
- server {
- listen ; #这里需要我们设置web访问的端口
- server_name 129.xxx.xxx.xxx; #这里设置web访问的IP,最终在浏览器访问 129.xxx.xxx.xxx:80/index.html
- #charset koi8-r;
- #access_log logs/host.access.log main;
- location / { #这里很重要,原因参考下一行
- root /usr; #这里更重要,root是指直接访问 IP:port 时,获取文件的根目录,如果上一行设置为 / ,则直接访问IP:port会去拉取 /usr下面的index.html
- index index.html index.htm; #接上一行,如果location后面设置了目录 /abc ,则访问IP:port时,会拉取 /usr/abc/index.html.
- }
- #error_page /.html;
- # redirect server error pages to the static page /50x.html
- #
- error_page /50x.html;
- location = /50x.html {
- root html;
- }
- # proxy the PHP scripts to Apache listening on 127.0.0.1:
- #
- #location ~ \.php$ {
- # proxy_pass http://127.0.0.1;
- #}
- # pass the PHP scripts to FastCGI server listening on 127.0.0.1:
- #
- #location ~ \.php$ {
- # root html;
- # fastcgi_pass 127.0.0.1:;
- # fastcgi_index index.php;
- # fastcgi_param SCRIPT_FILENAME /scripts$fastcgi_script_name;
- # include fastcgi_params;
- #}
- # deny access to .htaccess files, if Apache's document root
- # concurs with nginx's one
- #
- #location ~ /\.ht {
- # deny all;
- #}
- }
- # another virtual host using mix of IP-, name-, and port-based configuration
- #
- #server {
- # listen ;
- # listen somename:;
- # server_name somename alias another.alias;
- # location / {
- # root html;
- # index index.html index.htm;
- # }
- #}
- # HTTPS server
- #
- #server {
- # listen ssl;
- # server_name localhost;
- # ssl_certificate cert.pem;
- # ssl_certificate_key cert.key;
- # ssl_session_cache shared:SSL:1m;
- # ssl_session_timeout 5m;
- # ssl_ciphers HIGH:!aNULL:!MD5;
- # ssl_prefer_server_ciphers on;
- # location / {
- # root html;
- # index index.html index.htm;
- # }
- #}
- }
4,启动nginx服务,使用上面的配置文件
- [root@VM_1_14_centos sbin]# pwd
- /usr/local/nginx/sbin
- [root@VM_1_14_centos sbin]# ./nginx -t #检查配置文件是否正确无误
- nginx: the configuration file /usr/local/nginx/conf/nginx.conf syntax is ok
- nginx: configuration file /usr/local/nginx/conf/nginx.conf test is successful
- [root@VM_1_14_centos sbin]# ./nginx -c /usr/local/nginx/conf/nginx.conf #使用上一步配置的nginx.conf启动nginx服务
- [root@VM_1_14_centos sbin]# ps -aux | grep nginx
- root 0.0 0.0 ? Ss : : nginx: master process ./nginx -c /usr/local/nginx/conf/nginx.conf
- nobody 0.0 0.0 ? S : : nginx: worker process
- root 0.0 0.0 pts/ S+ : : grep --color=auto nginx
5,使用浏览器打开对应IP:port
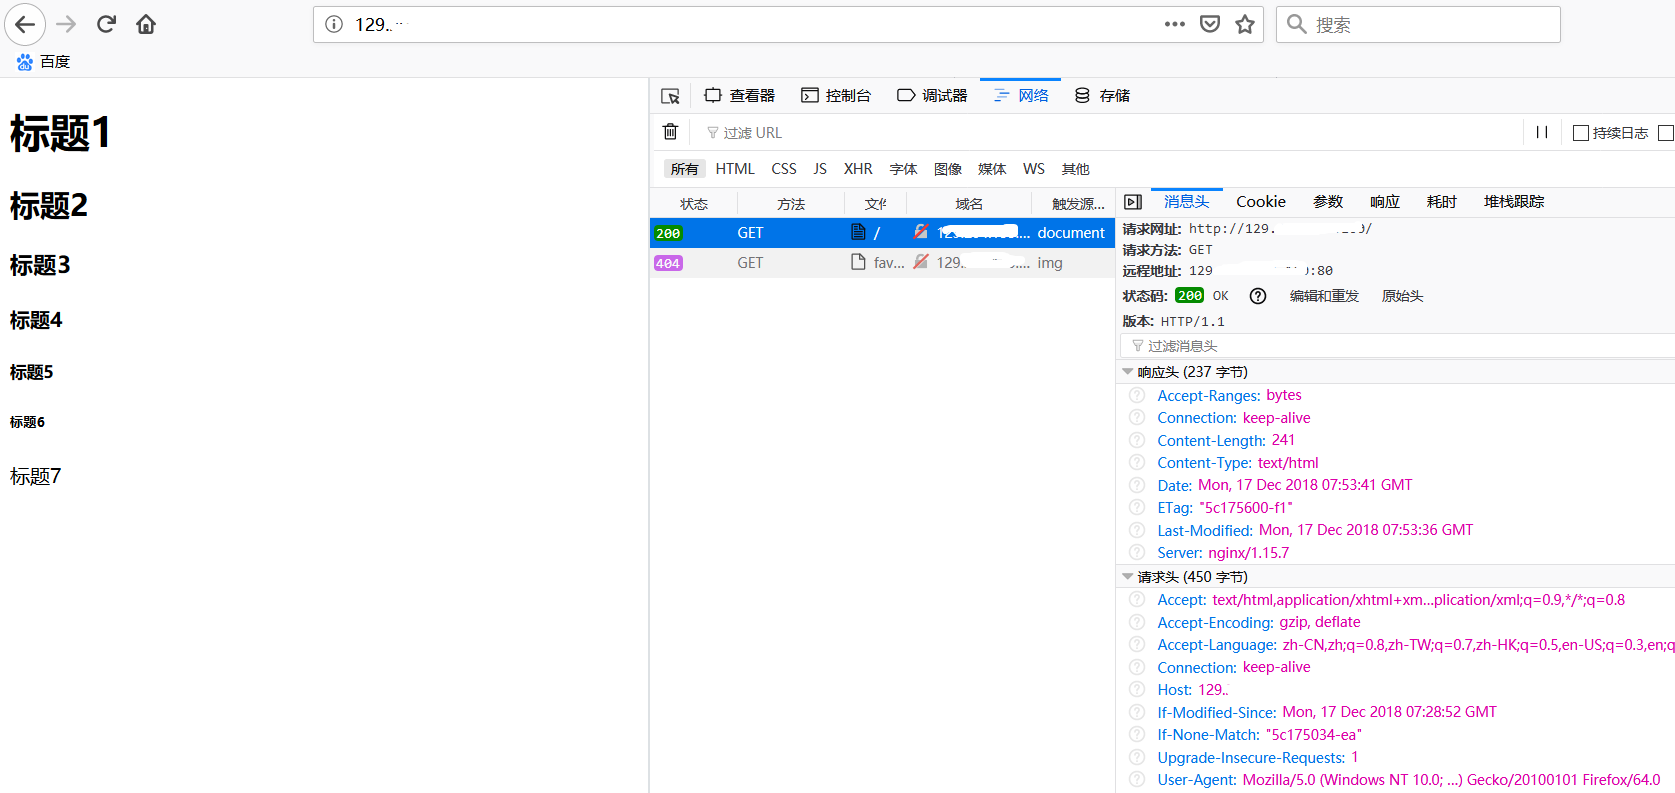
如上图,直接访问IP,会使用默认端口80并拉取index.html.
如果我们需要访问web服务器上的1.png图片,只需要访问url 129.xxx.xxx.xxx:80/1.png,若端口号设置为80时,在浏览器中访问也可以不带端口号。
【Finished】
附:
nginx常用命令
./nginx -s reload 重启nginx
./nginx -s stop 停止nginx
【CentOS 7】nginx配置web服务器的更多相关文章
- centos从头学习配置web服务器环境
为了学习linux下配置web服务器环境,于是安装了vmware,准备在虚拟机里面学习web服务器的搭建! 首先是在虚拟机里安装centos,我选择的是32位的centos6.6版本,因为新版本7据说 ...
- Centos下Nginx配置WEB访问日志并结合shell脚本定时切割
在一个成熟的WEB系统里,没有日志管理是不可以的,有了日志,可以帮助你得到用户地域来源.跳转来源.使用终端.某个URL访问量等相关信息:通过错误日志,你可以得到系统某个服务或server的性能瓶颈等. ...
- nginx配置web服务器
一:设置虚拟服务器 1.设置 http { server { listen 127.0.0.1:8080; server_name example.org www.example.org; } } 2 ...
- linux centOS下怎么配置web服务器
| 浏览:4503 | 更新:2011-12-07 17:45 1 2 3 分步阅读 下是我在配置web服务时作的一些记录,高手飘开或者看了指点一下,不胜感激,第一次配置,很多细节需要自己优化.适合环 ...
- linux使用nginx配置web服务器
环境: CenterOS 7 1.安装nginx之前先安装nginx所需的依赖包 yum -y install zlib zlib-devel openssl openssl-devel pcre p ...
- nginx高性能WEB服务器系列之六--nginx负载均衡配置+健康检查
nginx系列友情链接:nginx高性能WEB服务器系列之一简介及安装https://www.cnblogs.com/maxtgood/p/9597596.htmlnginx高性能WEB服务器系列之二 ...
- nginx高性能WEB服务器系列之五--实战项目线上nginx多站点配置
nginx系列友情链接:nginx高性能WEB服务器系列之一简介及安装https://www.cnblogs.com/maxtgood/p/9597596.htmlnginx高性能WEB服务器系列之二 ...
- nginx配置图片服务器
这几天研究了一下nginx配置图片服务器的相关内容,个人的一些收获与大家分享一下: Nginx是目前非常流行的web服务器,它起源于俄罗斯.它具有处理速度快,并发量大,占用资源极低等优点,尤其对于静态 ...
- NGINX高性能Web服务器详解(读书笔记)
原文地址:NGINX高性能Web服务器详解(读书笔记) 作者:夏寥寥 第4章 Nginx服务器的高级配置 4.1 针对IPv4的内核7个参数的配置优化 说明:我们可以将这些内核参数的值追加到Linu ...
随机推荐
- PostgreSQL学习----模式schema
PostgreSQL学习---模式schema 小序 接触PostgreSQL也有好长时间了,知识不总结梳理,似乎总不是自己的,继续努力吧少年!以此记录我的软件工艺之路! 模式(Schema) 一个 ...
- 【CF1009F】Dominant Indices
题目 长链剖分板子题啊 长链剖分有几个神奇的性质 所有长链的总点数为\(n\) 任意一个点的\(k\)级祖先所在长链的长度肯定不小于\(k\) 从任意点到根经过的短边数量不超过\(\sqrt{n}\) ...
- net mvc中实现记录用户登录信息(记住登录效果)
现记录用户登录信息(记住登录效果) 本文讲述了使用cookies实现网站记住登录效果,效果如下: 主要实现方法,当用户选择记住登录时建立cookies保存用户名和用户密码,当用户登录不选择记住登录时, ...
- Hadoop学习之路(八)在eclispe上搭建Hadoop开发环境
一.添加插件 将hadoop-eclipse-plugin-2.7.5.jar放入eclipse的plugins文件夹中 二.在Windows上安装Hadoop2.7.5 版本最好与Linux集群中的 ...
- 微信小程序、安卓APP、苹果APP对比分析
今天的话题主要是关于微信小程序.安卓APP.苹果APP对比分析.既然是对比分析肯定是将它们一个一个说明. 本篇不涉及技术话题,只讲解微信小程序.安卓APP.苹果APP它们各自的优缺点及其应用场景. 一 ...
- python 工具 eclipse pydev工具安装。
1.下载eclipse 2.下载java jre(这个会在运行eclipse的时候提示你下载,,根据系统型号下载就行) 3.下载完jre后,把目录下javaw.exe的路径添加到系统path环境变量中 ...
- 论文笔记 Pose-driven Deep Convolutional Model for Person Re-identification_tianqi_2017_ICCV
1. 摘要 为解决姿态变化的问题,作者提出Pose-driven-deep convolutional model(PDC),结合了global feature跟local feature, 而loc ...
- 《You dont know JS》原生函数
原生函数 原生函数,即JavaScript的内建函数(built-in function).常用的原生函数有String().Number().Boolean().Array().Object().F ...
- iPhone将NSString转换编码集为gb2312或者gbk的方法
很多时候软件读取的中文网页编码集是gb2312,所以显示出来的是乱码.这时需要将NSString文字编码转换.你可以试试以下代码 NSURL *url = [NSURL URLWithString:u ...
- PHP操作xml学习笔记之增删改查(1)—增加
xml文件 <?xml version="1.0" encoding="utf-8"?><班级> <学生> ...