Java基础00-IO流27
1. File
1.1 File类概述和构造方法

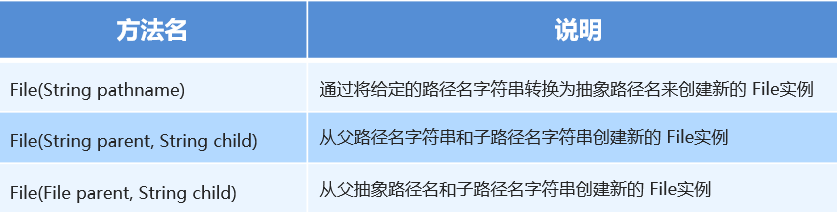
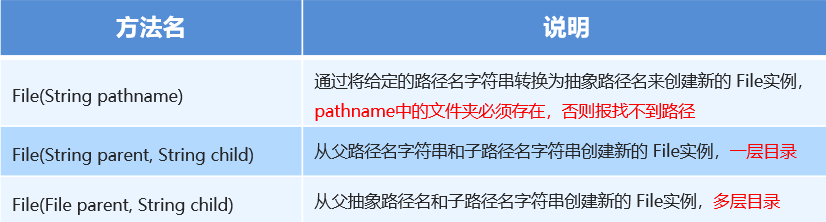
File的构造方法:
这三个构造方法可以做同样的事情
代码示例:
public class File1 {

    public static void main(String[] args) {

        // File(String pathname): 通过将给定的路径名字符串转换为抽象路径名来创建新的File实例。

        File f1 = new File("D:\\Hello\\Java.text");

        System.out.println(f1);

        // File(String parent, String child):从父路径名字符串和子路径名字符串创建新的File实例。

        File f2 = new File("D:\\Hello", "Java.text");

        System.out.println(f2);

        // File(File parent, String child): 从父抽象路径名和子路径名字符串创建新的File实例。

        File f3 = new File("D:\\Hello");

        File f4 = new File(f3, "java.text");

        System.out.println(f4);

    }

}
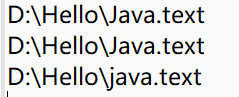
运行结果:
直接输入地址可以
分成两段,一段父路径,一段子路径,也是可以的
也可以将父路径放入File方法中,然后拼接,
最后输出的结果都是一样的
1.2 File创建功能
创建文件前,应该先创建父级目录
代码示例:
首先要有父级目录

public boolean createNewFile()方法
public class File2 {
//此处要抛出异常
public static void main(String[] args) throws IOException {
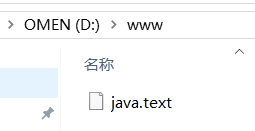
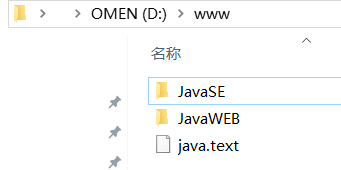
// 需求1:我要在D:\\www目录下创建一个文件java. txt
// 使用public boolean createNewFil()方法
File f1 = new File("D:\\www\\java.text");
System.out.println(f1.createNewFile());
}
}
运行结果:
true创建成功

如果再运行一次?
如果文件不存在,就创建文件,并返回true
如果文件存在,就不创建文件,并返回false
public boolean mkdir()方法
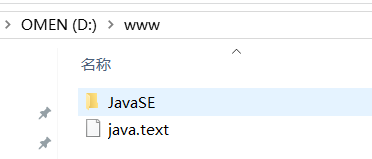
        // 需求2:我要在D:\\www目录下创建一个目录JavaSE

        // 使用public boolean mkdir()方法,创建由此抽象路径名命名的目录

        File f2 = new File("D:\\www\\JavaSE");

        System.out.println(f2.mkdir());
运行结果:
输出true表示创建成功
那么再运行有一次?
也是false
如果目录不存在,就创建目录,并返回true
如果目录存在,就不创建目录,并返回false
public boolean mkdirs()方法
        // 需求3:我要在D:\\www目录下创建一个多级目录JavaWEB\\HTML

        // 使用public boolean mkdirs()方法,创建由此抽象路径名命名的目录,包括任何必需但不存在的父目录

        File f3 = new File("D:\\www\\JavaWEB\\HTML");

        System.out.println(f3.mkdirs());
运行结果:
true表示创建成功
那么再运行一次?
如果多级目录不存在,就创建多级目录,并返回true
如果多级目录存在,就不创建多级目录,并返回false
1.3 File类删除功能和绝对、相对路径
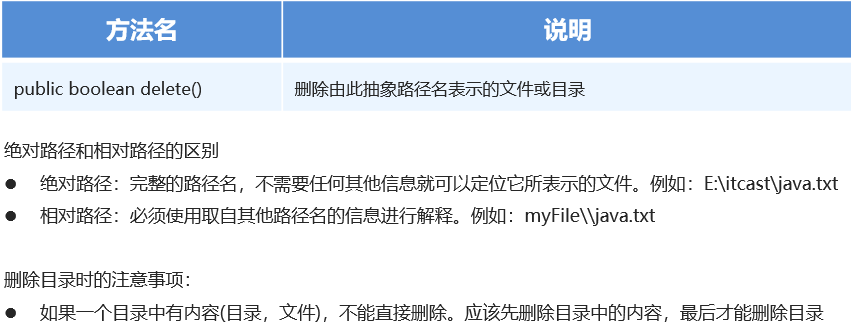
c:\\a\b,则删除b目录;
c:\\a\c.txt,则删除c.txt文件
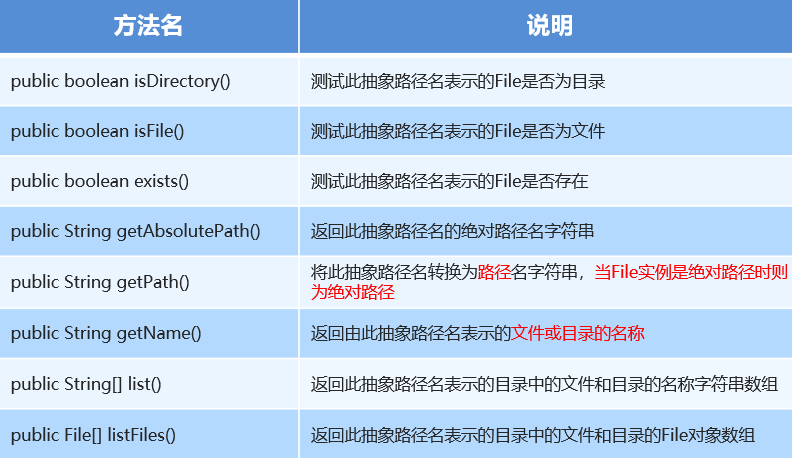
1.4 File类判断和和和获取功能
代码示例:
目录下:
public class File3 {
public static void main(String[] args) {
// 创建File对象
File file = new File("D:\\www\\Java.text");
// public boolean isDirectory(): 测试此抽象路径名表示的File是否为目录
// public boolean isFile(): 测试此抽象路径名表示的File是否为文件
// public boolean exists(): 测试此抽象路径名表示的File是否存在
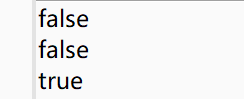
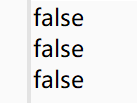
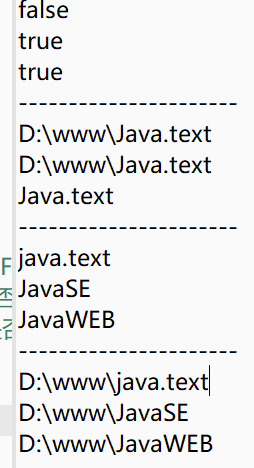
System.out.println(file.isDirectory());
System.out.println(file.isFile());
System.out.println(file.exists());
System.out.println("----------------------");
// public String getAbsolutePath(): 返回此抽象路径名的绝对路径名字符串
// public String getPath(): 将此抽象路径名转换为路径名字符串
// public String getName(): 返回由此抽象路径名表示的文件或目录的名称
System.out.println(file.getAbsolutePath());
System.out.println(file.getPath());
System.out.println(file.getName());
System.out.println("----------------------");
File file2 = new File("D:\\www");
// public String[] list(): 返回此抽象路径名表示的目录中的文件和目录的名称字符串数组
//此方法返回的是一个字符串的数组
String[] list = file2.list();
for (String s1 : list) {
System.out.println(s1);
}
System.out.println("----------------------");
// public File[] listFiles(): 返回此抽象路径名表示的目录中的文件和目录的File对象数组
//此方法返回的是一个File对象的数组
File[] listFiles = file2.listFiles();
for (File f1 : listFiles) {
//使用次方法的好处是可以进行File的操作,因为此数组是一个File对象
//如果此处想查询的只是目录下的文件和文件名就可是使用getName()方法
//还可以加判断,判断查询的对象是目录还是文件
System.out.println(f1);
}
}
}
运行结果:
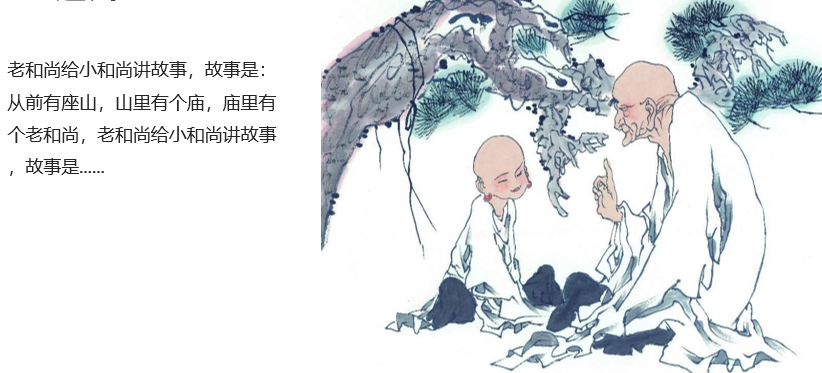
1.5 递归

代码示例:
public class File4 {

    public static void main(String[] args) {

        System.out.println(f(20));

    }

    public static int f(int n) {

        //当n=1或2是结束递归

        if (n == 1 || n == 2) {

            return 1;

        } else {

            return f(n - 1) + f(n - 2);

        }

    }

}
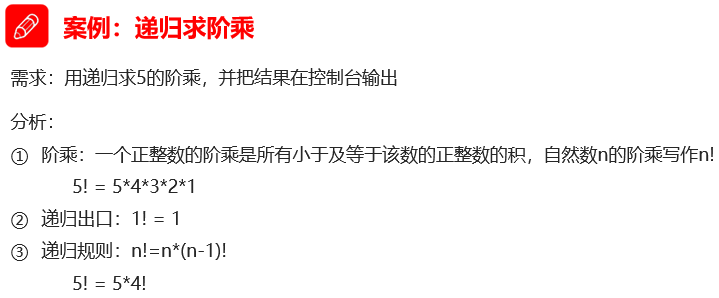
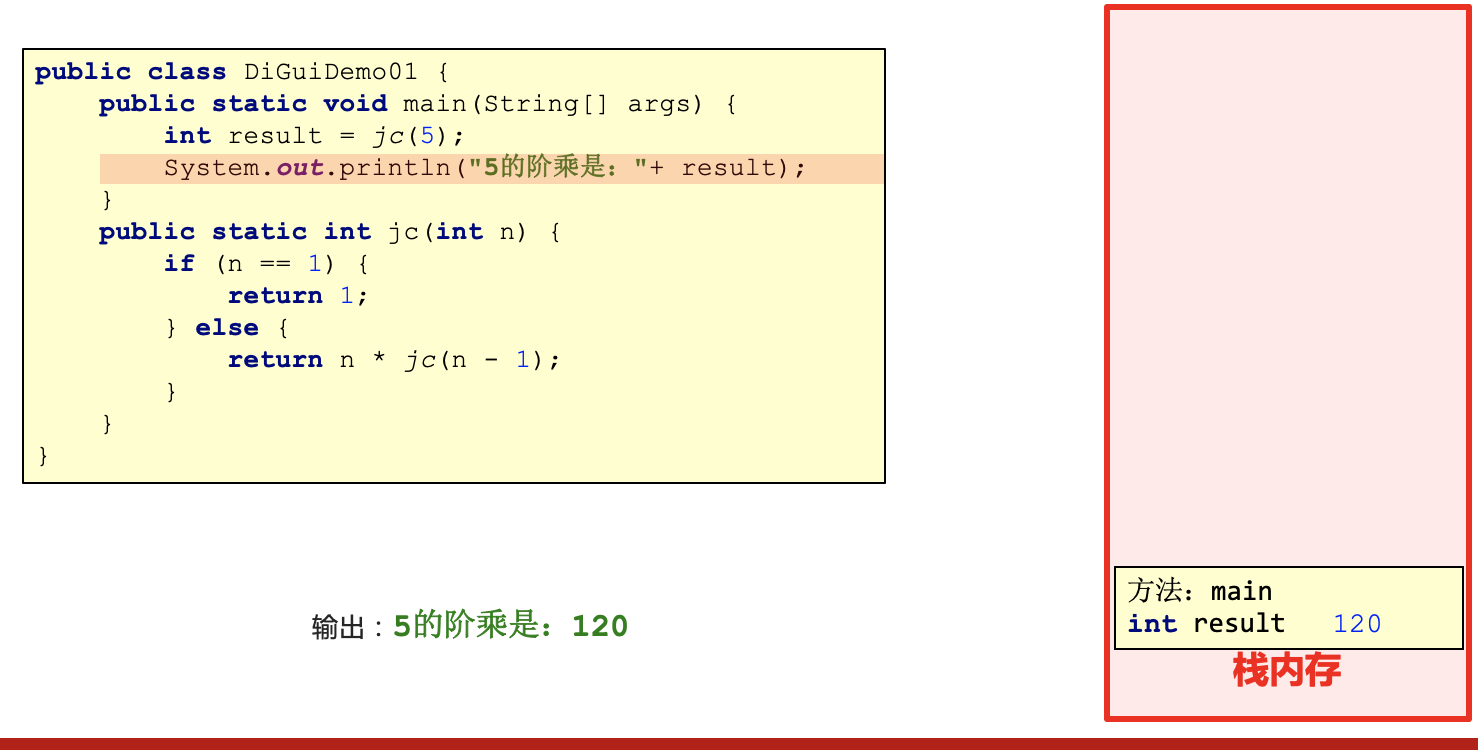
1.5.1 用递归求阶乘
代码示例:
public class File4 {

    public static void main(String[] args) {

        // 调用方法

        int result = jc(5);

        // 输出结果

        System.out.println("5的阶乘是:" + result);

    }

    // 定义一个方法,用于递归求阶乘,参数为-个int类型的变量

    public static int jc(int n) {

        // 在方法内部判断该变量的值是否是1

        if (n == 1) {

            // 是,返回1

            return 1;

        } else {

            // 不是,返回n*(n-1)

            return n * jc(n - 1);

        }

    }

}
运行结果:
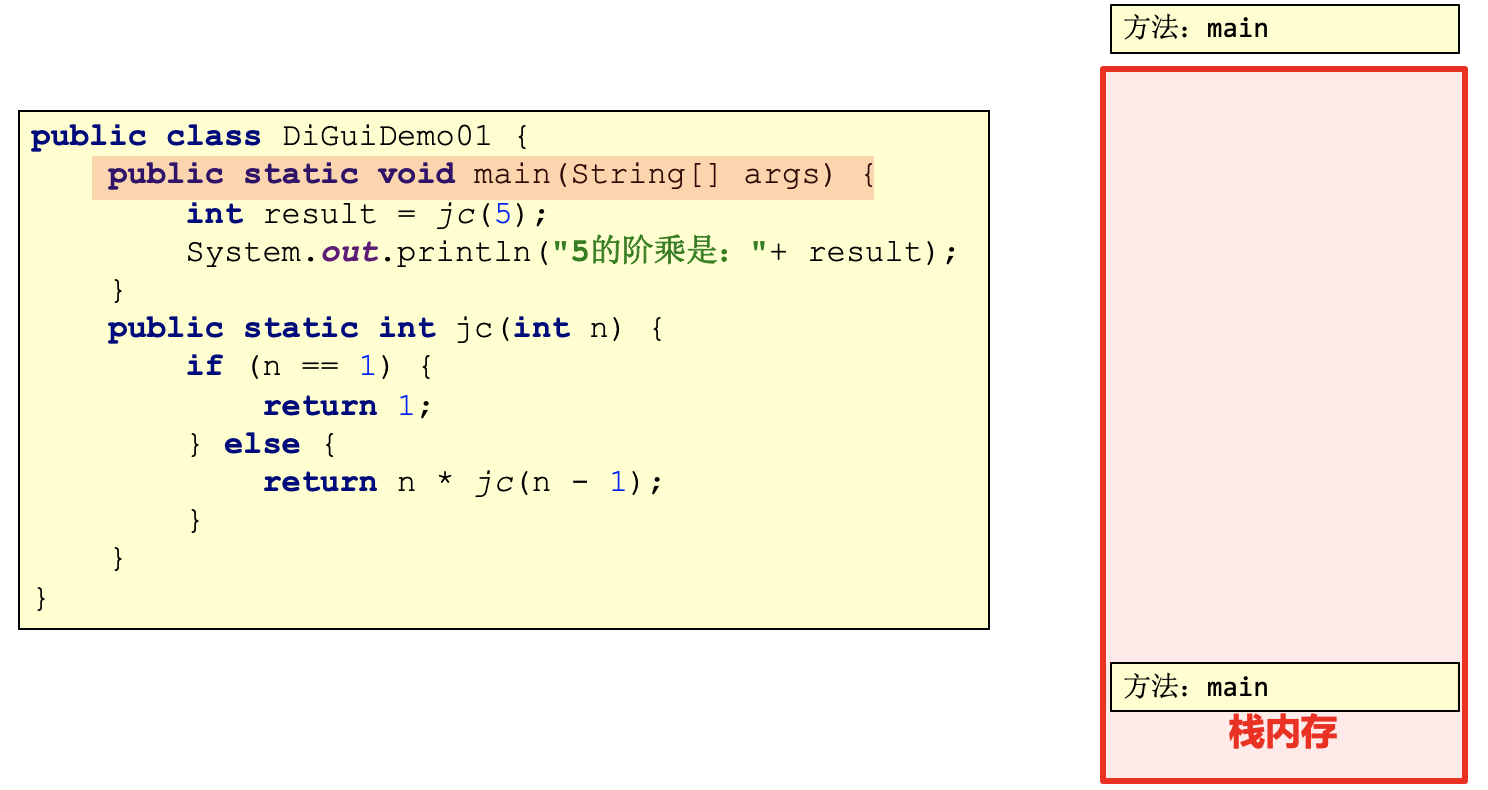
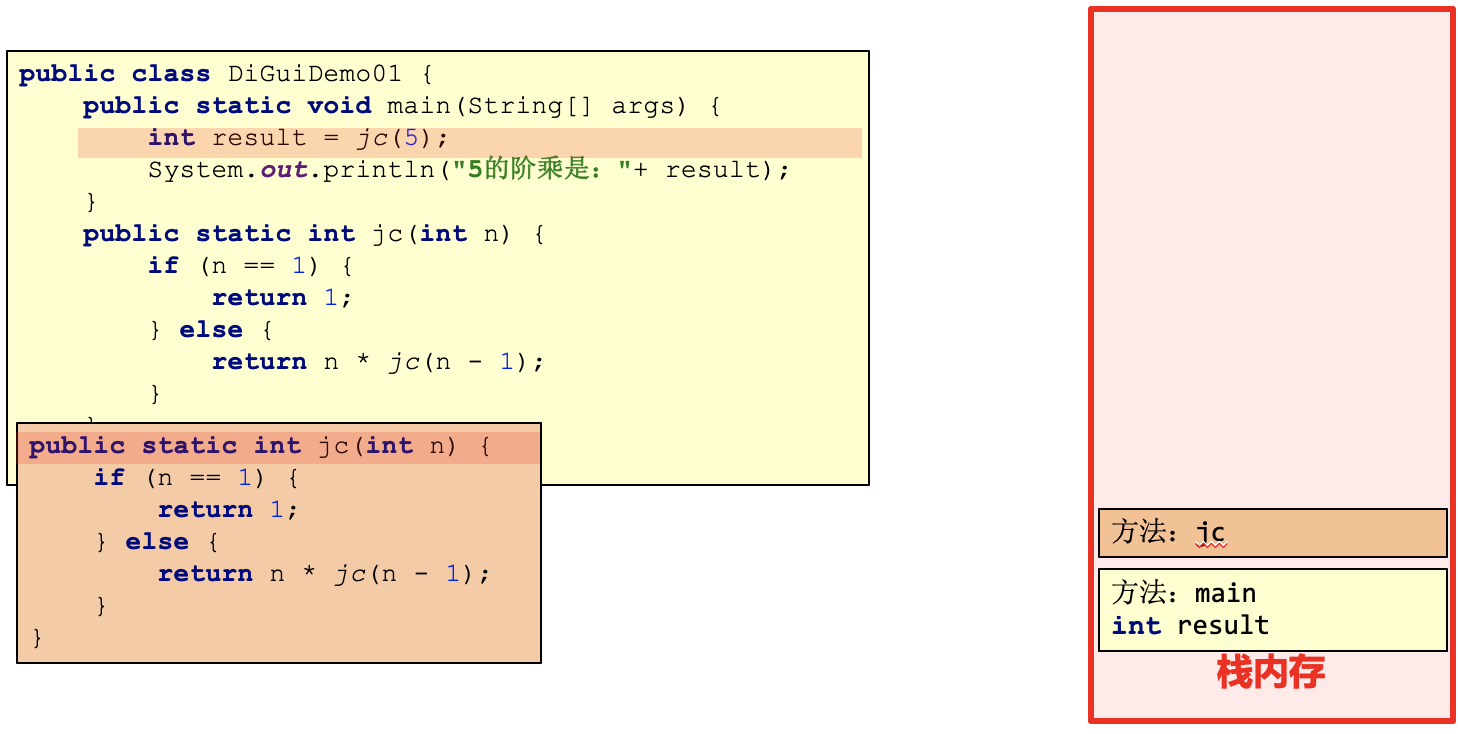
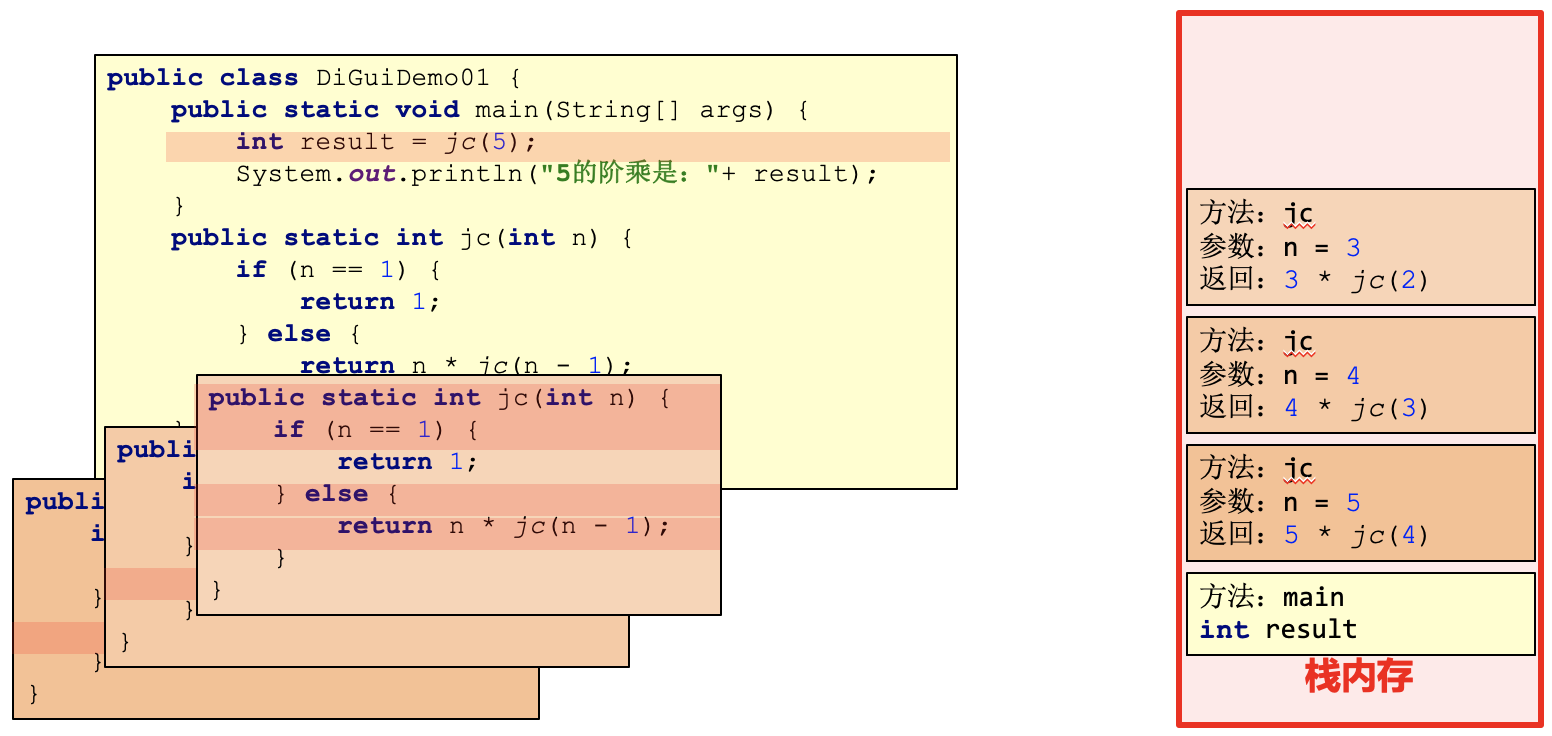
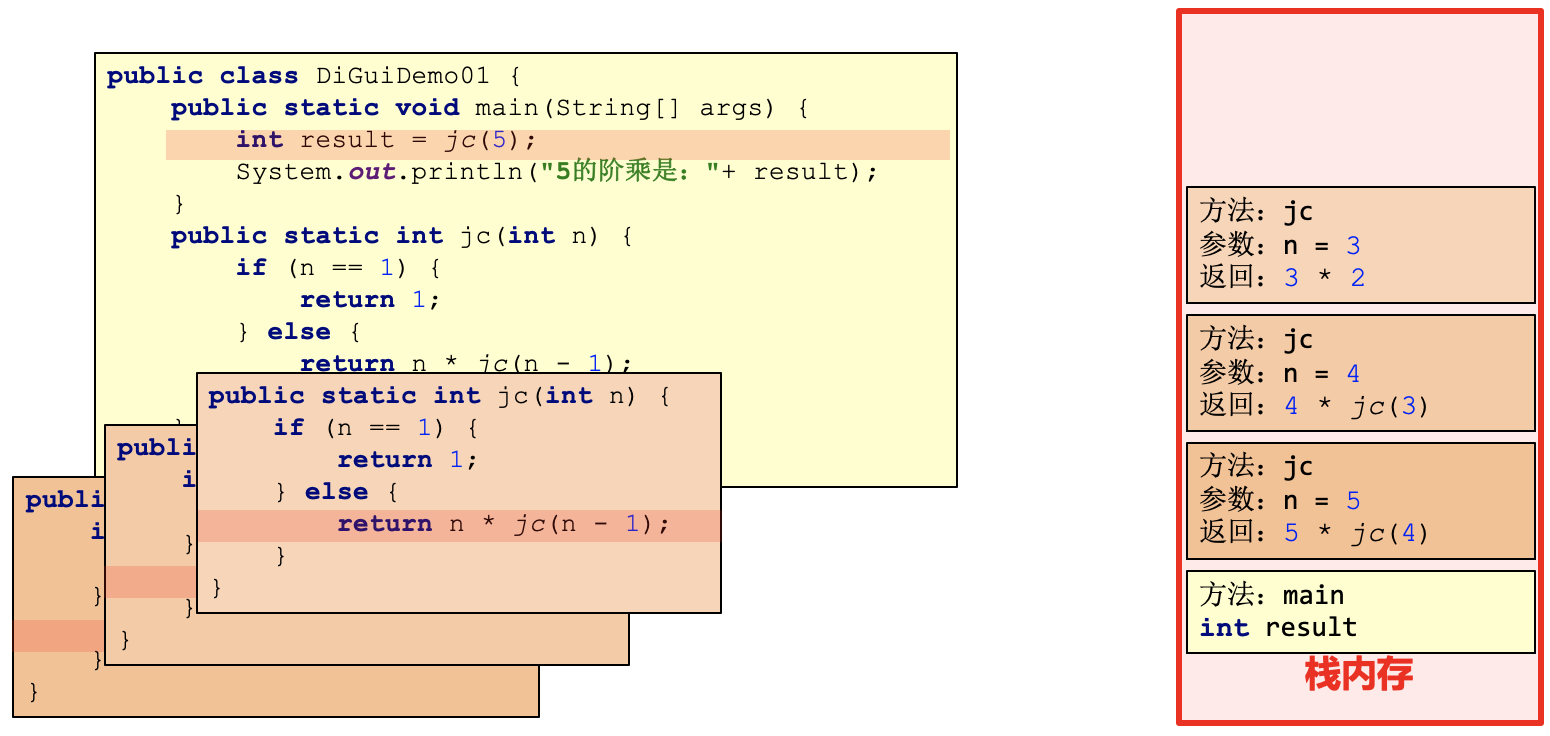
1.5.2 递归的内存图
运行mian方法,加载到栈内存
调用jc方法,result遍历接受jc的返回,result放入栈内存,执行jc方法
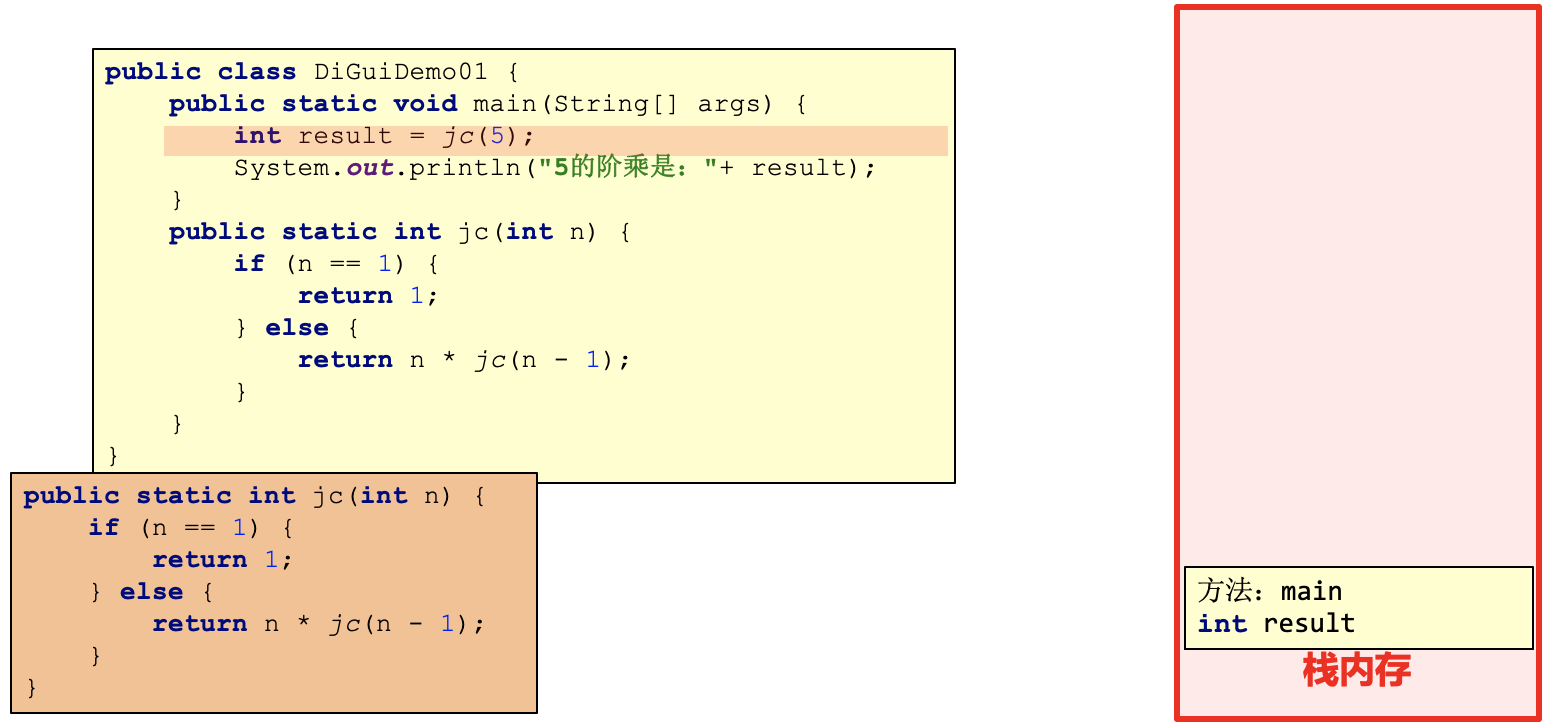
调用jc方法,将jc放入栈内存
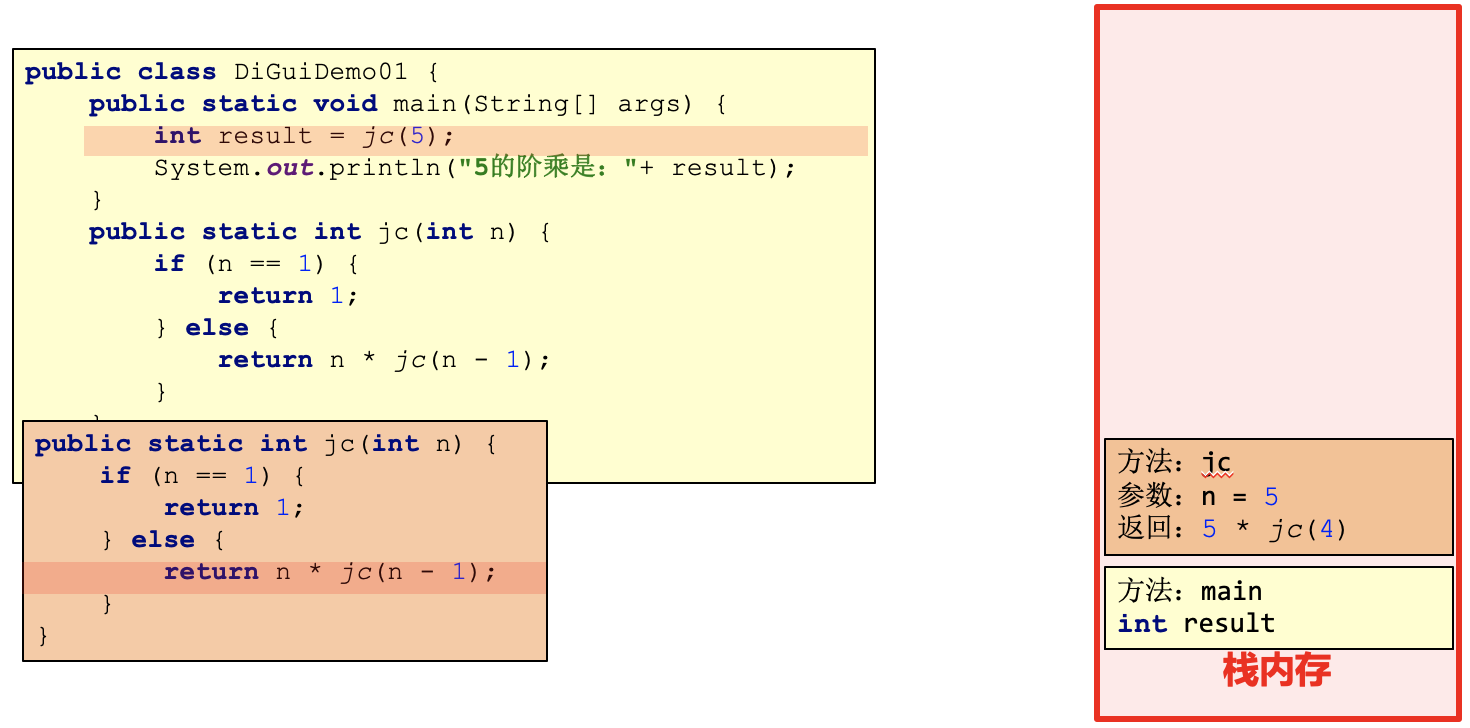
n的值是5,jc的参数就是5
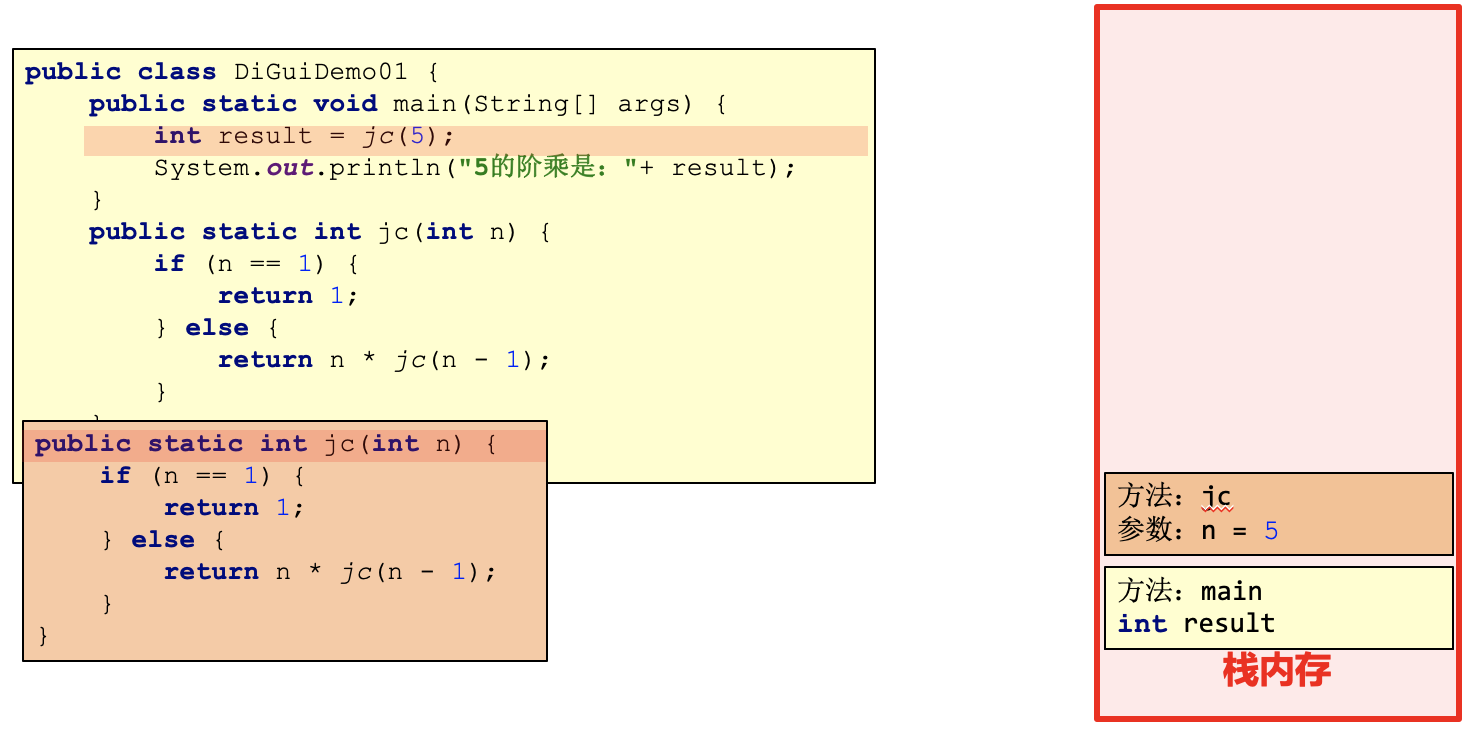
有了参数,下一步就是判断,而5不等于1,所以返回的是5 * jc(4)
\
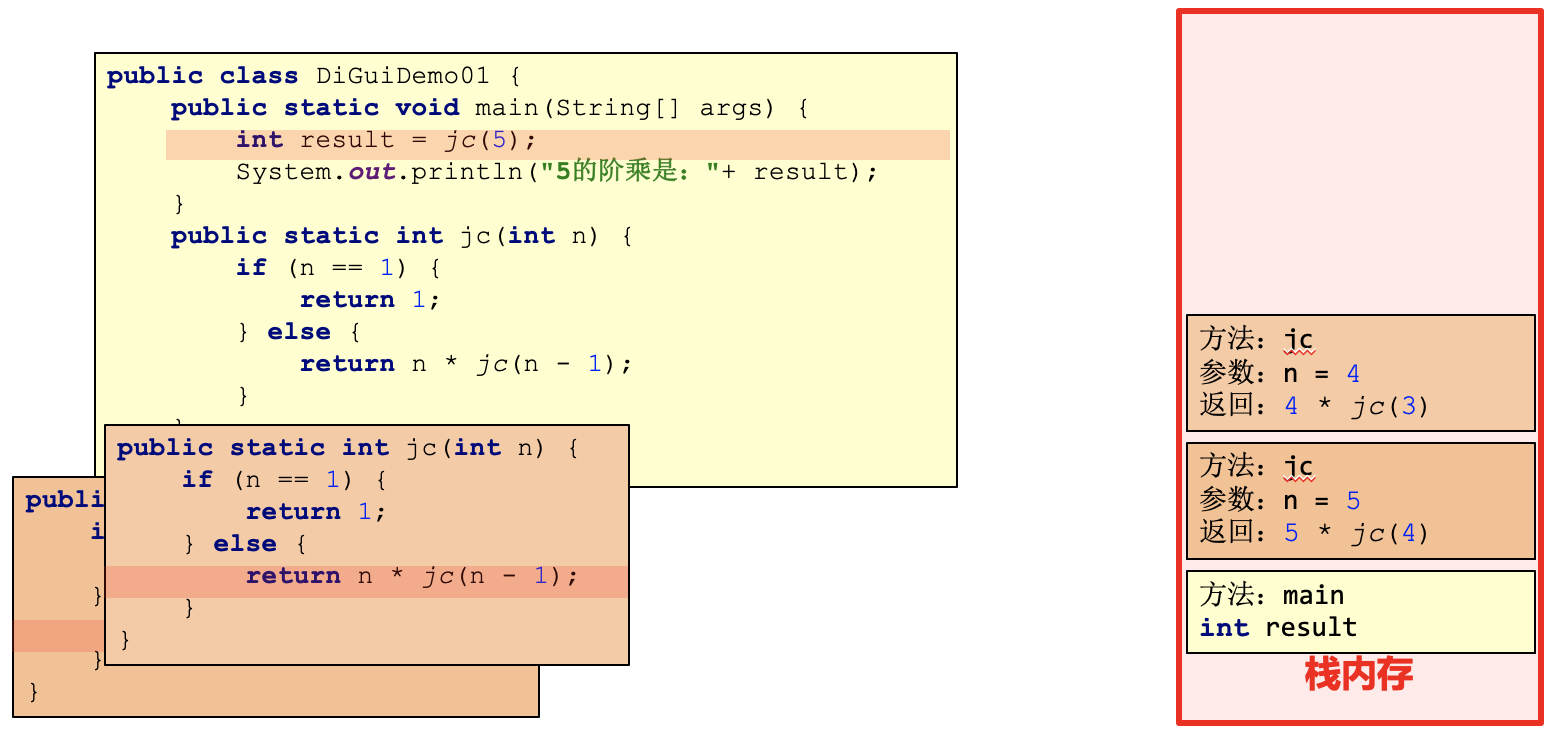
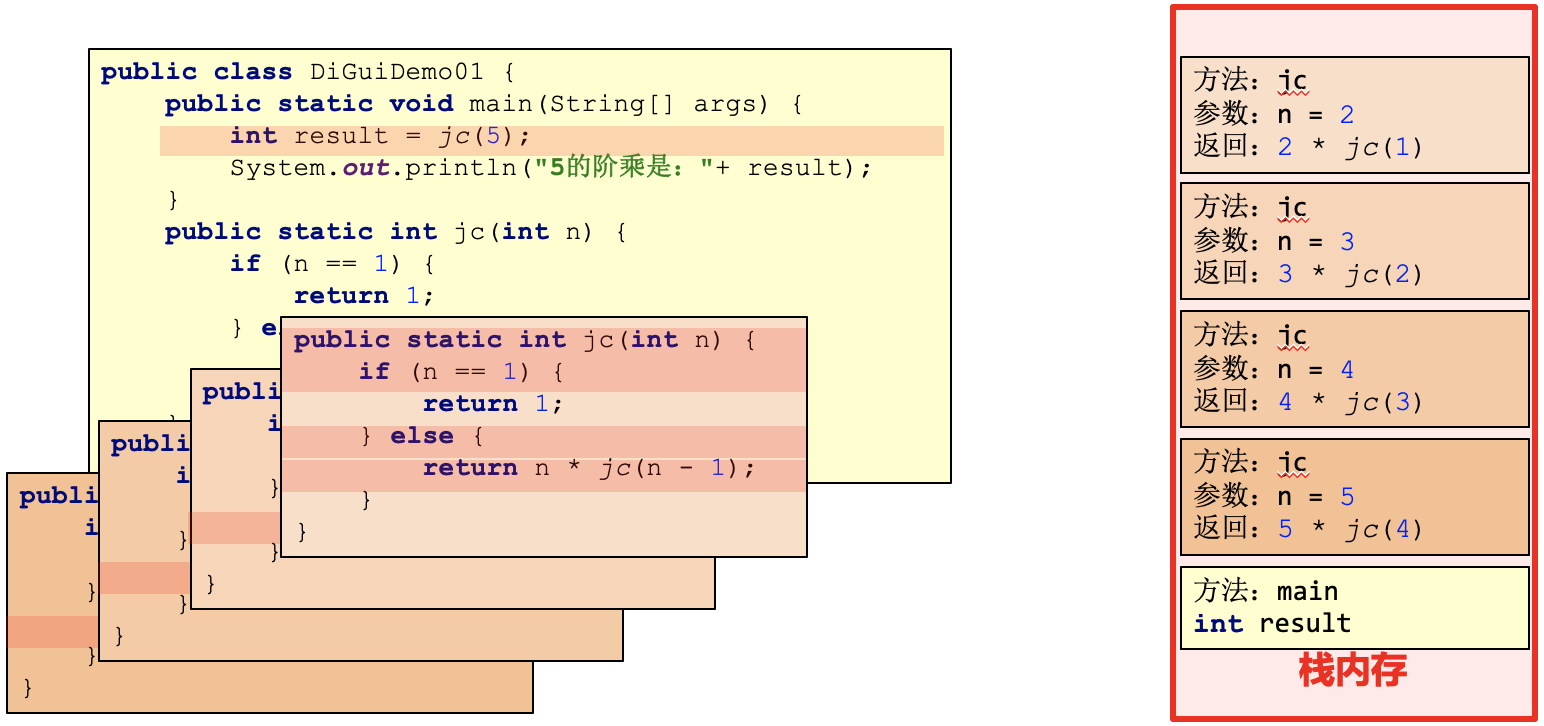
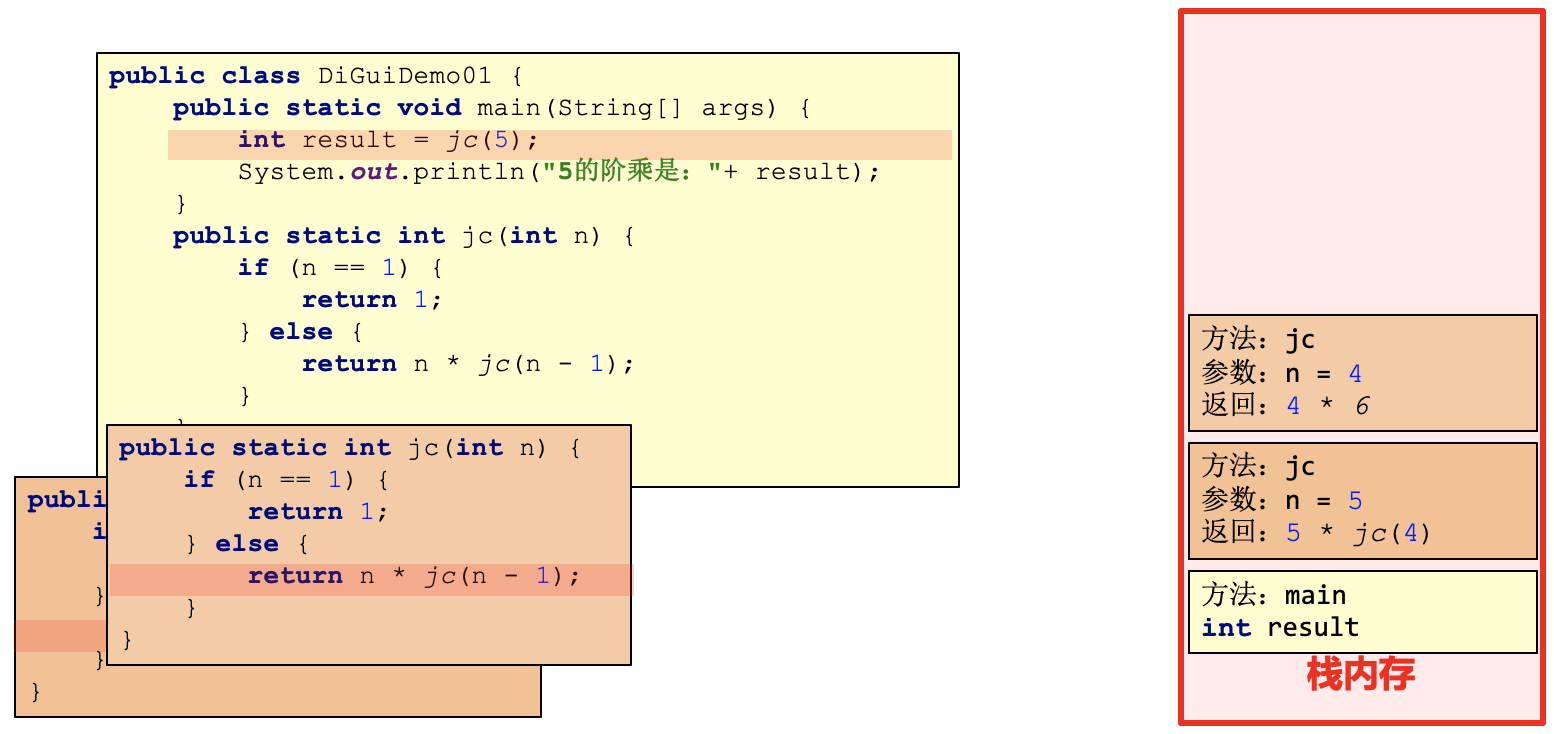
但是在返回值中又调用了jc的方法,这次的参数是4,进行判断,4不等于1,所以这次还是进入else,而返回值是4 * jc(3)
返回值中又掉用了jc方法,这次的参数是3,判断不等于1,进入else方法,这次的返回值是3 * jc(2)
返回值中又调用了jc方法,这次的参数是2,判断不等于1,进入else方法,这次的返回值是2 * jc(1)
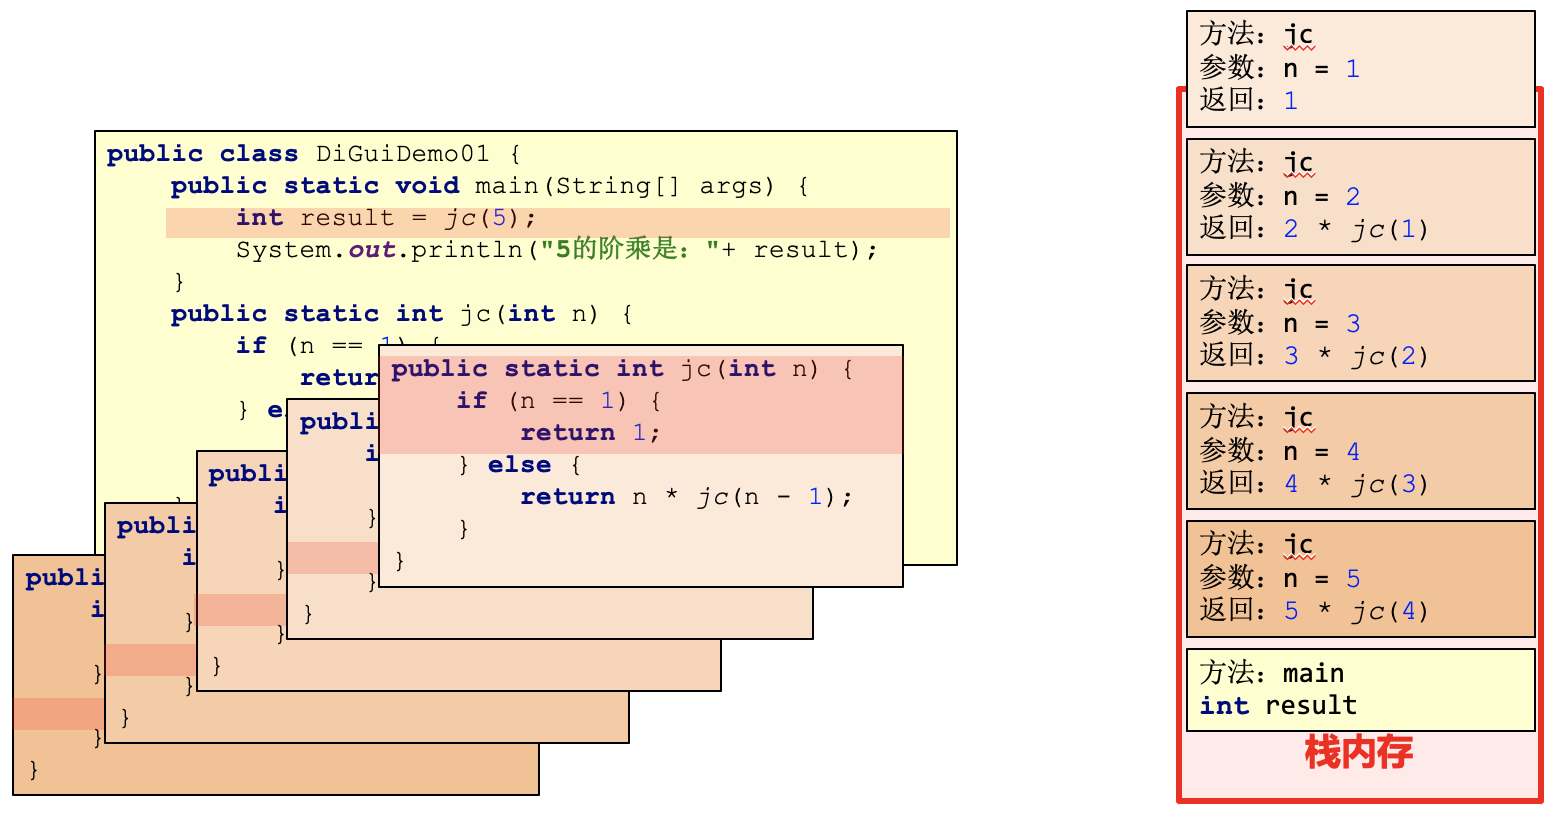
返回值中有调用了jc方法,这次的参数是1,判断等于1所以进入if中,返回1,结束递归。
调用jc(5)方法的时候,它会依次调用,直到参数为1时,返回1才结束递归。
这是进栈的过程,出栈的过程向下看
出栈的过程
栈顶的第一个方法返回的是1,方法结束从栈内存消失。

栈顶的第二个方法接受到栈顶的第一个方法返回的值1,结果就是2*1,等于2,返回的就是2,运算结束从栈内存消失。
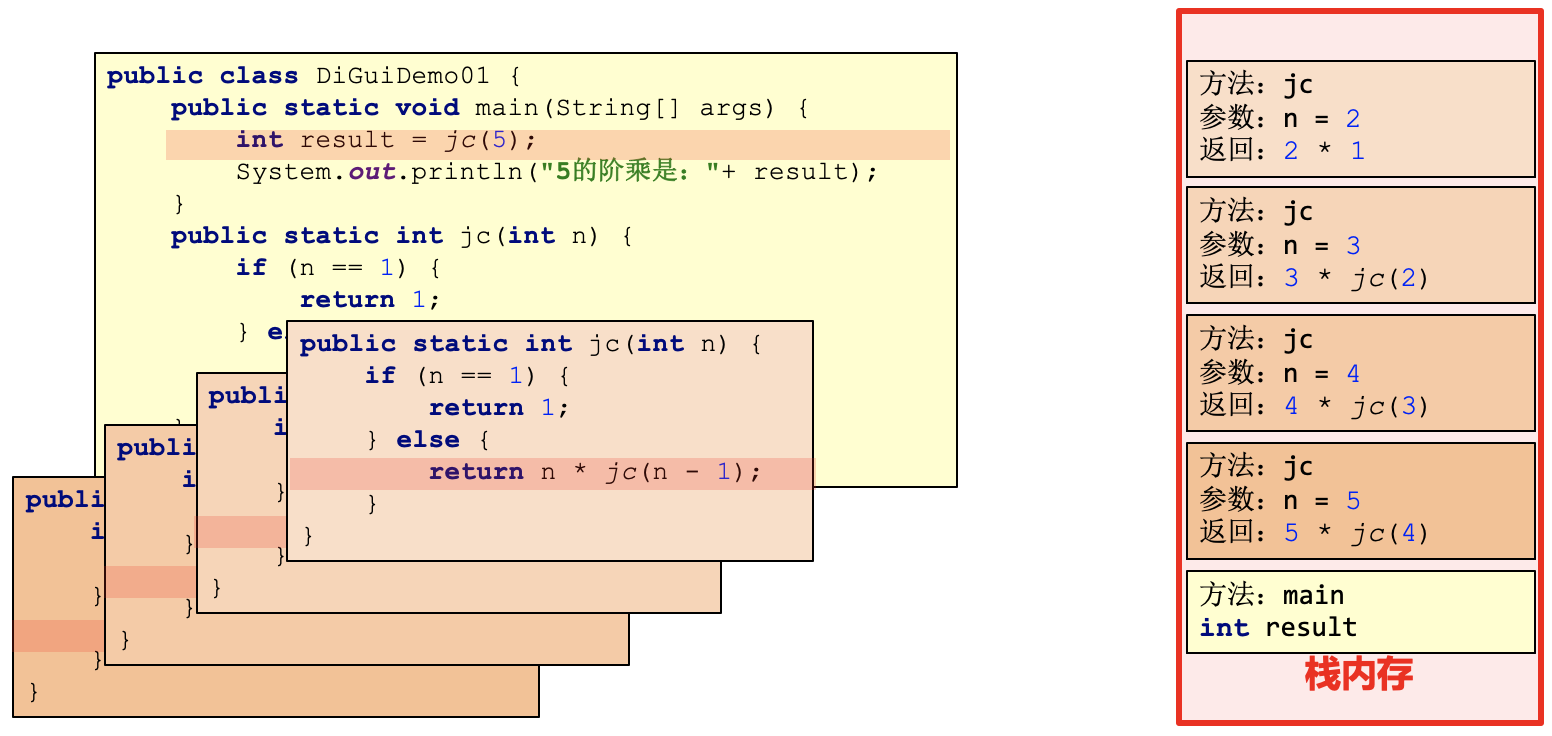
依次类推
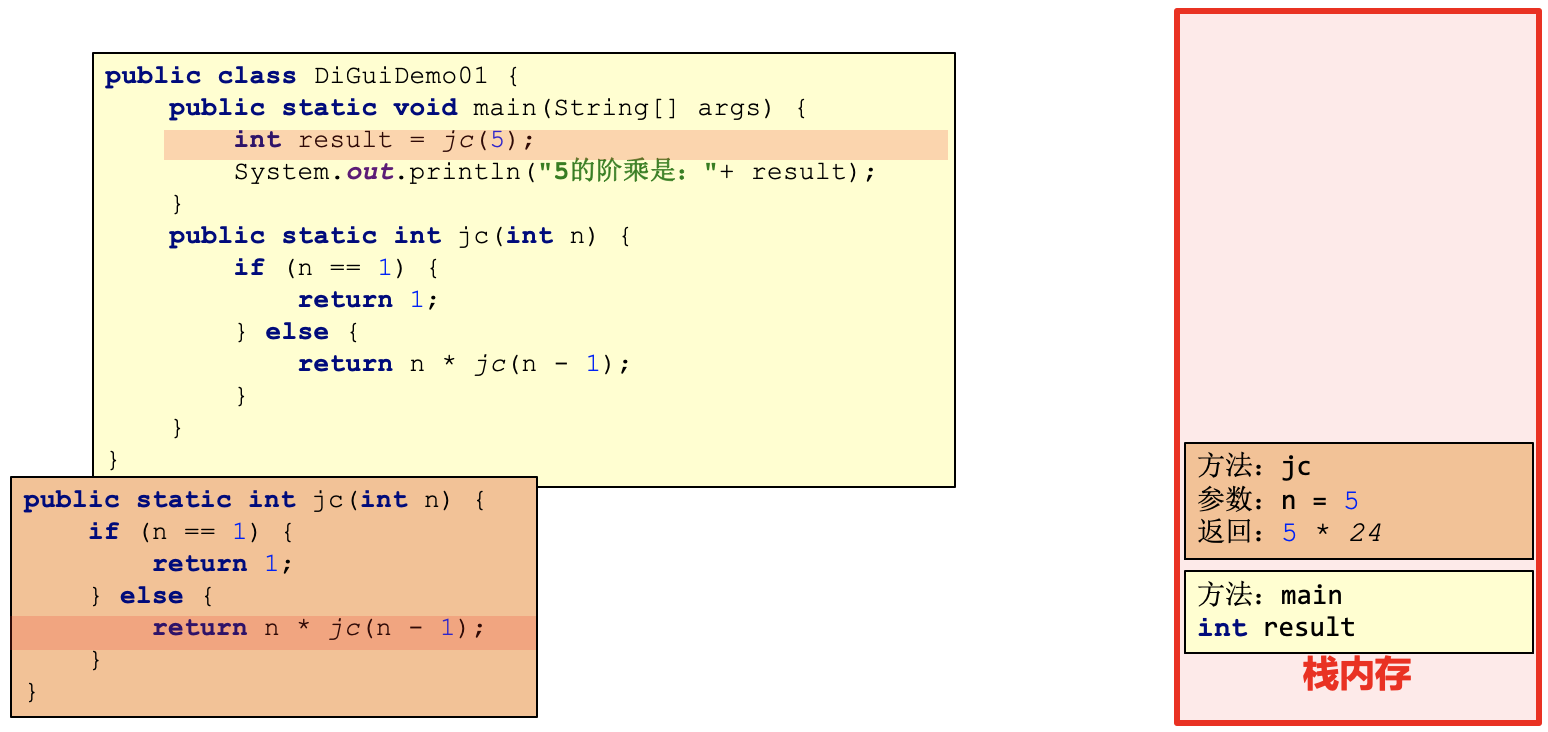
最终结果是120
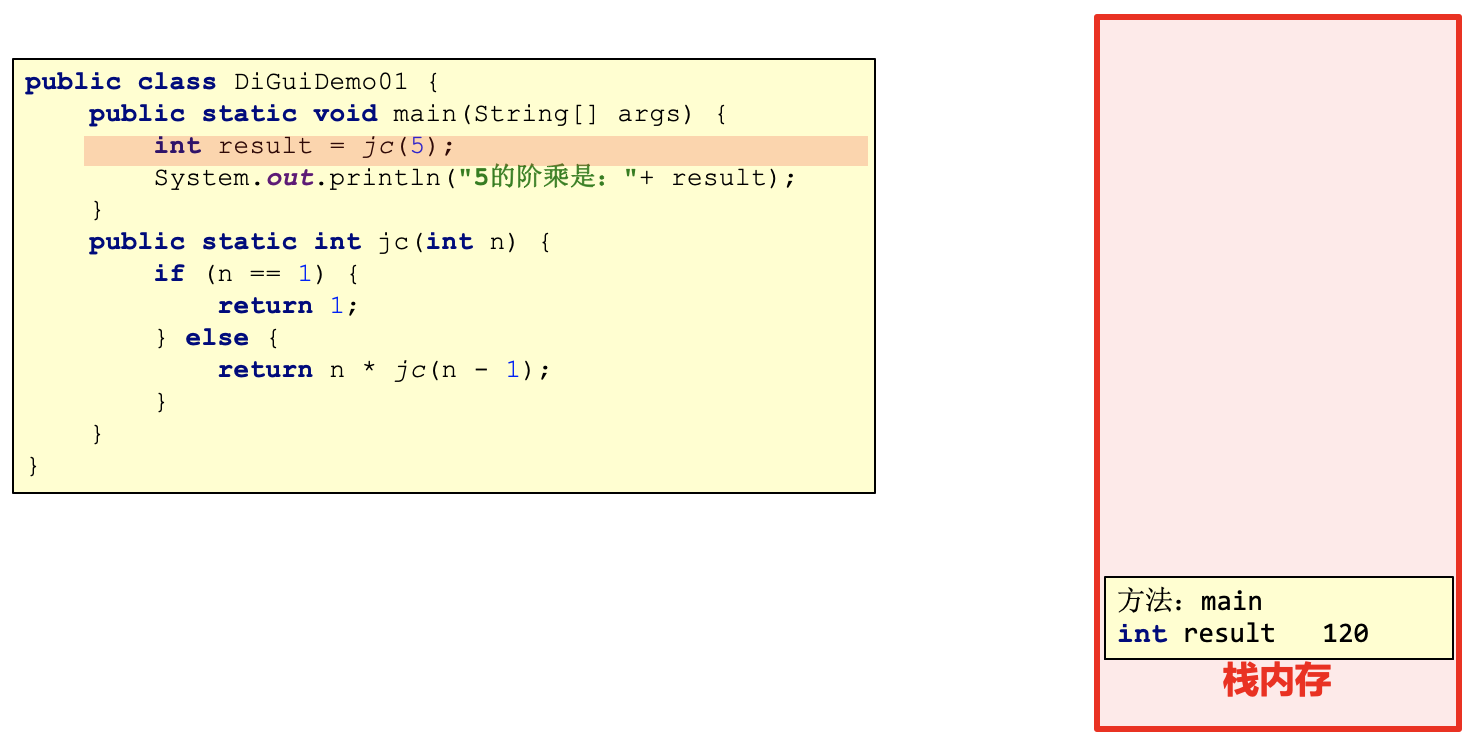
输出结果
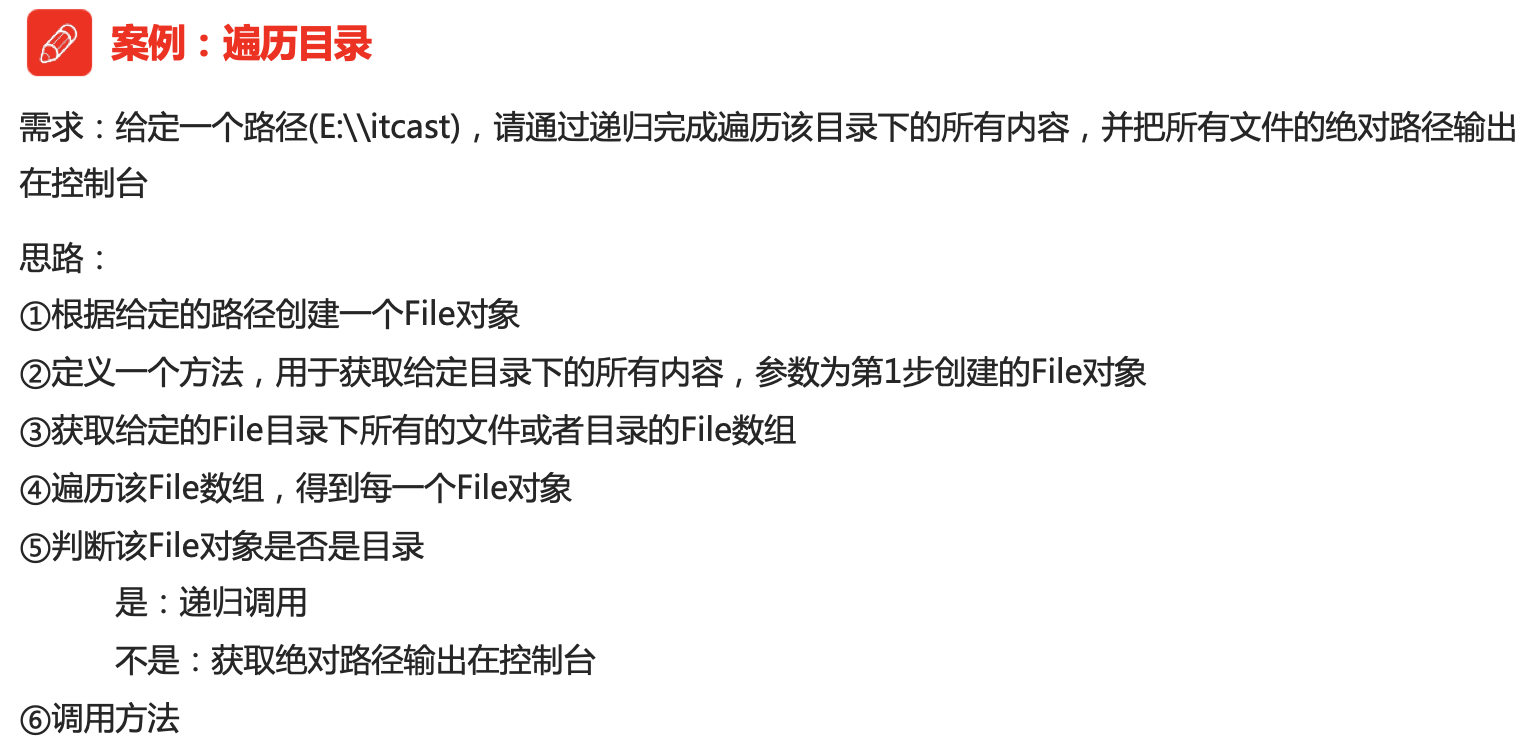
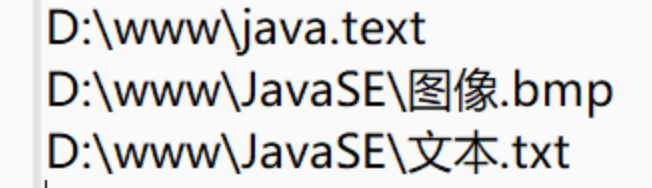
1.5.3 遍历目录
代码示例:
public class File5 {

    public static void main(String[] args) {

        // 根据给定的路径创建一个File对象

        File srcFile = new File("D:\\www");

        // 调用方法

        getAllFilePath(srcFile);

    }

    // 定义一个方法,用于获取给定目录下的所有内容,参数为第1步创建的File对象

    public static void getAllFilePath(File srcFile) {

        // 获取给定的File目录下所有的文件或者目录的File数组

        File[] listFiles = srcFile.listFiles();

        // 遍历该File数组,得到每一个File对象

        // 为了增强代码的健壮性,建议加一个是否为null的判断

        if (listFiles != null) {

            for (File file : listFiles) {

                // 判断该File对象是否是目录

                if (file.isDirectory()) {

                    // 是,调用递归

                    getAllFilePath(file);

                } else {

                    // 不是:获取绝对路径输出在控制台

                    System.out.println(file.getAbsolutePath());

                }

            }

        }

    }

}
public class FilesDiGui {

    public static void main(String[] args) {

        File a = new File("C:\\software2");

        dg(a);

    }

    public static void dg(File file){

        File[] files = file.listFiles();

        if(file.isFile()){

            System.out.println(file.getAbsolutePath());

        }else if (file.isDirectory()){

            for(File fi : files){

                dg(fi);

            }

        }

    }

}
运行结果:
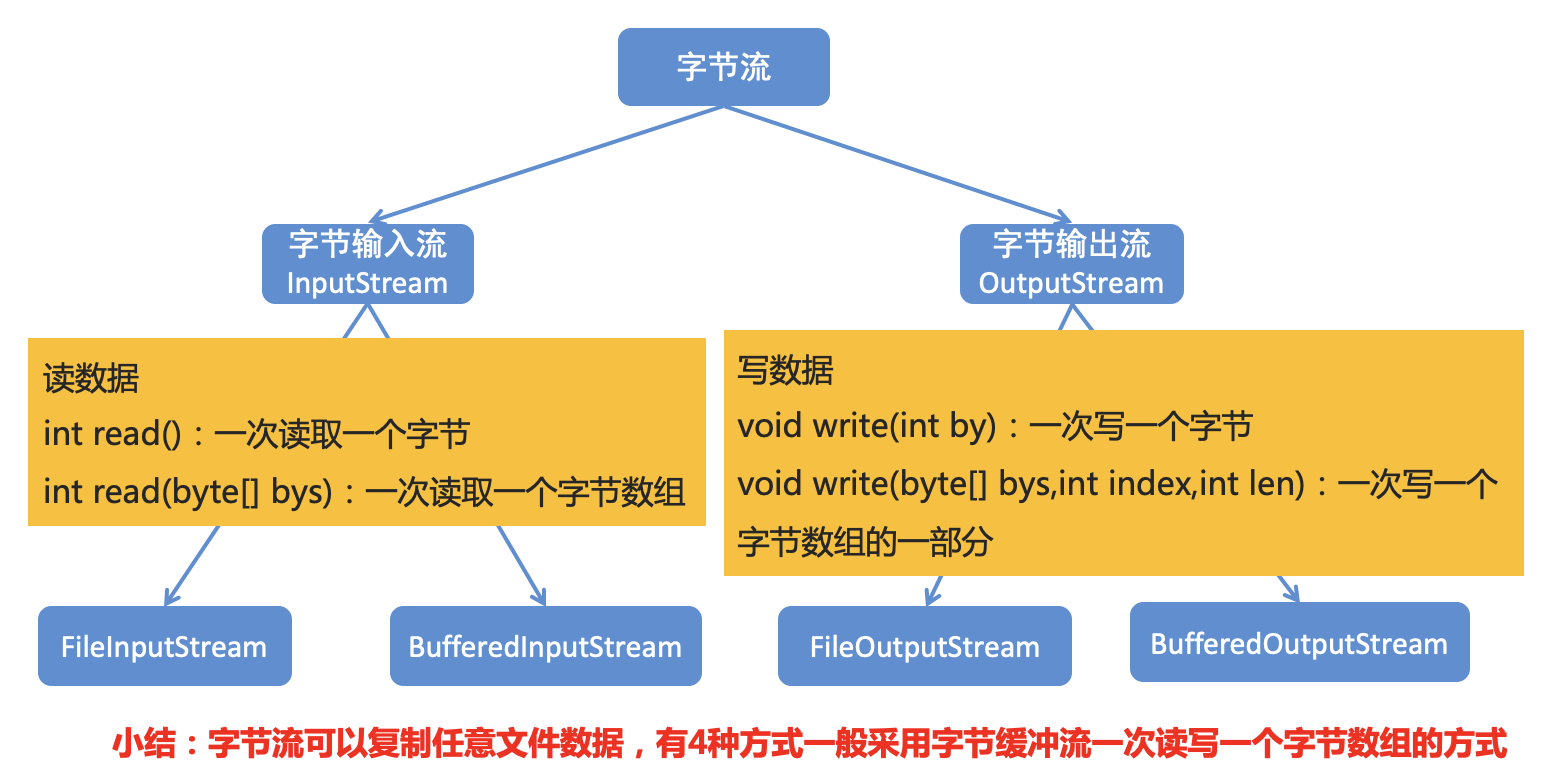
2. 字节流
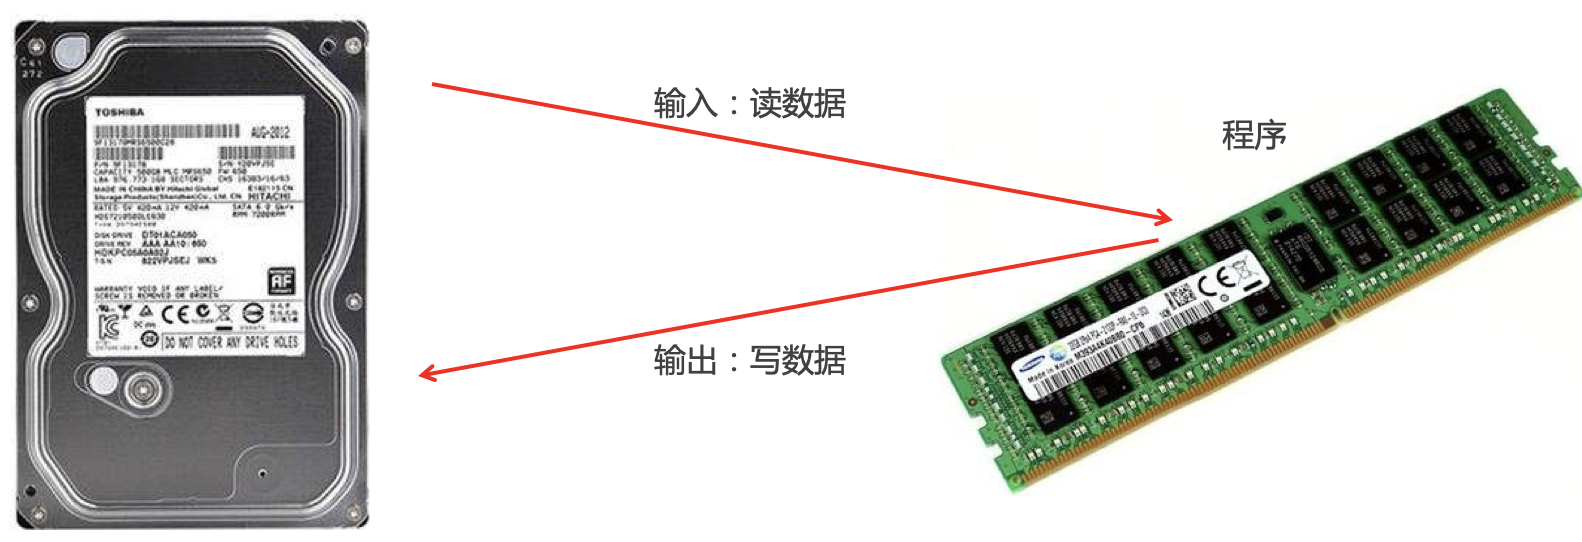
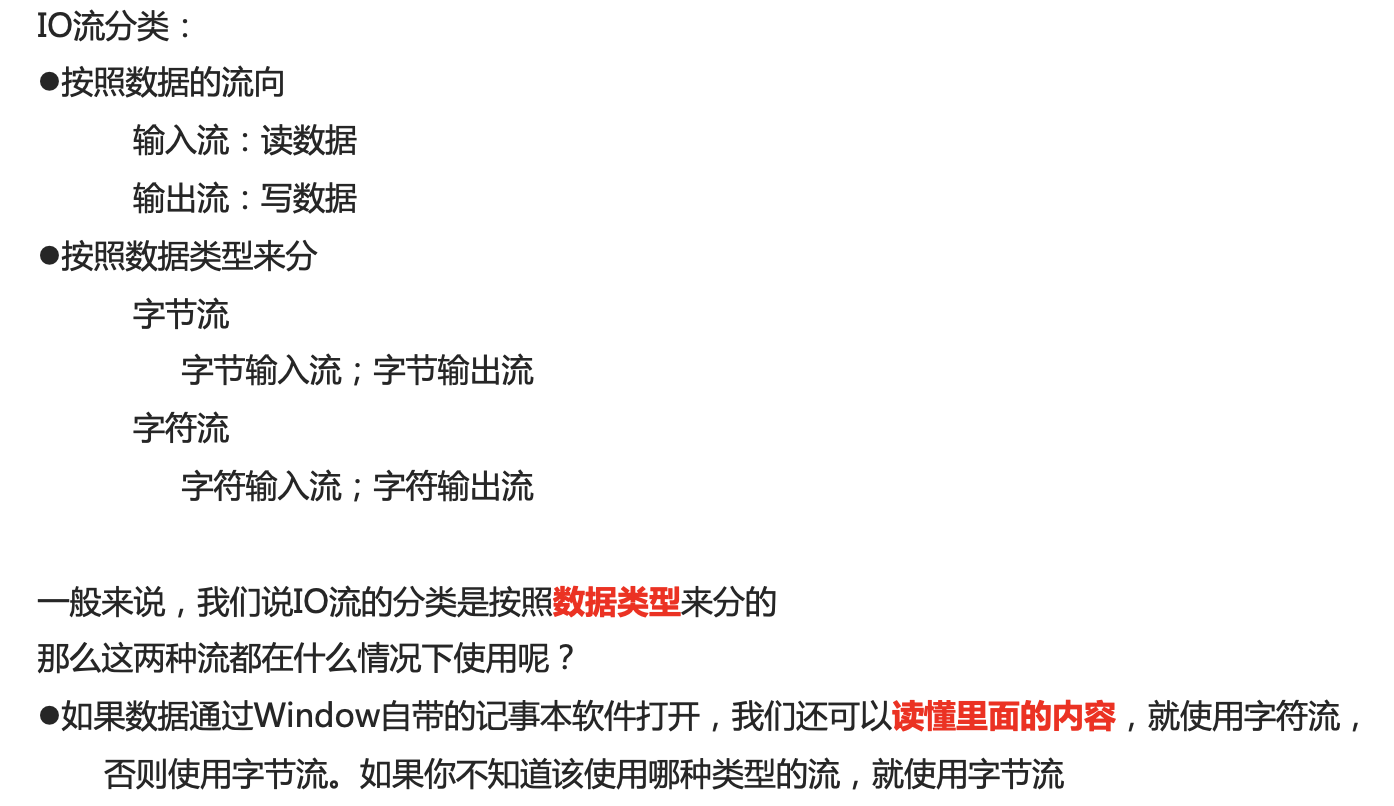
2.1 IO流概述和分类

程序就是在内存中运行,
把硬盘中的内容加载到内存中,这个动作就是输入:读取数据,
把内存中的内容加载到硬盘上,这个动作就是输出:写数据。
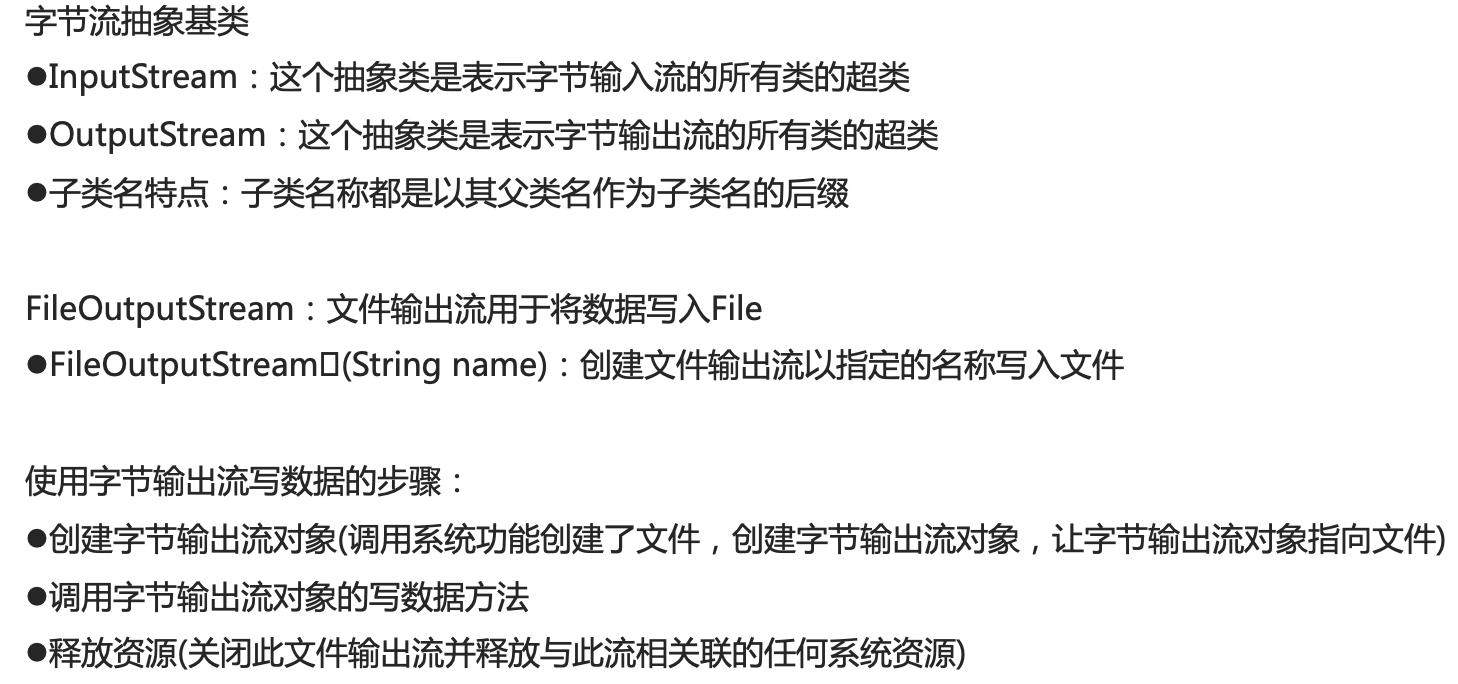
2.2 字节流写数据
代码示例:
public class File6 {
public static void main(String[] args) throws IOException {
// 创建字节输出流对象
// FileOutputStream (String name): 创建文件输出流以指定的名称写入文件
FileOutputStream outputStream = new FileOutputStream("D:\\www\\java.text");
/*
* FileOutputStream做了三件事情:
* A:调用系统功能创建了文件
* B:创建了字节输出流对象
* C:让字节输出流对象指向创建好的文件
*
*/
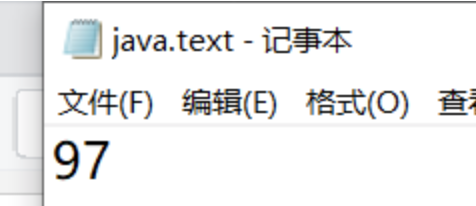
//void write (int b):将指定的字节写入此文件输出流
//写入数字97,此数输入57和55是因为在数据的底层9和7就是57和55
outputStream.write(57);
outputStream.write(55);
//最后都要释放资源
//void close (): 关闭此文件输出流并释放与此流相关联的任何系统资源。
outputStream.close();
}
}
运行结果:
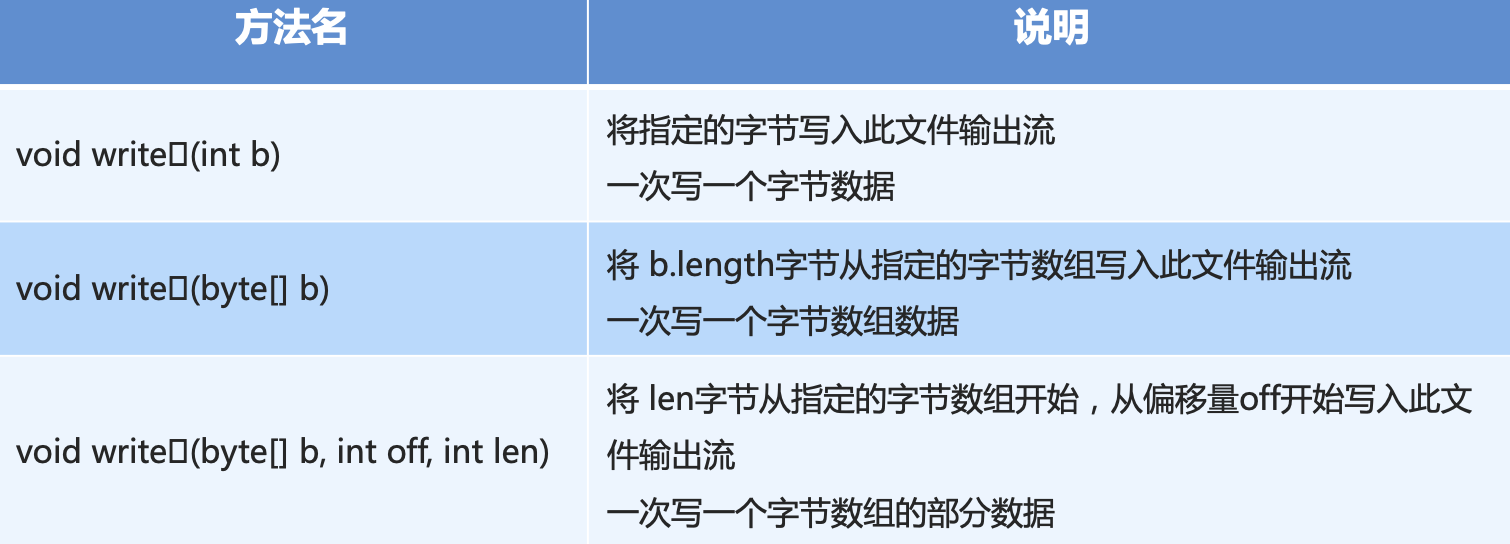
2.3 字节流写数据的3种方式
代码示例:
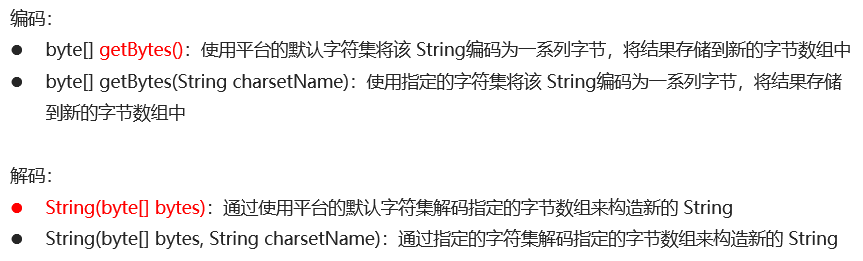
这里提供一个将字符串转化为字节数组的方法,getBytes()。
void write (int b): 将指定的字节写入此文件输出流
public static void main(String[] args) throws IOException {
// 创建文件输出流
FileOutputStream outputStream = new FileOutputStream("D:\\www\\java.text");
// void write (int b): 将指定的字节写入此文件输出流
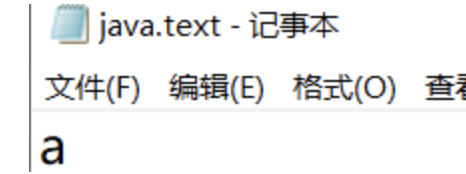
byte[] bs = "a".getBytes();
outputStream.write(bs);
//释放资源
outputStream.close();
}
}
运行结果:
void write (byte[] b): 将b. length字节从指定的字节数组写入此文件输出流
public static void main(String[] args) throws IOException {
// 创建文件输出流
FileOutputStream outputStream = new FileOutputStream("D:\\www\\java.text");
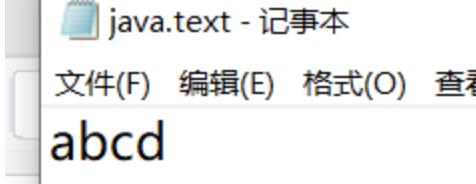
// void write (byte[] b): 将b. length字节从指定的字节数组写入此文件输出流
byte[] bs = "abcd".getBytes();
outputStream.write(bs);
//释放资源
outputStream.close();
}
运行结果:
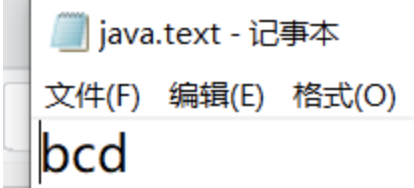
void write (byte[] b, int off, int len): 将len字节 从指定的字节数组开始,从偏移量off开始写入此文件输出流
    public static void main(String[] args) throws IOException {

        // 创建文件输出流

        FileOutputStream outputStream = new FileOutputStream("D:\\www\\java.text");

        // void write (byte[] b, int off, int len): 将len字节 从指定的字节数组开始,从偏移量off开始写入此文件输出流

        byte[] bs = "abcd".getBytes();

        //从bs数组中的索引1到3的字节

        outputStream.write(bs, 1, 3);

        //释放资源

        outputStream.close();

    }
运行结果:
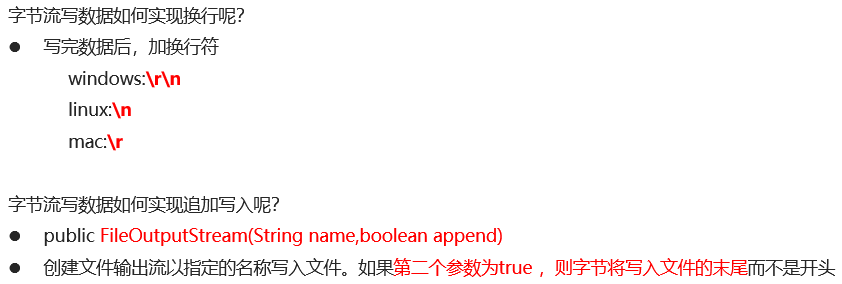
2.4 字节流写数据的两个小问题(换行和追加写入)
2.5 字节流写数据加异常处理
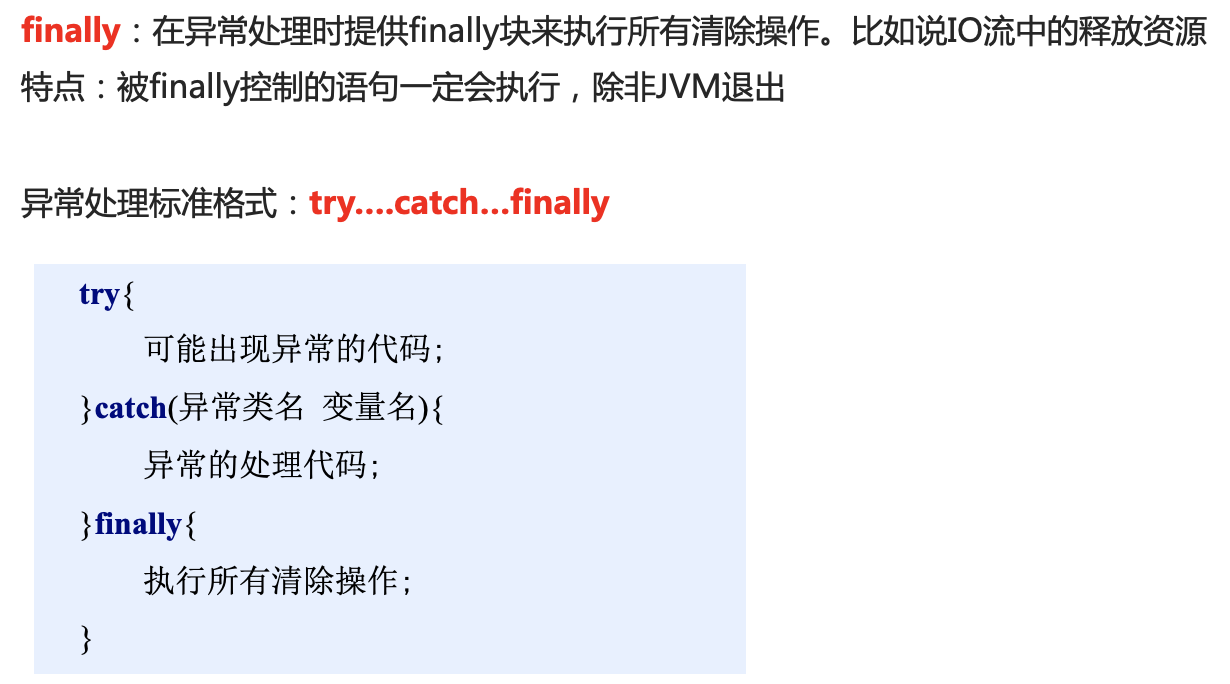
代码示例:
这样写资源释放是最具有健壮性的,真正的项目建议写成这样。
public class File8 {

    public static void main(String[] args) {

        // 加入finally来实现释放资源

        // 创建成这样是因为在try中finally是读取不到FileOutputStream的,所以要创建在try的外面

        FileOutputStream fos = null;

        try {

            fos = new FileOutputStream("D:\\www\\java.text");

            fos.write("abc".getBytes());

        } catch (IOException e) {

            e.printStackTrace();

        } finally {

            // 判断FileOutputStream不为空,否则会报空指针异常

            if (fos != null) {

                try {

                    fos.close();

                } catch (IOException e) {

                    e.printStackTrace();

                }

            }

        }

    }

}
2.6 字节流读数据
2.6.1 字节流读数据(一次读一个字节数据)
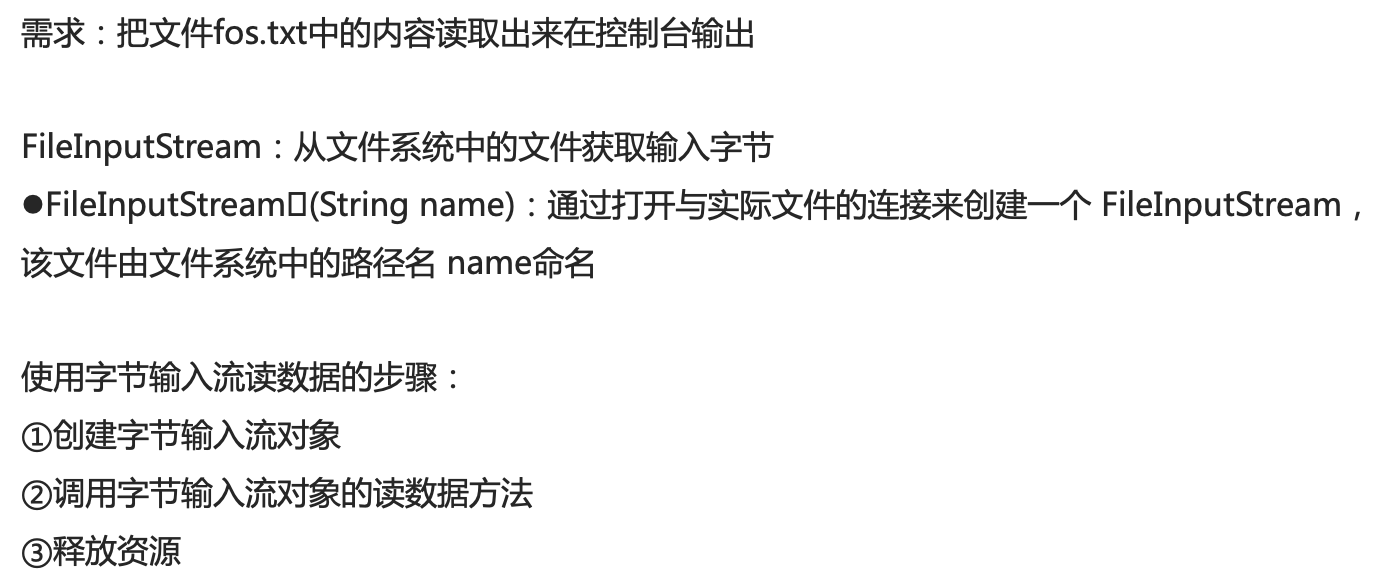
代码示例:
public class File9 {

    public static void main(String[] args) throws IOException {

        // 创建字节输入流

        FileInputStream fis = new FileInputStream("D:\\www\\java.text");

        // 调用字节输入流对象的读数据方法

        // int read():从该输入流读取一个字节的数据

        // 第一次读取数据

        int read = fis.read();

        // 去掉ln,并将int类型转换为char类型输出

        System.out.print((char) read);

        // 第二次读取数据

        read = fis.read();

        System.out.print((char) read);

        // 第三次读取数据

        read = fis.read();

        System.out.print((char) read);

        fis.close();

    }

}
上面的代码三个数据就读取了三次,再多点就显的很麻烦了,那么有没有什么优化那?向下看
public class File9 {

    public static void main(String[] args) throws IOException {

        // 创建字节输入流

        FileInputStream fis = new FileInputStream("D:\\www\\java.text");

        // 如果输入流读取到了文件的末尾那么就会返回-1

        int by = fis.read();

        // 判断是否读取到了末尾

        while (by != -1) {

            System.out.print((char) by);

            // 如果此处没有继续读写,by就会一直是第一次读写

            by = fis.read();

        }

        fis.close();

    }

}
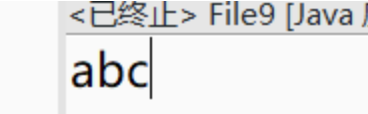
运行结果:

那么还能不能继续优化那?向下看
这就是最标准的字节流读数据格式
public class File9 {

    public static void main(String[] args) throws IOException {

        // 创建字节输入流

        FileInputStream fis = new FileInputStream("D:\\www\\java.text");

        // 如果输入流读取到了文件的末尾那么就会返回-1

        int by;

        /*

         * fis.read():读数据

         * by=fis. read():把读取到的数据赋值给by

         * by != -1:判断读取到的数据是否是-1

         */

        while ((by = fis.read()) != -1) {

            System.out.print((char) by);

        }

        fis.close();

    }

}
运行结果:
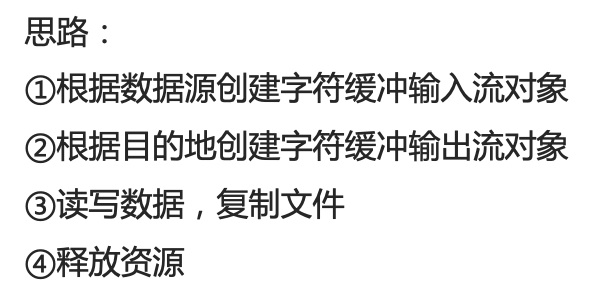
2.6.2 案例:复制文本文件
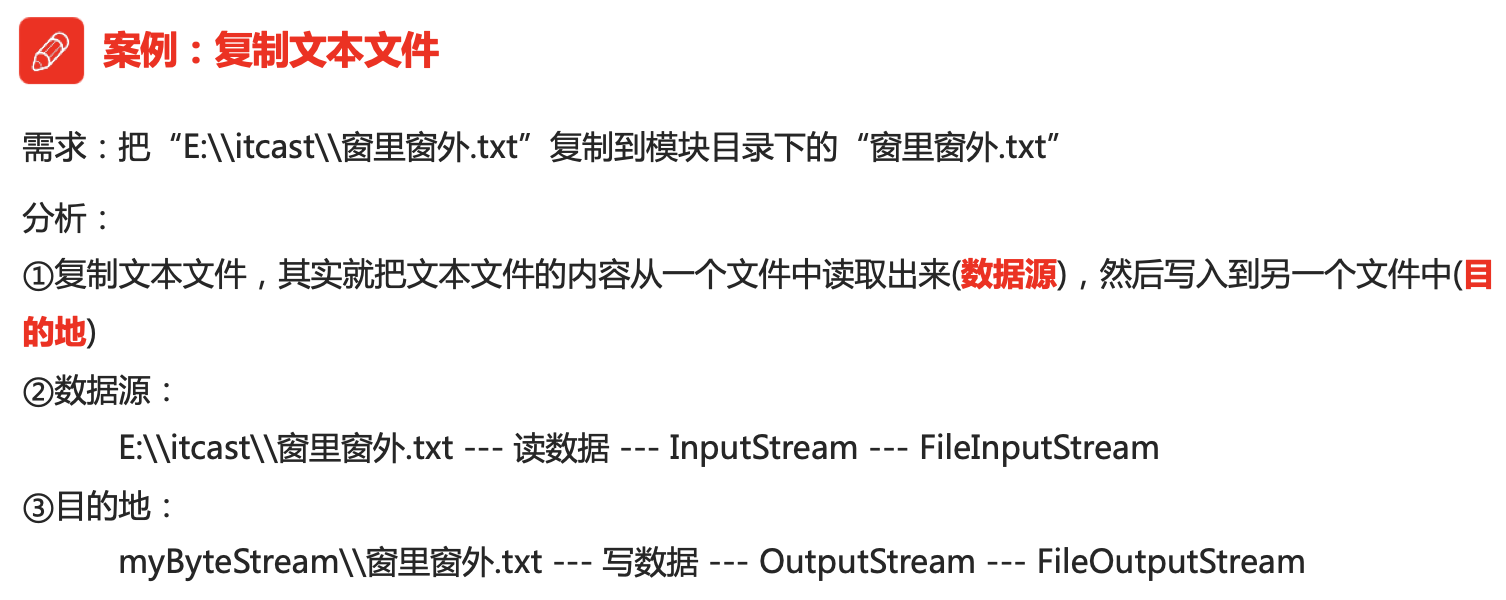

代码示例:
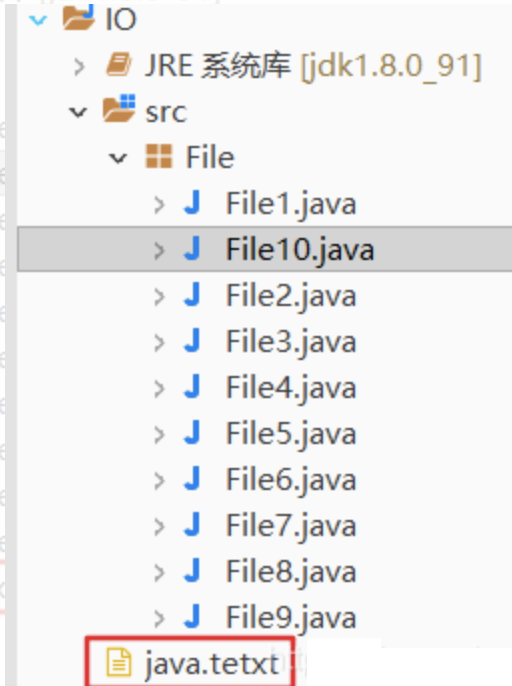
public class File10 {

    public static void main(String[] args) throws IOException {

        // 根据数据源创建字节输入流对象

        FileInputStream fis = new FileInputStream("D:\\www\\java.text");

        // 根据目的地创建字节输出流对象

        //再eclipse中直接写文件名就会创建在类所在的项目中

        FileOutputStream fos = new FileOutputStream("java.tetxt");

        // 读写数据,复制文本文件(一次读取一个字节,一次写入一个字节)

        int by;

        //判断和读写

        while ((by = fis.read()) != -1) {

            //复制

            fos.write(by);

        }

        // 释放资源

        fis.close();

        fos.close();

    }

}
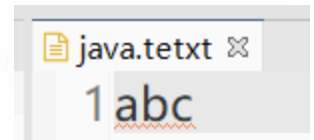
运行结果:
2.6.3 字节流读数据(一次读一个字节数组数据)
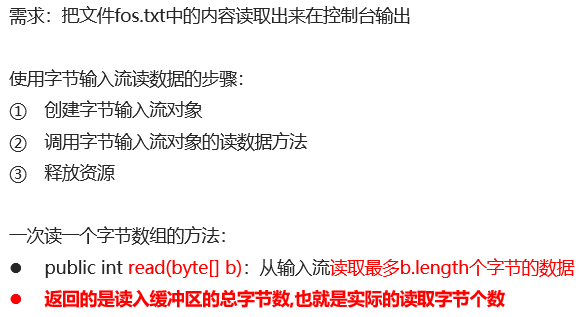
目标文件
public class File1 {

    public static void main(String[] args) throws IOException {

        // 创建字节流输入对象

        FileInputStream fis = new FileInputStream("D:\\www\\java.text");

        // 调用字节输入流对象的读数据方法

        // int read (byte[] b): 从该输入流读取最多b.length个字节的数据到一个字节数组

        byte[] bys = new byte[5];

        // 第一次读取数据

        fis.read(bys);

        // String (byte[] bytes ),将字节数组转换为一个String类型

        System.out.println(new String(bys));

        // 第二次读取数据

        fis.read(bys);

        // String (byte[] bytes ),将字节数组转换为一个String类型

        System.out.println(new String(bys));

        // 释放资源

        fis.close();

    }

}
运行结果:
运行结果显示并没有输出完整,那是为什么那?
分析:
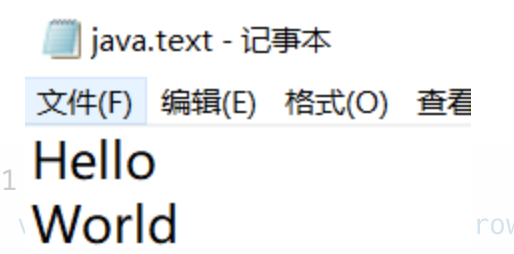
在记事本中输入的是
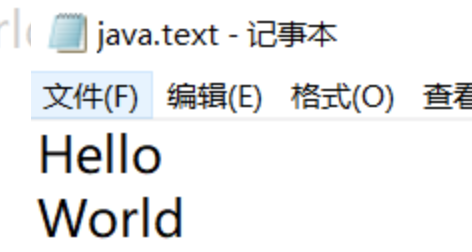 ,但是在计算机的底层源码中还包含的换行符,实际的记事本是这样的
 ,所以在第二次输出的时候\r\n也算是两个字符,所以控制台显示时有一行空的表示换行。
那么就是输出第三次
public class File1 {

    public static void main(String[] args) throws IOException {

        // 创建字节流输入对象

        FileInputStream fis = new FileInputStream("D:\\www\\java.text");

        // 调用字节输入流对象的读数据方法

        // int read (byte[] b): 从该输入流读取最多b.length个字节的数据到一个字节数组

        byte[] bys = new byte[5];

        // 第一次读取数据

        fis.read(bys);

        // String (byte[] bytes ),将字节数组转换为一个String类型

        System.out.println(new String(bys));

        // 第二次读取数据

        fis.read(bys);

        // String (byte[] bytes ),将字节数组转换为一个String类型

        System.out.println(new String(bys));

        // 第三次读取数据

        fis.read(bys);

        // String (byte[] bytes ),将字节数组转换为一个String类型

        System.out.println(new String(bys));

        // 释放资源

        fis.close();

    }

}
运行结果:
为什么是这样的那?
分析:
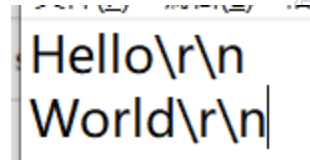
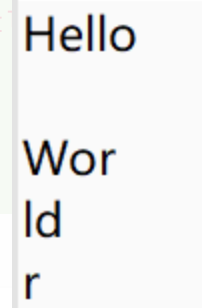
- 实际记事本:
hello\r\n
world\r\n
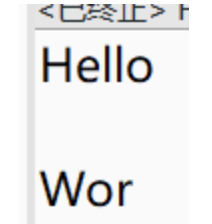
- 读取
第一次: hello
第二次: \r\nwor
第三次: ld\r\nr
第三次后面有一个r是因为,我们定义的字节数组是5,但是第三次读取的是4个,所以在替换上一次的数组中就会漏掉一个r,这个r就会跟着第三次一起输出到控制台上。
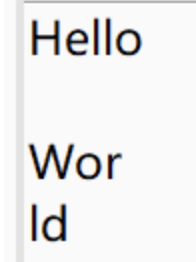
那有没有办法可以完善一下读取的个数那?
使用 String (byte[] bytes, int offset, int Length) 方法,可以让读取数据更加的完整不会读取多余的数据
public class File1 {

    public static void main(String[] args) throws IOException {

        // 创建字节流输入对象

        FileInputStream fis = new FileInputStream("D:\\www\\java.text");

        // 调用字节输入流对象的读数据方法

        // int read (byte[] b): 从该输入流读取最多b.length个字节的数据到一个字节数组

        byte[] bys = new byte[5];

        // String (byte[] bytes, int offset, int Length),从offset读取到Length

        // 第一次读取数据

        System.out.println(new String(bys, 0, fis.read(bys)));

        // 第二次读取数据

        System.out.println(new String(bys, 0, fis.read(bys)));

        // 第三次读取数据

        System.out.println(new String(bys, 0, fis.read(bys)));

        // 释放资源

        fis.close();

    }

}
运行结果:
上面的方法每次都做同一个事情,那么也就可以使用while方法循环,向下看。
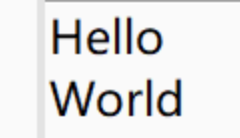
标准的读取格式
public class File1 {

    public static void main(String[] args) throws IOException {

        // 创建字节流输入对象

        FileInputStream fis = new FileInputStream("D:\\www\\java.text");

        // 调用字节输入流对象的读数据方法

        // int read (byte[] b): 从该输入流读取最多b.length个字节的数据到一个字节数组

        byte[] bys = new byte[1024];// 1024及其整数倍,这是读取数据时给的标准的数组元素个数

        // 如果输入流读取到了文件的末尾那么就会返回-1

        /*

         *(len = fis.read(bys)) != -1 :读数据,将读到的值赋值给len并判断是否为-1

         * System.out.println(new String(bys, 0, len)) :读取bys数组中的索引0到len的元素,并转化为String类型

         * 放入len是为了让每次读取的数据完善,文件中有几个数据就读取几个数据

         */

        int len;

        while ((len = fis.read(bys)) != -1) {

            System.out.println(new String(bys, 0, len));

        }

        // 释放资源

        fis.close();

    }

}
运行结果:
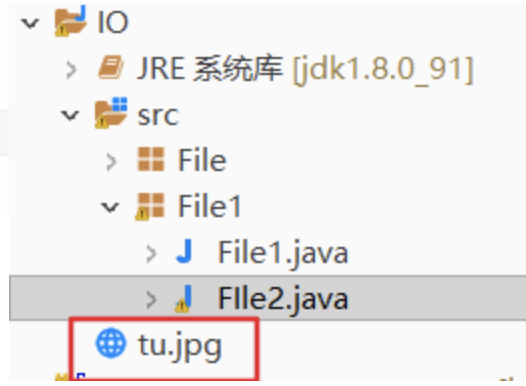
2.6.4 案例:复制图片
代码示例:
public class FIle2 {

    public static void main(String[] args) throws IOException {

        // 根据数据源创建字节输入流对象

        FileInputStream fis = new FileInputStream("D:\\www\\tu.jpg");

        // 根据目的地创建字节输出流对象

        FileOutputStream fos = new FileOutputStream("tu.jpg");

        // 读写数据,复制图片(一次读取一个字节数组,一次写入一个字节数组)

        byte[] bys = new byte[1024];

        int len;

        while ((len = fis.read(bys)) != -1) {

            fos.write(bys, 0, len);

        }

    }

}
运行结果:
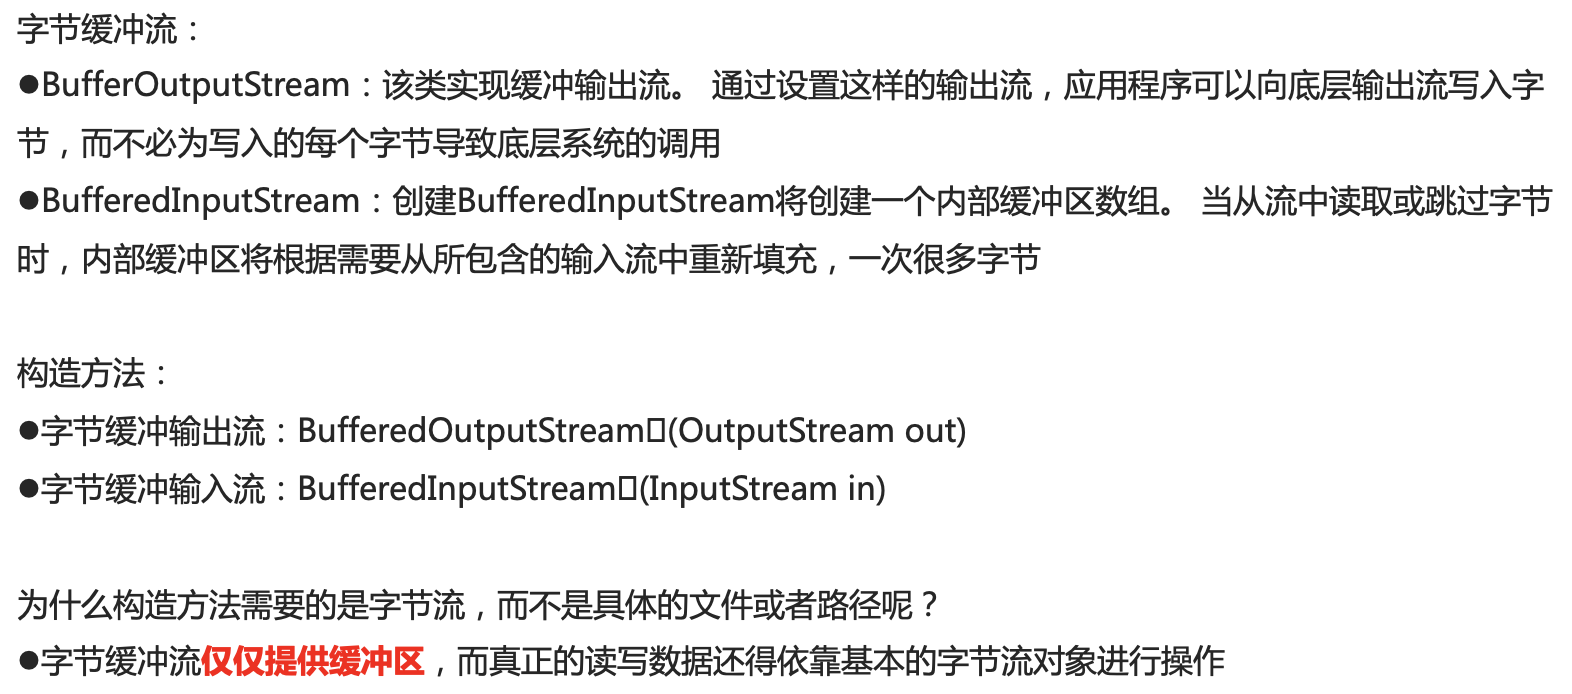
2.7 字节缓冲流
缓存流详解
字节缓存输入和输出流都是默认数组8192
代码示例:
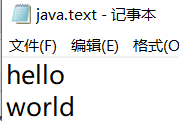
字节缓冲输出流: BufferedOutputStream(OutputStream out)
public class FIle3 {

    public static void main(String[] args) throws IOException {

        // 字节缓冲输出流: BufferedOutputStream (OutputStream out)

        FileOutputStream fos = new FileOutputStream("D:\\www\\java.text");

        BufferedOutputStream bos = new BufferedOutputStream(fos);

        fos.write("hello\r\n".getBytes());

        fos.write("world".getBytes());

        // 释放资源

        fos.close();

        bos.close();

    }

}
字节缓冲输入流: BufferedInputStream(InputStream in)
public class FIle4 {

    public static void main(String[] args) throws IOException {

        // 字节缓冲输入流: BufferedInputStream(InputStream in)

        FileInputStream fis = new FileInputStream("D:\\www\\java.text");

        BufferedInputStream bis = new BufferedInputStream(fis);

//        // 一次读取一个字节数据

//        int by;

//        while ((by = bis.read()) != -1) {

//            System.out.print((char) by);

//        }

        // 一次读取一个字节数组数据

        byte[] bys = new byte[1024];

        int len;

        while ((len = bis.read(bys)) != -1) {

            System.out.println(new String(bys, 0, len));

        }

        // 释放资源

        fis.close();

        bis.close();

    }

}
运行结果:
2.7.1 案例:复制视频
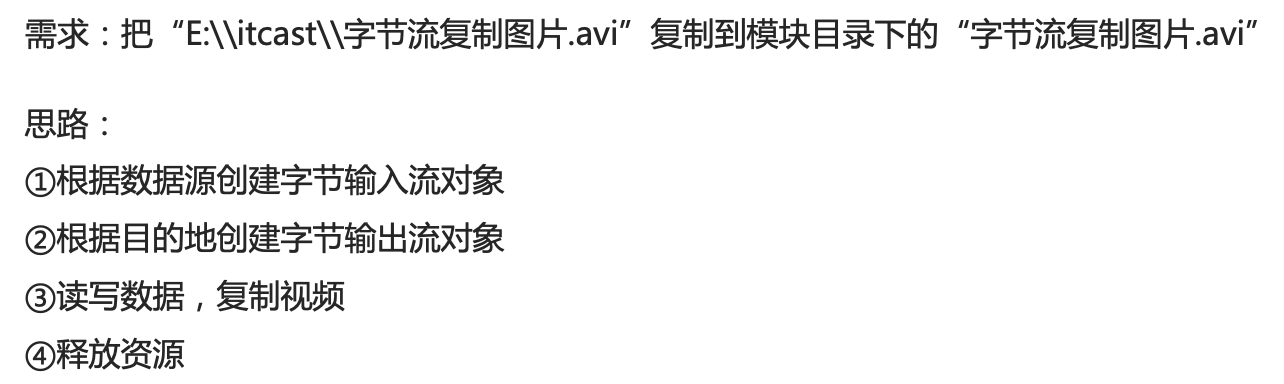
- 四种方式实现复制视频,并记录每种方式复制视频的时间:
1:基本字节流一-次读写一个字节
2:基本字节流一次读写 一个字节数组
3:字节缓冲流一次读写一个字节
4:字节缓冲流一次读写一个字节数组
代码示例:
基本字节流一次读写一个字节
public class FIle5 {
public static void main(String[] args) throws IOException {
// 记录开始时间
long startTime = System.currentTimeMillis();
// 复制视频
method();
// 记录结束时间
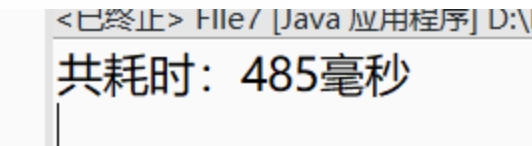
long endTime = System.currentTimeMillis();
System.out.println("共耗时:" + (endTime - startTime) + "毫秒");
}
// 基本字节流一次读写一个字节
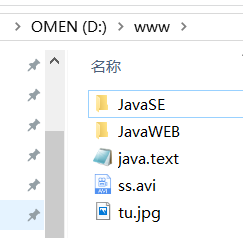
public static void method() throws IOException {
FileInputStream fis = new FileInputStream("D:\\www\\ss.avi");
FileOutputStream fos = new FileOutputStream("ss.avi");
int by;
while ((by = fis.read()) != -1) {
fos.write(by);
}
// 释放资源
fis.close();
fos.close();
}
}
运行结果:

基本字节流一次读写 一个字节数组
public class File6 {

    public static void main(String[] args) throws IOException {

        // 记录开始时间

        long startTime = System.currentTimeMillis();

        // 复制视频

        method();

        // 记录结束时间

        long endTime = System.currentTimeMillis();

        System.out.println("共耗时:" + (endTime - startTime) + "毫秒");

    }

    // 基本字节流一次读写 一个字节数组

    public static void method() throws IOException {

        FileInputStream fis = new FileInputStream("D:\\www\\ss.avi");

        FileOutputStream fos = new FileOutputStream("ss.avi");

        byte[] bys = new byte[1024];

        int len;

        while ((len = fis.read(bys)) != -1) {

            fos.write(bys, 0, len);

        }

        // 释放资源

        fis.close();

        fos.close();

    }

}
运行结果:

字节缓冲流一次读写一个字节
public class FIle7 {

    public static void main(String[] args) throws IOException {

        // 记录开始时间

        long startTime = System.currentTimeMillis();

        // 复制视频

        method();

        // 记录结束时间

        long endTime = System.currentTimeMillis();

        System.out.println("共耗时:" + (endTime - startTime) + "毫秒");

    }

    // 字节缓冲流一次读写一个字节

    public static void method() throws IOException {

        FileInputStream fis = new FileInputStream("D:\\www\\ss.avi");

        BufferedInputStream bis = new BufferedInputStream(fis);

        FileOutputStream fos = new FileOutputStream("ss.avi");

        BufferedOutputStream bos = new BufferedOutputStream(fos);

        int by;

        while ((by = bis.read()) != -1) {

            bos.write(by);

        }

        // 释放资源

        bis.close();

        bos.close();

    }

}
运行结果:
字节缓冲流一次读写一个字节数组
public class File8 {

    public static void main(String[] args) throws IOException {

        // 记录开始时间

        long startTime = System.currentTimeMillis();

        // 复制视频

        method();

        // 记录结束时间

        long endTime = System.currentTimeMillis();

        System.out.println("共耗时:" + (endTime - startTime) + "毫秒");

    }

    // 字节缓冲流一次读写一个字节数组

    public static void method() throws IOException {

        FileInputStream fis = new FileInputStream("D:\\www\\ss.avi");

        BufferedInputStream bis = new BufferedInputStream(fis);

        FileOutputStream fos = new FileOutputStream("ss.avi");

        BufferedOutputStream bos = new BufferedOutputStream(fos);

        byte[] bys = new byte[1024];

        int len;

        while ((len = bis.read(bys)) != -1) {

            bos.write(bys, 0, len);

        }

        // 释放资源

        bis.close();

        bos.close();

    }

}
运行结果:

总结:
1:基本字节流一-次读写一个字节—66117毫秒
2:基本字节流一次读写 一个字节数组—81毫秒
3:字节缓冲流一次读写一个字节—485毫秒
4:字节缓冲流一次读写一个字节数组—26毫秒
可见字节数组读取的比字节快,而缓存流又比基本流快。
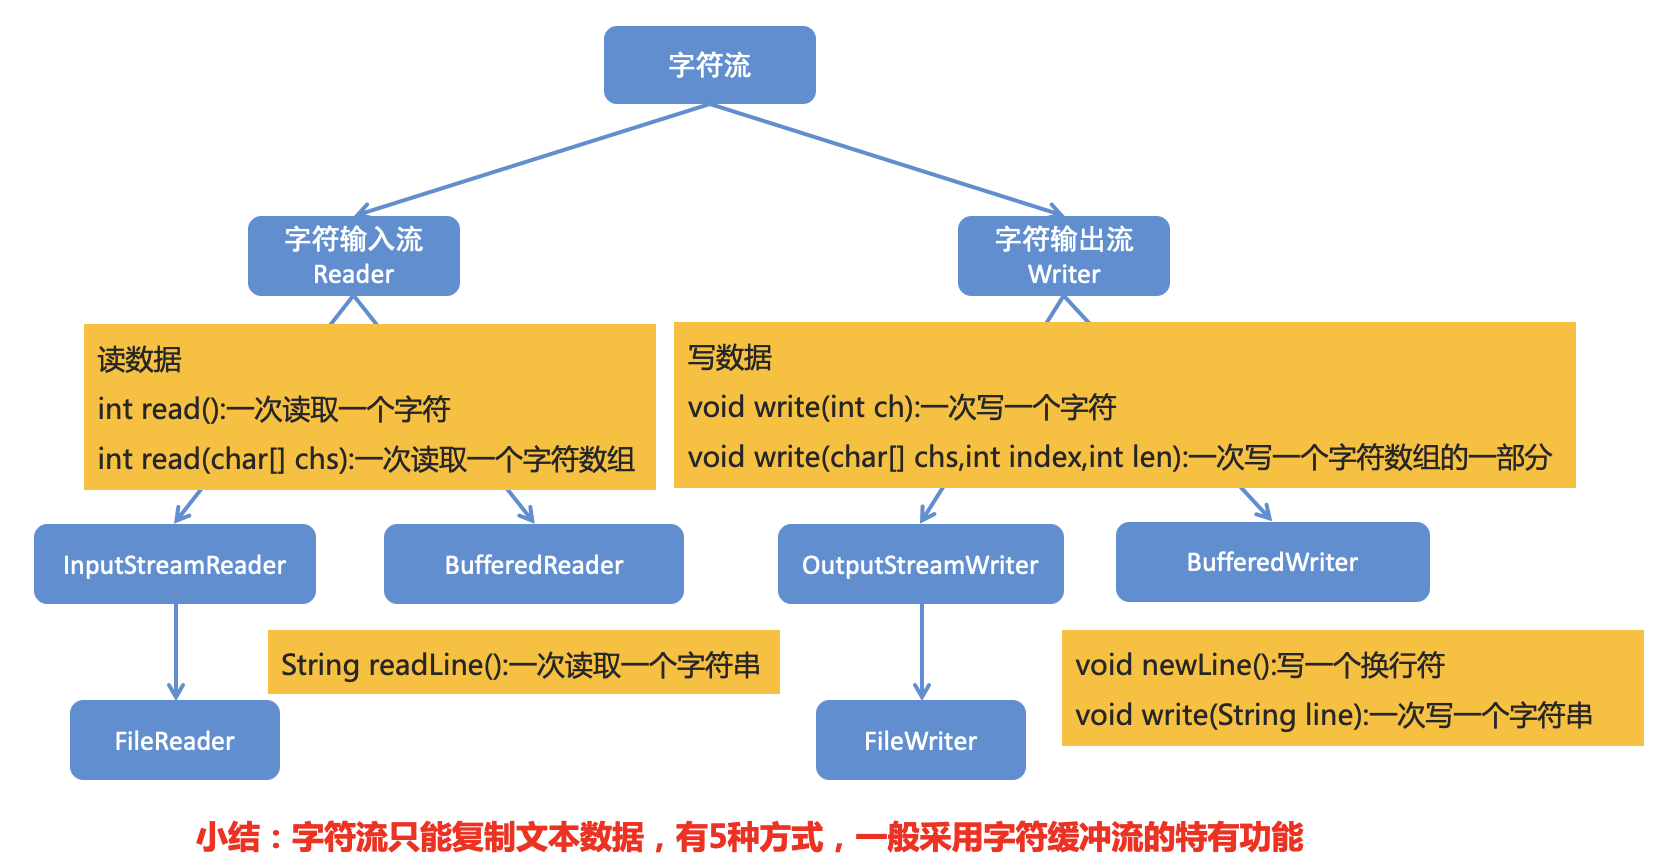
3. 字符流
3.1 为什么会出现字符流
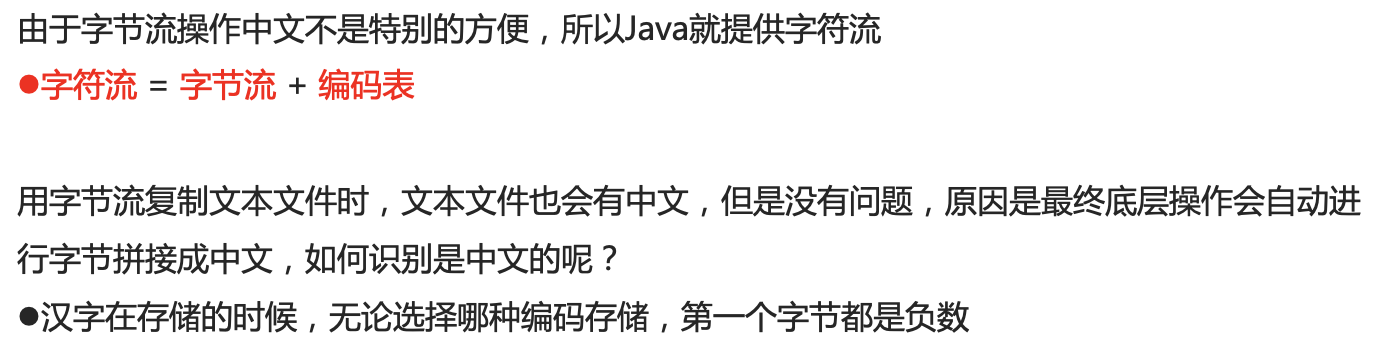
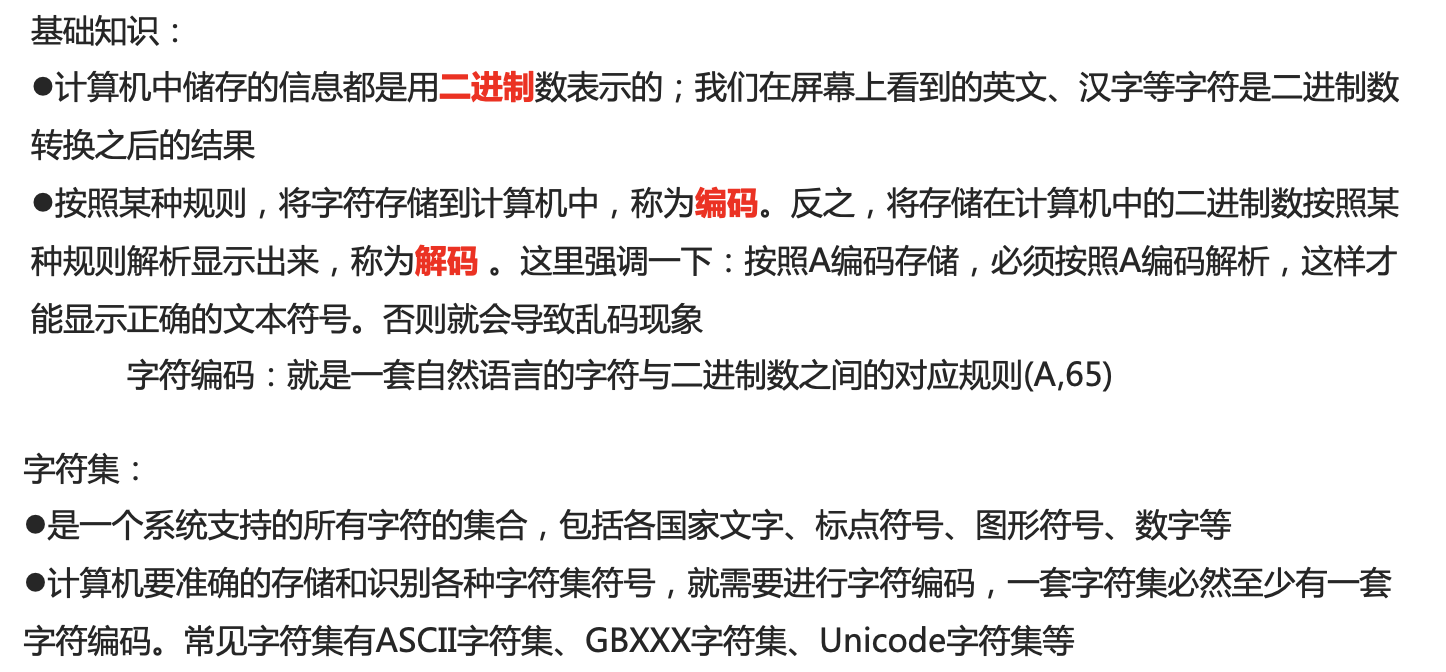
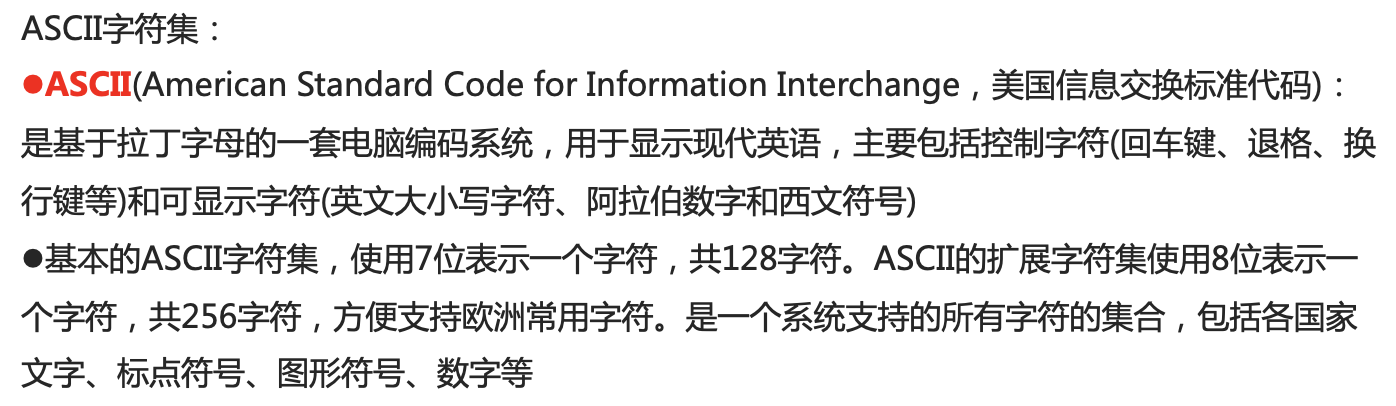
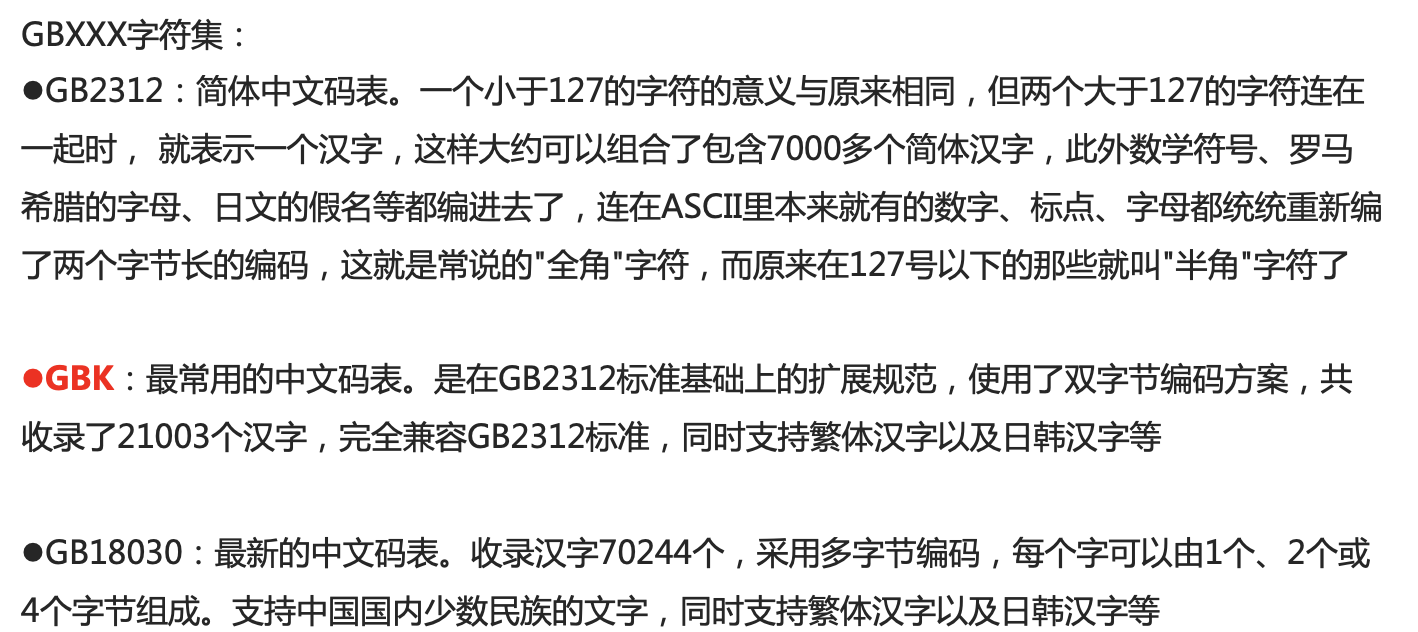
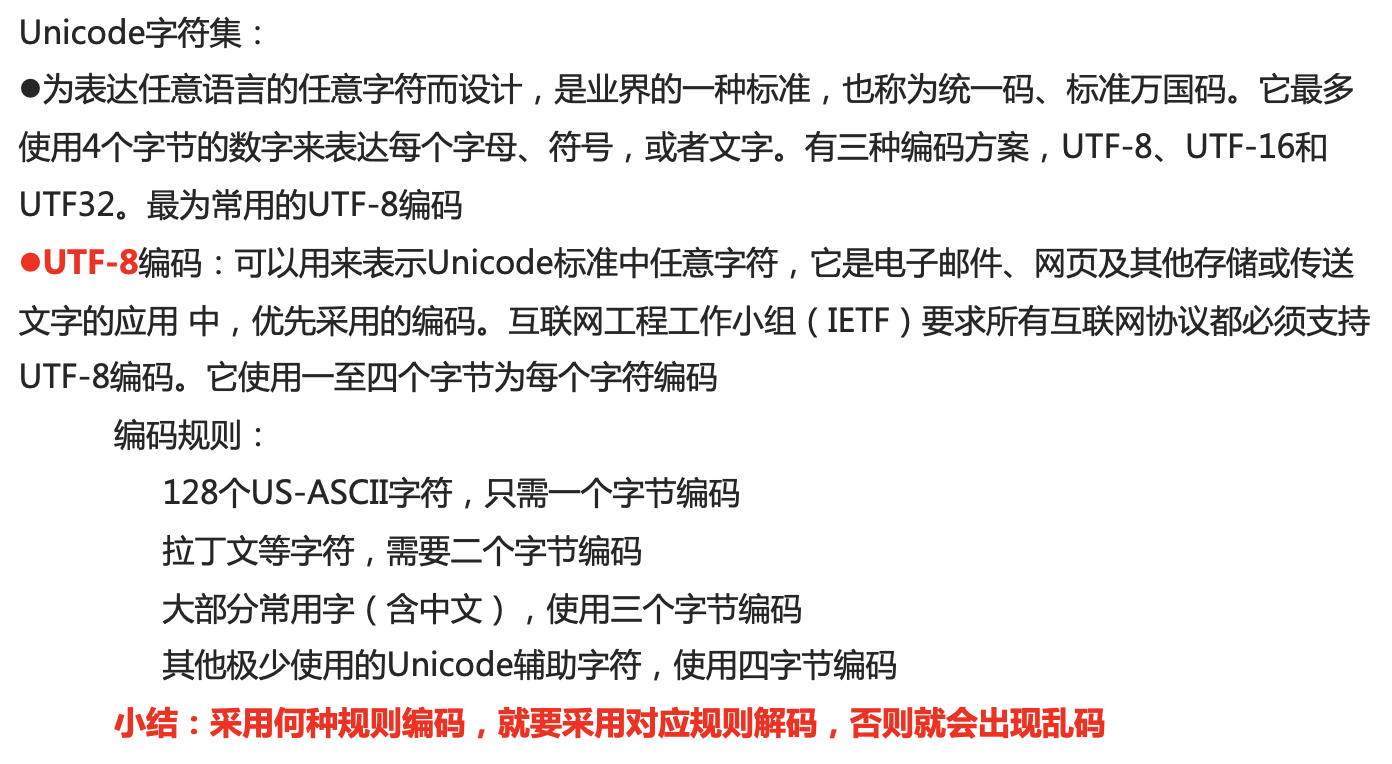
3.2 编码表
3.3 字符串中的编码解码问题
用什么编码就用什么解码
3.4 字符流中的编码解码问题
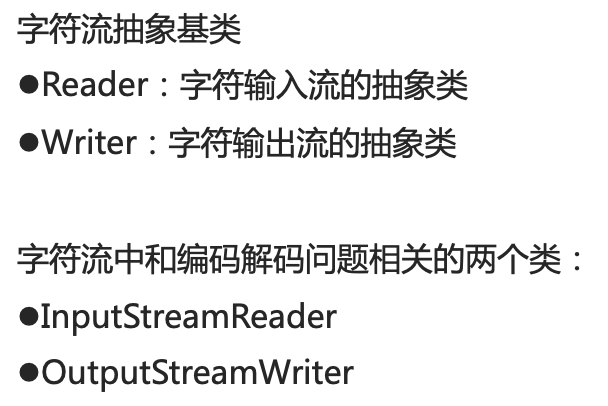
- OutputStreamWriter的两个构造方法:
OutputStreamWriter (OutputStream out)创建一个 使用默认字符编码的OutputStreamwriter
OutputStreamWriter (OutputStream out, String charsetName) 创建一个使用命名字符集的outputStreamWriter
- InputStreamReader的两个构造方法:
InputStreamReader (InputStream in)创建一个使 用默认字符集的InputStreamReader
InputStreamReader (InputStream in, String charsetName) 创建一个使用命名字符集的InputStreamReader
代码示例:
OutputStreamWriter (OutputStream out) 使用默认的字符编码
//写数据,采用默认的字符编码
public class FIle9 {
public static void main(String[] args) throws IOException {
// OutputStreamWriter (OutputStream out)创建一个 使用默认字符编码的OutputStreamwriter.
// OutputStream是一个抽象类,所以应该创建它的实现类
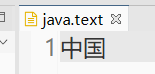
FileOutputStream fos = new FileOutputStream("java.text");
OutputStreamWriter osw = new OutputStreamWriter(fos); // 写数据
osw.write("中国"); // 释放资源,这里要先关闭fos再关闭osw,由下向上关闭
osw.close();
fos.close();
}
}
运行结果:

OutputStreamWriter (OutputStream out, String charsetName) 使用指定的字符编码
//写数据,采用指定的字符编码,UTF-8

public class FIle9 {

    public static void main(String[] args) throws IOException {

//        OutputStreamWriter (OutputStream out, String charsetName) 创建一个使用命名字符集的outputStreamWriter。

//        OutputStream是一个抽象类,所以应该创建它的实现类

        FileOutputStream fos = new FileOutputStream("java.text");

        OutputStreamWriter osw = new OutputStreamWriter(fos, "UTF-8");

        // 写数据

        osw.write("中国");

        // 释放资源,这里要先关闭fos再关闭osw,由下向上关闭

        osw.close();

        fos.close();

    }

}
运行结果:
依旧是中国,因为我的编译器也是使用的UTF-8。
如果将指定的字符编码改为“GBK”会是什么样的那?
OutputStreamWriter osw = new OutputStreamWriter(new FileOutputStream(fos, "GBK");
运行结果:
输出的结果并不是中国,是因为指定是输出编码和我使用的编译器的编码是不一致的,所以导致了乱码。
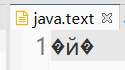
乱码我们是看不懂的,但是字符输入流(InputStreamReader)可以看的懂。
InputStreamReader (InputStream in)创建一个使 用默认字符集的InputStreamReader
//读数据,采用默认的字符编码

public class FIle9 {

    public static void main(String[] args) throws IOException {

//        OutputStreamWriter (OutputStream out, String charsetName) 创建一个使用命名字符集的outputStreamWriter。

//        OutputStream是一个抽象类,所以应该创建它的实现类

        FileOutputStream fos = new FileOutputStream("java.text");

        OutputStreamWriter osw = new OutputStreamWriter(fos, "GBK");

//        InputStreamReader (InputStream in)创建一个使 用默认字符集的InputStreamReader.

        FileInputStream fis = new FileInputStream("java.text");

        InputStreamReader isr = new InputStreamReader(fis);

        // 写数据

        osw.write("中国");

        // 释放资源,这里要先关闭fos再关闭osw,由下向上关闭

        osw.close();

        fos.close();

        // 读数据,这里使用一次读取一个字节的方法,也可以使用一次读取一个字节数组的方法

        int ch;

        while ((ch = isr.read()) != -1) {

            System.out.print((char) ch);

        }

        // 释放资源,这里要先关闭isr再关闭fis,由下向上关闭

        isr.close();

        fis.close();

    }

}
运行结果:
这里输出的也是乱码,是因为InputStreamReader默认的是“UTF-8”编码,而我们指定的输入编码是“GBK”,
输出和输入的编码要一致,使用InputStreamReader也要使用“GBK”编码。

InputStreamReader (InputStream in, String charsetName) 创建一个使用命名字符集的InputStreamReader
InputStreamReader isr = new InputStreamReader(fis, "GBK");
运行结果:
记事本中还是乱码,是因为我的编译器使用的是UTF-8 的编码,而输入流指定的是GBK,
但是如果想要输出,就不会受乱码的影响,只要输入输出的编码一致就可以。


3.5 字符流写数据的5种方式
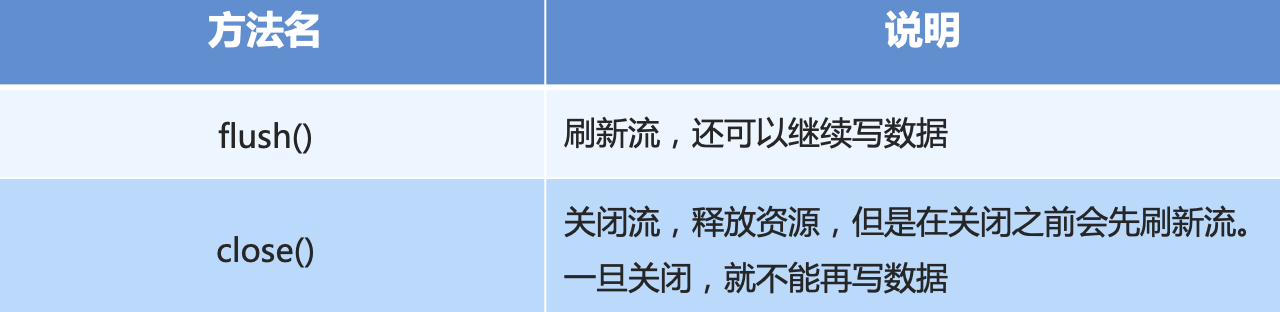
void flush():刷新流,每次写完缓存流建议都要刷新一下,这样才能将字符写到文件中,是因为缓存流写完数据都是在缓存中,并没有写到文件中去,而刷新流才会将字符推到文件中去。
而close(),方法是关闭流释放资源,但是先刷新,所以以前没有写刷新流的时候也会将字符写入到文件中去。
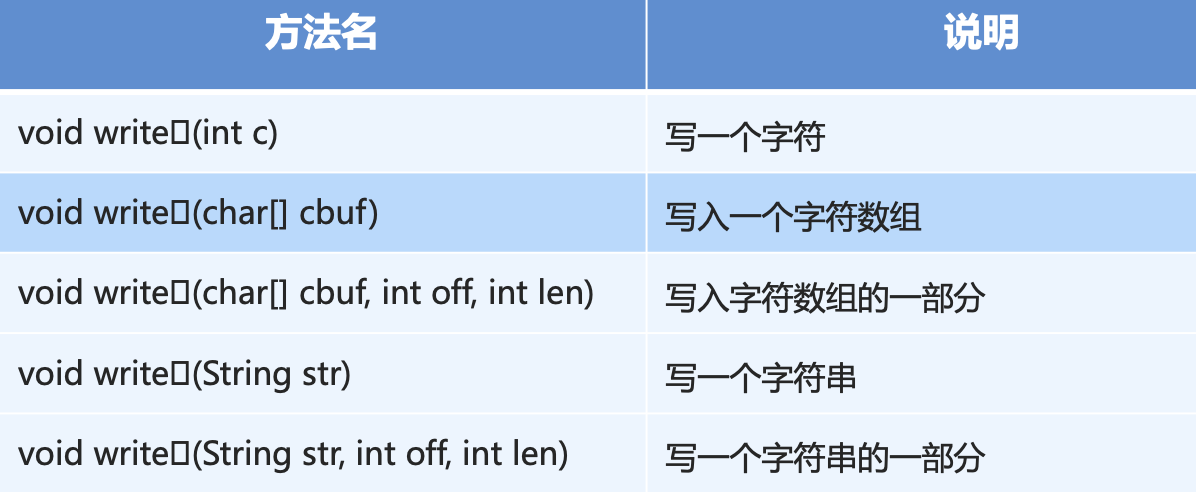
void write (int c): 写一个字符
public class FIle1 {
public static void main(String[] args) throws IOException {
OutputStreamWriter osw = new OutputStreamWriter(new FileOutputStream("java.text"));
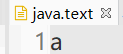
// void write (int c): 写一个字符
osw.write(97);
// 释放资源
osw.close();
}
}
运行结果:
void write (char[] cbuf): 写入一个字符数组
public class FIle1 {

    public static void main(String[] args) throws IOException {

        OutputStreamWriter osw = new OutputStreamWriter(new FileOutputStream("java.text"));

        // void write (char[] cbuf): 写入一个字符数组

        char[] chs = { 'a', 'b', 'c' };

        osw.write(chs);

        // 释放资源

        osw.close();

    }

}
运行结果:

void write (char[] cbuf, int off, int len): 写入字符数组的一部分
public class FIle1 {

    public static void main(String[] args) throws IOException {

        OutputStreamWriter osw = new OutputStreamWriter(new FileOutputStream("java.text"));

        // void write (char[] cbuf, int off, int len): 写入字符数组的一部分|

        char[] chs = { 'a', 'b', 'c', 'd' };

        osw.write(chs, 1, 2);

        // 释放资源

        osw.close();

    }

}
运行结果:
void write (String str):写一个字符串
public class FIle1 {
public static void main(String[] args) throws IOException {
OutputStreamWriter osw = new OutputStreamWriter(new FileOutputStream("java.text"));
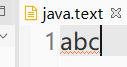
// void write (String str):写一个字符串
osw.write("abc");
// 释放资源
osw.close();
}
}
public class FIle1 {

    public static void main(String[] args) throws IOException {

        OutputStreamWriter osw = new OutputStreamWriter(new FileOutputStream("java.text"));

        // void write (String str, int off, int len): 写一个字符串的一部分

        osw.write("abc", 1, 2);

        // 释放资源

        osw.close();

    }

}
运行结果:
3.6 字符流读数据的两种方式
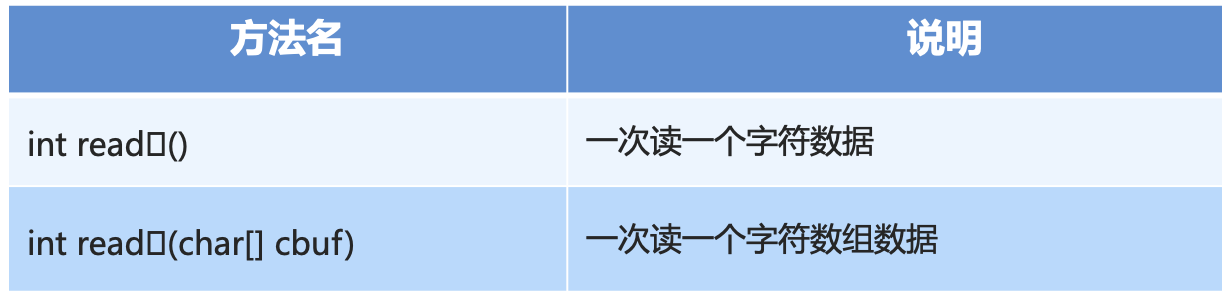
使用方法和字节流是一样的,只不过一个是字节流一个是字符流。
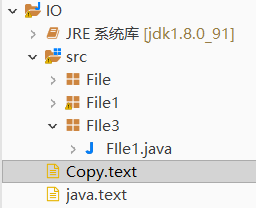
3.6.1 案例:复制文件(改进版)
需求:把包下的”java.text“,复制到包下的“Copy.text”。

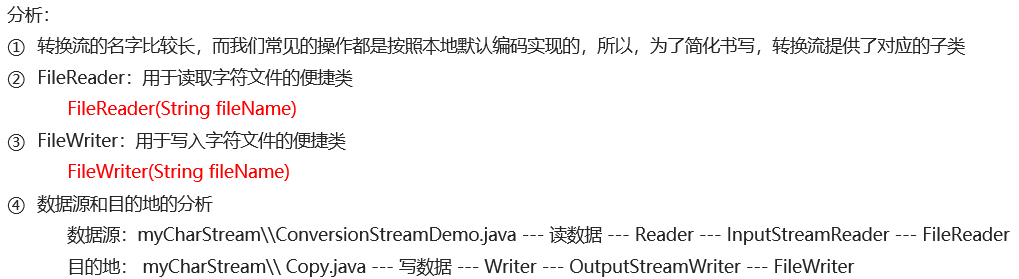
FileWriter和FileReader解析
这个方法是很便捷,但是要使用字符编转化还是要用普通的方法。
代码示例:
普通版
public class FIle1 {

    public static void main(String[] args) throws IOException {

        InputStreamReader isr = new InputStreamReader(new FileInputStream("java.text"));

        OutputStreamWriter osw = new OutputStreamWriter(new FileOutputStream("Copy.text"));

        char[] chs = new char[1024];

        int len;

        while ((len = isr.read(chs)) != -1) {

            osw.write(chs, 0, len);

        }

        osw.close();

        isr.close();

    }

}
改进版
public class FIle1 {

    public static void main(String[] args) throws IOException {

        // 根据数据源创建字符输入流对象

        FileReader fr = new FileReader("java.text");

        // 根据目的地创建字符输出流对象

        FileWriter fw = new FileWriter("Copy.text");

        // 读写数据,复制文件

        char[] chs = new char[1024];

        int len;

        while ((len = fr.read(chs)) != -1) {

            fw.write(chs, 0, len);

        }

        // 释放资源

        fw.close();

        fr.close();

    }

}
运行结果:
3.7 字符缓存流
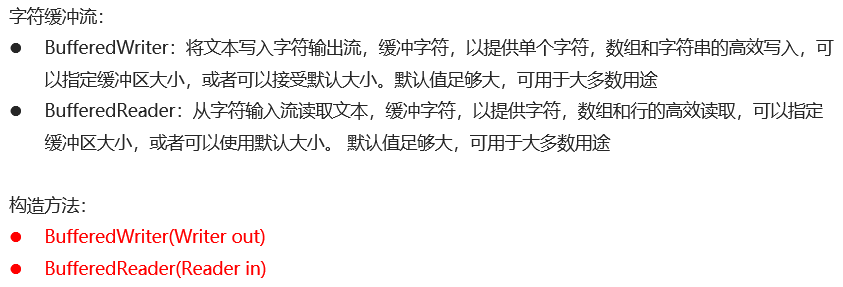
使用方法和字节缓存流一样。
3.7.1 案例:复制文件(字符缓存流改进版)
需求:把包下的”java.text“,复制到包下的“Copy.text”。
使用的是编辑类,FileReader和FileWriter。
public class File2 {

    public static void main(String[] args) throws IOException {

        // 根据数据源创建字符缓存流输入对象

        BufferedReader br = new BufferedReader(new FileReader("java.text"));

        // 根据目的地创建字符缓存输出流对象

        BufferedWriter bw = new BufferedWriter(new FileWriter("Copy.text"));

        // 读写,复制

        char[] chs = new char[1024];

        int len;

        while ((len = br.read(chs)) != -1) {

            bw.write(chs, 0, len);

        }

        // 释放资源

        bw.close();

        br.close();

    }

}
运行结果:
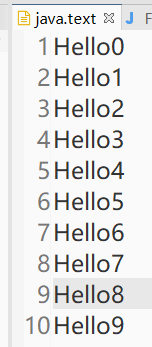
3.8 字符缓存流特有的功能
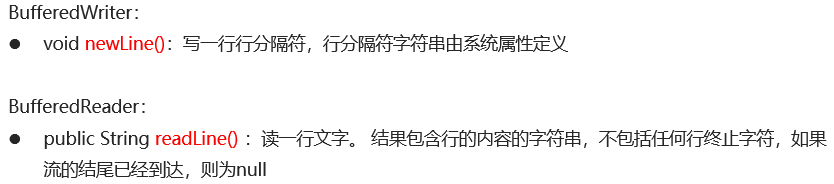
newLine()
public class File3 {

    public static void main(String[] args) throws Exception {

        // 创建字符缓存输出流

        BufferedWriter bw = new BufferedWriter(new FileWriter("java.text"));

        // 写入数据

        for (int i = 0; i < 10; i++) {

            bw.write("Hello" + i);

            // 这里使用的是newLine(),它会根据系统规定的方式去换行,兼容性强。

            bw.newLine();

        }

        // 释放资源

        bw.close();

    }

}
运行结果:
public String readline(): 读一行文字
public class File3 {

    public static void main(String[] args) throws Exception {

        // 创建字符缓存输入流

        BufferedReader br = new BufferedReader(new FileReader("java.text"));

        // public String readline(): 读一行文字。

        String line;

        // 因为redline()读取到最后一行返回的会是null,所以判断一下

        while ((line = br.readLine()) != null) {

            // 注意redline()读取不包含任何终止字符,比如换行符,所以输出语句要ln

            System.out.println(line);

        }

        // 释放资源

        br.close();

    }

}
运行结果:

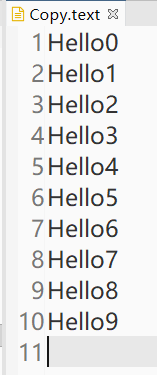
3.8.1 案例:复制文件(字符缓存流特有功能改进版)
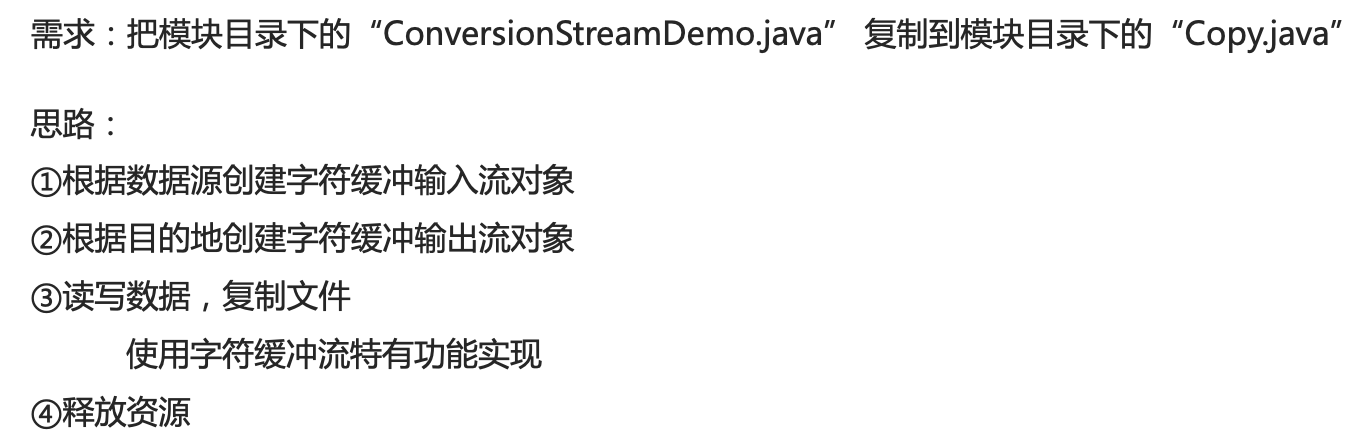
public class File3 {

    public static void main(String[] args) throws Exception {

        // 根据数据源创建字符缓冲输入流对象

        BufferedReader br = new BufferedReader(new FileReader("java.text"));

        // 根据目的地创建字符缓冲输出流对象

        BufferedWriter bw = new BufferedWriter(new FileWriter("Copy.text"));

        // 读写数据,复制文件

        // 使用字符缓存流特有功能

        String line;

        while ((line = br.readLine()) != null) {

            bw.write(line);

            bw.newLine();

        }

        // 释放资源

        bw.close();

        br.close();

    }

}
运行结果:
3.9 IO流小结
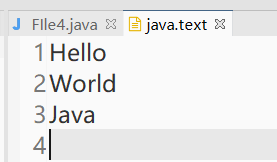
3.9.1 案例:集合到文件
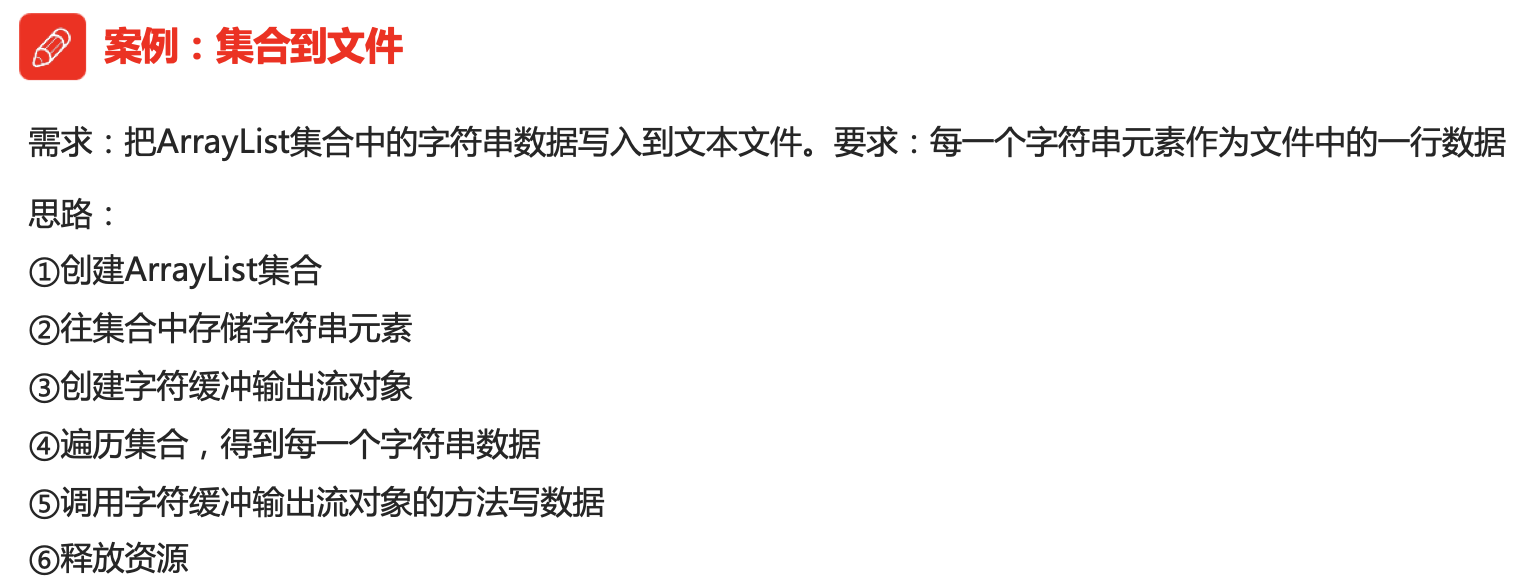
public class FIle4 {

    public static void main(String[] args) throws IOException {

        // 创建ArrayList集合

        ArrayList<String> array = new ArrayList<String>();

        // 往集合中存储字符串元素

        array.add("Hello");

        array.add("World");

        array.add("Java");

        // 创建字符缓冲输出流对象

        BufferedWriter bw = new BufferedWriter(new FileWriter("java.text"));

        // 遍历集合,得到每一个字符串数据

        for (String s : array) {

            // 调用字符缓冲输出流对象的方法写数据

            bw.write(s);

            bw.newLine();

            bw.flush();

        }

        // 释放资源

        bw.close();

    }

}
运行结果:
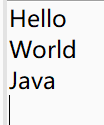
3.9.2 案例:文件到集合

public class File5 {

    public static void main(String[] args) throws IOException {

        // 创建字符缓冲输入流对象

        BufferedReader br = new BufferedReader(new FileReader("java.text"));

        // 创建ArrayList集合对象

        ArrayList<String> array = new ArrayList<String>();

        // 调用字符缓冲输入流对象的方法读数据

        String len;

        while ((len = br.readLine()) != null) {

            // 把读取到的字符串数据存储到集合中

            array.add(len);

        }

        // 释放资源

        br.close();

        // 遍历集合

        for (String s : array) {

            System.out.println(s);

        }

    }

}
运行结果:
3.9.3 案例:点名器
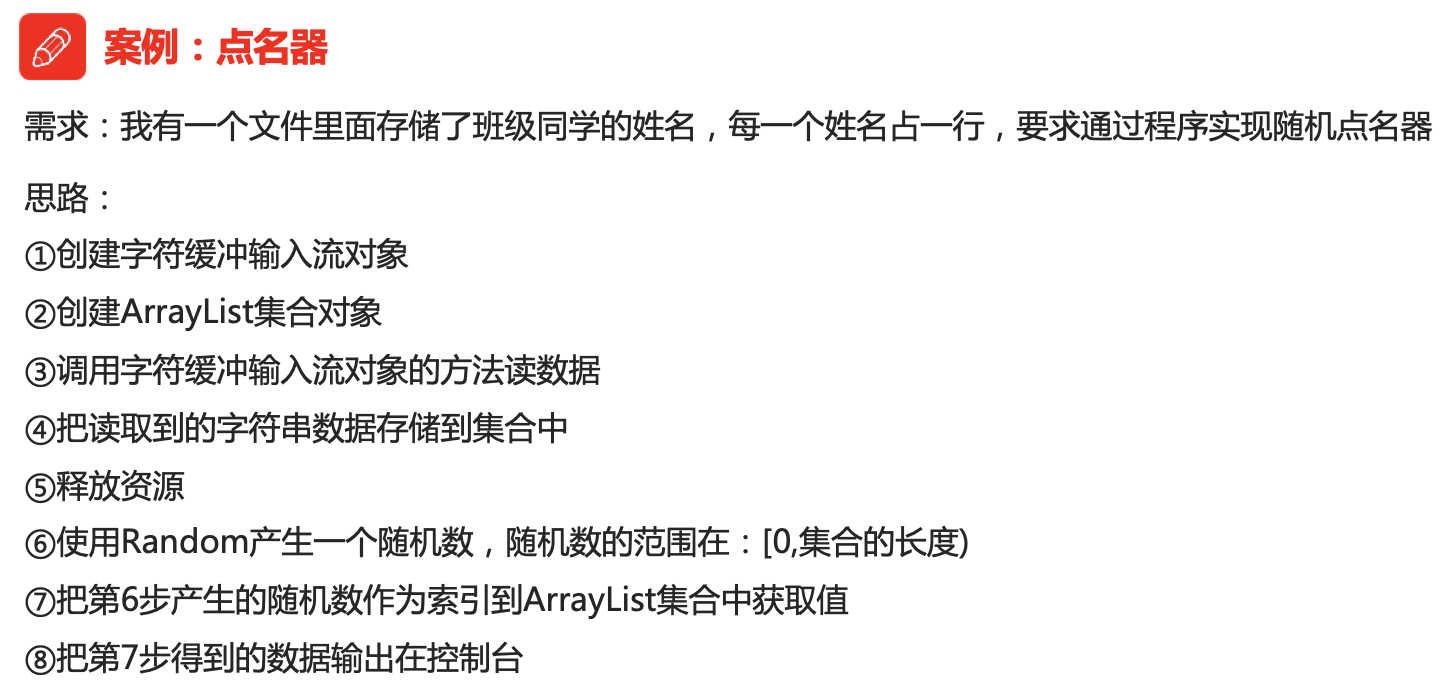
public class File5 {

    public static void main(String[] args) throws IOException {

        // 创建字符缓冲输入流对象

        BufferedReader br = new BufferedReader(new FileReader("java.text"));

        // 创建ArrayList集合对象

        ArrayList<String> array = new ArrayList<String>();

        // 调用字符缓冲输入流对象的方法读数据

        String len;

        while ((len = br.readLine()) != null) {

            // 把读取到的字符串数据存储到集合中

            array.add(len);

        }

        // 释放资源

        br.close();

        // 使用Random产生一个随机数, 随机数的范围在: [0,集合的长度]

        Random r = new Random();

        int name = r.nextInt(array.size());

        // 把第6步产生的随机数作为索引|到ArrayList集合中获取值

        String s = array.get(name);

        // 把第7步得到的数据输出在控制台

        System.out.println("幸运者是:" + s);

    }

}
运行结果:

3.9.4 案例:集合到文件(改进版)
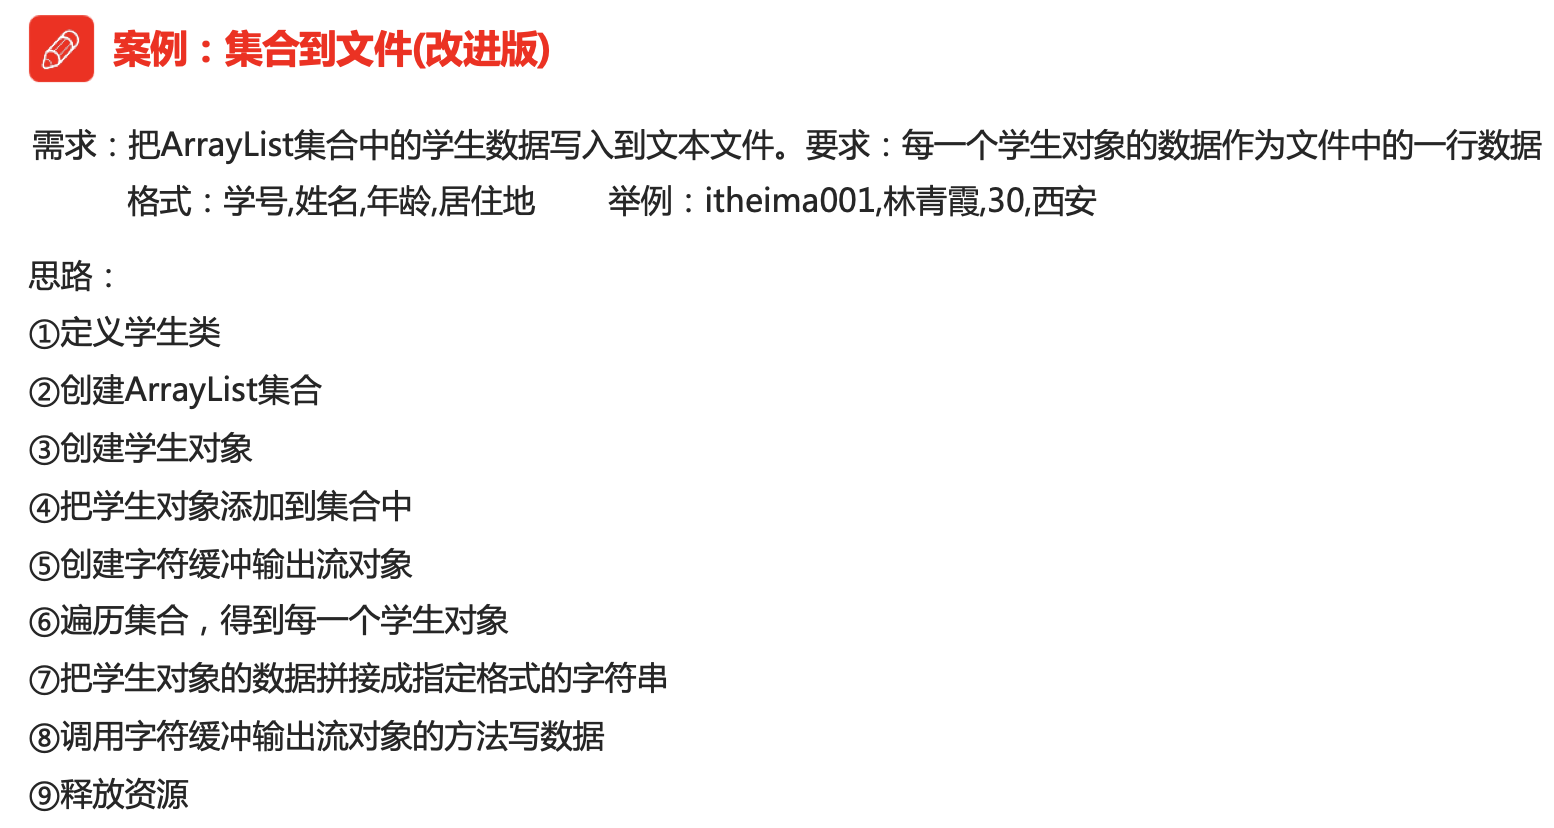
代码示例:
//定义学生类

public class Student {

    private int id;

    private String name;

    private int age;

    private String address;

    public Student() {

        super();

    }

    public Student(int id, String name, int age, String address) {

        super();

        this.id = id;

        this.name = name;

        this.age = age;

        this.address = address;

    }

    public int getId() {

        return id;

    }

    public void setId(int id) {

        this.id = id;

    }

    public String getName() {

        return name;

    }

    public void setName(String name) {

        this.name = name;

    }

    public int getAge() {

        return age;

    }

    public void setAge(int age) {

        this.age = age;

    }

    public String getAddress() {

        return address;

    }

    public void setAddress(String address) {

        this.address = address;

    }

}
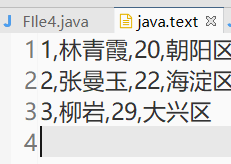
public class File6 {

    public static void main(String[] args) throws IOException {

        //创建ArrayList集合

        ArrayList<Student> array=new ArrayList<Student>();

        //创建学生对象

        Student student1=new Student(1,"林青霞",20,"朝阳区");

        Student student2=new Student(2,"张曼玉",22,"海淀区");

        Student student3=new Student(3,"柳岩",29,"大兴区");

        //把学生对象添加到集合中

        array.add(student1);

        array.add(student2);

        array.add(student3);

        //创建字符缓冲输出流对象

        BufferedWriter bw=new BufferedWriter(new FileWriter("java.text"));

        //遍历集合,得到每一个学生对象

        for (Student student : array) {

            //把学生对象的数据拼接成指定格式的字符串

            StringBuilder sb=new StringBuilder();

            sb.

            append(student.getId()).

            append(",").

            append(student.getName()).

            append(",").

            append(student.getAge()).

            append(",").

            append(student.getAddress());

            //调用字符缓冲输出流对象的方法写数据

            bw.write(sb.toString());

            bw.newLine();

        }

        //释放资源

        bw.close();

    }

}
运行结果:
3.9.5 案例:文件到集合(改进版)
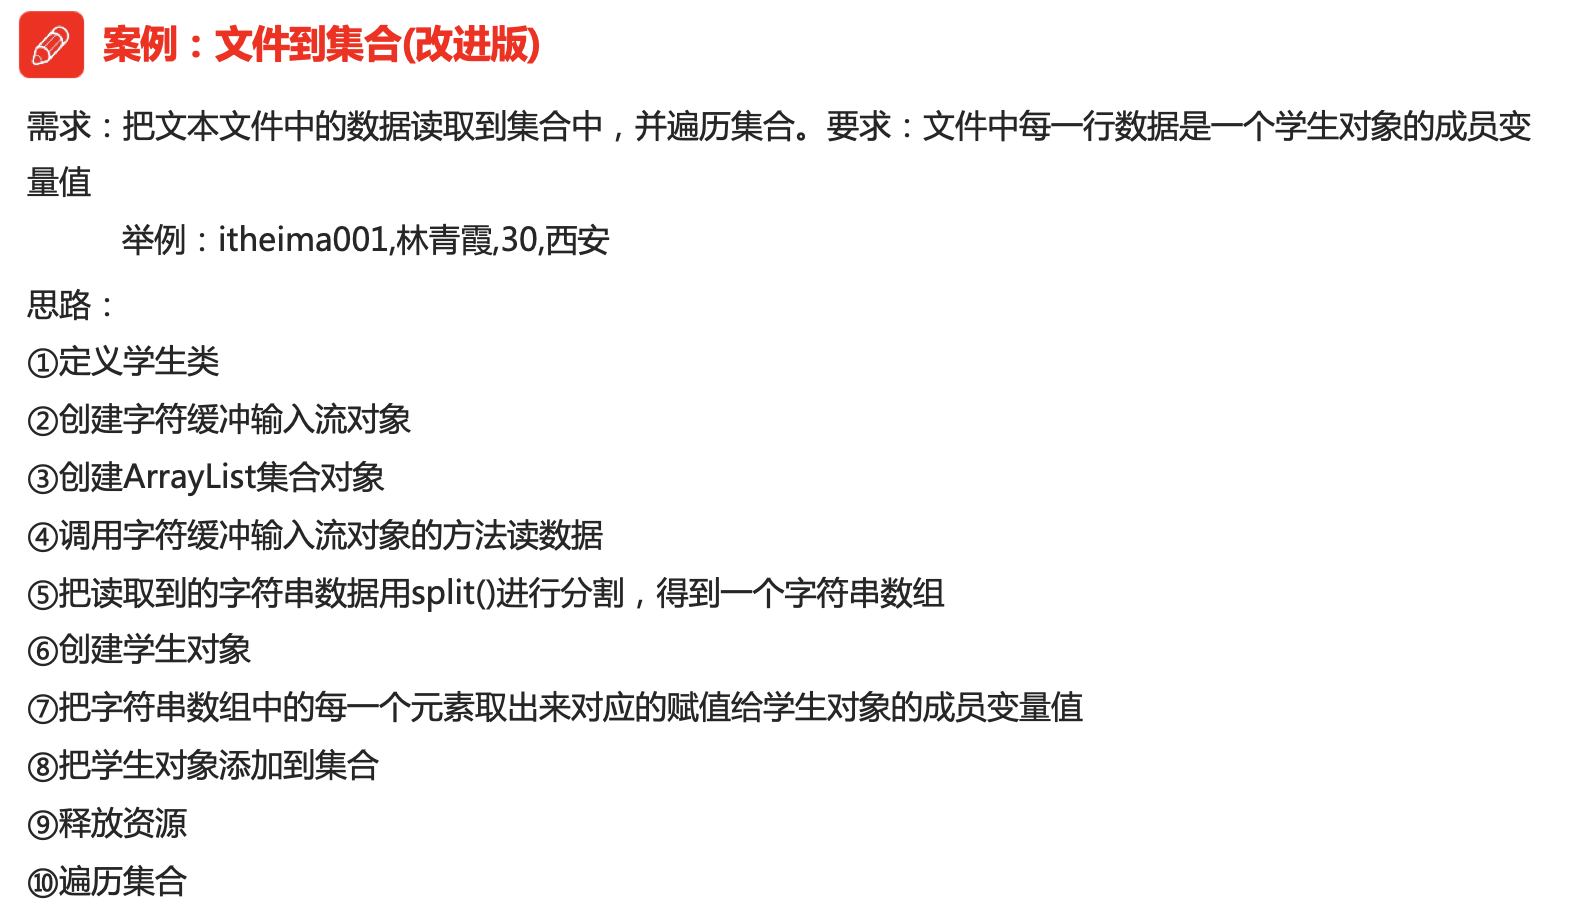
定义学生类,同上
public class File7 {

    public static void main(String[] args) throws IOException {

        // 创建字符缓冲输入流对象

        BufferedReader br = new BufferedReader(new FileReader("java.text"));

        // 创建ArrayList集合对象

        ArrayList<Student> array = new ArrayList<Student>();

        // 调用字符缓冲输入流对象的方法读数据

        String line;

        while ((line = br.readLine()) != null) {

            // 把读取到的字符串数据用split()进行分割,得到一个字符串数组

            String[] s = line.split(",");

            // 创建学生对象

            Student student = new Student();

            // 把字符串数组中的每一个元素取出来对应的赋值给学生对象的成员变量值

            student.setId(Integer.parseInt(s[0]));

            student.setName(s[1]);

            student.setAge(Integer.parseInt(s[2]));

            student.setAddress(s[3]);

            // 把学生对象添加到集合

            array.add(student);

        }

        // 释放资源

        br.close();

        // 遍历集合

        for (Student s : array) {

            System.out.println(s.getId() + "," + s.getName() + "," + s.getAge() + "," + s.getAddress());

        }

    }

}
运行结果:
3.9.6 案例:集合到文件(数据排序改进版)
public class File8 {
public static void main(String[] args) throws IOException {
// 创建TreeSet集合,通过比较器排序进行排序
TreeSet<Student> tree = new TreeSet<Student>(new Comparator<Student>() {
@Override
public int compare(Student o1, Student o2) {
// 成绩从高到底排序
int num = o2.getSum() - o1.getSum();
// 次要条件
int num2 = num == 0 ? o1.getChinese() - o2.getChinese() : num;
int num3 = num2 == 0 ? o1.getMath() - o2.getMath() : num2;
int num4 = num3 == 0 ? o1.getName().compareTo(o2.getName()) : num3;
return num4;
}
});
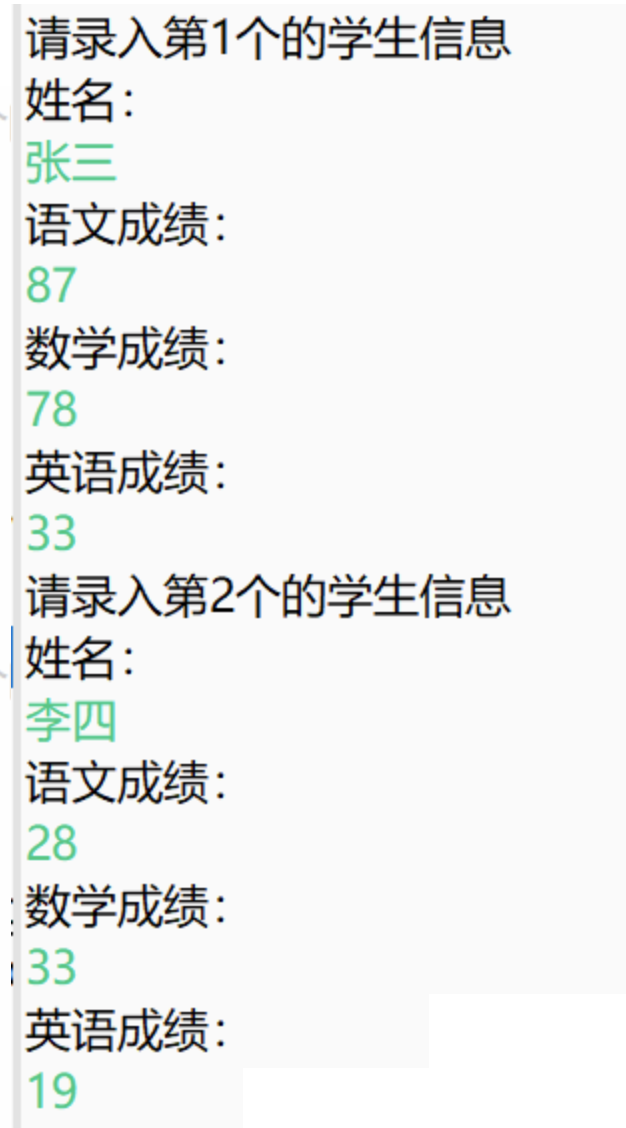
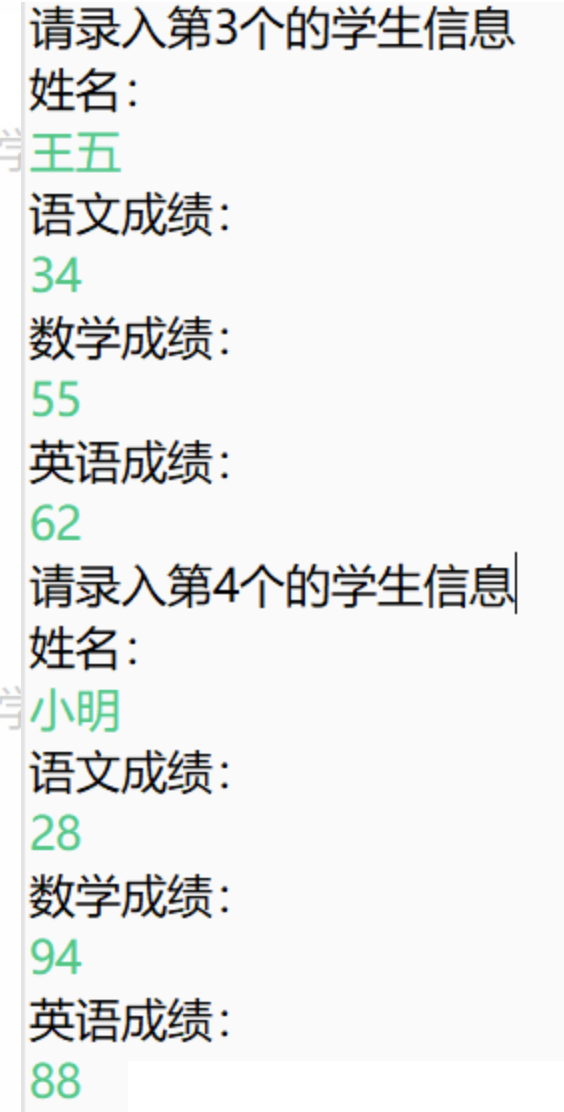
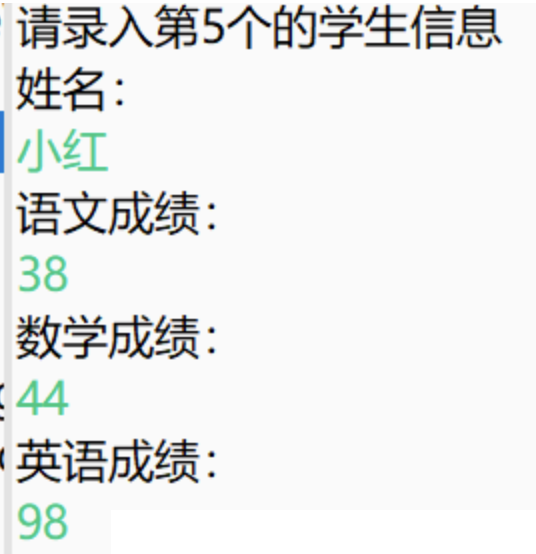
// 键盘录入学生数据,5个
Scanner sc = new Scanner(System.in);
for (int i = 0; i < 5; i++) {
System.out.println("请录入第" + (i + 1) + "个的学生信息");
System.out.println("姓名:");
String name = sc.next();
System.out.println("语文成绩:");
int chinese = sc.nextInt();
System.out.println("数学成绩:");
int math = sc.nextInt();
System.out.println("英语成绩:");
int english = sc.nextInt();
// 创建学生对象,把键盘录入的数据对应赋值给学生对象的成员变量
Student student = new Student();
student.setName(name);
student.setChinese(chinese);
student.setMath(math);
student.setEnglish(english);
// 把学生对象添加到TreeSet集合
tree.add(student);
}
sc.close();
// 创建字符缓冲输出流对象
BufferedWriter bw = new BufferedWriter(new FileWriter("java.text"));
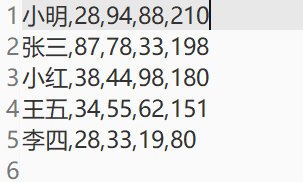
// 遍历集合,得到每一个学生对象
for (Student s : tree) {
// 把学生对象的数据拼接成指定格式的字符串
StringBuilder bs = new StringBuilder();
bs.append(s.getName()).append(",").append(s.getChinese()).append(",").append(s.getMath()).append(",")
.append(s.getEnglish()).append(",").append(s.getSum());
// 调用字符缓冲输出流对象的方法写数据
bw.write(bs.toString());
bw.newLine();
bw.flush();
}
// 释放资源
bw.close();
}
}
运行结果:
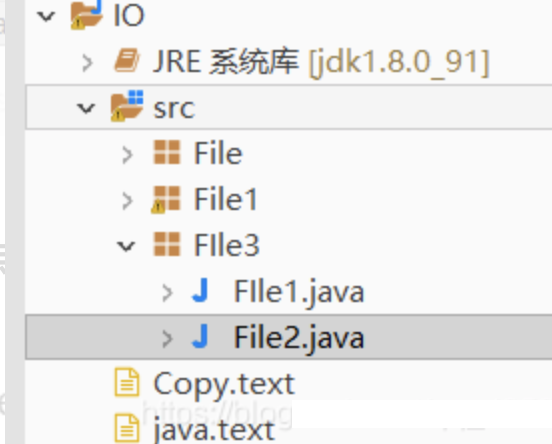
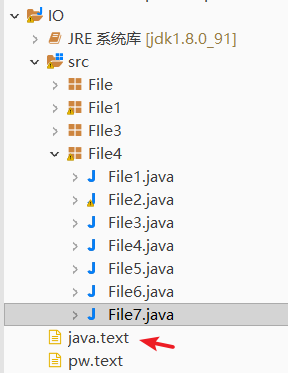
3.9.7 案例:复制单级文件夹
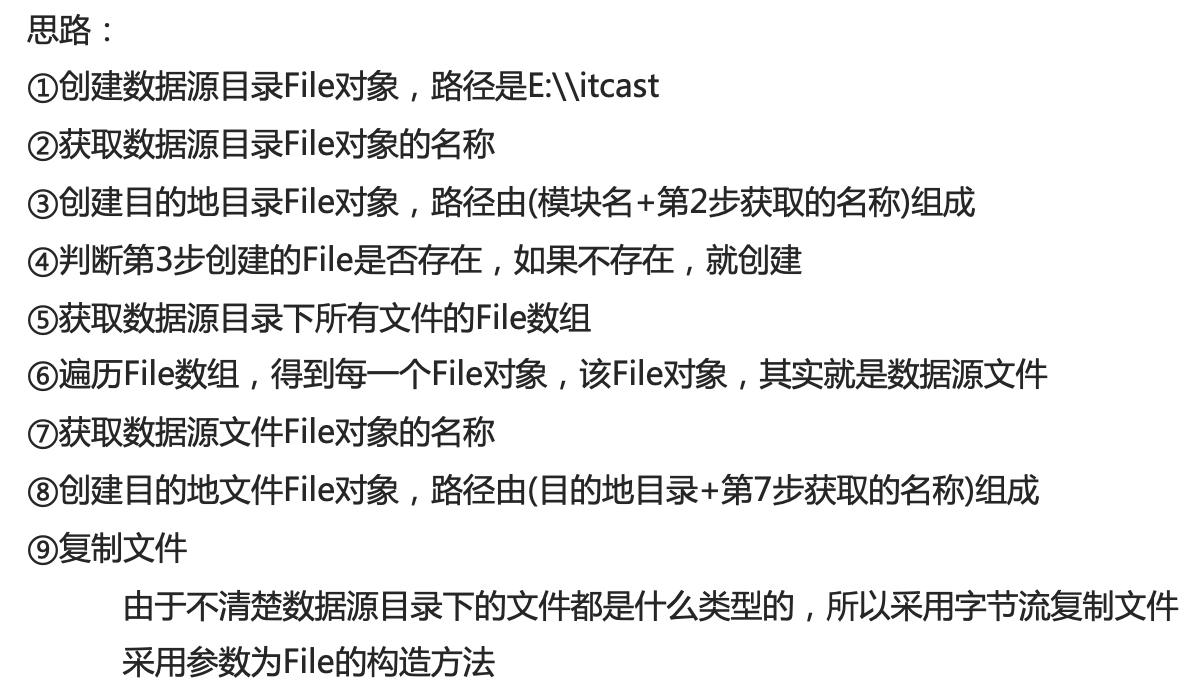
代码示例:
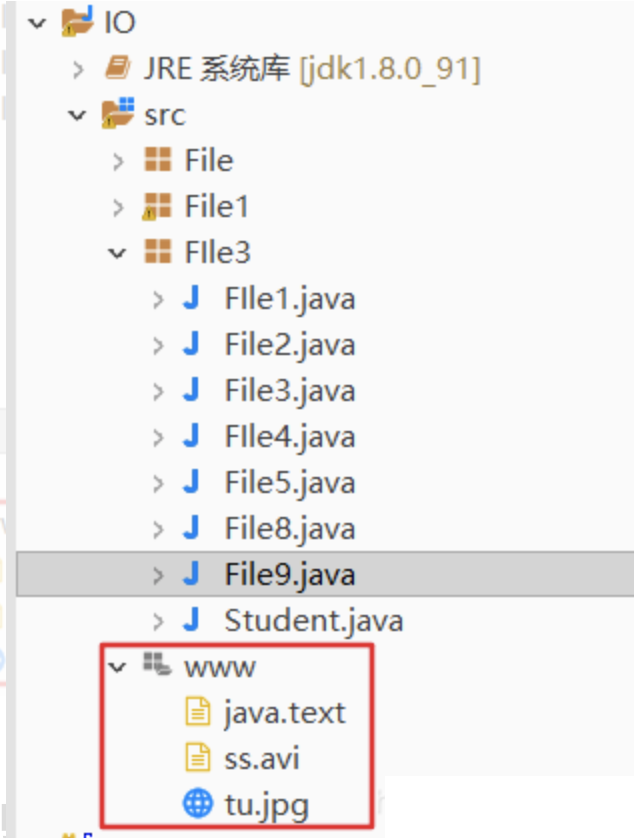
public class File9 {
public static void main(String[] args) throws IOException {
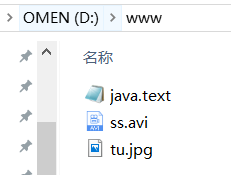
// 1:创建数据源目录File对象,路径是D:\\www
File srcFolder = new File("D:\\www");
// 2:获取数据源目录File对象的名称(www)
String srcFoldername = srcFolder.getName();
// 3:创建目的地目录File对象,路径名是源文件夹+www组成(src\ \www)
File destFolder = new File("src", srcFoldername);
// 4:判断目的地目录对应的File是否存在,如果不存在,就创建
if (!destFolder.exists()) { // exists:测试此抽象路径名表示的文件或目录是否存在。
destFolder.mkdirs(); // mkdir:创建由此抽象路径名命名的目录。
}
// 5:获取数据源目录下所有文件的File数组
File[] srclistFiles = srcFolder.listFiles();
// 6:遍历File数组,得到每一个File对象, 该File对象,其实就是数据源文件
for (File srcFile : srclistFiles) {
// 数据源文件:D:\\www\\java.text
// 7:获取数据源文件File对象的名称(java.text)
String srcFileName = srcFile.getName();
// 8:创建目的地文件File对象,路径名是目的地目录+java.text组成(src\\www\\java.text)
File destFile = new File(destFolder, srcFileName);
// 9:复制文件
copyFile(srcFile, destFile);
}
}
//字节缓存流复制文件
private static void copyFile(File srcFile, File destFile) throws IOException {
BufferedInputStream bis = new BufferedInputStream(new FileInputStream(srcFile));
BufferedOutputStream bos = new BufferedOutputStream(new FileOutputStream(destFile));
//由于文件不仅仅是文本文件,还有图片,视频等文件,所以采用字节流复制文件
byte[] bys = new byte[1024];
int len;
while ((len = bis.read(bys)) != -1) {
bos.write(bys, 0, len);
}
bos.close();
bis.close();
}
}
运行结果:
3.9.8 案例:复制多级文件夹
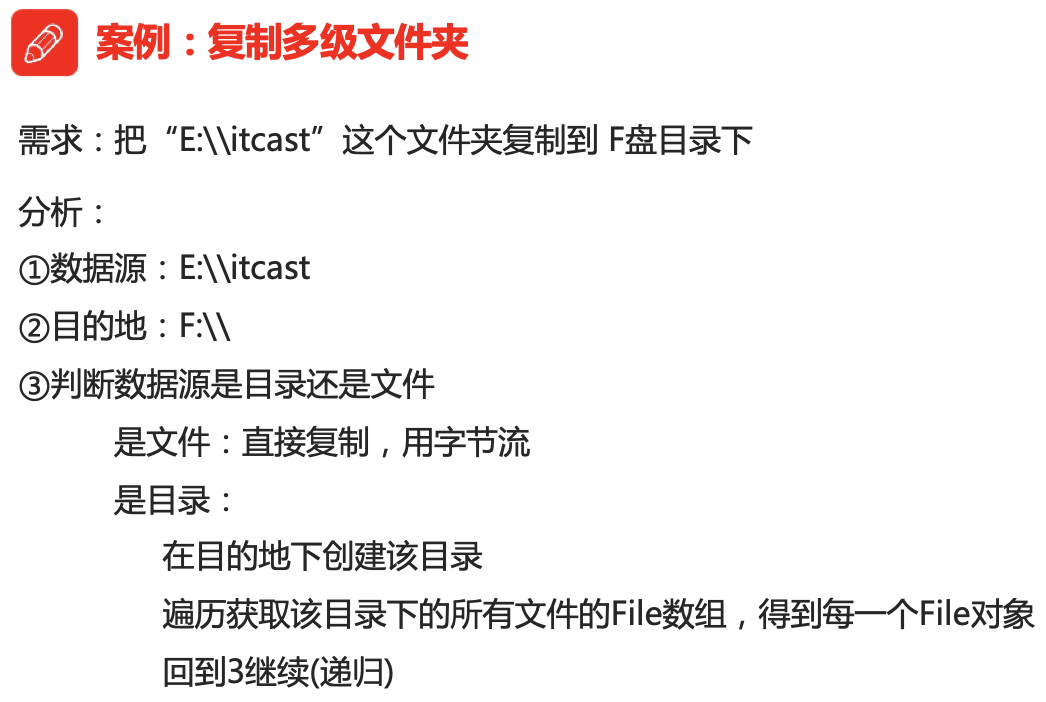
代码示例:
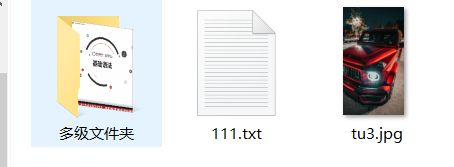
D:\www文件夹

public class File1 {

    public static void main(String[] args) throws IOException {

        // 创建数据源File对象,路径是D:\\www

        File srcFile = new File("D:\\www");

        // 创建目的地File对象, 路径是D:\\ccc

        File destFile = new File("D:\\ccc");

        // 方法实现文件夹的复制,参数为数据源File对象和目的地File对象

        copyFolder(srcFile, destFile);

    }

    // 复制文件夹

    private static void copyFolder(File srcFile, File destFile) throws IOException {

        // 判断数据源File是否是目录

        if (srcFile.isDirectory()) { // isDirectory():测试此抽象路径名表示的文件是否为目录。

            // 是目录:

            // A:在目的地下创建和数据源File名称一样的目录

            String srcFileName = srcFile.getName();

            File newFolder = new File(destFile, srcFileName); // D:\\ccc\\多级文件夹

            if (!newFolder.exists()) {

                newFolder.mkdirs();

            }

            // B:获取数据源File下所有文件或者目录的File数组

            File[] fileArray = srcFile.listFiles();

            // C:遍历该File数组,得到每一个File对象

            for (File file : fileArray) {

                // D:把该File作为数据源File对象,递归调用复制文件夹的方法

                copyFolder(file, newFolder);

            }

        } else {

            // 不是:

            // 说明是文件,直接复制,用字节流

            File newFile = new File(destFile, srcFile.getName());

            copyFile(srcFile, newFile);

        }

    }

    // 字节缓存流复制文件

    private static void copyFile(File srcFile, File destFile) throws IOException {

        BufferedInputStream bis = new BufferedInputStream(new FileInputStream(srcFile));

        BufferedOutputStream bos = new BufferedOutputStream(new FileOutputStream(destFile));

        // 由于文件不仅仅是文本文件,还有图片,视频等文件,所以采用字节流复制文件

        byte[] bys = new byte[1024];

        int len;

        while ((len = bis.read(bys)) != -1) {

            bos.write(bys, 0, len);

        }

        bos.close();

        bis.close();

    }

}
运行结果:

3.10复制文件的异常处理

public class File2 {

    public static void main(String[] args) {

    }

    // JDK9的改进方案

    private static void method4() throws IOException {

        FileReader fr = new FileReader("fr.text");

        FileWriter fw = new FileWriter("fw.text");

        try (fr;fw) {

            char[] chs = new char[1024];

            int len;

            while ((len = fr.read(chs)) != -1) {

                fw.write(chs, 0, len);

            }

        } catch (IOException e) {

            e.printStackTrace();

        }

    }

    // JDK7的改进方案

    private static void method3() {

        try (

                FileReader fr = new FileReader("fr.text");

                FileWriter fw = new FileWriter("fw.text");

            ) {

            char[] chs = new char[1024];

            int len;

            while ((len = fr.read(chs)) != -1) {

                fw.write(chs, 0, len);

            }

        } catch (IOException e) {

            e.printStackTrace();

        }

    }

    // try...catch...finally

    private static void method2() {

        FileReader fr = null;

        FileWriter fw = null;

        try {

            fr = new FileReader("fr.text");

            fw = new FileWriter("fw.text");

            char[] chs = new char[1024];

            int len;

            while ((len = fr.read(chs)) != -1) {

                fw.write(chs, 0, len);

            }

        } catch (IOException e) {

            e.printStackTrace();

        } finally {

            if (fw != null) {

                try {

                    fw.close();

                } catch (IOException e) {

                    e.printStackTrace();

                }

            }

            if (fr != null) {

                try {

                    fr.close();

                } catch (IOException e) {

                    e.printStackTrace();

                }

            }

        }

    }

    // 抛出处理

    private static void method1() throws IOException {

        FileReader fr = new FileReader("fr.text");

        FileWriter fw = new FileWriter("fw.text");

        char[] chs = new char[1024];

        int len;

        while ((len = fr.read(chs)) != -1) {

            fw.write(chs, 0, len);

        }

        fw.close();

        fr.close();

    }

}
4. 特殊操作流
4.1 标准输入输出流

标准输入流
代码示例:
public static final InputStream in:标准输入流。
通常该流对应于键盘输入或由主机环境或用户指定的另一个输入源
public class File3 {

    public static void main(String[] args) throws IOException {

        // public static final InputStream in:标准输入流。

        // 因为它的static修饰的,所以可以直接用类名访问

        InputStream is = System.in;

        //采用一次读取一个字符的方法

        int by;

        while ((by = is.read()) != -1) {

            System.out.print((char) by);

        }

    }

}
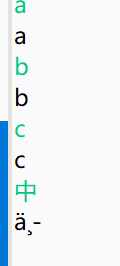
运行结果:
采用键盘录用的方式获取变量
但是输入汉字中的时候就会乱码,是因为编译器才用的是UTF-8的编码,而输出“中”就会输出形成“中”的字符编码。
怎么解决向下看。
解决输出的“中”是乱码的问题
public class File3 {
public static void main(String[] args) throws IOException {
/*
// public static final InputStream in:标准输入流。
// 因为它的static修饰的,所以可以直接用类名访问
InputStream is = System.in;
//如何把字节流转换为字符流? 用转换流
InputStreamReader isr=new InputStreamReader(is);
//使用字符流能不能够实现一次读取一行数据呢?可以
//但是,一次读取一行数据的方法是字符缓冲输入流的特有方法
BufferedReader br=new BufferedReader(isr);
*/
//但是这样写太麻烦了,也可以采用简单的方式写出来
BufferedReader br=new BufferedReader(new InputStreamReader(System.in));
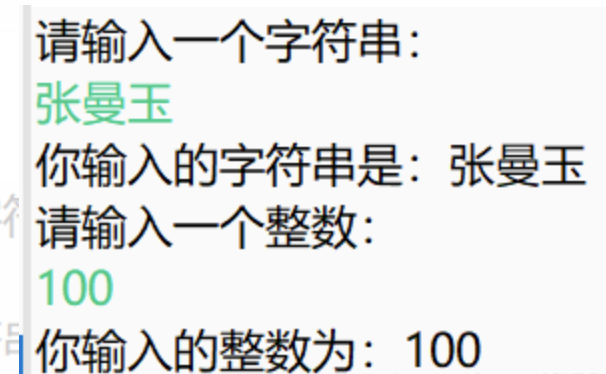
System.out.println("请输入一个字符串:");
String line = br.readLine();
System.out.println("你输入的字符串是:" + line);
//也可以输入数字
//得到数字就要将字符串转化为数字
System.out.println("请输入一个整数:");
int i = Integer.parseInt(br.readLine());
System.out.println("你输入的整数为:"+i);
}
}
运行结果:
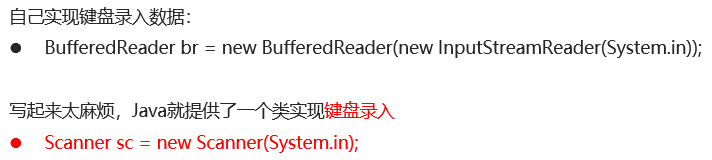
这样还是太麻烦,所以Java就提供了一个类我们使用
// 自己实现键盘录入数据太麻烦了,所以Java就提供了-一个类供我们使用

Scanner sc = new Scanner(System.in);
标准输出流
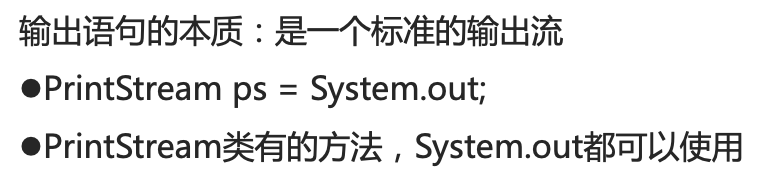
public static final PrintStream out:标准输出流
通常该流对应于示输出或由主机环境或用户指定的另-个输出目标
public class File4 {

    public static void main(String[] args) {

        // public static final PrintStream out:标准输出流

        // 因为是static修饰的方法,所以可以直接用类名调用

        PrintStream out = System.out;

        // 能够方便的打印各种数据值,加ln可换行

        out.print("Hello");

        out.print(100);

    }

}
运行结果:
加ln可实现换行

上面的代码是不是很熟悉,对了,它就是我们常用的输出语句,System.out.println();
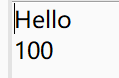
public class File4 {

    public static void main(String[] args) {

        //System. out的本质是一个字节输出流

        System.out.println("Hello");

        System.out.println(100);

        System.out.println();

        //不加ln,如果不输入数据是会报错的

//        System.out.print();

    }

}
运行结果:
4.2 打印流
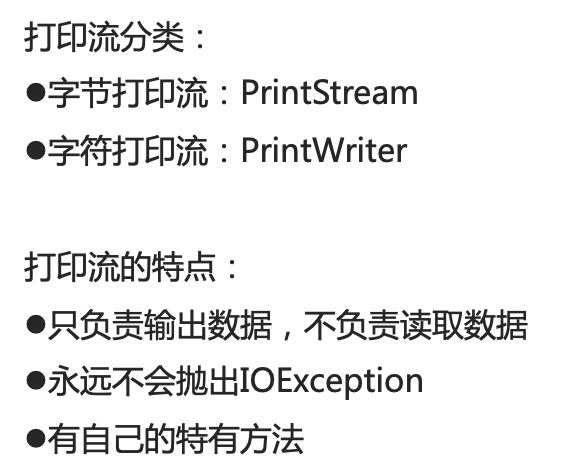
4.2.1 字节打印流:PrintStream

代码示例:
public class File5 {

    public static void main(String[] args) throws IOException {

        // PrintStream (String fileName): 使用指定的文件名创建新的打印流

        PrintStream ps = new PrintStream("ps.text");

        // 写数据

        // 字节输出流有的方法

        ps.write(97);

        // 释放资源

        ps.close();

    }

}
运行结果:
已经将97转码成a
如果使用PrintStream特有的方法那?
public class File5 {

    public static void main(String[] args) throws IOException {

        // PrintStream (String fileName): 使用指定的文件名创建新的打印流

        PrintStream ps = new PrintStream("ps.text");

        // 使用PrintStream特有的方法写数据

        // 如果加ln会自行换行

        ps.println(97);

        ps.println(98);

        // 释放资源

        ps.close();

    }

}
运行结果:
使用特有的方法并没有将97和98转换为a和b。
总结:
使用继承父类的方法(write)写数据,查看的时候会转码;
使用自己的特有方法(print或println)写数据,查看的数据原样输出;
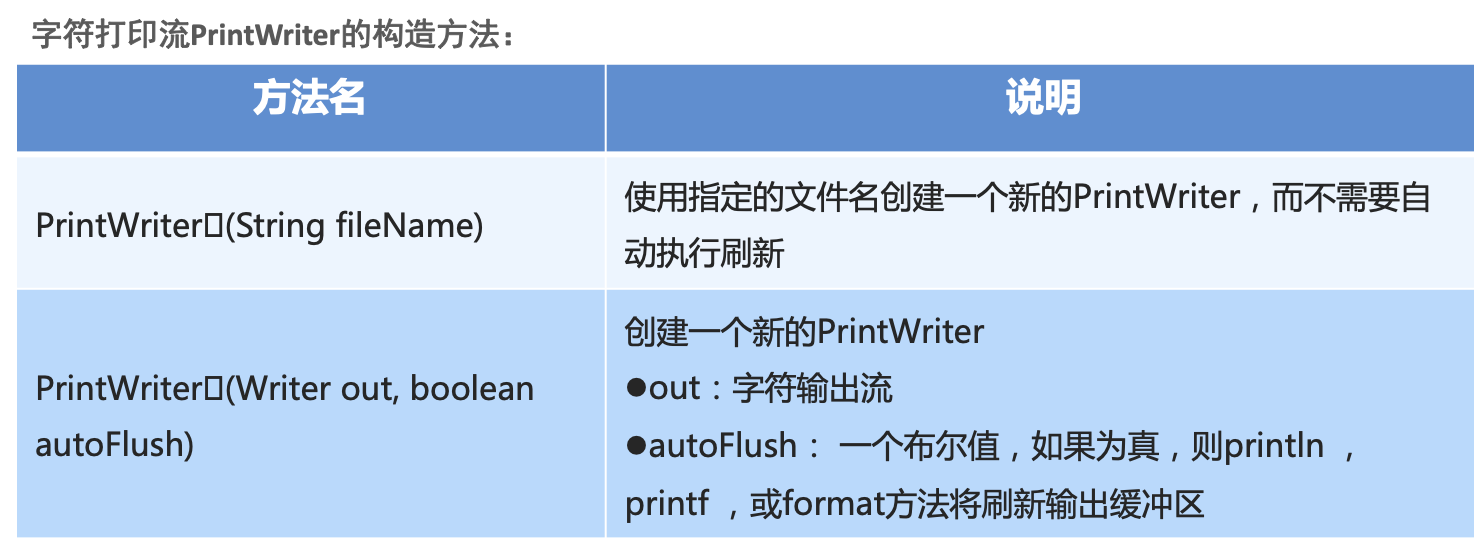
4.2.2 字符打印流: PrintWriter
代码示例:
PrintWriter(String fileName)方法
使用字符输出流的方法:write
public class File6 {

    public static void main(String[] args) throws IOException {

        // PrintWriter (String fileName) :使用指定的文件名创建一个新的PrintWriter, 而不需要自动执行行刷新

        PrintWriter pw = new PrintWriter("pw.text");

        pw.write("Hello");

        // 换行符

        pw.write("\r\n");

        // 字符流不加flush会输出失败

        pw.flush();

        pw.write("World");

        pw.write("\r\n");

        pw.flush();

        // 释放资源

        pw.close();

    }

}
运行结果:
使用PrintWriter特有的方法:println
public class File6 {
public static void main(String[] args) throws IOException {
// PrintWriter (String fileName) :使用指定的文件名创建一个新的PrintWriter, 而不需要自动执行行刷新
PrintWriter pw = new PrintWriter("pw.text");
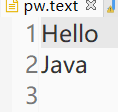
pw.println("Hello");
/*
* pw.println("Hello");做的是这两个步骤
* pw.write("Hello");
* pw.write("\r\n");
*/
pw.flush();
pw.println("Java");
pw.flush();
// 释放资源
pw.close();
}
}
运行结果:
上面的两个方法,都没有一步到位,那么使用 PrintWriter(Writer out, boolean autoFlush) 方法呢?
public class File6 {

    public static void main(String[] args) throws IOException {

        //PrintWriter (Writer out,boolean autoFlush): 创建一个新的PrintWriter

        PrintWriter pw=new PrintWriter(new FileWriter("pw.text"), true);

        pw.println("Hello");

        /*

         * pw.println("Hello");做的是这三个步骤

         *             pw.write("Hello");

         *             pw.write("\r\n");

         *             pw.flush();

         */

        pw.println("Java");

        // 释放资源

        pw.close();

    }

}
运行结果:

总结:
使用 PrintWriter (Writer out,boolean autoFlush): 方法,一个步骤就相当于不使用时候的三个步骤,
但是要注意的是,boolean autoFlush值必须是true才可以。
使用这个方法会省事很多,推荐使用。
4.2.3 案例:复制文件(打印流改进版)
代码示例:
public class File7 {

    public static void main(String[] args) throws IOException {

        // 1 :根据数据源创建字符输入流对象

        BufferedReader br = new BufferedReader(new FileReader("D:\\www\\java.text"));

        // 2:根据目的地创建字符输出流对象

        // 使用字符打印流

        PrintWriter pw = new PrintWriter(new FileWriter("java.text"));

        // 3:读写数据,复制文件

        String line;

        while ((line = br.readLine()) != null) {

            //这里的一步代表了以前的三步

            pw.print(line);

        }

        // 4:释放资源

        pw.close();

        br.close();

    }

}
运行结果:
4.3 对象序列化流
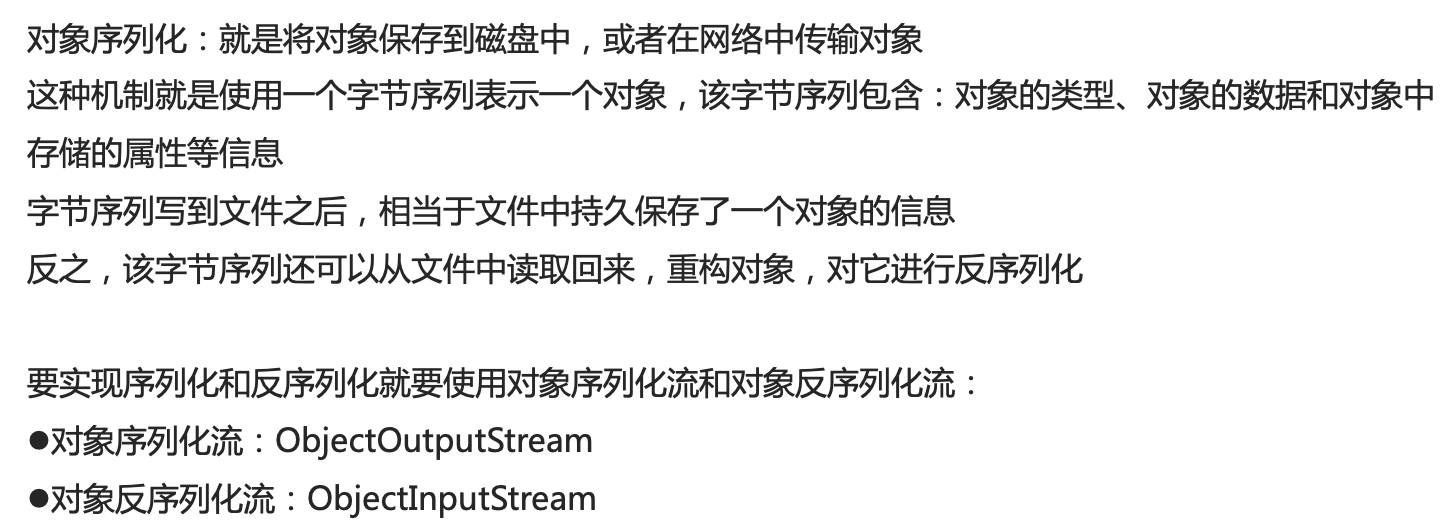
4.3.1 对象序列化流
对象序列化流:ObjectOutputStream

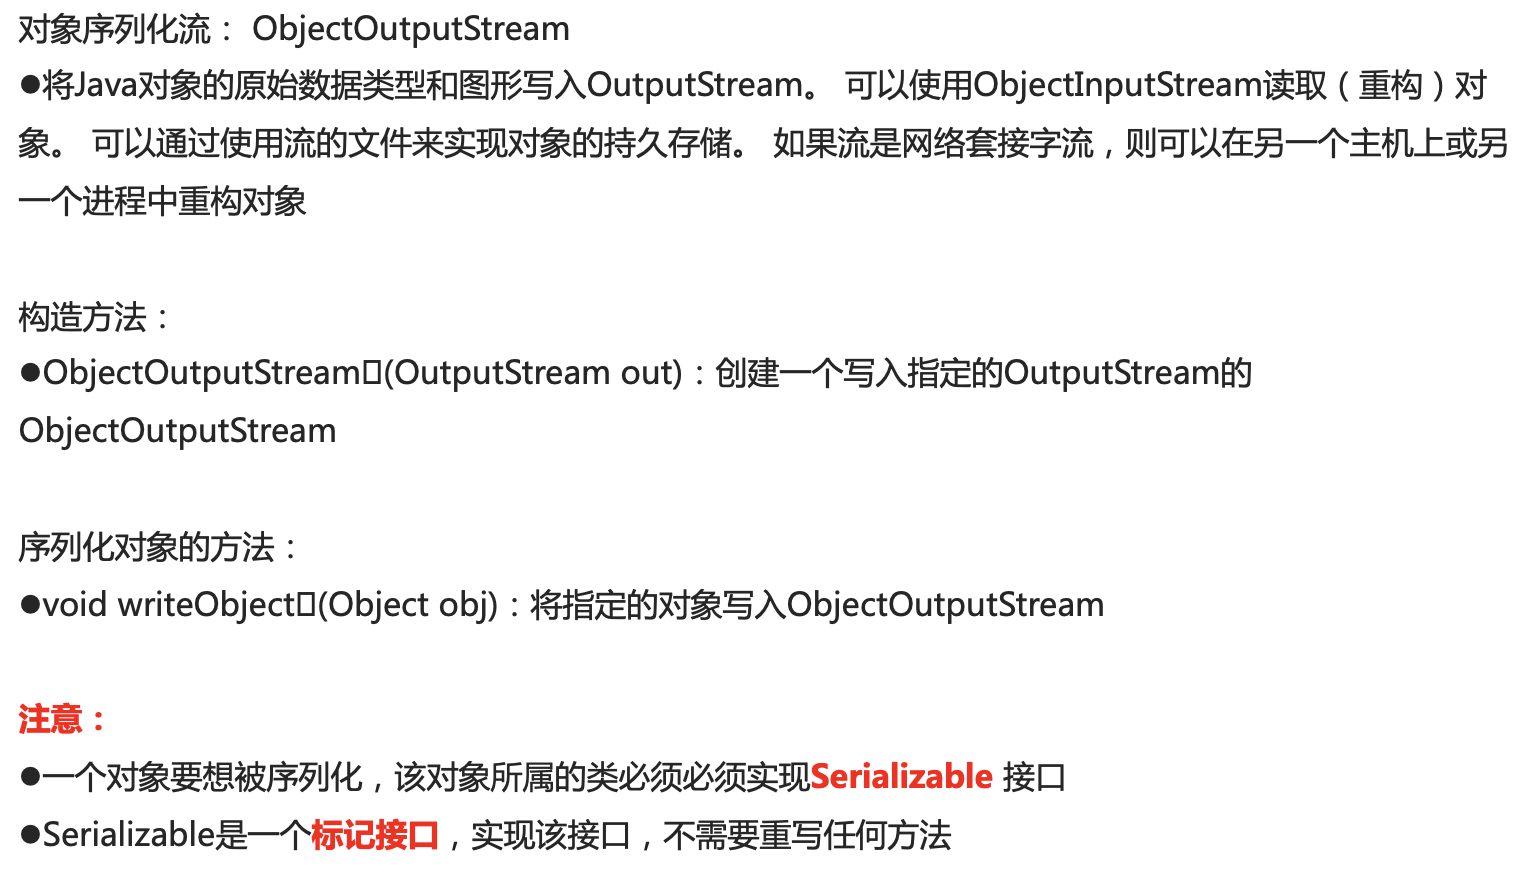
代码示例:
类的序列化必须实现Serializable接口,否则会报错。
错误:
NotSerial izableExcept ion:抛出一个实例需要一个Serializable接口。序列化运行时或实例的类可能会抛出此异常。
创建学生类:
//实现Serializable接口,才能实现序列化

public class Student implements Serializable{

    private String name;

    private int age;

    //有参构造和无参构造省略。。。

    //get和set方法省略。。。
实现类:
public class File8 {

    public static void main(String[] args) throws IOException {

        //ObjectOutputStream (OutputStream out): 创建一个写入指定的0utputStream的objectOutputStream

        ObjectOutputStream oos=new ObjectOutputStream(new FileOutputStream("java.text"));

        //创建对象

        Student student =new Student("林青霞", 26);

        //void writeObject (Object obj): 将指定的对象写入objectOutputStream

        oos.writeObject(student);

        //释放资源

        oos.close();

    }

}
运行结果:
将对象写入磁盘发现这些数据有的根本看不懂,我们是看不懂,但是反序列化看的懂。向下看

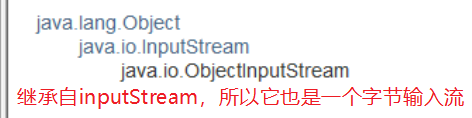
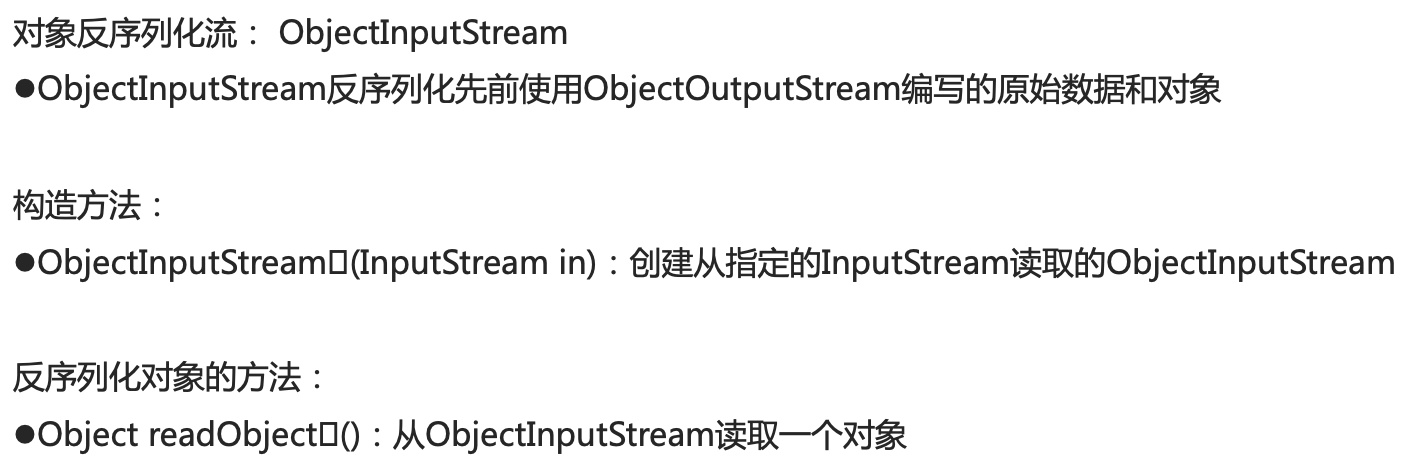
4.3.2 对象反序列化流
对象反序列化流:ObjectInputStream
代码示例:
public class File9 {
public static void main(String[] args) throws IOException, ClassNotFoundException {
//ObjectInputStream (InputStream in): 创建从指定的InputStream读取的objectInputStream
ObjectInputStream ojs=new ObjectInputStream(new FileInputStream("java.text"));
//Object readobject(): 从objectInputStream读取一 个对象
Object obj = ojs.readObject();
//向下转型将Object赋值给Student
Student s=(Student) obj;
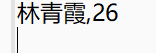
System.out.println(s.getName()+","+s.getAge());
//释放资源
ojs.close();
}
}
运行结果:
读取了我们刚才输入的对象,而且这次是可以看懂的。
总结:
序列化流将对象输出到磁盘中去,而反序列化流就是将磁盘中的对象可以在Java中使用
4.3.3 对象序列化流的几个问题
测试序列化后修改一个对象是否还能正常运行,和解决方法。
代码示例:
public class Student implements Serializable{

    private String name;

    private int age;

    //有参构造和无参构造省略。。。

    //get和set方法省略。。。

}
测试类:
public class File9 {

    public static void main(String[] args) throws FileNotFoundException, IOException, ClassNotFoundException {

        write();

        read();

    }

    // 序列化

    public static void write() throws FileNotFoundException, IOException {

        ObjectOutputStream oos = new ObjectOutputStream(new FileOutputStream("java.text"));

        Student student = new Student("林青霞", 26);

        oos.writeObject(student);

        oos.close();

    }

    // 反序列化

    public static void read() throws FileNotFoundException, IOException, ClassNotFoundException {

        ObjectInputStream ojs = new ObjectInputStream(new FileInputStream("java.text"));

        Object obj = ojs.readObject();

        Student s = (Student) obj;

        System.out.println(s.getName() + "," + s.getAge());

        ojs.close();

    }

}
运行结果:
序列化

反序列化
上面的例子很成功,但是将序列化之后的学生类,修改一下再反序列化,会不会成功那?
修改学生类:
添加一个toString方法
public class Student implements Serializable{

    private String name;

    private int age;

    //有参构造和无参构造省略。。。

    //get和set方法省略。。。

    @Override

    public String toString() {

        return "Student [name=" + name + ", age=" + age + "]";

    }

}
这次只允许反序列化,因为要测试修改后的学生类是否还会正常运行。
public class File9 {

    public static void main(String[] args) throws FileNotFoundException, IOException, ClassNotFoundException {

    //    write();

        read();

    }

    // 序列化

    public static void write() throws FileNotFoundException, IOException {

        //省略

    }

    // 反序列化

    public static void read() throws FileNotFoundException, IOException, ClassNotFoundException {

        //省略

    }

}
运行结果:
报错
java.io.InvalidClassException:
File4.Student;
local class incompatible:
stream classdesc serialVersionUID = 1614782718715018285,
local class serialVersionUID = 2700828625496571094
为什么会包这个错误那?
是因为在序列化的时候Java会默认给类一个UID,但是我们修改学生类之后,Java又会默认给类一个UID,这就导致了一个类有两个UID不同。
那怎么解决这个问题那?
解决的办法就是给类设置一个UID,这样就不用Java默认给UID了,设置一个UID就会一直用这个,修改类后也不会改变。
解决java.io.InvalidClassException错误
设置UID必须在序列化之前就设置好,如果在序列化后再设置就不会成功。
创建学生类:
public class Student implements Serializable{

    //添加一个UID,这个值是可以随意设置的。

    private static final long serialVersionUID = 2700828625496571094L;

    private String name;

    private int age;

    //有参构造和无参构造省略。。。

    //get和set方法省略。。。

}
测试类:
public class File9 {

    public static void main(String[] args) throws FileNotFoundException, IOException, ClassNotFoundException {

        write();

        read();

    }

    // 序列化

    public static void write() throws FileNotFoundException, IOException {

        //省略

    }

    // 反序列化

    public static void read() throws FileNotFoundException, IOException, ClassNotFoundException {

        //省略

    }

}
运行结果:
序列化

反序列化
修改学生类:
添加一个toString方法
public class Student implements Serializable{

    //添加一个UID,这个值是可以随意设置的。

    private static final long serialVersionUID = 2700828625496571094L;

    private String name;

    private int age;

    //有参构造和无参构造省略。。。

    //get和set方法省略。。。

    //toString方法省略。。。

}
测试类:
这次只允许反序列化
public class File9 {

    public static void main(String[] args) throws FileNotFoundException, IOException, ClassNotFoundException {

    //    write();

        read();

    }

    // 序列化

    public static void write() throws FileNotFoundException, IOException {

        //省略

    }

    // 反序列化

    public static void read() throws FileNotFoundException, IOException, ClassNotFoundException {

        //省略

    }

}
运行结果:
序列化后修改类一样还可以正常运行。
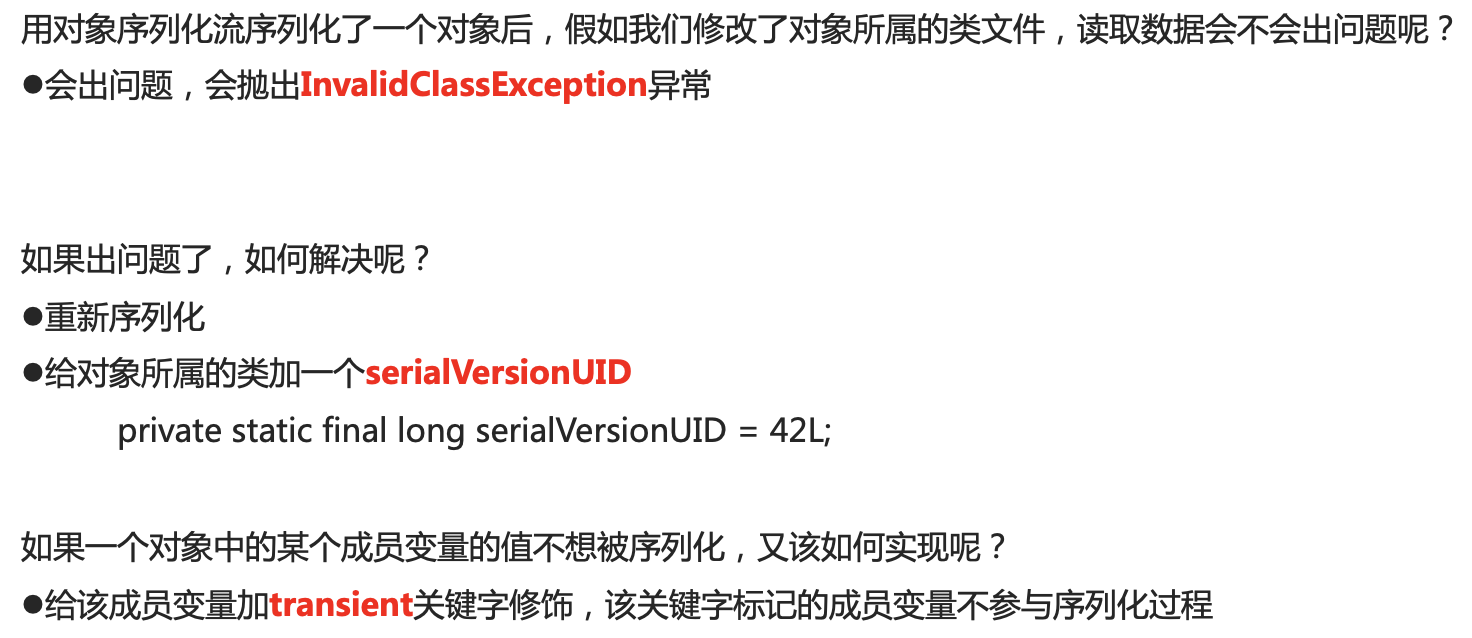
如果一个对象中的某个成员变量的值不被序列化,又该如何实现呢?
添加一个transient 关键字即可
示例:private transient int age;
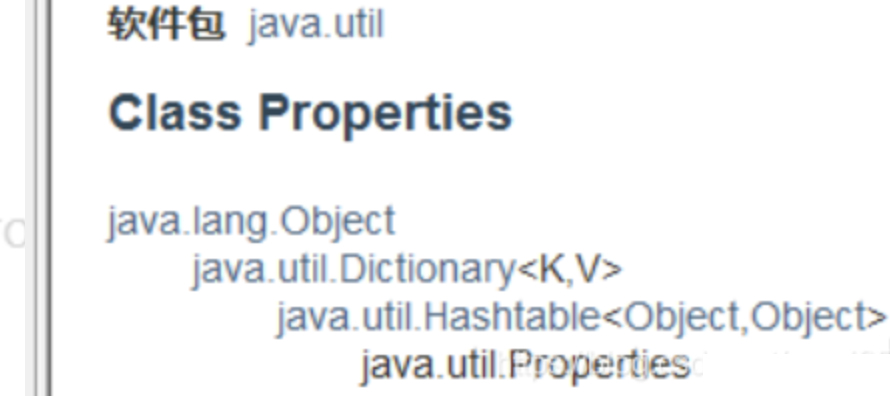
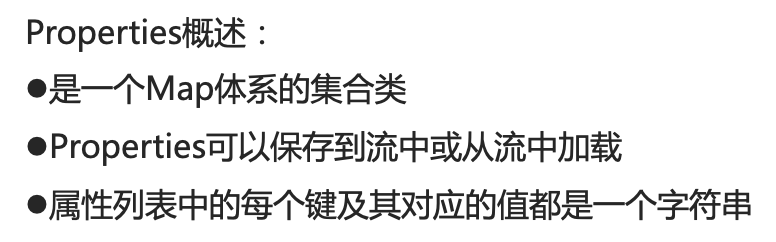
4.4 Properties
Properties在util包下,并且继承自Hashtable,而Hashtable实现了Map集合,所以Hashtable的用法和Map集合的用法是一样的。
这样来Properties也是集合体系的一员。
先来做一个练习:Properties作为Map集合的使用
代码示例:
/*

 * Properties作为Map集合的使用

 */

public class PropertiesDemo01 {

    public static void main(String[] args) {

        // 创建Properties集合对象

//        Properties<String,String> p=new Properties<String,String>();//错误的写法,因为Properties类是没有泛型的

        Properties prop = new Properties();

        // 存储元素

        prop.put("1", "林青霞");

        prop.put("2", "张曼玉");

        prop.put("3", "刘岩");

        // 遍历集合

        Set<Object> keySet = prop.keySet();

        for (Object key : keySet) {

            Object value = prop.get(key);

            System.out.println(key + "," + value);

        }

    }

}
运行结果:
4.4.1 Properties作为集合的特有方法
代码示例:
public class PropertiesDemo02 {
public static void main(String[] args) {
// 创建Properties集合对象
Properties prop = new Properties();
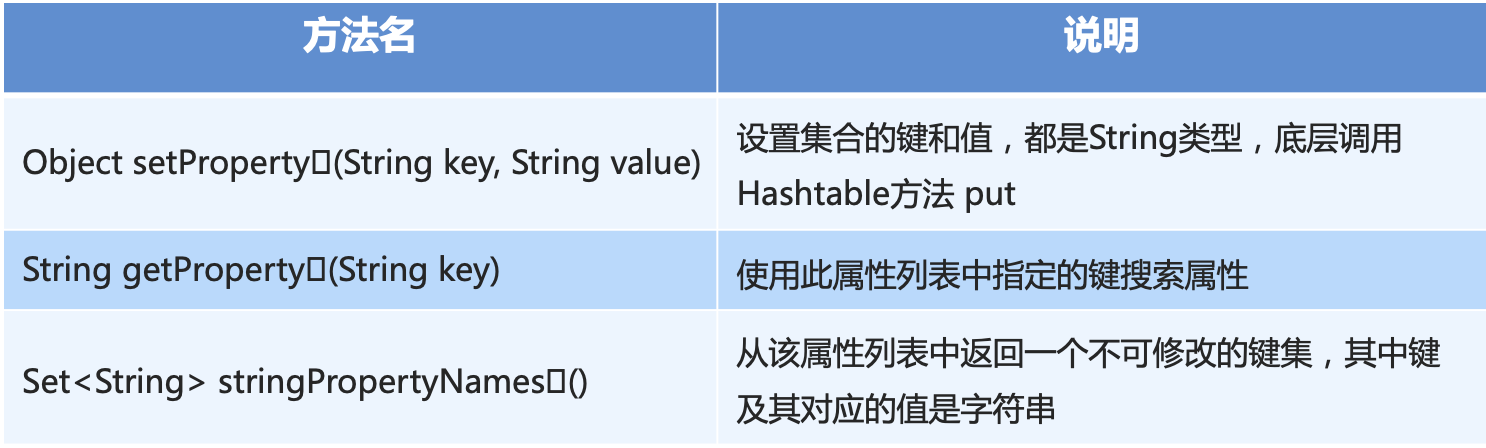
// Object setProperty(String key, String value):设置集合的键和值,都是String类型,底层调用Hashtable方法put
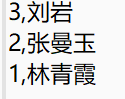
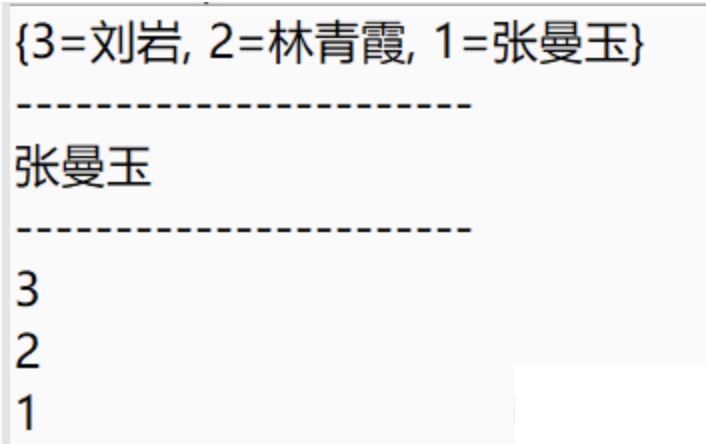
prop.setProperty("1", "张曼玉");
prop.setProperty("2", "林青霞");
prop.setProperty("3", "刘岩");
System.out.println(prop);
System.out.println("-----------------------");
// String getProperty(String key): 使用此属性列表中指定的键搜索属性
System.out.println(prop.getProperty("1"));
System.out.println("-----------------------");
// Set<String> stringPropertyNames(): 从该属性列表中返回一个不可修改的键集,其中键及其对应的值是 字符串
Set<String> names = prop.stringPropertyNames();
for (String key : names) {
System.out.println(key);
}
}
}
运行结果:
既然stringPropertyNames方法可以得到键集,那么就可以利用getProperty方法得到键和值。
在上面的方法中加入:
        //利用stringPropertyNames方法得到键集

        Set<String> names = prop.stringPropertyNames();

        for (String key : names) {

            //将key传入getProperty方法中得到值

            String value = prop.getProperty(key);

            System.out.println(key + "," + value);

        }
运行结果:
4.4.2 Properties和IO流结合的方法
红色为字符流,黑色为字节流。

代码示例:
字符流和字节流的方法使用是一样的,这里只使用字符流。
void store(Writer writer, String comments );
将集合写入到writer中。
public class PropertiesDemo03 {
public static void main(String[] args) throws IOException {
// 把集合中的数据保持到文件
myStore();
}
private static void myStore() throws IOException {
Properties prop = new Properties();
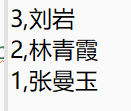
prop.put("1", "林青霞");
prop.put("2", "王祖贤");
prop.put("3", "张曼玉");
// void store(Writer writer, String comments );
// 将此属性列表(键和元素对)写入此Properties表中, 以适合使用Load(Reader)方法的格式写入输出字符流
//要传入Writer类型的对象,所以先创建一个,指定要创建的文件路径。
FileWriter fw = new FileWriter("java.text");
//将FileWriter放入writer,而comments 可写可不写
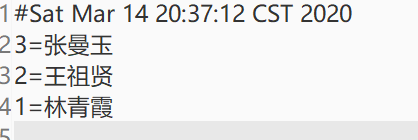
prop.store(fw, null);
fw.close();
}
}
运行结果:
第一行是创建文件夹的时间
void load(Reader reader):
读取reader文件
public class PropertiesDemo03 {

    public static void main(String[] args) throws IOException {

        // 把集合中的数据保持到文件

//        myStore();

        // 把文件中的数据加载到集合

        myLoad();

    }

    private static void myLoad() throws IOException {

        Properties prop = new Properties();

        // void load(Reader reader):

        FileReader fr = new FileReader("java.text");

        prop.load(fr);

        fr.close();

        System.out.println(prop);

    }

    private static void myStore() throws IOException {

        //省略。。。参照上方

    }

}
运行结果:

4.4.3 案例:游戏次数,玩到第三次停止游戏

代码示例:
写一个游戏类:
//1:写一个游戏类,里面有一个猜数字的小游戏
public class GuessNumber {
public static void start() {
// 要完成猜数字的游戏,首先需要有一个要猜的数字,使用随机数生成该数字,范围1到100
Random random = new Random();
int number = random.nextInt(100) + 1;
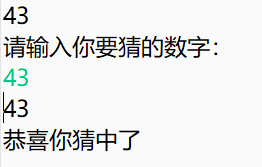
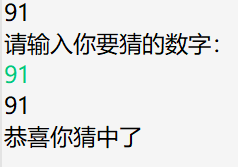
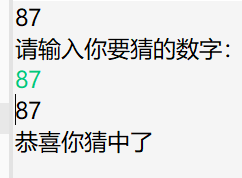
System.out.println(number);
while (true) {
// 使用程序实现猜数字,每次均要输入猜测的数字值,需要使用键盘录入实现
Scanner sc = new Scanner(System.in); System.out.println("请输入你要猜的数字:");
int guessNumber = sc.nextInt();
System.out.println(guessNumber);
// 比较输入的数字和系统产生的数据,需要使用分支语句。这里使用if. .else..if. .格式,根据不同情况进行猜测结果显示
if (guessNumber > number) {
System.out.println("你猜的数字" + guessNumber + "大了");
} else if (guessNumber < number) {
System.out.println("你猜的数字" + guessNumber + "小了");
} else if (guessNumber == number) {
System.out.println("恭喜你猜中了");
break;
}
}
}
}
创建game.text文件
测试类:
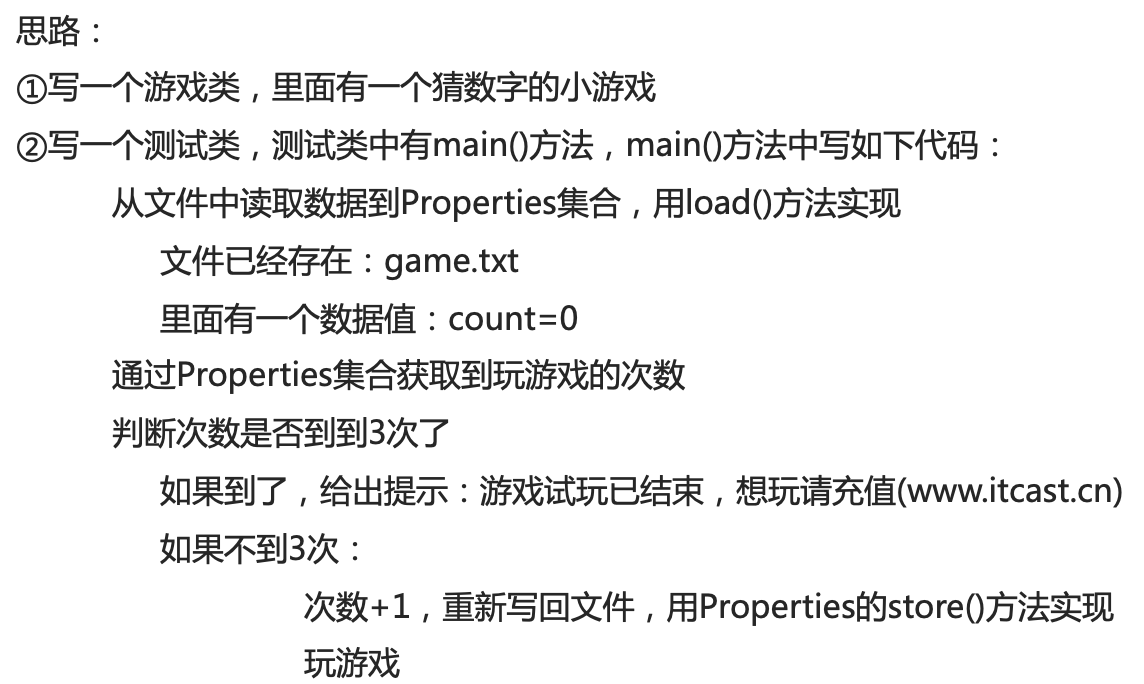
//2:写一个测试类,测试类中有main方法,main()方法 中按照下面步骤完成
public class GuessNumberTest {
public static void main(String[] args) throws IOException { // A:从文件中读取数据到Properties集合,用load()方法实现
Properties prop = new Properties();
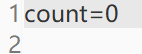
// 保证文件已经存在: game.text
// 里面有一个数据值: count=0
FileReader fr = new FileReader("game.text");
prop.load(fr);
fr.close(); // B:通过Properties集合获取到玩游戏的次数
String count = prop.getProperty("count");
int number = Integer.valueOf(count); // C:判断次数是否到到3次了
if (number >= 3) {
// 如果到了,给出提示:游戏试玩已结束,想玩请充值(www. itcasit. cn)
System.out.println("游戏试玩已结束,想玩请充值(www. itcasit. cn)");
} else {
// 如果不到3次: // 玩游戏.
GuessNumber.start(); // 次数+1,重新写回文件,用Properties的store()方法实现
number++;
prop.setProperty("count", String.valueOf(number));
FileWriter fw = new FileWriter("game.text");
prop.store(fw, null);
fw.close(); } }
}
运行结果:
第一次
第二次
第三次
第四次
一共三次机会,用完就不能玩了。

game.text文件
count值变成了3

Java基础00-IO流27的更多相关文章
- java基础之IO流(二)之字符流
java基础之IO流(二)之字符流 字符流,顾名思义,它是以字符为数据处理单元的流对象,那么字符流和字节流之间的关系又是如何呢? 字符流可以理解为是字节流+字符编码集额一种封装与抽象,专门设计用来读写 ...
- java基础之IO流(一)字节流
java基础之IO流(一)之字节流 IO流体系太大,涉及到的各种流对象,我觉得很有必要总结一下. 那什么是IO流,IO代表Input.Output,而流就是原始数据源与目标媒介的数据传输的一种抽象.典 ...
- Java基础之IO流整理
Java基础之IO流 Java IO流使用装饰器设计模式,因此如果不能理清其中的关系的话很容易把各种流搞混,此文将简单的几个流进行梳理,后序遇见新的流会继续更新(本文下方还附有xmind文件链接) 抽 ...
- 【java基础】]IO流
IO流 概念: 流的概念源于unix中管道(pipe)的概念,在unix中,管道是一条不间断的字节流,用来实现程序或进程间的通信,或读写外围设备,外部文件等 一个流,一定能够会有源和去向(目的地),他 ...
- java基础之 IO流
javaIO流 IO流 : (input output) 输入输出流 :输入 :将文件读到内存中 输出:将文件从内存输出到其他地方. IO技术的作用:主要就是解决设备和设备之间的数据传输问题 ...
- Java基础:IO流之字节流和字符流
1. 流的概念 流(stream)的概念源于UNIX中管道(pipe)的概念.在UNIX中,管道是一条不间断的字节流,用来实现程序或进程间的通信,或读写外围设备.外部文件等. 一个流,必有源端和目的端 ...
- java基础44 IO流技术(输出字节流/缓冲输出字节流)和异常处理
一.输出字节流 输出字节流的体系: -------| OutputStream:所有输出字节流的基类(抽象类) ----------| FileOutputStream:向文件输出数据的输出字节流(把 ...
- java基础之io流总结一:io流概述
IO流概念: 流是一组有顺序的,有起点和终点的字节集合,是对数据传输的总称或抽象.io流是实现输入和输出的基础,可以方便的实现数据的输入和输出操作. IO流的分类: 根据处理数据类型的不同分为:字符流 ...
- 黑马程序员——JAVA基础之IO流FileReader,FileWriter
------- android培训.java培训.期待与您交流! ---------- IO(Input Output)流 IO流用来处理设备之间的数据传输 Java对数据的操作是通过流的方式 J ...
- java基础06 IO流
IO用于在设备间进行数据传输的操作. Java IO流类图结构: IO流分类 字节流: InputStream FileInputStream BufferedInputStream Output ...
随机推荐
- Tensor基本理论
Tensor基本理论 深度学习框架使用Tensor来表示数据,在神经网络中传递的数据均为Tensor. Tensor可以将其理解为多维数组,其可以具有任意多的维度,不同Tensor可以有不同的数据类型 ...
- TTC测距算法
TTC测距算法 输入输出接口 Input:(1)人与车(或车与车)的距离 (2)人与车(或车与车)的相对速度 Output:TTC collision time 算法介绍和设计方案 TTC是Time- ...
- YOLO v1到YOLO v4(上)
YOLO v1到YOLO v4(上) 一. YOLO v1 这是继RCNN,fast-RCNN和faster-RCNN之后,rbg(RossGirshick)针对DL目标检测速度问题提出的另外一种框 ...
- 使用BootstrapVue相关组件,构建Vue项目界面
基于Vue的前端框架有很多,Element算一个,而BootstrapVue也可以非常不错的一个,毕竟Bootstrap也是CSS中的大佬级别的,它和Vue的整合,使得开发起来更加方便了.Bootst ...
- 在Visual Studio 中使用git——标记(Tag)管理(十)
在Visual Studio 中使用git--什么是Git(一) 在Visual Studio 中使用git--给Visual Studio安装 git插件(二) 在Visual Studio 中使用 ...
- 聊一聊.NET Core结合Nacos实现配置加解密
背景 当我们把应用的配置都放到配置中心后,很多人会想到这样一个问题,配置里面有敏感的信息要怎么处理呢? 信息既然敏感的话,那么加个密就好了嘛,相信大部分人的第一感觉都是这个,确实这个是最简单也是最合适 ...
- 【NX二次开发】Block UI 从列表选择部件
属性说明 属性 类型 描述 常规 BlockID String 控件ID Enable Logical 是否可操作 Group ...
- 网页站点下载器teleport ultra
软件名称:teleport ultra 介绍:teleport ultra是一款专门的网页站点下载器,使用这款工具可以方便地下载网页数据,包括网站的文字.图片.flash动画等,可以轻松下载所有的网站 ...
- 【C++】fopen与fopen_s
说明: VS2010中使用fopen,是没有问题的.使用VS2015时由于VS的高版本对文件操作的安全性有了较高的要求,所以会出现如下情况: fopen用法: fp = fopen(filename ...
- raft 图解 (秒懂)
文章很长,建议收藏起来,慢慢读! 疯狂创客圈为小伙伴奉上以下珍贵的学习资源: 疯狂创客圈 经典图书 : <Netty Zookeeper Redis 高并发实战> 面试必备 + 大厂必备 ...