kubernetes发布tomcat服务,通过deployment,service布署
1.制作tomcat镜像
此处直接拉取
查看已有可镜像
先设置docker阿里源,即添加 "registry-mirrors": ["https://mj9kvemk.mirror.aliyuncs.com"]
[root@k8s-master docker]# pwd

/etc/docker

[root@k8s-master docker]# cat daemon.json

{

  "exec-opts": ["native.cgroupdriver=systemd"],

  "log-driver": "json-file",

  "log-opts": {

    "max-size": "100m"

  },

  "storage-driver": "overlay2",

  "storage-opts": [

    "overlay2.override_kernel_check=true"

  ],

  "registry-mirrors": ["https://mj9kvemk.mirror.aliyuncs.com"]

}

[root@k8s-master docker]#
service docker restart
[root@k8s-master docker]# docker pull tomcat:

: Pulling from library/tomcat

e79bb959ec00: Pull complete

d4b7902036fe: Pull complete

1b2a72d4e030: Pull complete

de423484a946: Pull complete

ceaac3b844f7: Pull complete

88f01b722a52: Pull complete

c23be56a9ac1: Pull complete

d852ffd6d31f: Pull complete

11775a3d792d: Pull complete

acd9db02854a: Pull complete

3032f09d91b5: Pull complete

Digest: sha256:84e91645e3176f55e1f2ad63edf657216ed4ef3dde82e381f1b8ceac1145a21c

Status: Downloaded newer image for tomcat:

[root@k8s-master docker]# docker images

REPOSITORY                           TAG                 IMAGE ID            CREATED             SIZE

tomcat                                                  f1332ae3f570         days ago          463MB

k8s.gcr.io/kube-proxy                v1.14.0             5cd54e388aba         days ago          .1MB

k8s.gcr.io/kube-scheduler            v1.14.0             00638a24688b         days ago          .6MB

k8s.gcr.io/kube-controller-manager   v1.14.0             b95b1efa0436         days ago          158MB

k8s.gcr.io/kube-apiserver            v1.14.0             ecf910f40d6e         days ago          210MB

quay.io/coreos/flannel               v0.11.0-amd64       ff281650a721         months ago        .6MB

k8s.gcr.io/coredns                   1.3.               eb516548c180         months ago        .3MB

k8s.gcr.io/etcd                      3.3.              2c4adeb21b4f         months ago        258MB

k8s.gcr.io/pause                     3.1                 da86e6ba6ca1         months ago       742kB

[root@k8s-master docker]#
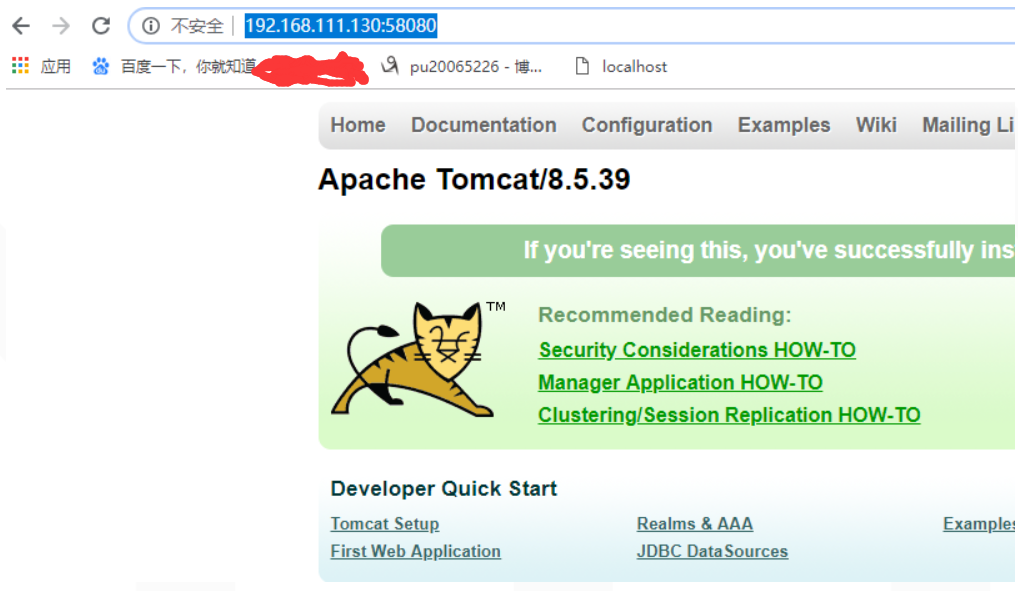
2.利用docker启动镜像,验证可用性
[root@k8s-master docker]# docker run -d -p : --name mytomcat_1 tomcat:

c8a00a7aab85ee3b342fb7cd1515a464bde1195397432173b6126f4242244ef9

[root@k8s-master docker]# docker ps -a|grep tomcat

c8a00a7aab85        tomcat:               "catalina.sh run"         minutes ago       Up  minutes                 0.0.0.0:->/tcp   mytomcat_1

[root@k8s-master docker]#
chrome验证 http://192.168.111.130:58080/
3.发布k8s集群
创建一个deployment
(可参考https://blog.csdn.net/wucong60/article/details/81699196)
kubernetes yaml语法,横杠表示数组,缩进表示层级,缩进不能有tab,参考Kubernetes之YAML文件
[root@k8s-master ~]# pwd

/root

[root@k8s-master ~]# cat deployment-hello.yaml

apiVersion: extensions/v1beta1

kind: Deployment

metadata:

  name: hello

spec:

  replicas:

  template:

    metadata:

      labels:

        run: hello

    spec:

      containers:

       - name: hello

         image: tomcat:8 #确保node节点上有该镜像且可正常运行,注意是node节点机器上,不是master机器

         imagePullPolicy: IfNotPresent ##Always,IfNotPresent,Never

         ports:

         - name: http

           containerPort:
kubectl 创建pod
[root@k8s-master ~]# kubectl create -f deployment-hello.yaml

deployment.extensions/hello created
deployments详情
root@k8s-master ~]# kubectl get deployments #查看deploy是否成功

NAME    READY   UP-TO-DATE   AVAILABLE   AGE

hello   /                            55s
[root@k8s-master ~]# kubectl get rs ##因为deployment是三层架构,看rs是否成功,我们看自动创建4个rs.名称后面的字符串是 模板的哈希值。是不会发生变化的,最后pod的是随机值
NAME DESIRED CURRENT READY AGE
hello-68df45bc79 4 4 0 8m29s
[root@k8s-master ~]# kubectl get pods #查看最后一层pod

NAME                     READY   STATUS              RESTARTS   AGE

hello-7d46c7db4c-42bwl   /     ContainerCreating             67s

hello-7d46c7db4c-rg9fq   /     ContainerCreating             67s

hello-7d46c7db4c-tclps   /     ContainerCreating             67s

hello-7d46c7db4c-whvsw   /     ContainerCreating             67s

[root@k8s-master ~]# kubectl describe  deployment hello
Name:                   hello
Namespace:              default
CreationTimestamp:      Wed, 03 Apr 2019 10:18:53 +0800
Labels:                 run=hello
Annotations:            deployment.kubernetes.io/revision: 1
Selector:               run=hello
Replicas:               4 desired | 4 updated | 4 total | 4 available | 0 unavailable
StrategyType:           RollingUpdate
MinReadySeconds:        0
RollingUpdateStrategy:  1 max unavailable, 1 max surge
Pod Template:
  Labels:  run=hello
  Containers:
   hello:
    Image:        tomcat:8
    Port:         8080/TCP
    Host Port:    0/TCP
    Environment:  <none>
    Mounts:       <none>
  Volumes:        <none>
Conditions:
  Type           Status  Reason
  ----           ------  ------
  Available      True    MinimumReplicasAvailable
OldReplicaSets:  <none>
NewReplicaSet:   hello-57b49c67cf (4/4 replicas created)
Events:
  Type    Reason             Age    From                   Message
  ----    ------             ----   ----                   -------
  Normal  ScalingReplicaSet  3m30s  deployment-controller  Scaled up replica set hello-57b49c67cf to 4
[root@k8s-master ~]#

##过两分钟状态就会变为running
[root@k8s-master ~]# kubectl get deployment
NAME    READY   UP-TO-DATE   AVAILABLE   AGE
hello   4/4     4            4           6m52s
[root@k8s-master ~]# kubectl get pods
NAME READY STATUS RESTARTS AGE
hello-57b49c67cf-6hh59 1/1 Running 0 4m56s
hello-57b49c67cf-6ml78 1/1 Running 0 4m56s
hello-57b49c67cf-8xqgw 1/1 Running 0 4m56s
hello-57b49c67cf-pd826 1/1 Running 0 4m56s
[root@k8s-master ~]# kubectl describe pod hello-57b49c67cf-6hh59
Name: hello-57b49c67cf-6hh59
Namespace: default
Priority: 0
PriorityClassName: <none>
Node: k8s-node1/192.168.111.131
Start Time: Wed, 03 Apr 2019 10:18:53 +0800
Labels: pod-template-hash=57b49c67cf
run=hello
Annotations: <none>
Status: Running
IP: 10.244.1.22
Controlled By: ReplicaSet/hello-57b49c67cf
Containers:
hello:
Container ID: docker://8cd27dd2bb4dffd50f8faf8938870af9fa9489f853498f37277a360e3059c476
Image: mytomcat:v8
Image ID: docker-pullable://tomcat@sha256:3e3d18321127bb9114f4226f95802d3899aeec4c36df84d0359e5da300e9bc72
Port: 8080/TCP
Host Port: 0/TCP
State: Running
Started: Wed, 03 Apr 2019 10:18:57 +0800
Ready: True
Restart Count: 0
Environment: <none>
Mounts:
/var/run/secrets/kubernetes.io/serviceaccount from default-token-92rjn (ro)
Conditions:
Type Status
Initialized True
Ready True
ContainersReady True
PodScheduled True
Volumes:
default-token-92rjn:
Type: Secret (a volume populated by a Secret)
SecretName: default-token-92rjn
Optional: false
QoS Class: BestEffort
Node-Selectors: <none>
Tolerations: node.kubernetes.io/not-ready:NoExecute for 300s
node.kubernetes.io/unreachable:NoExecute for 300s
Events:
Type Reason Age From Message
---- ------ ---- ---- -------
Normal Scheduled 5m37s default-scheduler Successfully assigned default/hello-57b49c67cf-6hh59 to k8s-node1
Normal Pulled 5m34s kubelet, k8s-node1 Container image "mytomcat:v8" already present on machine
Normal Created 5m34s kubelet, k8s-node1 Created container hello
Normal Started 5m33s kubelet, k8s-node1 Started container hello
如果kubectl get pod状态为ErrImagePull && ImagePullBackOff ErrImageNeverPull,请确保node上有相应的镜像,若无,则在node机器执行第1,2步
pod发布位置
root@k8s-master ~]# kubectl get pods -o wide

NAME                     READY   STATUS              RESTARTS   AGE     IP       NODE        NOMINATED NODE   READINESS GATES

hello-7d46c7db4c-42bwl   /     ContainerCreating             5m53s   <none>   k8s-node1   <none>           <none>

hello-7d46c7db4c-rg9fq   /     ContainerCreating             5m53s   <none>   k8s-node1   <none>           <none>

hello-7d46c7db4c-tclps   /     ContainerCreating             5m53s   <none>   k8s-node1   <none>           <none>

hello-7d46c7db4c-whvsw   /     ContainerCreating             5m53s   <none>   k8s-node1   <none>           <none>
正常情况下
[root@k8s-master ~]# kubectl get pods

NAME                  READY   STATUS    RESTARTS   AGE

hello-665548d-5fcbf   /     Running             11m

hello-665548d-h69xx   /     Running             11m

hello-665548d-jl6m6   /     Running             11m

hello-665548d-zd7kw   /     Running             11m
创建一个service
[root@k8s-master ~]# cat service-hello.yaml

apiVersion: v1

kind: Service

metadata:

  name: service-hello

  labels:

  name: service-hello

spec:

  type: NodePort      #这里代表是NodePort类型的,另外还有ingress,LoadBalancer

  ports:

  - port:           #这里的端口和clusterIP(kubectl describe service service-hello中的IP的port)对应,即在集群中所有机器上curl 10.98.166.242:80可访问发布的应用服务。

    targetPort:   #端口一定要和container暴露出来的端口对应,nodejs暴露出来的端口是8081,所以这里也应是8081

    protocol: TCP

    nodePort:    # 所有的节点都会开放此端口30000--32767,此端口供外部调用。

  selector:

    run: hello         #这里选择器一定要选择容器的标签,之前写name:kube-node是错的。

[root@k8s-master ~]# pwd

/root

[root@k8s-master ~]#
kubectl create -f 创建对像,删除用kubectl delete -f
[root@k8s-master ~]# kubectl create -f service-hello.yaml

service/service-hello created
[root@k8s-master ~]# kubectl get services
NAME TYPE CLUSTER-IP EXTERNAL-IP PORT(S) AGE
kubernetes ClusterIP 10.96.0.1 <none> 443/TCP 4h24m
service-hello NodePort 10.98.166.242 <none> 80:31111/TCP 42s
[root@k8s-master ~]#
root@k8s-master ~]# kubectl get services -o wide
NAME TYPE CLUSTER-IP EXTERNAL-IP PORT(S) AGE SELECTOR
kubernetes ClusterIP 10.96.0.1 <none> 443/TCP 4h25m <none>
service-hello NodePort 10.98.166.242 <none> 80:31111/TCP 104s run=hello
[root@k8s-master ~]# kubectl describe service service-hello
Name: service-hello
Namespace: default
Labels: <none>
Annotations: <none>
Selector: run=hello
Type: NodePort
IP: 10.98.166.242
Port: <unset> 80/TCP
TargetPort: 8080/TCP
NodePort: <unset> 31111/TCP
Endpoints: 10.244.1.22:8080,10.244.1.23:8080,10.244.1.24:8080 + 1 more...
Session Affinity: None
External Traffic Policy: Cluster
Events: <none>
[root@k8s-master ~]#
service创建后,自动生成endpoints,每个pod ip都在里面,简单认为:动态存储pod名字与pod ip对应关系的list,并提供将请求转发到实际pod上的能力 kubernets之endpoints
[root@k8s-master ~]# kubectl get endpoints

NAME            ENDPOINTS                                                        AGE

kubernetes      192.168.111.130:                                             20h

service-hello   10.244.1.22:,10.244.1.23:,10.244.1.24: +  more...   15h

[root@k8s-master ~]# kubectl describe endpoint service-hello

error: the server doesn't have a resource type "endpoint"

[root@k8s-master ~]# kubectl describe endpoints service-hello

Name:         service-hello

Namespace:    default

Labels:       <none>

Annotations:  endpoints.kubernetes.io/last-change-trigger-time: --03T02::57Z

Subsets:

  Addresses:          10.244.1.22,10.244.1.23,10.244.1.24,10.244.1.25

  NotReadyAddresses:  <none>

  Ports:

    Name     Port  Protocol

    ----     ----  --------

    <unset>    TCP

Events:

  Type     Reason                  Age                From                 Message

  ----     ------                  ----               ----                 -------

  Warning  FailedToUpdateEndpoint  48m (x2 over 69m)  endpoint-controller  Failed to update endpoint default/service-hello: Operation cannot be fulfilled on endpoints "service-hello": the object has been modified; please apply your changes to the latest version and try again

[root@k8s-master ~]#
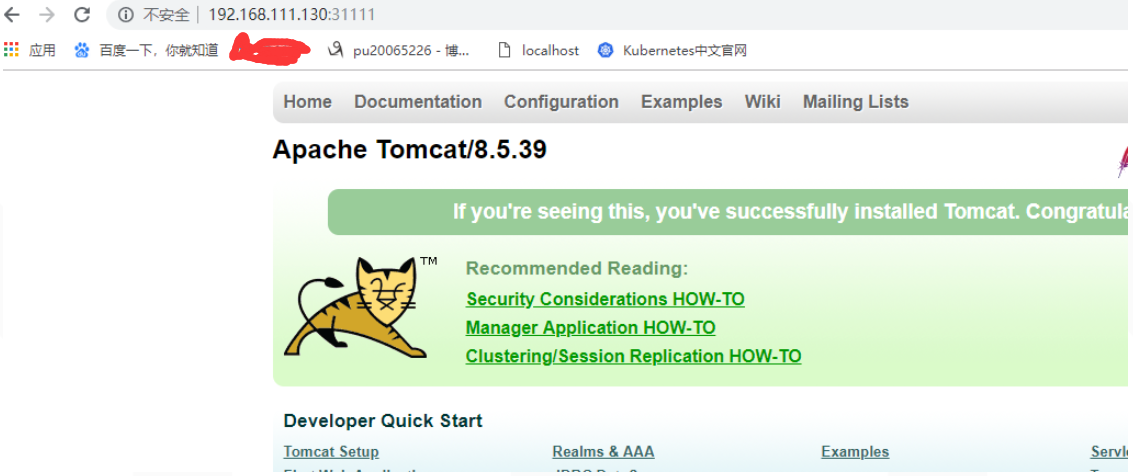
4.验证发布
http://192.168.111.130:31111/ 或者http://192.168.111.131:31111/
kubernetes发布tomcat服务,通过deployment,service布署的更多相关文章
- kubernetes发布tomcat服务,通过deployment,service布署(转)
1.制作tomcat镜像 参考docker tomcat镜像制作 此处直接拉取 查看已有可镜像 先设置docker阿里源,即添加 "registry-mirrors": [&quo ...
- 使用GeoServer+QGIS发布WMTS服务 | Publishing WMTS Service Using GeoServer+QGIS
Web GIS系列: 1.搭建简易Web GIS网站:使用GeoServer+PostgreSQL+PostGIS+OpenLayers3 2.使用GeoServer+QGIS发布WMTS服务 3.使 ...
- 第一篇【Zabbix服务端的完整布署】
1.环境准备 服务器版本: [root@filestore-v2 ~]# cat /etc/redhat-release CentOS Linux release (Core) 内核版本: [root ...
- WCF开发实战系列四:使用Windows服务发布WCF服务
WCF开发实战系列四:使用Windows服务发布WCF服务 (原创:灰灰虫的家http://hi.baidu.com/grayworm) 上一篇文章中我们通过编写的控制台程序或WinForm程序来为本 ...
- Openstack+Kubernetes+Docker微服务实践之路--服务发布
结合上文,我们的服务已经可以正常运行了,但它的访问方式只能通过服务器IP加上端口来访问,如何通过域名的方式来访问到我们服务,本来想使用Kubernetes的Ingress来做,折腾一天感觉比较麻烦,I ...
- 详解k8s零停机滚动发布微服务 - kubernetes
1.前言 在当下微服务架构盛行的时代,用户希望应用程序时时刻刻都是可用,为了满足不断变化的新业务,需要不断升级更新应用程序,有时可能需要频繁的发布版本.实现"零停机"." ...
- 一文看懂 Kubernetes 服务发现: Service
Service 简介 K8s 中提供微服务的实体是 Pod,Pod 在创建时 docker engine 会为 pod 分配 ip,"外部"流量通过访问该 ip 获取微服务.但 ...
- 无service.bat的tomcat服务怎么设置自启动
在正式环境中,经常需要设置tomcat自启动,这样在重启系统服务器后就不需要再手动去开启tomcat服务器了.通过设置tomcat下的service.bat可以实现自启动的目的,但有时候会发现自己的t ...
- Windows下使用service.bat安装tomcat服务, 启动停止tomcat服务
在项目开发过程中,以前只是在Eclipse中配置.启动.停止tomcat服务器 如果只想在机器中使用tomcat服务器,而不想安装MyEclipse,可以使用service.bat 将tomcat安装 ...
随机推荐
- 【git】之常用命令
再使用git过程常用的命令在6-10左右,但是如果你想精通git那么需要记住的命令在80左右, 下面看这张图,我们了解一下git的概念的常用操作! Workspace:工作区(例如eclipse的工作 ...
- jQuery 闪动的文字提示
原文地址:http://www.cnblogs.com/kiter/archive/2013/02/22/2922242.html 声明,本文转自网络. jQuery 闪动的文字提示,仿QQ头像闪烁闪 ...
- SCCM 2012 R2实战系列之二:前提工作准备
在上一篇中,我们完成了SQL Server 2012的安装和配置.现在跟大家分享SCCM安装前的准备工作. 2.1 SCCM 2012 R2 准备工作 2.1.1 创建并分配System Manage ...
- orcale 函数wm_concat不存咋lob值使用zh_concat 替换
create or replace TYPE zh_concat_im AUTHID CURRENT_USER AS OBJECT ( CURR_STR VARCHAR2(32767), STATIC ...
- BCGcontrolBar(八) Ribbon图标变换
点击前 点击后 CBCGPRibbonButton *pRibbonBtn=NULL; pRibbonBtn=DYNAMIC_DOWNCAST(CBCGPRibbonButton,m_pFrame-& ...
- Jsp九大内置对象和4大作用域
一.在java开发中,jsp提供了9个内置的对象,这些内置对象将由容器为用户进行实例化,用户直接使用. 这9个内置对象分别为:pageContext,request,response,session, ...
- tomcat简单使用(一)
先来说一说tomcat的使用 官网下载tomcat:tomcat,我的百度云上的:tomcat Tomcat分为安装版和解压版:安装版:一台电脑上只能安装一个Tomcat:解压版:无需安装,解压即可用 ...
- ZooKeeper的安装和API
Zookeeper的分布式安装和API介绍: 安装教程 在datanode1.datanode2和datanode3三个节点上部署Zookeeper. 步骤 解压zookeeper安装包到/opt/m ...
- 用vlan实现同一网段的的各部门之间有的可以通信有的不可以通信
日前老师上课演示一个项目:实现公司同一网段的各个部门之间有的可以通信有的无法通信.我们用的是思科测试软件模拟操作,个人觉得很好用. 在刚开始做这个项目的时候我以为端口是对应的,如图,交换机 ...
- Can't create handler inside thread that has not called Looper.prepare()
Looper.prepare(); // Can't create handler inside thread that has not called Looper.prepare(). Toast. ...