[Xamarin] 啟動拍照並且儲存 (转帖)
拍照對手機來說是很常用到的功能,許多App都基於在拍照上面,這篇文章主要大部分是在翻譯官方文件 (http://docs.xamarin.com/recipes/android/other_ux/camera_intent/take_a_picture_and_save_using_camera_app) 因為這篇寫得很清楚,主要我就筆記且翻譯一些比較重要的地方。
這篇文章主要聊聊如何啟動相機,並且拍一張照片之後,將照片取回來顯示在ImageView 上面
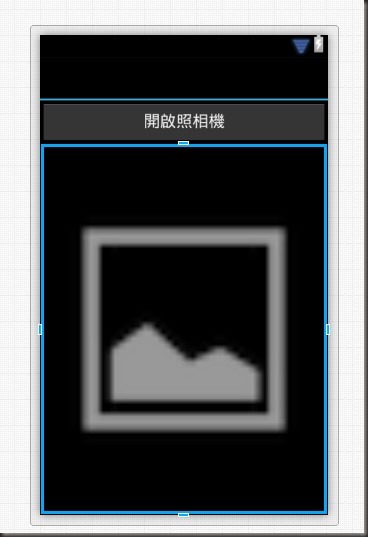
1. 首先我們看一下畫面,有一顆按鈕點下去後就啟動相機,並且將圖片帶回,首先你得先做幾件事情,開啟一個專案,再來就是新增AndroidManifest.xml 並且 新增WRITE_EXTERNAL_STORAG的權限。下面為 主要畫面的axml code :
<?xml version="1.0" encoding="utf-8"?>
<LinearLayout xmlns:android="http://schemas.android.com/apk/res/android"
android:orientation="vertical"
android:layout_width="fill_parent"
android:layout_height="fill_parent">
<Button
android:id="@+id/myButton"
android:layout_width="fill_parent"
android:layout_height="wrap_content"
android:text="開啟照相機" />
<ImageView
android:src="@android:drawable/ic_menu_gallery"
android:layout_width="fill_parent"
android:layout_height="fill_parent"
android:id="@+id/imageView1"
android:adjustViewBounds="true" />
</LinearLayout>
預覽:
2.接者,我在主要的Activity 中加入一些變數
Java.IO.File _file;
Java.IO.File _dir;
ImageView _imageView;
3.我們在OnCreate 中加入這些程式碼:
protected override void OnCreate(Bundle bundle)
{
base.OnCreate(bundle);
// Set our view from the "main" layout resource
SetContentView(Resource.Layout.Main);
if (IsThereAnAppToTakePictures())
{
CreateDirectoryForPictures();
Button button = FindViewById<Button>(Resource.Id.myButton);
_imageView = FindViewById<ImageView>(Resource.Id.imageView1);
button.Click += TakeAPicture;
}
}
會出現紅字別緊張還有兩個function沒有補上
/// <summary>
/// 判斷是否可以正常叫起相機
/// </summary>
/// <returns></returns>
private bool IsThereAnAppToTakePictures()
{
var intent = new Intent(MediaStore.ActionImageCapture);
IList<ResolveInfo> availableActivities = PackageManager.QueryIntentActivities(intent, PackageInfoFlags.MatchDefaultOnly);
return availableActivities != null && availableActivities.Count > 0;
}
/// <summary>
/// 在外部儲存裝置中建立起檔案夾並且使用當作暫存
/// </summary>
private void CreateDirectoryForPictures()
{
_dir = new File(Android.OS.Environment.GetExternalStoragePublicDirectory(Android.OS.Environment.DirectoryPictures), "CameraAppDemo");
if (!_dir.Exists())
{
_dir.Mkdirs();
}
}
接下來,我們需要處理按鈕的Click事件。在這個例子中,我們將創建一個將處理事件的方法:
/// <summary>
/// 點擊拍照按鈕後啟動拍照
/// </summary>
/// <param name="sender"></param>
/// <param name="eventArgs"></param>
private void TakeAPicture(object sender, EventArgs eventArgs)
{
//使用intent 叫起拍照動作
var intent = new Intent(MediaStore.ActionImageCapture);
//回存的檔名
_file = new File(_dir, String.Format("myPhoto_{0}.jpg", Guid.NewGuid()));
intent.PutExtra(MediaStore.ExtraOutput, Android.Net.Uri.FromFile(_file));
//等待結果的呼叫Activity
//可以參考 http://no2don.blogspot.com/2013/07/xamarin-startactivityforresult.html
StartActivityForResult(intent, 0);
}
當用戶點擊按鈕,該程式將會發送一個intent 要求android 來找到一個活動去拍照,通常是用系統現在指定的拍照軟體,請注意在intent中我們提供她儲存位置,再來我們看看當OnActivityResult 被觸發(因為使用的是StartActivityForResult)的程式碼實作:
protected override void OnActivityResult(int requestCode, Result resultCode, Intent data)
{
base.OnActivityResult(requestCode, resultCode, data);
// 讓此可以在圖片庫中被使用
// 這一段不寫不會影響功能只是在圖片庫中,並不會顯示此張照片
var mediaScanIntent = new Intent(Intent.ActionMediaScannerScanFile);
var contentUri = Android.Net.Uri.FromFile(_file);
mediaScanIntent.SetData(contentUri);
SendBroadcast(mediaScanIntent);
//
// 將其顯示在ImageView上面
// 因為避免拍照片太大導致app crash
int height = _imageView.Height;
int width = Resources.DisplayMetrics.WidthPixels;
//using (Bitmap bitmap = _file.Path.LoadAndResizeBitmap(width, height))
using (Bitmap bitmap = _file.Path.LoadAndResizeBitmap(width, height))
{
_imageView.SetImageBitmap(bitmap);
}
}
按照原文範例,為了避免App Crash 所以必須要調整大小,所以官方的教學文件上面附上一個BitmapHelper來作,請就直接開一個BitmapHelper.cs 來貼上下面的code:
using Android.Graphics;
namespace SampleOpenCamera
{
public static class BitmapHelpers
{
public static Bitmap LoadAndResizeBitmap(this string fileName, int width, int height)
{
// First we get the the dimensions of the file on disk
BitmapFactory.Options options = new BitmapFactory.Options { InJustDecodeBounds = true };
BitmapFactory.DecodeFile(fileName, options);
// Next we calculate the ratio that we need to resize the image by
// in order to fit the requested dimensions.
int outHeight = options.OutHeight;
int outWidth = options.OutWidth;
int inSampleSize = 1;
if (outHeight > height || outWidth > width)
{
inSampleSize = outWidth > outHeight
? outHeight / height
: outWidth / width;
}
// Now we will load the image and have BitmapFactory resize it for us.
options.InSampleSize = inSampleSize;
options.InJustDecodeBounds = false;
Bitmap resizedBitmap = BitmapFactory.DecodeFile(fileName, options);
return resizedBitmap;
}
}
}
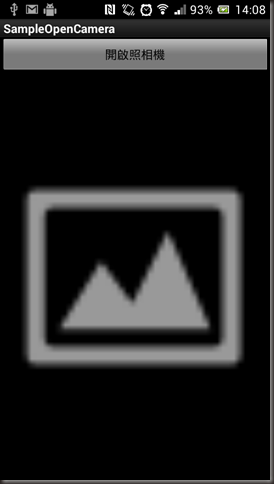
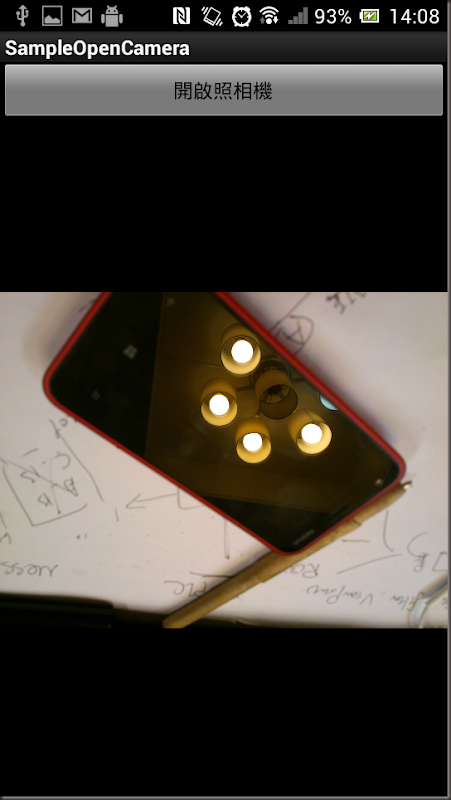
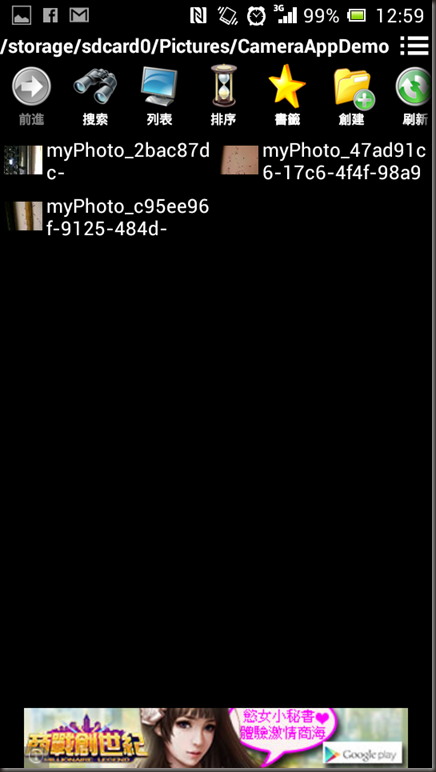
結果 :

圖片存放位置: /storage/sdcard0/Pictures/CameraAppDemo
[Xamarin] 啟動拍照並且儲存 (转帖)的更多相关文章
- [Xamarin.Android] 儲存資料於Windows Azure (转帖)
在準備討論Xamarin.Android 如何整合GCM與Windows Azure來實作Push Notification之前, 先來了解如何將Xamarin.Android 與Windows Az ...
- [Xamarin] 透過 IsolatedStorageFile儲存資料(转帖)
開發手機App通常都會遇到想要儲存資料的,舉個例來說,像是 (圖片來源:http://docs.xamarin.com/guides/android/application_fundamentals/ ...
- 問題排查:F5啟動偵錯後所提示的錯誤 (2)
原始專案版本:Visual Studio 2005 開發環境:Visual Studio 2013 偵錯運行環境:IIS Express 啟動偵錯後,錯誤提示內容如下: HTTP 错误 403.14 ...
- 問題排查:F5啟動偵錯後所提示的錯誤 (1)
原始專案版本:Visual Studio 2005 開發環境:Visual Studio 2013 偵錯運行環境:IIS Express 啟動偵錯後,錯誤提示內容如下: HTTP 错误 500.23 ...
- [Xamarin] 關於發出Notification 的大小事 (转帖)
關於Anroid 的使用者來說,Notification 是一個非常會看到且用到的功能 他可以提醒使用者甚麼東西需要待處理,像是郵件或是會議的提醒等.. 甚至有些APP ,直接使用Notificati ...
- Visual Studio 跨平台開發實戰(4) - Xamarin Android 基本控制項介紹 (转帖)
前言 不同於iOS, Xamarin 在Visual Studio中針對Android, 可以直接設計使用者介面. 在本篇教學文章中, 筆者會針對Android的專案目錄結構以及基本控制項進行介紹, ...
- [Xamarin] 製作吐司(Toast)以及圖文並茂的Toast (转帖)
最近在看Xamarin使用C#來撰寫Android App . 紀錄一下,順便給之後有需要的人可以有所參考 :) 今天要來聊的是關於Toast 這東西,這在以前Android 上面我是很常使用 拿來l ...
- [CentOS 6.5 X64]讓firefox java plugin 啟動
到ORACLE下載JRE http://www.oracle.com/technetwork/java/javase/downloads/index.html 我是X64所以下載 jre-7-linu ...
- xamarin android打开拍照
xamarin android打开摄像头 Intent intentBrowser = new Intent("android.media.action.IMAGE_CAPTURE" ...
随机推荐
- TabCtrl的基本用法
MFC TabCtrl控件的使用方法及思路 1.建立基于Dialog的应用程序 2.添加TabCtrl控件,并关联变量 3.建立TabCtrl中存放的Dialog子对话框若干,并关联类 4.在Tabc ...
- 开发《基于Arcgis Online的家政管理服务信息系统》随笔1
1.在webservice中写的方法参数里面含有数组,如:public DataTable AdvSearch1(int ServiceArea, params string[] nas), 在发布之 ...
- c#基础-类型基础深入了解
对象类型需要动态内存,基础类型需要静态内存 动态内存分配在堆上,静态内存分配在栈上. 静态内存保存着简单的变量,如 int a=0; 值类型:把一个值类型赋值给另外一个值类型,改变其中一个另外一个不会 ...
- jQuery鼠标事件汇总
鼠标事件是在用户移动鼠标光标或者使用任意鼠标键点击时触发的. 1.click事件:点击鼠标左键时触发 $('p').click(function(){}); 示例: $('p').click(func ...
- CSS 知识汇总
1: inline-block 元素 IE6 7下只有 inline 的元素有 inline-block, 比如 span元素,如果要使其它元素有 inline-block,比如 div 有 in ...
- SQL SERVER连接、合并查询
----创建测试表MyStudentInfoCREATE table MyStudentInfo( Id int not null primary key, Name varchar(16), ...
- DIOCP之注册编码解码器与ClientContext
FTcpServer.registerCoderClass(TIOCPStreamDecoder, TIOCPStreamEncoder);//注册编码器与解码器 FTcpServer.registe ...
- spring中Bean的生命周期
初始化方法:在Bean实例初始化后自动执行的方法 销毁方法:在Bean实例销毁前执行的方法 <bean id="bm" class="springTest.Car& ...
- [原创]HEXO博客搭建日记
博客系统折腾了好久,使用过Wordpress,Ghost,Typecho,其中Typecho是我使用起来最舒心的一种,Markdown编辑+轻量化设计,功能不多不少刚好,着实让我这种强迫症患者舒服了好 ...
- rhel7网络管理
实验-禁用网卡命名规则: 在GRUB_CMDLINE_Linux=“rd.lvm.lv=rhel/root vconsole.keymap=us vconsole.font=latarcyheb-s ...