4、flink自定义source、sink
一、Source
输入 Controlling Latency(控制延迟)
默认情况下,流中的元素并不会一个一个的在网络中传输(这会导致不必要的网络流量消耗) ,而是缓存起来,缓存 的大小可以在Flink的配置文件、ExecutionEnvironment、或者某个算子上进行配置(默认为100ms)。

- 好处:提高吞吐
- 坏处:增加了延迟
- 为了最大吞吐量,可以设置 setBufferTimeout(-1),这会移除 timeout 机制,缓存中的数据一满就会被发送 。
- 为了最小的延迟,可以将超时设置为 0 ,但是会有一些性能的损耗。
1.1、flink内置数据源
1、基于文件
env.readTextFile("file://path")

env.readFile(inputFormat, "file://path");
2、基于socket数据源
env.socketTextStream("localhost", 6666, '\n')
3. 基于Collection
import org.apache.flink.api.scala._

env.fromCollection(List(1,2,3))

env.fromElements(1,2,3)

env.generateSequence(0, 1000)
1.2、自定义数据源
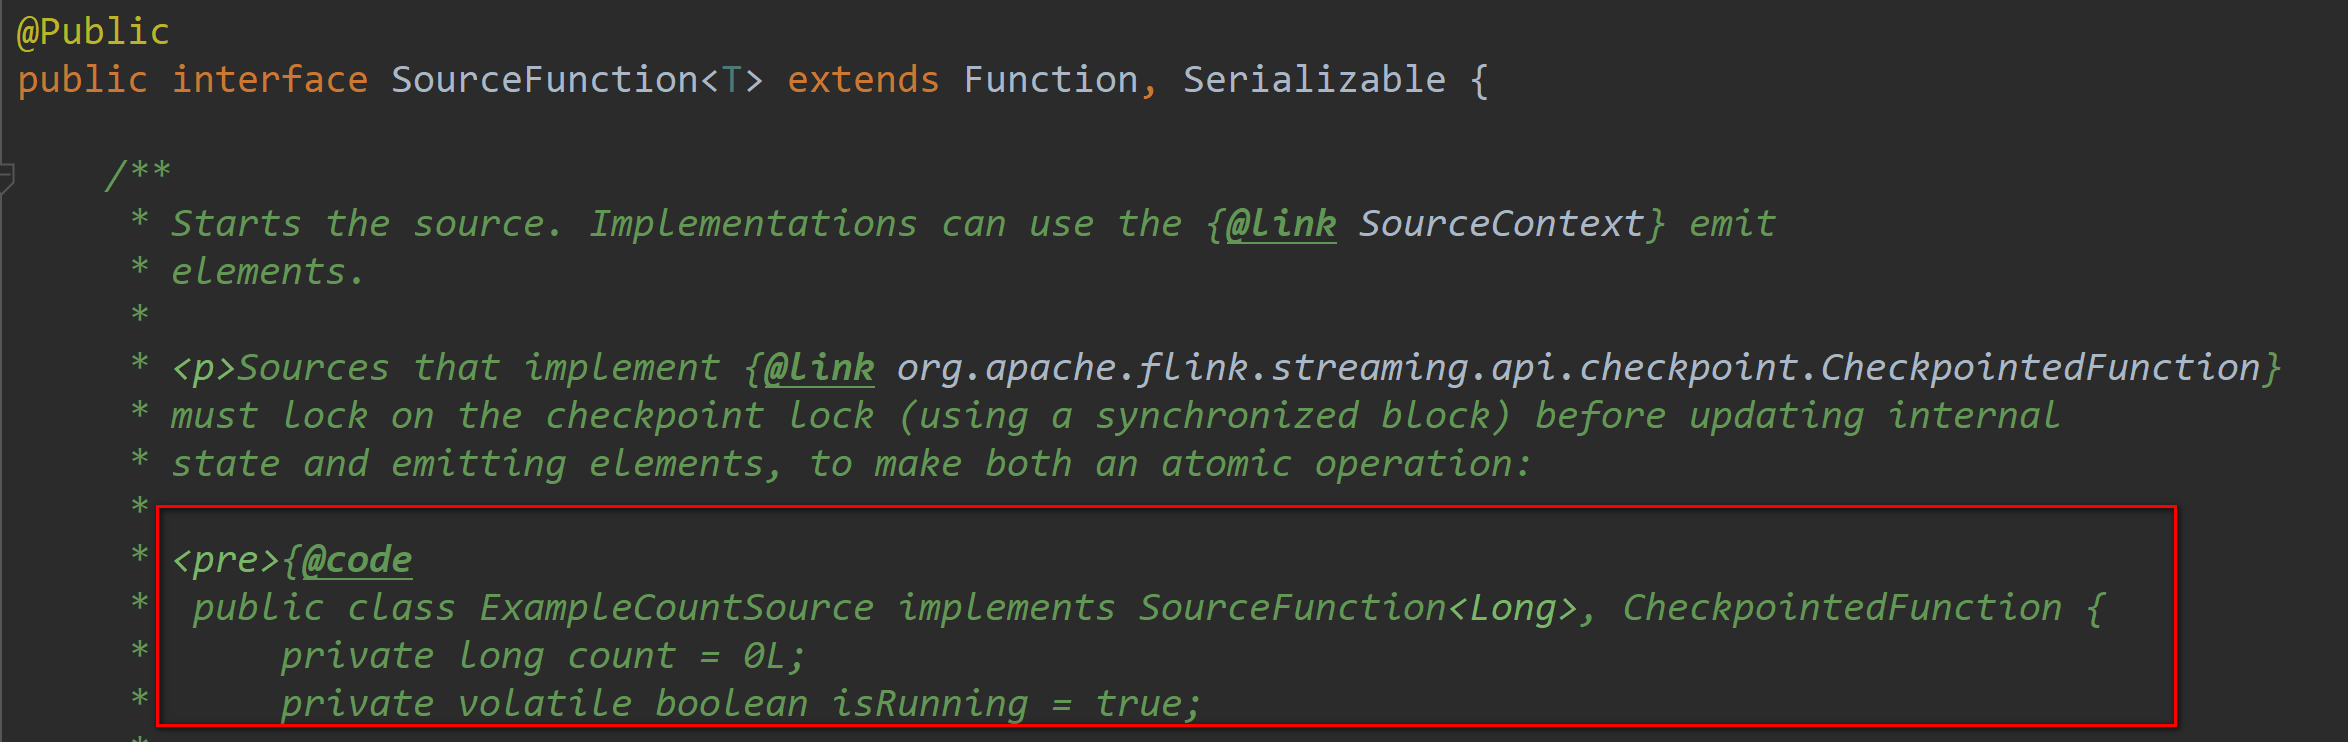
1、实现SourceFunction
SourceFunction 是非并行的,所以不能指定并行度,即不能用setParallelism(num) 算子;
SocketTextStreamFunction就是实现的SourceFunction ,源码中也有详细的用例;
import org.apache.flink.api.common.functions.FlatMapFunction

import org.apache.flink.configuration.{ConfigConstants, Configuration}

import org.apache.flink.streaming.api.functions.source.SourceFunction

import org.apache.flink.streaming.api.scala.{DataStream, StreamExecutionEnvironment}

import org.apache.flink.util.Collector

// 需要加上这一行隐式转换 否则在调用flatmap方法的时候会报错

import org.apache.flink.api.scala._

// SourceFunction 是非并行的,所以不能指定并行度 即 不能 用 setParallelism(num) 算子

class MySourceFunction extends SourceFunction[String]{

  var num: Long = 0

  var isCancel: Boolean = true

   //在cancel的时候被执行,传递变量用于控制run方法中的执行

  override def cancel(): Unit = {

    println("cancel")

    isCancel = false

  }

  // 调用run 方法向下游产生数据

  override def run(ctx: SourceFunction.SourceContext[String]): Unit = {

    while (isCancel){

      ctx.collect(s"xxd\t${num}")

      Thread.sleep(1000)

      num += 1

    }

  }

}

object SourceFunctionWordCount{

  def main(args: Array[String]): Unit = {

    val logPath: String = "/tmp/logs/flink_log"

    var conf: Configuration = new Configuration()

    // 开启spark-webui

    conf.setBoolean(ConfigConstants.LOCAL_START_WEBSERVER, true)

    //配置webui的日志文件

    conf.setString("web.log.path", logPath)

    // 配置 taskManager 的日志文件,否则打印日志到控制台

    conf.setString(ConfigConstants.TASK_MANAGER_LOG_PATH_KEY,logPath)

    // 配置有多少个solor

    conf.setString("taskmanager.numberOfTaskSlots","3")

    // 获取本地运行环境

    val env: StreamExecutionEnvironment = StreamExecutionEnvironment.createLocalEnvironmentWithWebUI(conf)
    // 设置延时时间
    env.setBufferTimeout(3000)

    // 定义数据源

    val sourceDataStream: DataStream[String] = env.addSource(new MySourceFunction)

    // 增加 setParallelism就会报错

    // val sourceDataStream: DataStream[String] = env.addSource(new MySourceFunction).setParallelism(2)

    // 定义 operators,作用是解析数据,分组,窗口化,并且聚合就SUM

    val wordCountData: DataStream[(String, Int)] = sourceDataStream.flatMap(new FlatMapFunction[String, (String, Int)] {

      override def flatMap(value: String, out: Collector[(String, Int)]): Unit = {

        val strings: Array[String] = value.split(" ")

        for (f <- strings) {

          out.collect((f, 1))

        }

      }

    }).setParallelism(2).keyBy(_._1).sum(1).setParallelism(2)

    // 定义sink打印输出

    wordCountData.print().setParallelism(2)

    // 打印任务执行计划

    println(env.getExecutionPlan)

    // 运行

    env.execute("Socket Window WordCount")

  }

}
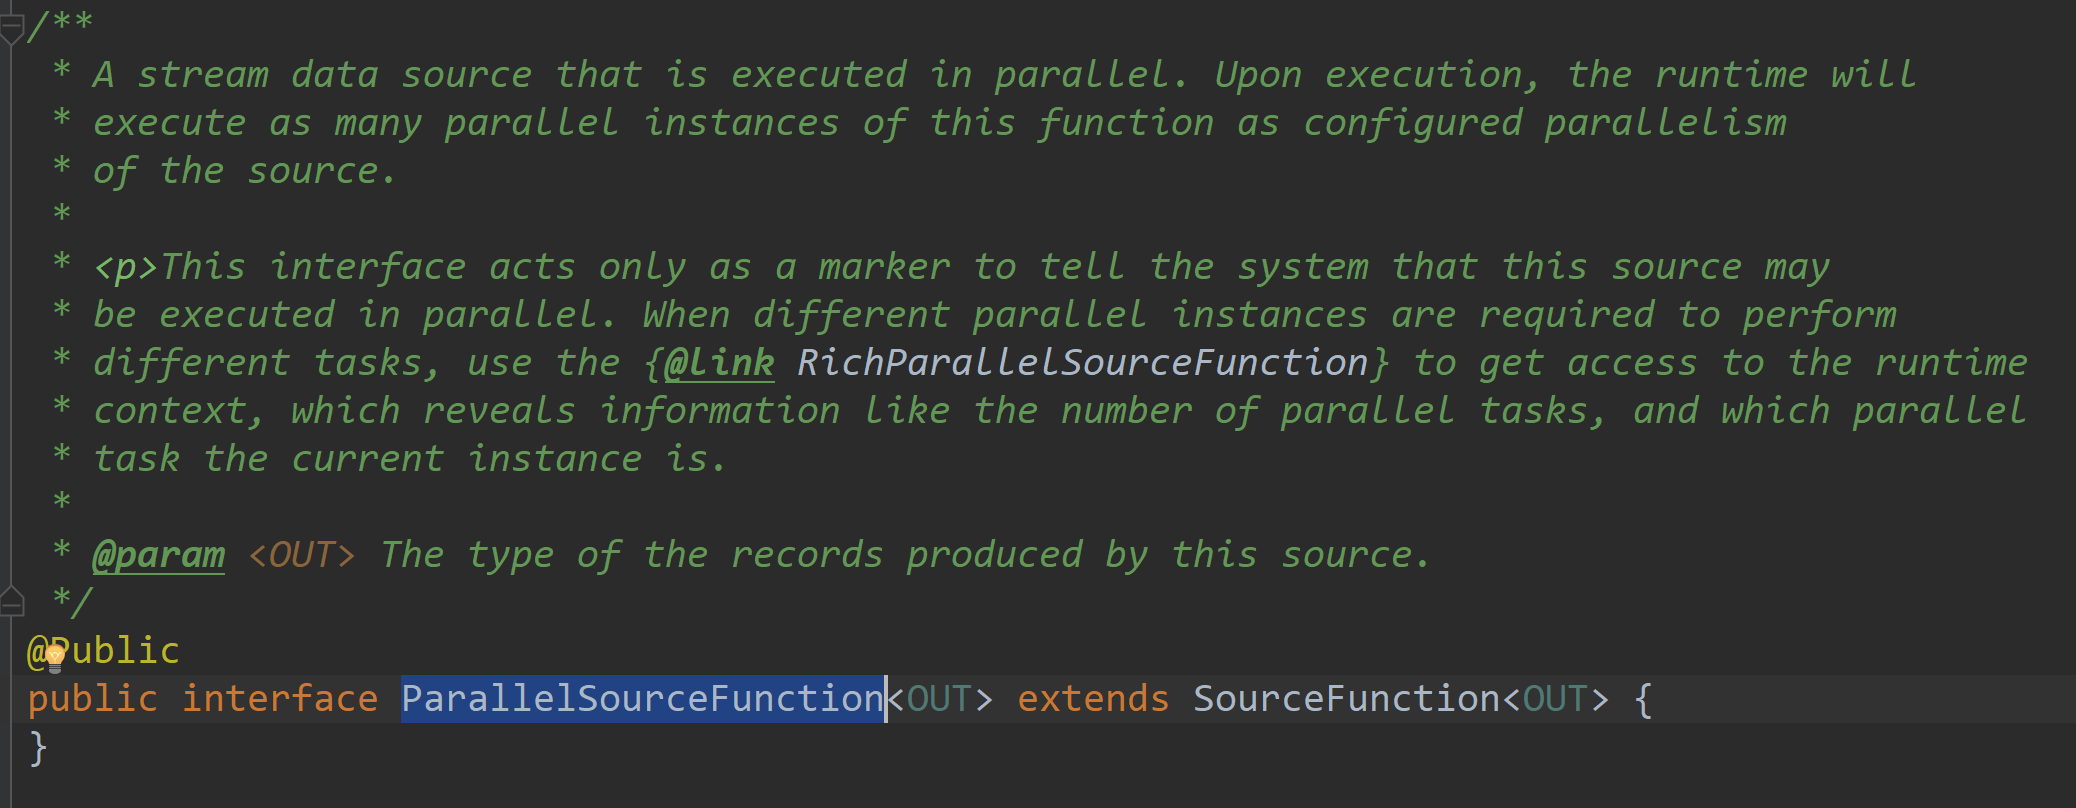
2、实现ParallelSourceFunction
ParallelSourceFunction是并行化的source所以能指定并行度
import org.apache.flink.api.common.functions.FlatMapFunction

import org.apache.flink.configuration.{ConfigConstants, Configuration}

import org.apache.flink.streaming.api.functions.source.{ParallelSourceFunction, SourceFunction}

import org.apache.flink.streaming.api.scala.{DataStream, StreamExecutionEnvironment}

import org.apache.flink.util.Collector

import org.apache.flink.api.scala._

//ParallelSourceFunction是并行化的source所以能指定并行度

class MyParallelSource extends ParallelSourceFunction[String] {

  var num = 0

  var isCancel = true

  override def cancel(): Unit = {

    println("cancel")

    isCancel = false

  }

  override def run(ctx: SourceFunction.SourceContext[String]): Unit = {

    while (isCancel) {

      ctx.collect(s"xxd\t${num}")

      Thread.sleep(1000)

      num += 1

    }

  }

}

object ParallelSourceWordCount {

  def main(args: Array[String]): Unit = {

    val logPath: String = "/tmp/logs/flink_log"

    var conf: Configuration = new Configuration()

    // 开启spark-webui

    conf.setBoolean(ConfigConstants.LOCAL_START_WEBSERVER, true)

    //配置webui的日志文件

    conf.setString("web.log.path", logPath)

    // 配置 taskManager 的日志文件,否则打印日志到控制台

    conf.setString(ConfigConstants.TASK_MANAGER_LOG_PATH_KEY, logPath)

    // 配置有多少个solor

    conf.setString("taskmanager.numberOfTaskSlots", "8")

    // 获取本地运行环境

    val env: StreamExecutionEnvironment = StreamExecutionEnvironment.createLocalEnvironmentWithWebUI(conf)

    // 定义数据源

    val sourceDataStream: DataStream[String] = env.addSource(new MyParallelSource).setParallelism(4)

    // 定义 operators,作用是解析数据,分组,窗口化,并且聚合就SUM

    val wordCountData: DataStream[(String, Int)] = sourceDataStream.flatMap(new FlatMapFunction[String, (String, Int)] {

      override def flatMap(value: String, out: Collector[(String, Int)]): Unit = {

        val strings: Array[String] = value.split(" ")

        for (f <- strings) {

          out.collect((f, 1))

        }

      }

    }).setParallelism(2).keyBy(_._1).sum(1).setParallelism(2)

    // 定义sink打印输出

    wordCountData.print().setParallelism(2)

    // 打印任务执行计划

    println(env.getExecutionPlan)

    // 运行

    env.execute("Socket Window WordCount")

  }

}
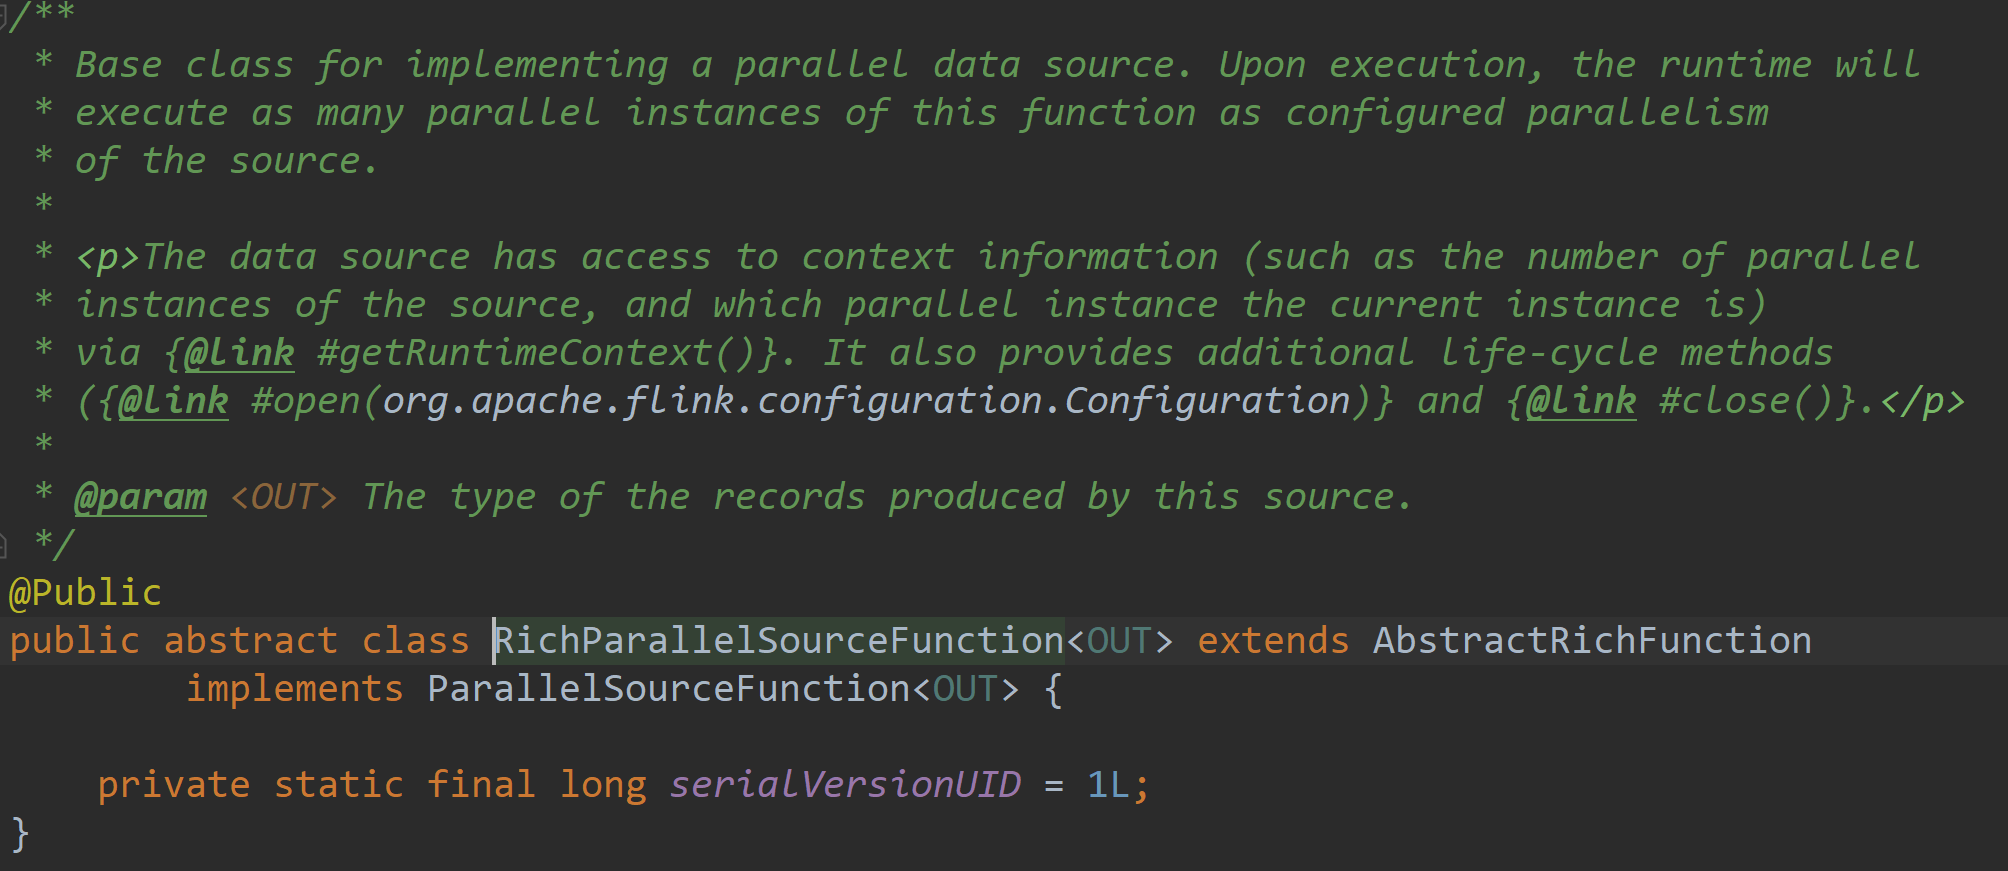
3、继承RichParallelSourceFunction
RichParallelSourceFunction不仅实现了ParallelSourceFunction,还继承了AbstractRichFunction
所以RichParallelSourceFunction不仅能够并行化,还比ParallelSourceFunction增加了open和close方法、getRuntimeContext

import org.apache.flink.api.common.functions.FlatMapFunction

import org.apache.flink.configuration.{ConfigConstants, Configuration}

import org.apache.flink.streaming.api.functions.source.{RichParallelSourceFunction, SourceFunction}

import org.apache.flink.streaming.api.scala.{DataStream, StreamExecutionEnvironment}

import org.apache.flink.util.Collector

import org.apache.flink.api.scala._

//RichParallelSourceFunction不但能并行化

//还比ParallelSourceFunction增加了open和close方法、getRuntimeContext

class MyRichParallelSource extends RichParallelSourceFunction[String]{

  var num = 0

  var isCancel = true

  //初始化 在source开启的时候执行一次,比如可以在这里开启mysql的连接

  override def open(parameters: Configuration): Unit = {

    println("open")

    num = 100

  }

  //在source关闭的时候执行一次

  //比如mysql连接用完了,给还回连接池

  override def close(): Unit = {

    while (isMysql){

      Thread.sleep(1000)

      println("close sleep")

    }

    println("close")

    num = 0

  }

  //在输出的时候被执行,传递变量用于控制run方法中的执行

  //这个是被手动触发,在执行完cancel之后,会再执行close

  override def cancel(): Unit = {

    println("cancel")

    isCancel = false

  }

  //调用run方法向下游产生数据

  //手动cancel之后,不会等待run方法中处理结束而是强制执行close方法

  //这样就可能导致run方法中正在使用的连接被close了

  //所以此时需要加一个处理完成标识,用于判断是否可以进行close

  var isMysql = false

  override def run(ctx: SourceFunction.SourceContext[String]): Unit = {

    import scala.util.control.Breaks._

    breakable{

      while (isCancel){

        println(getRuntimeContext.getIndexOfThisSubtask) // 获取执行的taskid

        ctx.collect(s"xxd\t${num}")

        Thread.sleep(2000)

        num += 1

        if (num > 1200){

          break()

        }

      }

    }

    isMysql = true

  }

}

object RichParallelSourceWordCount{

  def main(args: Array[String]): Unit = {

    val logPath: String = "/tmp/logs/flink_log"

    var conf: Configuration = new Configuration()

    // 开启spark-webui

    conf.setBoolean(ConfigConstants.LOCAL_START_WEBSERVER, true)

    //配置webui的日志文件

    conf.setString("web.log.path", logPath)

    // 配置 taskManager 的日志文件,否则打印日志到控制台

    conf.setString(ConfigConstants.TASK_MANAGER_LOG_PATH_KEY,logPath)

    // 配置有多少个solor

    conf.setString("taskmanager.numberOfTaskSlots","8")

    // 获取本地运行环境

    val env: StreamExecutionEnvironment = StreamExecutionEnvironment.createLocalEnvironmentWithWebUI(conf)

    // 定义数据源

    val sourceDataStream: DataStream[String] = env.addSource(new MyRichParallelSource).setParallelism(4)

    // 定义 operators,作用是解析数据,分组,窗口化,并且聚合就SUM

    val wordCountData: DataStream[(String, Int)] = sourceDataStream.flatMap(new FlatMapFunction[String, (String, Int)] {

      override def flatMap(value: String, out: Collector[(String, Int)]): Unit = {

        val strings: Array[String] = value.split(" ")

        for (f <- strings) {

          out.collect((f, 1))

        }

      }

    }).setParallelism(2).keyBy(_._1).sum(1).setParallelism(2)

    // 定义sink打印输出

    wordCountData.slotSharingGroup("xxd").print().setParallelism(2)

    // 打印任务执行计划

    println(env.getExecutionPlan)

    // 运行

    env.execute("Socket Window WordCount")

  }

}
二、sink
2.1、内置数据输出源
1、基于文件
#使用TextOutputFormat

stream.writeAsText("/path/to/file")

#使用CsvOutputFormat

stream.writeAsCsv("/path/to/file")
2、基于socket
stream.writeToSocket(host, port, SerializationSchema)
3、基于标准/错误输出
#注: 线上应用杜绝使用,采用抽样打印或者日志的方式

stream.print()

stream.printToErr()
2.2、自定义输出源
1、实现SinkFunction
import org.apache.flink.configuration.{ConfigConstants, Configuration}

import org.apache.flink.streaming.api.functions.sink.SinkFunction

import org.apache.flink.streaming.api.scala.{DataStream, StreamExecutionEnvironment}

import org.apache.flink.api.scala._

class MySinkFunction extends SinkFunction[(String, Int)] {

  override def invoke(value: (String, Int), context: SinkFunction.Context[_]): Unit = {

    println(s"value:${value}," +

      s"processTime:${context.currentProcessingTime()}," +

      s"waterMark:${context.currentWatermark()}")

  }

}

object SinkFunctionWordCount {

  def main(args: Array[String]): Unit = {

    val logPath: String = "/tmp/logs/flink_log"

    var conf: Configuration = new Configuration()

    // 开启spark-webui

    conf.setBoolean(ConfigConstants.LOCAL_START_WEBSERVER, true)

    //配置webui的日志文件

    conf.setString("web.log.path", logPath)

    // 配置 taskManager 的日志文件,否则打印日志到控制台

    conf.setString(ConfigConstants.TASK_MANAGER_LOG_PATH_KEY, logPath)

    // 配置有多少个solor

    conf.setString("taskmanager.numberOfTaskSlots", "8")

    // 获取本地运行环境

    val env: StreamExecutionEnvironment = StreamExecutionEnvironment.createLocalEnvironmentWithWebUI(conf)

    // 定义数据源

    val input = env.fromElements("xxd xxd xxd")

    val output: DataStream[(String, Int)] = input.flatMap(f => f.split(" ")).map((_, 1))

    // 使用自定义的sink

    output.addSink(new MySinkFunction)

    env.execute()

  }

}
2、继承RichSinkFunction
package com.xxd.flink.sink

import org.apache.flink.configuration.{ConfigConstants, Configuration}

import org.apache.flink.streaming.api.functions.sink.{RichSinkFunction, SinkFunction}

import org.apache.flink.streaming.api.scala.{DataStream, StreamExecutionEnvironment}

import org.apache.flink.api.scala._

class MyRichSinkFunction extends RichSinkFunction[(String, Int)]{

  //在Sink开启的时候执行一次,比如可以在这里开启mysql的连接

  override def open(parameters: Configuration): Unit = {

    println("open")

  }

  //在Sink关闭的时候执行一次

  //比如mysql连接用完了,给还回连接池

  override def close(): Unit = {

    println("close")

  }

  //调用invoke方法,执行数据的输出

  override def invoke(value: (String, Int), context: SinkFunction.Context[_]): Unit = {

    //在rich方法中可以使用getRuntimeContext方法得到比如广播变量和累加器

    //getRuntimeContext.getBroadcastVariable("")

    println(s"value:${value}," +

      s"processTime:${context.currentProcessingTime()}," +

      s"waterMark:${context.currentWatermark()}")

  }

}

object RichSinkFunctionWordCount {

  def main(args: Array[String]): Unit = {

    val logPath: String = "/tmp/logs/flink_log"

    var conf: Configuration = new Configuration()

    // 开启spark-webui

    conf.setBoolean(ConfigConstants.LOCAL_START_WEBSERVER, true)

    //配置webui的日志文件

    conf.setString("web.log.path", logPath)

    // 配置 taskManager 的日志文件,否则打印日志到控制台

    conf.setString(ConfigConstants.TASK_MANAGER_LOG_PATH_KEY,logPath)

    // 配置有多少个solor

    conf.setString("taskmanager.numberOfTaskSlots","8")

    // 获取本地运行环境

    val env: StreamExecutionEnvironment = StreamExecutionEnvironment.createLocalEnvironmentWithWebUI(conf)

    // 定义数据源

    val input = env.fromElements("xxd xxd xxd")

    val output: DataStream[(String, Int)] = input.flatMap(f => f.split(" ")).map((_, 1))

      // 使用自定义的sink

      output.addSink(new MyRichSinkFunction)

    env.execute()

  }

}
3、使用自定义OutputFormat,然后使用stream.writeUsingOutputFormat("自定义outputFormat")
import org.apache.flink.api.common.io.OutputFormat

import org.apache.flink.configuration.{ConfigConstants, Configuration}

import org.apache.flink.api.scala._

import org.apache.flink.streaming.api.scala.{DataStream, StreamExecutionEnvironment}

class MyOutPutFormat extends OutputFormat[(String, Int)]{

  //配置outputformat

  override def configure(parameters: Configuration): Unit = {

    println("configure")

  }

  //在Sink开启的时候执行一次,比如可以在这里开启mysql的连接

  override def open(taskNumber: Int, numTasks: Int): Unit = {

    //taskNumber第几个tak,numTasks总任务数

    println(s"taskNumber:${taskNumber},numTasks:${numTasks}")

  }

  //调用writeRecord方法,执行数据的输出

  override def writeRecord(record: (String,Int)): Unit = {

    println(record)

  }

  //在Sink关闭的时候执行一次

  //比如mysql连接用完了,给还回连接池

  override def close(): Unit = {

    println("close")

  }

}

object OutputFormatWordCount {

  def main(args: Array[String]): Unit = {

    val logPath: String = "/tmp/logs/flink_log"

    var conf: Configuration = new Configuration()

    // 开启spark-webui

    conf.setBoolean(ConfigConstants.LOCAL_START_WEBSERVER, true)

    //配置webui的日志文件

    conf.setString("web.log.path", logPath)

    // 配置 taskManager 的日志文件,否则打印日志到控制台

    conf.setString(ConfigConstants.TASK_MANAGER_LOG_PATH_KEY,logPath)

    // 配置有多少个solor

    conf.setString("taskmanager.numberOfTaskSlots","8")

    // 获取本地运行环境

    val env: StreamExecutionEnvironment = StreamExecutionEnvironment.createLocalEnvironmentWithWebUI(conf)

    // 定义数据源

    val input = env.fromElements("xxd xxd xxd")

    val output: DataStream[(String, Int)] = input.flatMap(f => f.split(" ")).map((_,1))

    //使用自定义的outputFormat

    output.writeUsingOutputFormat(new MyOutPutFormat)

    env.execute()

  }

}
4、flink自定义source、sink的更多相关文章
- Flink 自定义source和sink,获取kafka的key,输出指定key
--------20190905更新------- 沙雕了,可以用 JSONKeyValueDeserializationSchema,接收ObjectNode的数据,如果有key,会放在Objec ...
- 【翻译】Flink Table Api & SQL — 自定义 Source & Sink
本文翻译自官网: User-defined Sources & Sinks https://ci.apache.org/projects/flink/flink-docs-release-1 ...
- 《从0到1学习Flink》—— 如何自定义 Data Sink ?
前言 前篇文章 <从0到1学习Flink>-- Data Sink 介绍 介绍了 Flink Data Sink,也介绍了 Flink 自带的 Sink,那么如何自定义自己的 Sink 呢 ...
- Flink 从 0 到 1 学习 —— 如何自定义 Data Sink ?
前言 前篇文章 <从0到1学习Flink>-- Data Sink 介绍 介绍了 Flink Data Sink,也介绍了 Flink 自带的 Sink,那么如何自定义自己的 Sink 呢 ...
- Flink自定义Sink
Flink自定义Sink Flink 自定义Sink,把socket数据流数据转换成对象写入到mysql存储. #创建Student类 public class Student { private i ...
- Flume自定义Source、Sink和Interceptor(简单功能实现)
1.Event event是flume传输的最小对象,从source获取数据后会先封装成event,然后将event发送到channel,sink从channel拿event消费. event由头he ...
- 《从0到1学习Flink》—— Data Sink 介绍
前言 再上一篇文章中 <从0到1学习Flink>-- Data Source 介绍 讲解了 Flink Data Source ,那么这里就来讲讲 Flink Data Sink 吧. 首 ...
- Flink 之 Data Sink
首先 Sink 的中文释义为: 下沉; 下陷; 沉没; 使下沉; 使沉没; 倒下; 坐下; 所以,对应 Data sink 意思有点把数据存储下来(落库)的意思: Source 数据源 ---- ...
- flink02------1.自定义source 2. StreamingSink 3 Time 4窗口 5 watermark
1.自定义sink 在flink中,sink负责最终数据的输出.使用DataStream实例中的addSink方法,传入自定义的sink类 定义一个printSink(),使得其打印显示的是真正的ta ...
随机推荐
- office2010安装与破解,笔者亲测可用!!!!!!
我们首先需要准备office2010安装包与破相应的破解软件.软件包的获取方式:扫码关注[猿成长],,回复 office2010安装,即可获取,下载解压后文件目录结构如下图所示: 打开安装程序文件夹, ...
- 自动化运维Ansible之常用模块
目录 0.Ansible模块语法 1.Command模块 2.Shell模块 3.Scripts模块 4.Copy模块 5.File模块 6.Yum模块 7.Service模块 8.Cron模块 9. ...
- IntelliJ Idea 中文乱码问题
首先,Idea真的是一款很方便的开发工具,但是关于中文乱码这个问题我不得不吐槽,这个编码也弄得这么麻烦干嘛呀...下面就说一下怎么解决中文乱码问题: 1.首先是编辑器的乱码,这个很好解决,file-& ...
- flask中温柔显示404等错误
写下下面两个视图函数,然后在模板中写下错误时展现的内容,当然模板名,函数名是可以改的哟@app.errorhandler(404)def page_not_found(error): return r ...
- MySql查询当天、本周、本月、本季度、本年的数据
1.今天 SELECT * FROM 表名 WHERE TO_DAYS(时间字段名) = TO_DAYS(NOW()); 2.昨天 ; 3.本周 SELECT * FROM 表名 WHERE YEAR ...
- JS 剑指Offer(五) 二叉树的重建
题目:输入某二叉树的前序遍历和中序遍历的结果,请重建该二叉树.假设输入的前序遍历和中序遍历的结果中都不含重复的数字. 题目分析:已知二叉树的前序和中序遍历,根据前序遍历和中序遍历的规则,前序遍历的第一 ...
- 操作系统-IO与显示器
1. 让外设工作起来 只要给相应的控制器中的寄存器发一个指令 向设备控制器的寄存器写不就可以了吗? 需要查寄存器地址.内容的格式和语义.操作系统需要给用户提供一个简单视图---文件视图,这样方便 总的 ...
- Python常用模块之模块的使用
一 模块介绍 1.什么是模块? #常见的场景:一个模块就是一个包含了一组功能的python文件,比如spam.py,模块名为spam,可以通过import spam使用. #在python中,模块 ...
- 一款基于SVM算法的分布式法律助手
一. 项目简介 与 使用说明 体验网站(适配手机端): http://www.zhuchangwu.com 项目基于 Spring Cloud .Vue 构建,平台针对需要维权的用户而设计,主要提供如 ...
- EF 太重,MyBatis 太轻,ORM 框架到底怎么选 ?
以 EF 为代表的基于 Linq 的 ORM 框架总是 很重. 他们的功能早已超出了一个 ORM 的范畴, ORM 是 Object Relational Mapping ,从名字上看,其初衷是将 数 ...